Introduction
Are you using a Mac and want to download a voice memo? Whether it’s an important recording you need for work or a personal message you want to keep, downloading voice memos on your Mac is a straightforward process. With just a few simple steps, you can save your voice memos to your computer and access them whenever you need.
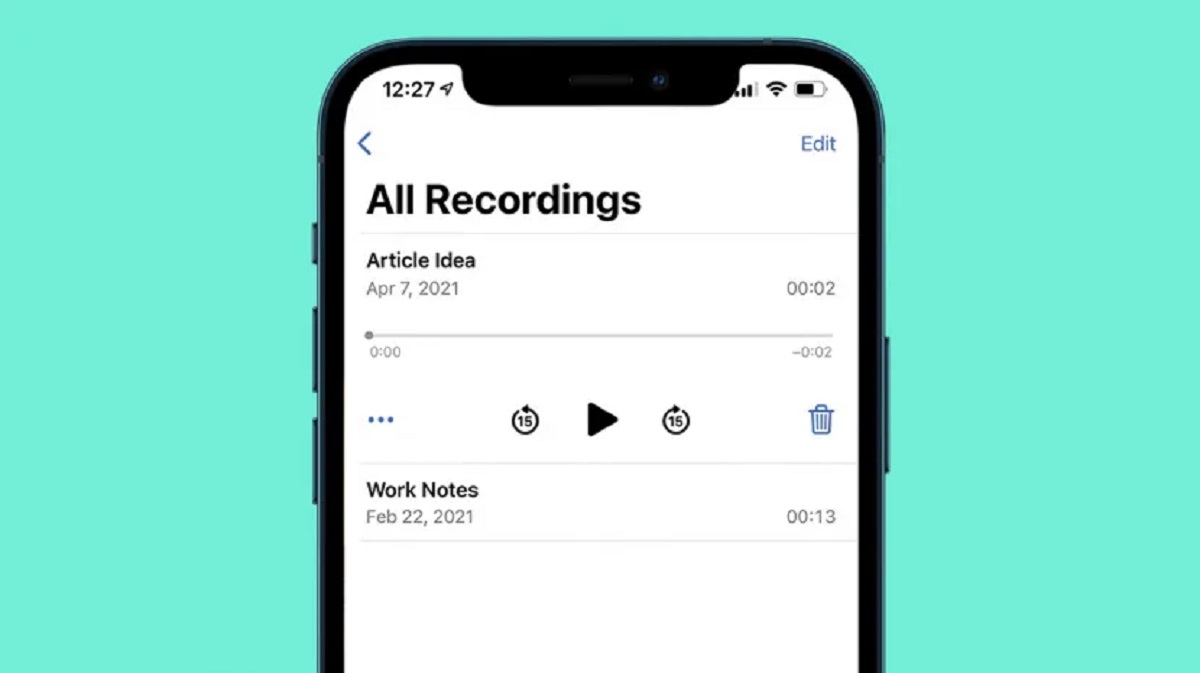
The Voice Memos app on Mac allows you to record audio directly on your computer. It’s a convenient feature that can be used for various purposes, such as taking notes, capturing ideas, or recording interviews. Once you’ve recorded a voice memo, you may want to download it so that you can share it with others or keep a backup copy for future reference.
In this guide, we will walk you through the steps to download a voice memo on your Mac. Whether you’re a novice user or a seasoned Mac enthusiast, you’ll find these instructions easy to follow.
Before we begin, please make sure that you have the Voice Memos app installed on your Mac. This app usually comes pre-installed on newer Mac models, but if you can’t find it, you can download it for free from the Mac App Store.
Now, let’s dive into the step-by-step process of downloading a voice memo on your Mac.
Step 1: Open the Voice Memos app on your Mac
The first step to downloading a voice memo on your Mac is to open the Voice Memos app. You can easily find this app by clicking on the Launchpad icon in your dock, and then searching for “Voice Memos” in the search bar at the top. Alternatively, you can also locate the app in your Applications folder.
Once you have located the Voice Memos app, simply click on the icon to open it. The app will launch, and you’ll see a list of your recorded voice memos displayed in the main window. Take a moment to ensure that the voice memo you want to download is visible in the app.
If you don’t have any voice memos yet, you’ll see an empty list. In this case, you’ll need to record a voice memo first before you can proceed with the download process. To record a voice memo, click on the red circle button in the app’s main window. Speak into your computer’s microphone, and click the stop button when you’re finished recording.
Now that you have the Voice Memos app open on your Mac and have a voice memo ready for download, you’re ready to move on to the next step: choosing the voice memo you want to download.
Step 2: Choose the voice memo you want to download
Once you have the Voice Memos app open on your Mac, you’ll need to choose the specific voice memo that you want to download. Look through the list of voice memos displayed in the app’s main window and locate the one you wish to save to your computer.
To select a voice memo, simply click on it once. You’ll notice that the selected voice memo will be highlighted, making it easy to identify.
If you have a large number of voice memos and are having trouble finding the one you’re looking for, you can use the search bar located at the top of the app’s main window. Simply start typing a keyword or the name of the voice memo you want to download, and the app will automatically filter the list to display the relevant results.
Additionally, you can organize your voice memos into folders for better management. To create a folder, click on the “File” menu at the top of your screen, then select “New Folder.” Give the folder a suitable name and drag and drop your voice memos into it for better organization.
Once you have chosen the voice memo you want to download, it’s time to move on to the next step: clicking on the “Share” button.
Step 3: Click on the “Share” button
After selecting the voice memo you want to download in the Voice Memos app on your Mac, the next step is to click on the “Share” button. This button allows you to access various options for sharing or saving the voice memo.
The “Share” button is located in the toolbar at the top of the Voice Memos app. It is represented by a square with an arrow pointing upwards, similar to the share icon found in other applications. Clicking on this button will open a drop-down menu with different sharing options.
When you click on the “Share” button, you’ll see a list of available sharing methods, including options such as AirDrop, Email, Message, and more. However, since we want to download the voice memo to our Mac, we need to select the “Save to Files” option from the menu.
By choosing “Save to Files,” you’re telling the Voice Memos app to save the selected voice memo as a file on your Mac’s storage rather than sharing it through other means. Once you select this option, you’ll be prompted to choose the location where you want to save the voice memo on your computer.
Now that you’ve clicked on the “Share” button and selected the “Save to Files” option, it’s time to proceed to the next step: choosing the location to save the voice memo.
Step 4: Select “Save to Files”
Once you’ve clicked on the “Share” button in the Voice Memos app on your Mac, a drop-down menu will appear with various sharing options. From this menu, you’ll need to select the “Save to Files” option to save the voice memo to your computer.
By choosing “Save to Files,” you’re instructing the Voice Memos app to save the selected voice memo as a file on your Mac’s storage. This step is essential to ensure that the voice memo is downloaded and accessible on your computer.
When you select “Save to Files,” a new window will open, allowing you to choose the location where you want to save the voice memo. The window will display your file system, including your local storage, iCloud Drive, and any connected external drives.
To navigate through your file system and choose a location to save the voice memo, you can click on the desired folders or drives. You can also use the search bar at the top of the window to quickly find a specific location.
Take a moment to select the folder or drive where you want to save the voice memo. Consider choosing a location that is easily accessible and organized, such as a designated folder for voice memos or a folder relevant to the content of the voice memo.
Once you have selected the location, click the “Save” button. The Voice Memos app will begin saving the voice memo as a file in the chosen location on your Mac.
With the voice memo now saved to your computer, you can move on to the next step: accessing and managing the downloaded voice memo.
Step 5: Choose the location to save the voice memo
After selecting the “Save to Files” option in the Voice Memos app on your Mac, a window will appear allowing you to choose the location where you want to save the voice memo. This step is crucial as it determines the specific folder or directory on your computer where the voice memo will be stored.
When the window appears, you will see your file system displayed, including your local storage, iCloud Drive, and any connected external drives. Take a moment to navigate through your file system and choose the ideal location to save the voice memo.
To navigate through your file system, you can click on the desired folders or drives. If you have a specific folder in mind, you can also use the search bar at the top of the window to quickly find it.
Consider choosing a location that is easily accessible and organized. For example, you may want to create a dedicated folder for voice memos or save the voice memo in a folder related to the content or purpose of the recording.
Once you have identified the desired location, click on it to select it. The selected location will be highlighted, indicating that it is the chosen destination for saving the voice memo.
Before proceeding, double-check that the selected location is correct to ensure that the voice memo will be saved in the desired folder. If you need to change the location, simply click on a different folder or drive until the desired location is highlighted.
Once you are satisfied with the chosen location, click the “Save” button to initiate the saving process. The Voice Memos app will begin saving the voice memo as a file in the selected location on your Mac.
With the location chosen and the voice memo saved, you are now ready to move on to the final step: completing the download process and accessing the voice memo on your Mac.
Step 6: Click “Save”
Once you have selected the desired location to save the voice memo in the Voice Memos app on your Mac, the final step is to click the “Save” button. This action will initiate the saving process and store the voice memo as a file in the designated location on your computer.
Before clicking “Save,” take a moment to double-check that the selected location is correct. Ensure that you have chosen the right folder or directory where you want to save the voice memo. Making sure of this will prevent any confusion later on when you try to access the saved file.
To complete the download process, simply click on the “Save” button. You can find this button usually located at the bottom right corner of the window after selecting the desired location to save the voice memo.
Once you click “Save,” the Voice Memos app will start saving the voice memo as a file on your Mac’s storage. Depending on the size of the voice memo and the speed of your computer, the saving process may take a few moments to complete.
During the saving process, it’s important to avoid closing the Voice Memos app or interrupting the operation. Doing so may result in an incomplete or corrupted voice memo file.
Once the saving process is finished, you will receive a confirmation message indicating that the voice memo has been successfully saved to the chosen location. At this point, you can close the Voice Memos app and navigate to the location on your computer where the voice memo is saved.
Congratulations! By clicking “Save,” you have completed the process of downloading a voice memo on your Mac. Now, you can access and manage the downloaded voice memo as needed.
Conclusion
Downloading voice memos on your Mac is a simple and efficient process that allows you to preserve and access important audio recordings. With the Voice Memos app, you can easily save your voice memos as files on your computer, providing you with a convenient way to manage and share your recordings.
In this guide, we walked you through the step-by-step process of downloading a voice memo on your Mac:
- Open the Voice Memos app on your Mac.
- Choose the voice memo you want to download.
- Click on the “Share” button and select “Save to Files”.
- Select the location where you want to save the voice memo.
- Click “Save” to initiate the saving process.
By following these steps, you can successfully download voice memos and have them readily available on your Mac. Whether you need to share a recording with others or simply want to keep a backup of an important voice memo, this process allows you to do so effortlessly.
Remember to organize your voice memos into folders for easy management. You can create dedicated folders for specific purposes or categories, making it convenient to locate and access your voice recordings.
Furthermore, feel free to explore additional features offered by the Voice Memos app, such as editing or trimming recordings, adding notes or labels to voice memos, and syncing your recordings with other Apple devices through iCloud.
Now that you know how to download voice memos on your Mac, embrace the possibilities of capturing and preserving your audio recordings. Whether you’re a professional needing to document meetings or a creative individual capturing inspiring ideas, the Voice Memos app is a valuable tool for enhancing productivity and creativity.
So, go ahead and unlock the full potential of your Mac by utilizing the Voice Memos app to download and manage your voice recordings with ease.