Introduction
Welcome to the ultimate guide on how to download a printer driver! Whether you’re setting up a new printer or need to update the existing driver, this step-by-step tutorial will walk you through the process.
A printer driver is a software that allows your computer to communicate with your printer and send print commands. Without a proper driver, your printer won’t be able to function as intended. To maintain optimal performance and compatibility, it’s crucial to keep your printer driver up to date.
Downloading a printer driver may seem daunting, especially if you’re not tech-savvy. However, with the right guidance, you’ll be able to install the correct driver quickly and easily.
In this guide, we’ll cover the necessary steps to download a printer driver. We’ll start by helping you determine your computer’s operating system. Then, we’ll guide you through identifying the printer brand and model. Afterward, we’ll show you how to visit the manufacturer’s website and locate the driver download section. Once you’ve found the correct driver, we’ll explain how to download and install it. Finally, we’ll discuss how to test your printer to ensure everything is working correctly.
Whether you’re using a Windows, Mac, or Linux operating system, this guide is designed to help you download the appropriate printer driver. By following these steps, you’ll be able to set up your printer smoothly and maintain optimal performance for all your printing needs.
Without further ado, let’s dive into the world of printer drivers and discover how to download them hassle-free!
Step 1: Determine the Operating System
The first step in downloading a printer driver is to determine your computer’s operating system. The operating system is the software that manages and operates your computer, and it will determine the type of printer driver you need.
If you’re using a Windows computer, you can easily find out your operating system by following these steps:
- Click on the Start button in the bottom-left corner of your screen.
- Open the Settings app by clicking on the gear icon.
- In the Settings window, click on the System option.
- On the left-hand side of the System page, click on the About option.
- Under the Windows specifications section, you’ll see the version and edition of your operating system.
For Mac users, determining the operating system is equally straightforward:
- Click on the Apple menu in the top-left corner of your screen.
- Select the About This Mac option from the drop-down menu.
- In the Overview tab, you’ll see the version of macOS or OS X installed on your computer.
If you’re using a Linux machine, the process may vary slightly depending on the distribution. However, a common method is to open the terminal and enter the following command:
uname -a
This will display information about your Linux distribution, including the kernel version.
Once you have determined your computer’s operating system, you’re ready to move on to the next step: identifying the printer brand and model.
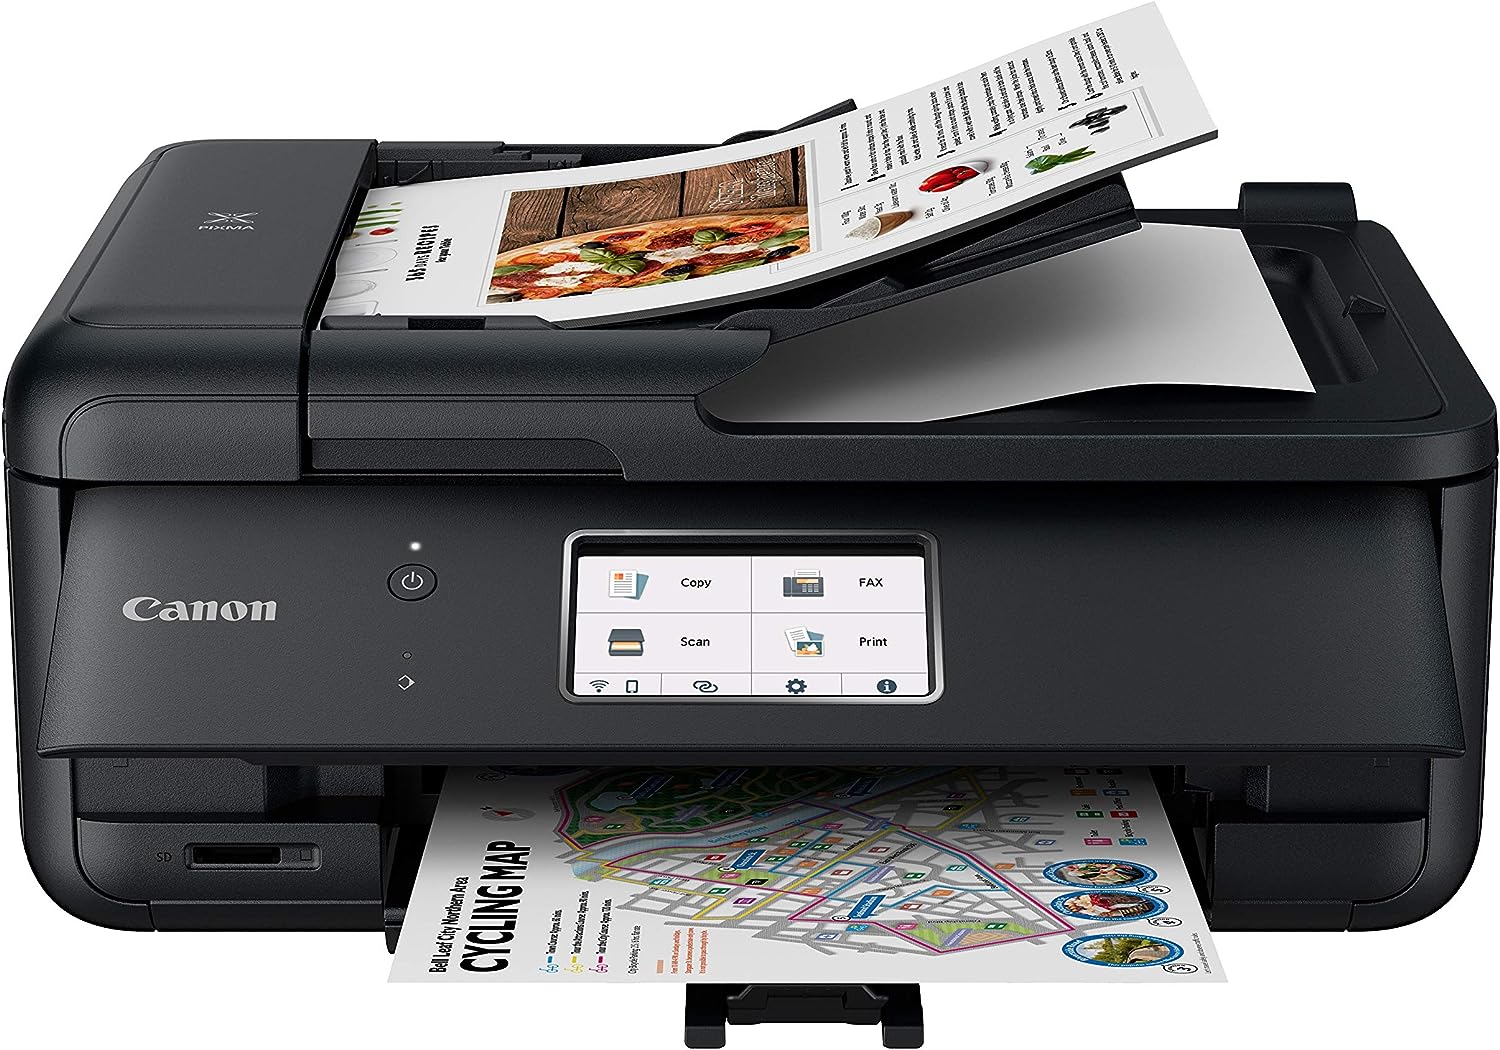
Step 2: Identify the Printer Brand and Model
After determining your computer’s operating system, the next step in downloading a printer driver is to identify the brand and model of your printer. This information is crucial to ensure that you download the correct driver that is compatible with your specific printer.
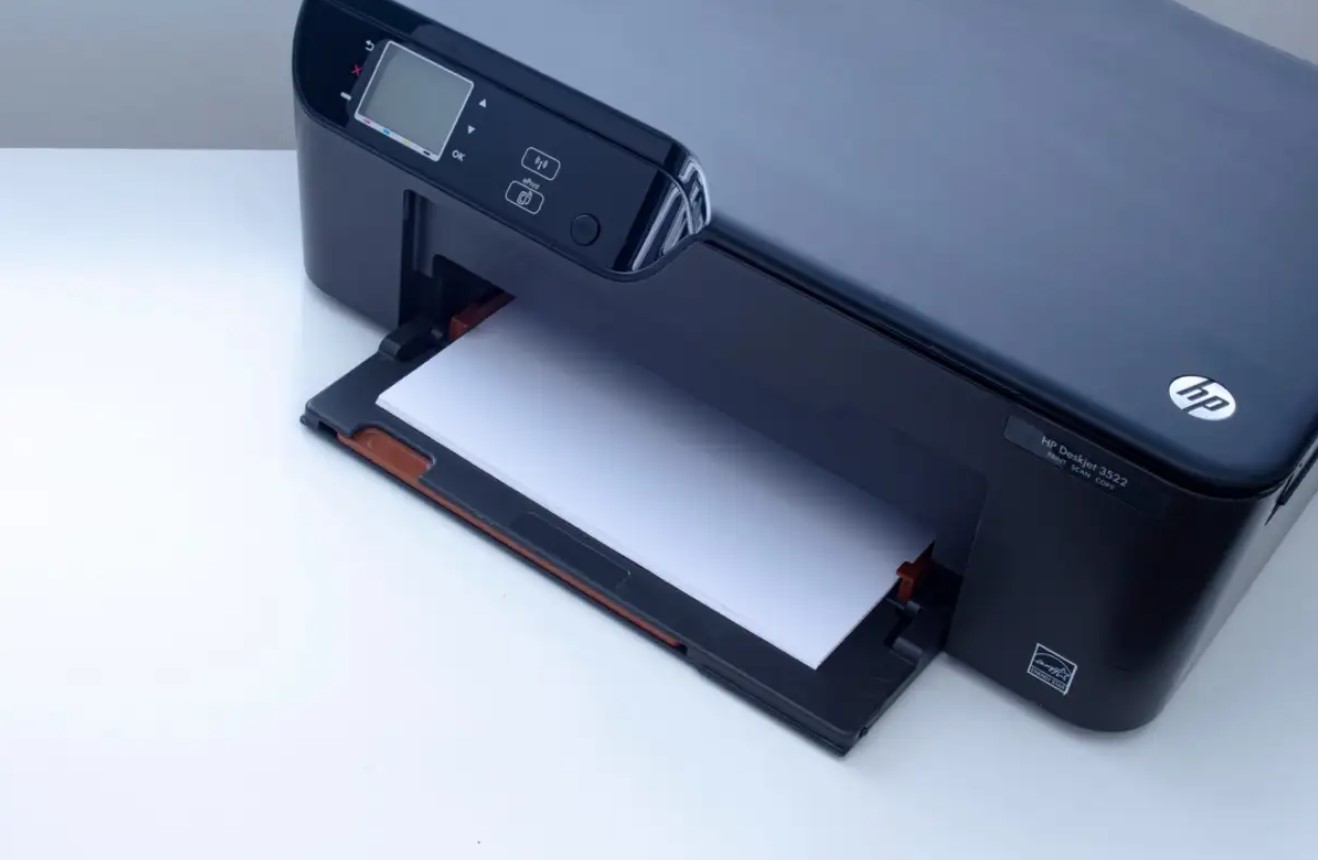
The printer brand and model can usually be found on the front or top of the printer itself. Look for labels, badges, or markings that indicate the manufacturer and model number. It’s important to note that different printer models may have similar appearances, so be sure to locate the exact model number.
If you’re unable to find the brand and model information on your printer, you can also refer to the printer’s user manual or check the manufacturer’s website for more information. The user manual will typically provide detailed instructions on how to identify the printer’s brand and model.
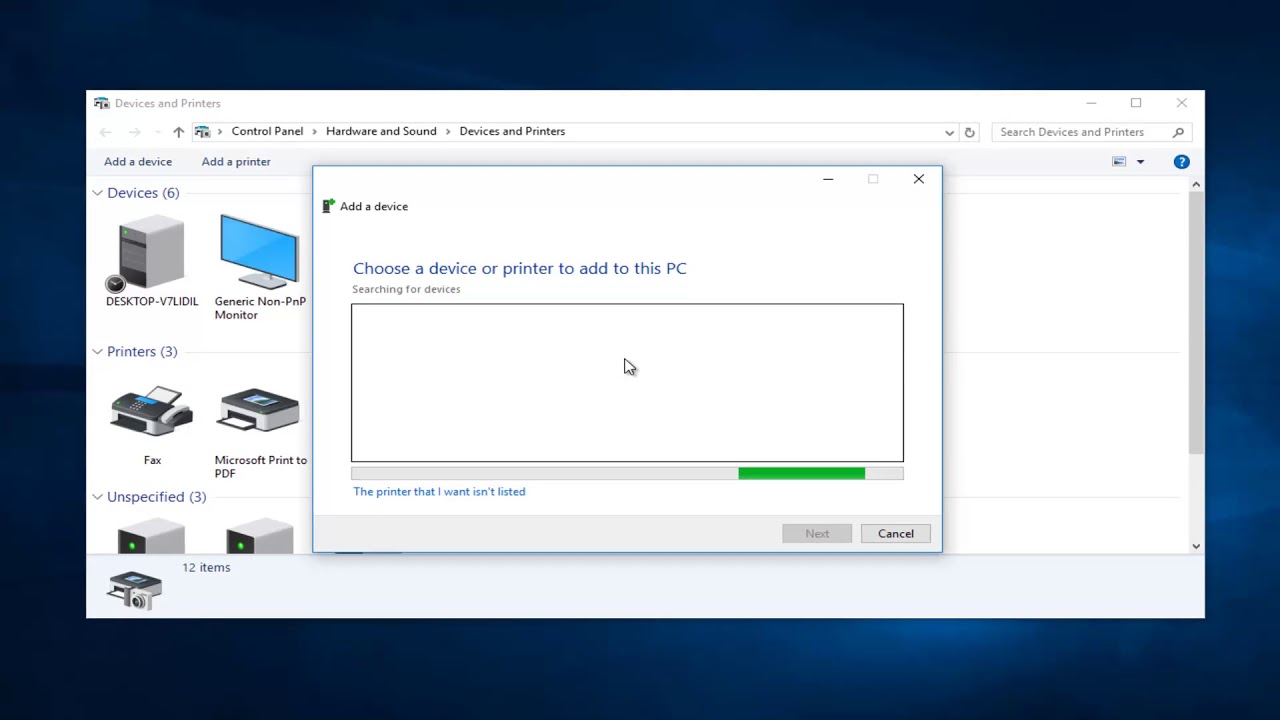
In some cases, the printer’s brand and model may be displayed on the printer’s control panel or in the printer settings on your computer. To access the printer settings on your computer:
- Click on the Start button (Windows) or the Apple menu (Mac).
- Open the Control Panel (Windows) or System Preferences (Mac).
- Select the Devices and Printers option (Windows) or Printers & Scanners option (Mac).
- Find your printer in the list of devices and select it.
- The brand and model of the printer should be listed in the printer properties or settings.
Once you have identified the printer brand and model, you’re ready to proceed to the next step: visiting the manufacturer’s website.
Step 3: Visit the Manufacturer’s Website
Now that you have identified the brand and model of your printer, it’s time to visit the manufacturer’s website. The manufacturer’s website is the most reliable source for downloading the latest and correct printer driver for your specific model.
To visit the manufacturer’s website, open your preferred web browser and enter the website address in the address bar. If you’re unsure of the manufacturer’s website, a quick internet search with the printer brand name should lead you to the official website.
Once you’ve reached the manufacturer’s website, navigate to the Support or Downloads section. The exact location may vary depending on the website’s layout, but you can usually find it in the menu or footer of the webpage.
Look for a section specifically dedicated to printer support or driver downloads. This section is where you’ll find the necessary files to download and install the printer driver.
In some cases, the manufacturer’s website may require you to enter the printer model or select it from a drop-down menu to access the appropriate drivers. Follow the prompts and select your printer model to proceed.
Be cautious when downloading drivers from third-party websites, as they may not always provide the latest and official versions. It’s best to stick with the manufacturer’s website to ensure that you’re obtaining the correct driver for your printer.
Once you’re on the correct page for downloading the printer driver, you’re ready to move on to the next step: locating the driver download section.
Step 4: Locate the Driver Download Section
After navigating to the manufacturer’s website, the next step is to locate the driver download section where you can find the appropriate driver for your printer model. This section is typically labeled as “Downloads,” “Support,” or “Drivers,” and can usually be found within the printer or support section of the website.
Once you locate the driver download section, you may be presented with different options such as software, drivers, or firmware. Look specifically for the printer drivers section, as this is where you’ll find the necessary files to download.
Depending on the website layout, the driver download section may be further divided into categories such as operating systems or printer series. Choose the relevant category that matches your operating system and printer model to proceed.
Some manufacturer’s websites may also provide a search bar where you can directly search for your printer model. Enter the printer model or series in the search bar and click on the search button to find the corresponding driver download page.
Pay attention to the details provided for each driver, including the version number and release date. It’s recommended to choose the latest driver version to ensure compatibility and access to the most up-to-date features and bug fixes.
In some cases, the website may offer multiple driver options for different purposes. Look for the basic driver if you want the essential functionalities of your printer. However, if you require additional features or specialized settings, you may opt for a full-feature driver or a driver bundled with software.
Once you have located the appropriate driver download section and selected the correct driver for your printer, you’re ready to proceed to the next step: downloading and installing the driver.
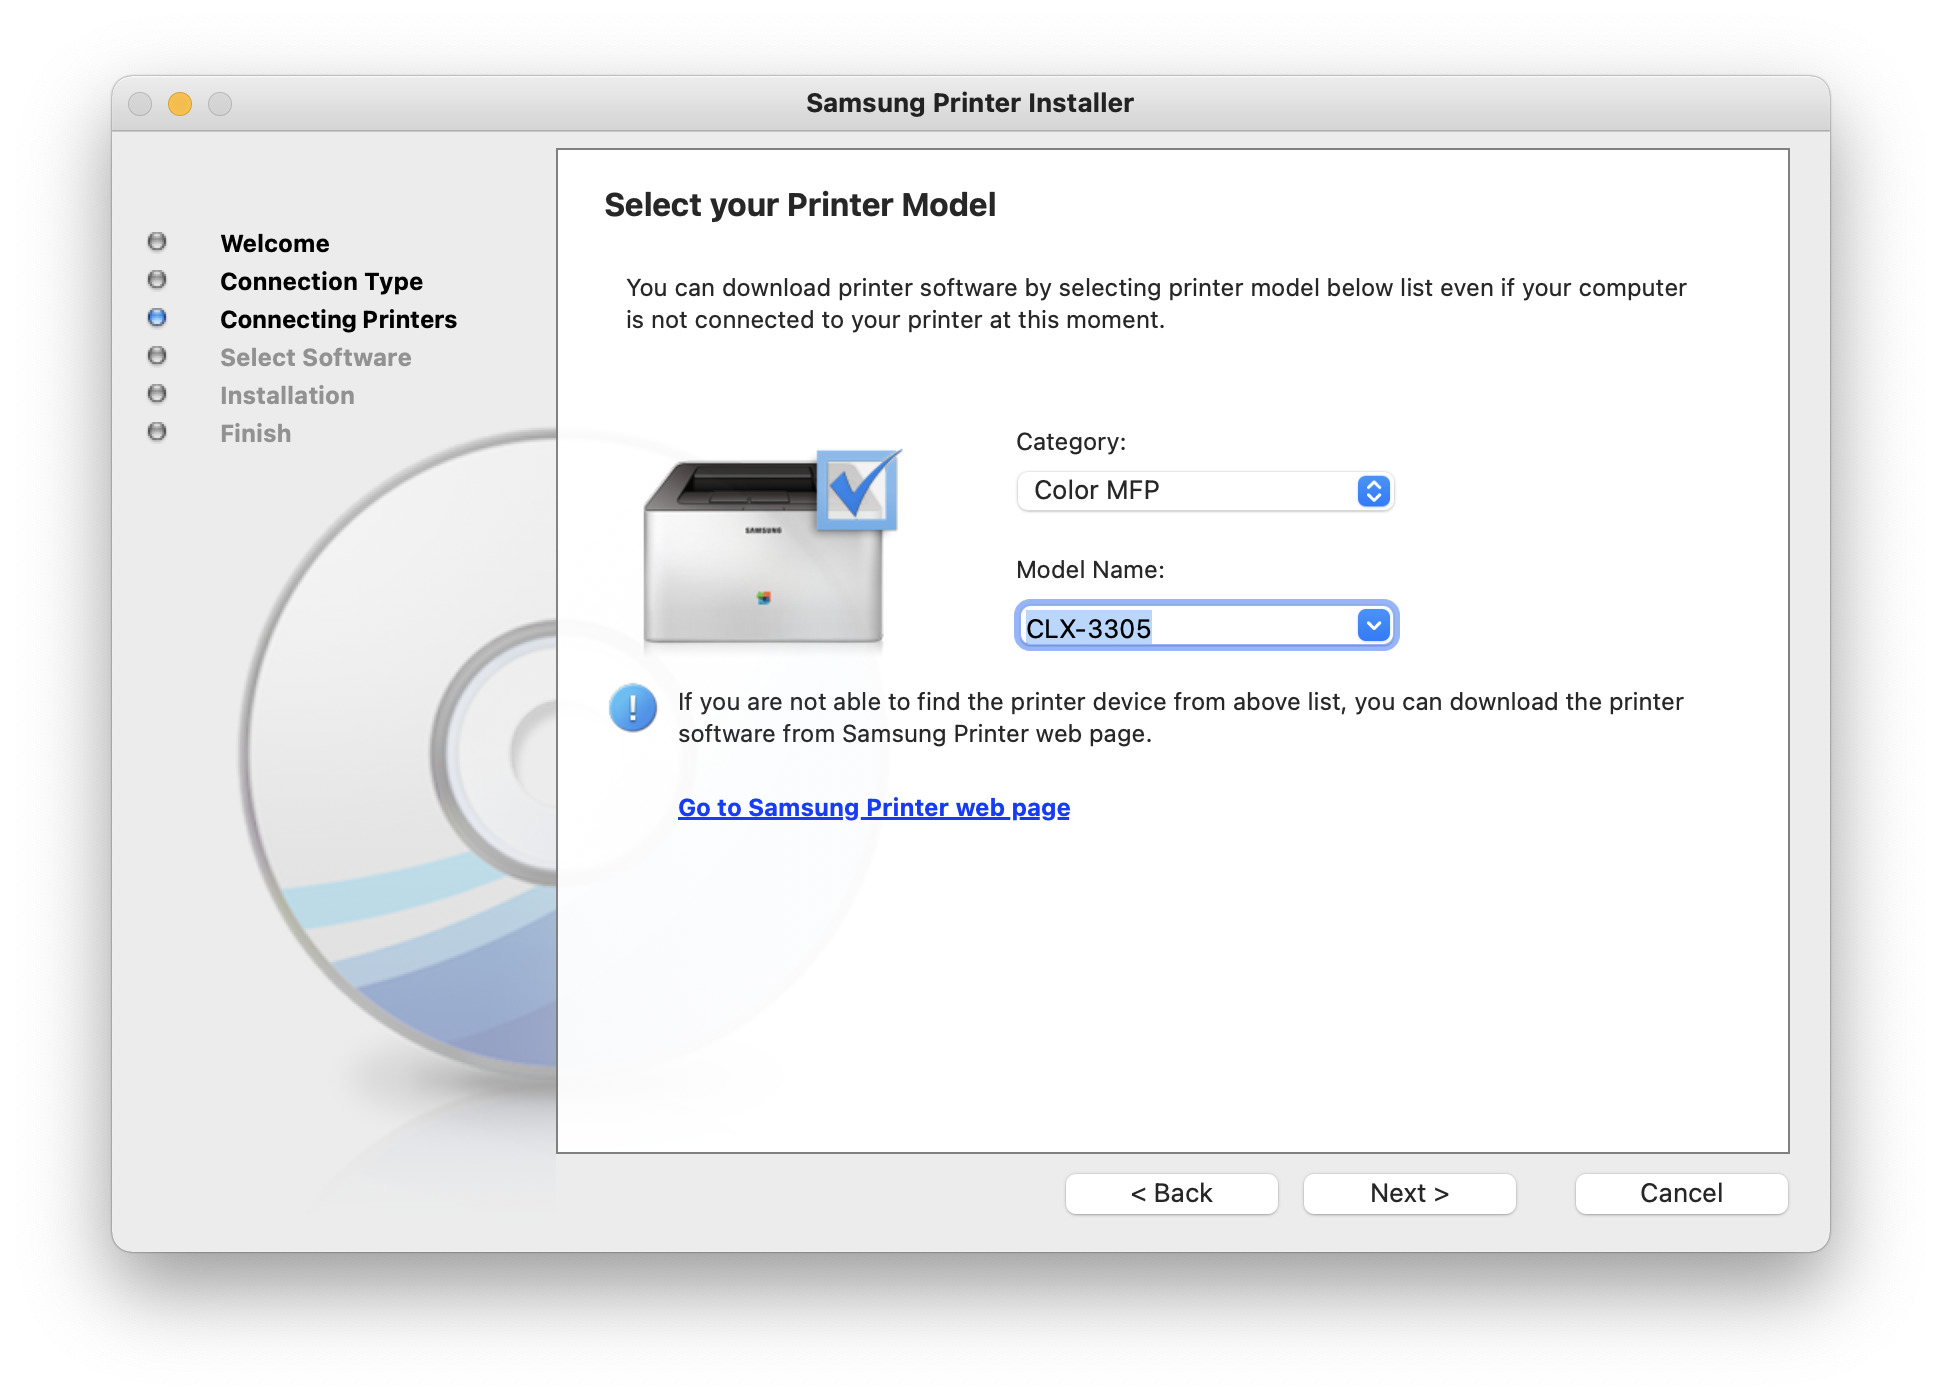
Step 5: Choose the Correct Driver
Now that you have located the driver download section on the manufacturer’s website, it’s time to choose the correct driver for your printer. It’s important to select the driver that corresponds to your specific printer model and operating system to ensure optimal performance and compatibility.
Review the list of available drivers and make sure to choose the version that matches both your printer model and operating system. This information may be indicated in the driver name or description.
Take note of any additional details or instructions provided with each driver. Manufacturers often release multiple versions of drivers, including basic drivers, full-feature drivers, or specific drivers for certain functionalities. Consider your printing needs and choose the driver that best suits your requirements.
If you’re unsure which driver to select, it’s recommended to consult the printer’s user manual or the manufacturer’s customer support for guidance. They can provide specific information regarding the compatible driver for your printer model and operating system.
It’s crucial to download the driver from the manufacturer’s official website to ensure its authenticity and reliability. Avoid downloading drivers from third-party websites, as they may contain outdated or incompatible versions.
Make sure to double-check the compatibility of the selected driver with your operating system. Some drivers may work only with specific versions of Windows, macOS, or Linux, so be sure to choose accordingly.
Once you have chosen the correct driver for your printer, you’re ready to move on to the next step: downloading and installing the driver.
Step 6: Download and Install the Driver
After choosing the correct driver for your printer, it’s time to download and install it. The following steps will guide you through this process:
- Click on the download button or link provided for the driver. This will initiate the download process. Save the driver file to a location on your computer that you can easily access.
- Once the driver download is complete, locate the downloaded file. It is often in your computer’s Downloads folder or the location you specified during the download.
- Double-click on the driver file to start the installation process. If prompted, grant any necessary permissions for the installation to proceed.
- Follow the on-screen instructions provided by the driver installer. This may include accepting terms and conditions, selecting installation options, or connecting your printer if prompted.
- The driver installation process may take a few minutes to complete. Once finished, you should see a confirmation message indicating that the driver has been successfully installed.
- Restart your computer to ensure that the new driver is fully integrated and ready to be used with your printer.
It’s important to note that the installation process may vary depending on your operating system and the specific driver you are installing. If you encounter any difficulties during the installation, refer to the documentation provided with the driver or seek assistance from the manufacturer’s customer support.
After restarting your computer, your printer should be ready to use with the newly installed driver. You can now test the printer to ensure that it is functioning correctly, which leads us to the next and final step: testing the printer.
Step 7: Test the Printer
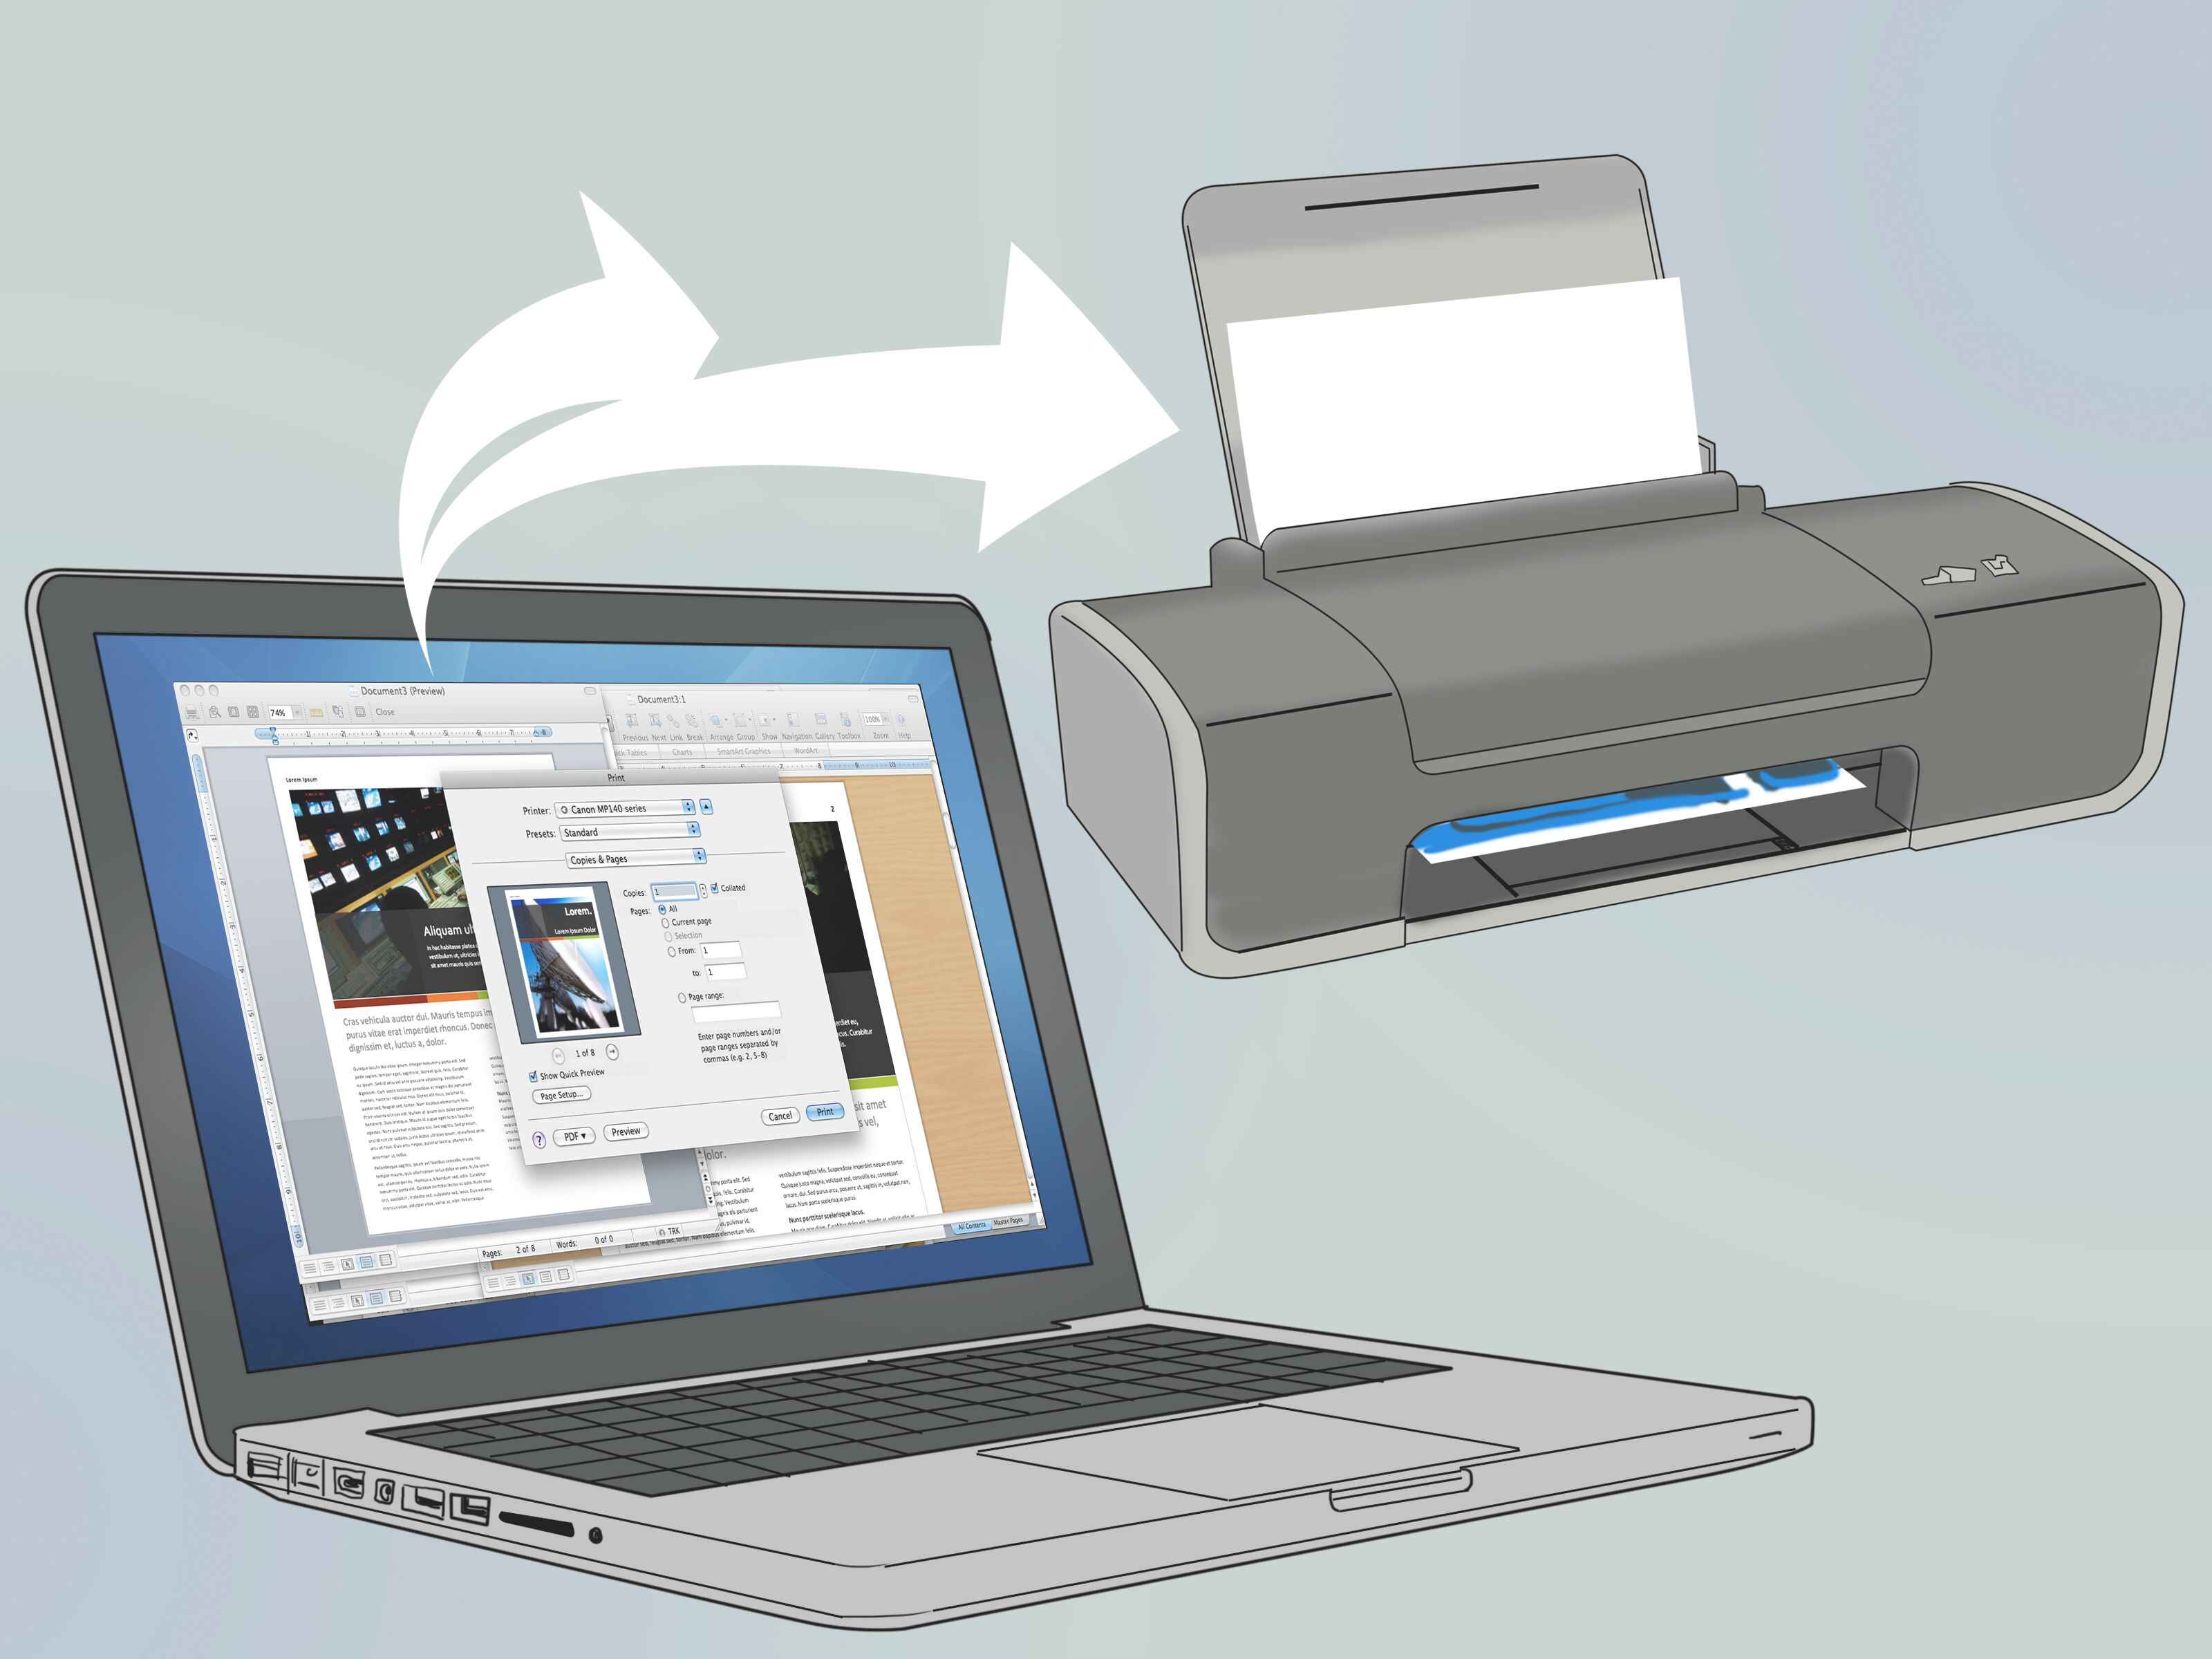
Now that you have successfully downloaded and installed the printer driver, it’s time to test the printer to ensure everything is working correctly. The following steps will guide you through the process:
- Ensure that your printer is properly connected to your computer and turned on. Make sure there is paper loaded in the paper tray and that the printer is ready to print.
- Open a document or file that you want to print. It can be a simple text document, a PDF, or an image file.
- Click on the print option within the application you’re using to open the print dialog box. You can usually find it under the File menu or by using the keyboard shortcut Ctrl+P (Windows) or Command+P (Mac).
- From the Print dialog box, select your printer from the list of available printers. Ensure that the correct printer model is listed.
- Review and adjust any desired print settings, such as paper size, orientation, print quality, or number of copies.
- Click on the Print button to send the print job to the printer.
- Observe the printer as it prints the document. Check for any issues, such as smudges, misaligned text or images, or any other print quality problems.
- If the printout appears as expected without any issues, congratulations! Your printer is successfully installed and ready to use.
- If you encounter any problems during the printing process, refer to the printer’s user manual or the manufacturer’s support resources for troubleshooting steps.
It’s a good practice to test various print functions, such as printing different types of documents or using different application software, to ensure the printer is functioning correctly in different scenarios.
By testing the printer, you can ensure that the driver installation was successful and that your printer is ready to fulfill your printing needs with optimal performance and quality.
Congratulations on successfully completing the steps to download and install a printer driver! You can now enjoy hassle-free printing with your newly installed driver.
Conclusion
Downloading and installing a printer driver may seem like a daunting task, but by following the steps outlined in this guide, you can easily set up and update your printer driver with confidence.
Remember to determine your computer’s operating system, identify the printer brand and model, visit the manufacturer’s website, locate the driver download section, choose the correct driver, download and install the driver, and finally, test the printer to ensure everything is functioning as expected.
By keeping your printer driver up to date, you can enjoy improved performance, compatibility with new software updates, and access to the latest features and enhancements. It’s a crucial maintenance task that ensures your printer operates at its full potential.
If you encounter any difficulties during the process or have any questions, don’t hesitate to consult the printer’s user manual or reach out to the manufacturer’s customer support for assistance. They are there to help you troubleshoot any issues and provide guidance along the way.
With a properly installed printer driver, you can confidently print documents, photos, and other materials with ease. Enjoy the convenience and efficiency of a seamless printing experience!