Introduction
Microsoft Word is a widely used word processing program that allows users to create, edit, and format documents with ease. If you are a Mac user and need to download a Microsoft Word document, you may find yourself wondering how to do so. Fortunately, the process is straightforward and can be accomplished in a few simple steps.
By downloading a Microsoft Word document on your Mac, you can conveniently access and work on the file offline, ensuring that you have the necessary document even without an internet connection. Whether you are downloading a document sent by a colleague, accessing a template, or retrieving an important file from your cloud storage, the process remains the same.
In this article, we will guide you through the step-by-step process of downloading a Microsoft Word document on your Mac. You don’t need to be a tech expert to follow these instructions; just a basic understanding of your Mac’s operating system is all you need.
So, without further ado, let’s get started with the first step: opening the Microsoft Word document.
Step 1: Open the Microsoft Word Document
The first step in downloading a Microsoft Word document on your Mac is to locate and open the document. Here’s how you can do it:
1. Start by launching the Microsoft Word application on your Mac. You can easily find the application by using the Spotlight search or navigating through the Applications folder.
2. Once Microsoft Word is open, you will be presented with the main interface. At the top-left corner of the screen, click on the “File” menu. A drop-down menu will appear with various options.
3. From the drop-down menu, choose the “Open” option. This will open a new window where you can browse your computer’s files and folders to locate the Microsoft Word document you want to download.
4. In the Open window, navigate to the folder where the document is saved. If you’re unsure about the location, you can use the search function within the Open window to find the document by entering its name.
5. Once you have located the document, click on it to select it, and then click the “Open” button in the bottom-right corner of the Open window. This action will open the document in the Microsoft Word application.
Now that you have successfully opened the Microsoft Word document, you can proceed to the next step: saving the document.
Step 2: Save the Document
After successfully opening the Microsoft Word document on your Mac, the next step is to save the document. Saving the document ensures that any changes or edits you make are preserved. Here’s how you can save the document:
1. With the document open in Microsoft Word, click on the “File” menu at the top-left corner of the screen. A drop-down menu will appear.
2. From the drop-down menu, click on the “Save” option. Alternatively, you can use the keyboard shortcut Command + S to quickly save the document.
3. A save dialog box will appear, allowing you to choose the location and name for the saved document. By default, the save location will be the current folder where the document is located.
4. Specify the desired location on your Mac where you want to save the document. You can choose to save it in any existing folder or create a new folder specifically for the document.
5. Enter a suitable name for the document in the “Save As” field. You can choose any name that helps you identify the document easily.
6. Once you have chosen the save location and entered the document name, click the “Save” button. The document will be saved at the specified location on your Mac.
Now that you have successfully saved the document, you can proceed to the next step: choosing the download location.
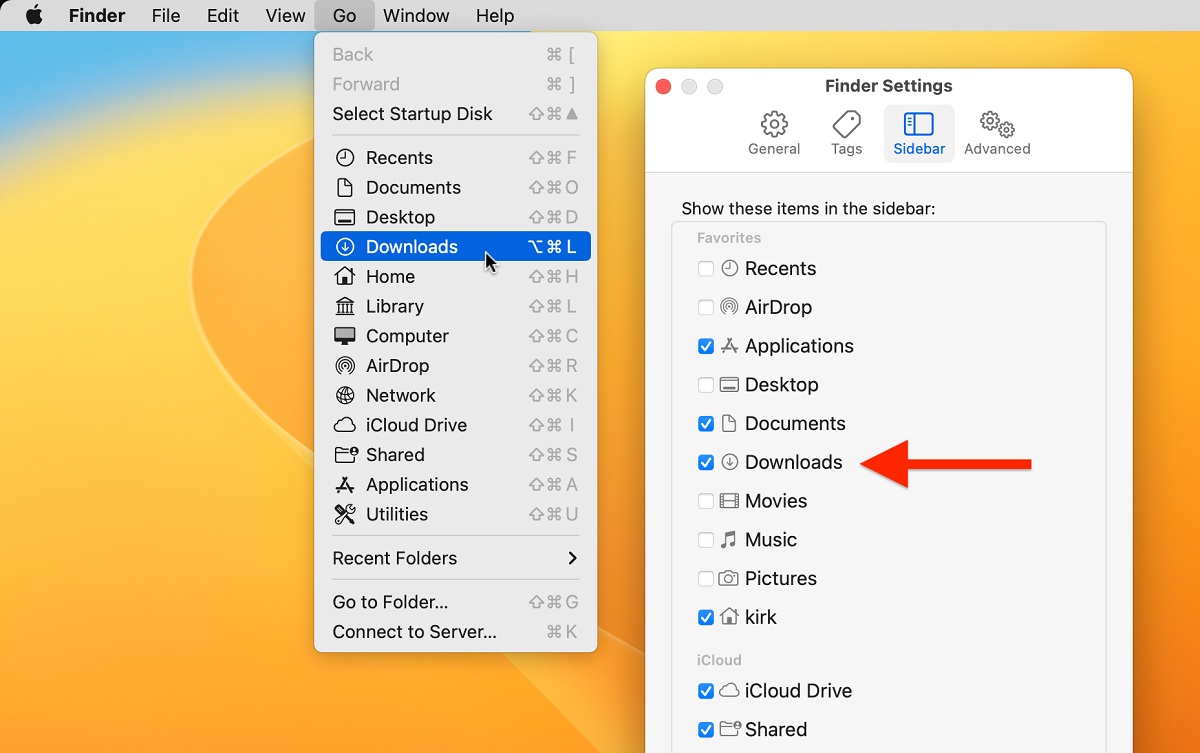
Step 3: Choose the Download Location
When downloading a Microsoft Word document on your Mac, you have the flexibility to choose where you want to save the downloaded file. This allows you to organize your files and access them easily in the future. Here’s how you can choose the download location:
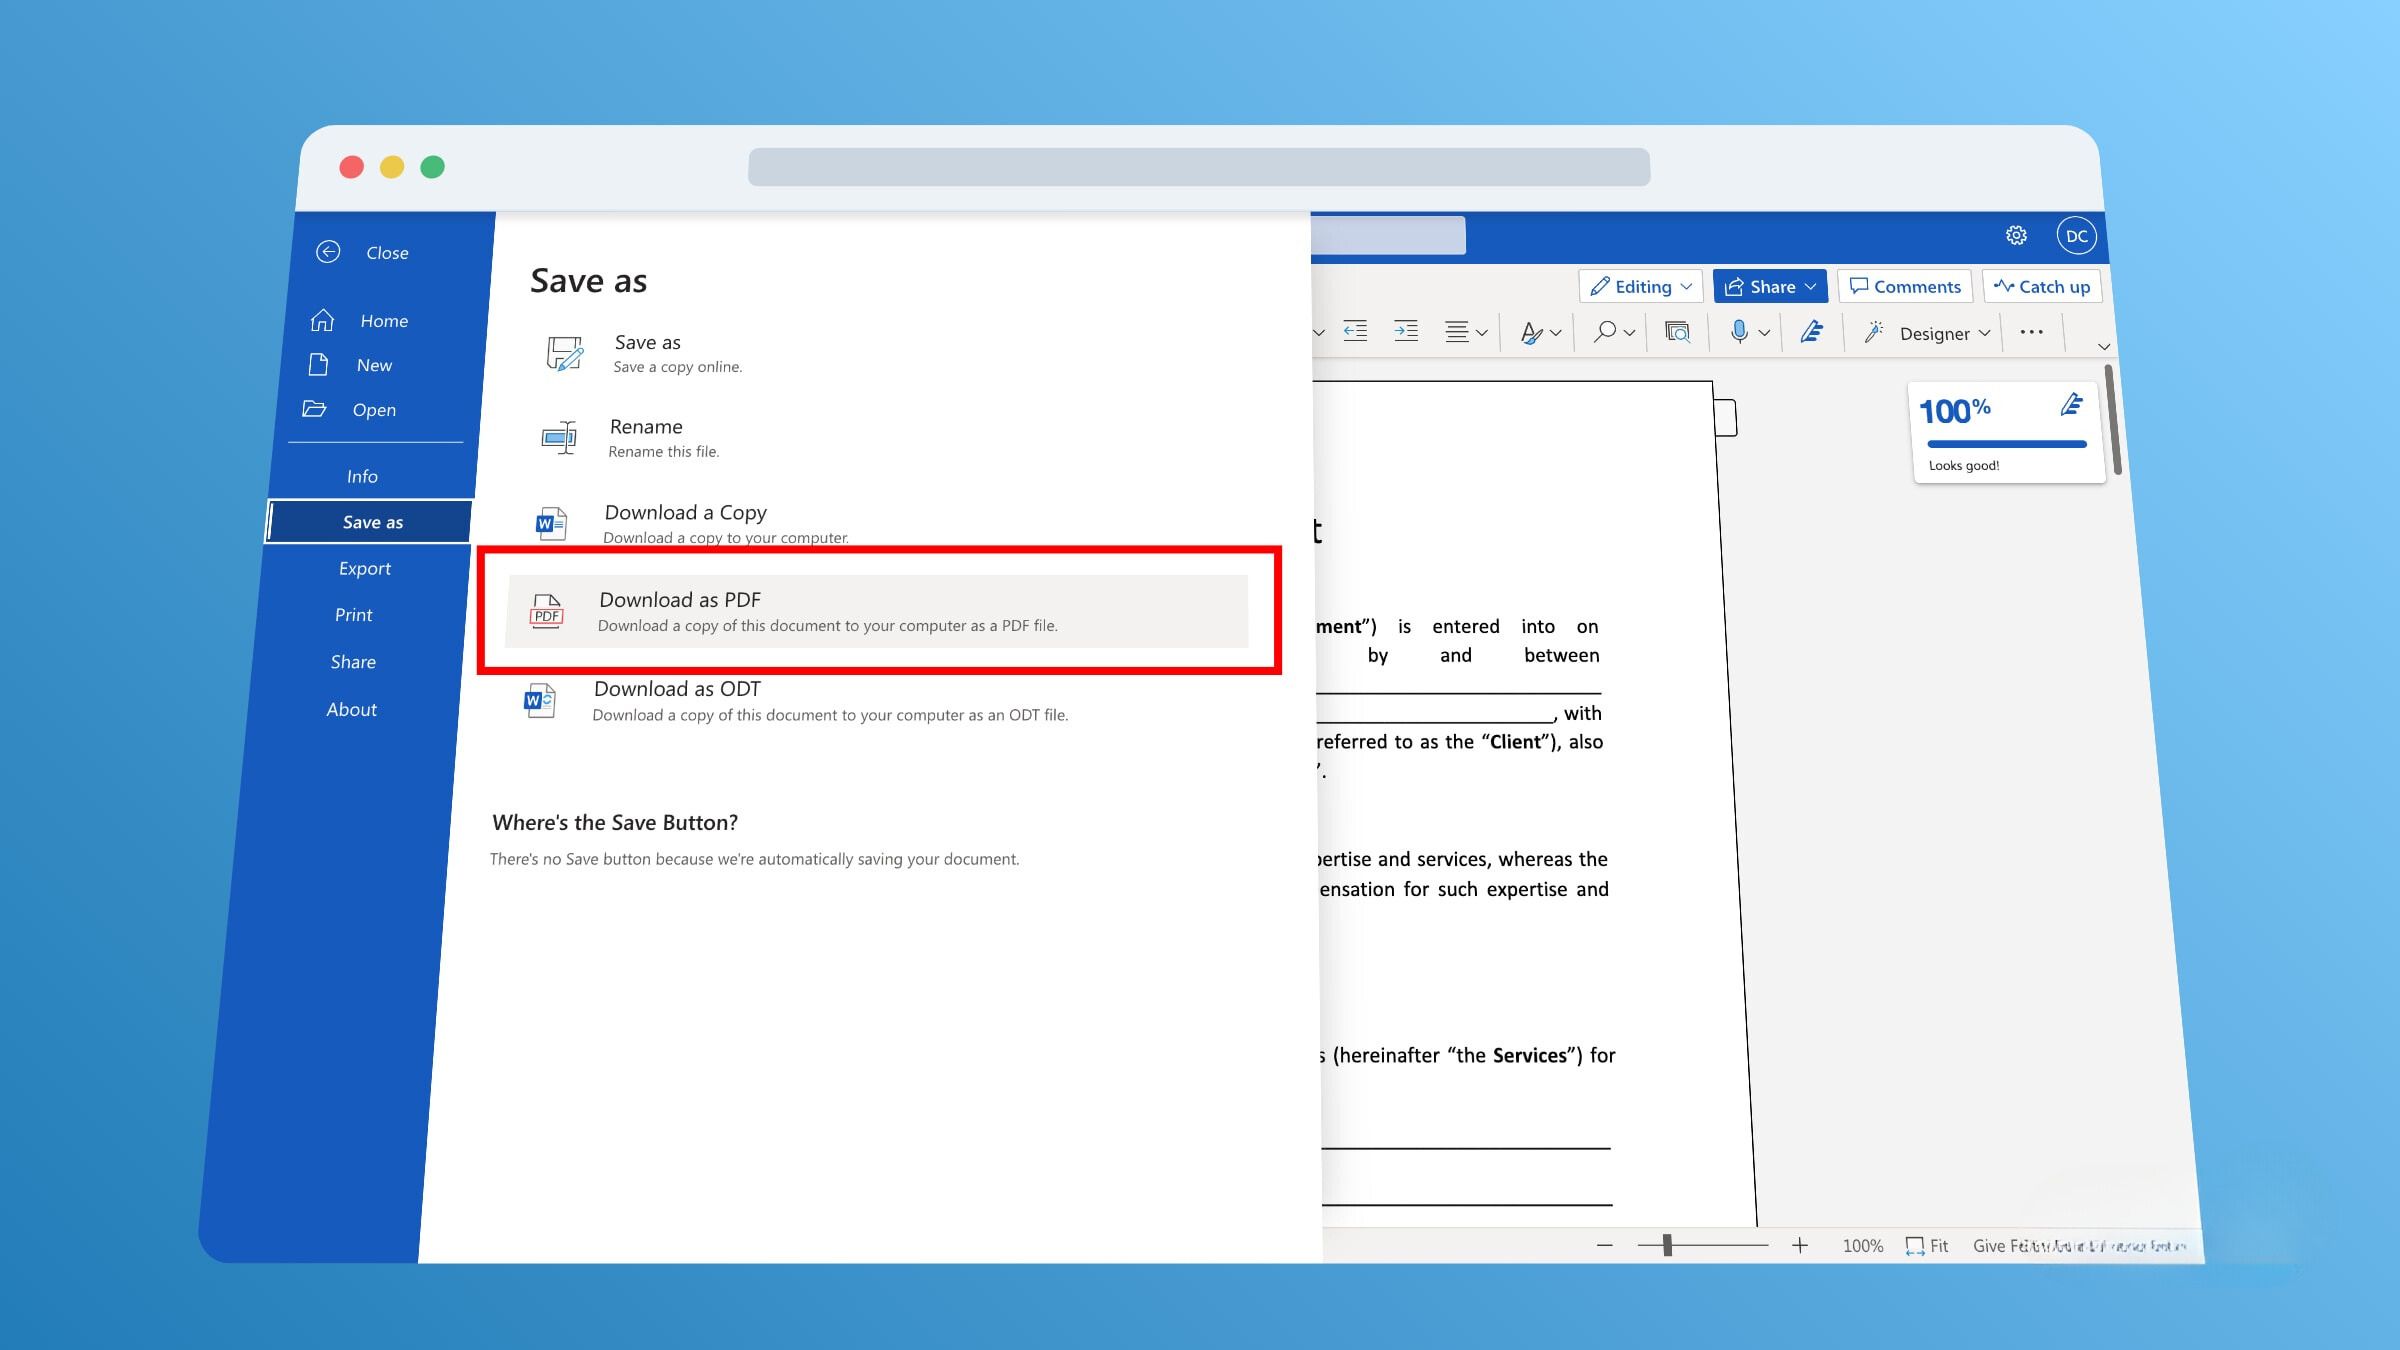
1. After saving the document, click on the “File” menu at the top-left corner of the Microsoft Word application window. The drop-down menu will appear.
2. From the drop-down menu, select the “Save As” option. This will open a new dialog box where you can specify the download location for the document.
3. In the Save As dialog box, navigate to the desired folder on your Mac where you want to download and save the document. You can choose any location that makes sense for your organization and file management.
4. If you want to create a new folder to save the downloaded document, click the “New Folder” button in the Save As dialog box. Enter a name for the new folder and press Enter or click Create.
5. Once you have chosen the download location or created a new folder, click the “Save” button to confirm the download location. The document will be saved at the specified location.
By carefully choosing the download location, you can easily locate the Microsoft Word document whenever you need it. This step ensures that you have a well-organized file structure and easy access to your downloaded document.
Now that you have chosen the download location, you can proceed to the final step: opening the downloaded document.
Step 4: Open the Downloaded Document
After successfully downloading the Microsoft Word document on your Mac, the final step is to open the downloaded file. Opening the document allows you to view and further edit the content as needed. Here’s how you can open the downloaded document:
1. Once the document is downloaded and saved at the specified location, navigate to the folder where it is saved. You can do this by manually going to the location you chose or by using the search function on your Mac.
2. Locate the downloaded document in the folder. The document will typically have the same name as the original file, unless you renamed it during the download process.
3. Double-click on the downloaded document to open it. The document will open in the Microsoft Word application on your Mac.
4. You can now view and edit the downloaded document as needed. Make any changes or additions, and save the document after you finish editing to preserve the updates.
Opening the downloaded document allows you to continue working on it, make revisions, or share it with others. You can also take advantage of the various features and functionalities offered by Microsoft Word to enhance the document’s appearance and content.
Remember to save the document regularly to ensure that your changes are saved and to avoid losing any modifications you made.
Congratulations! You have successfully completed the process of downloading and opening a Microsoft Word document on your Mac. By following these simple steps, you can effortlessly download, save, and access your documents whenever you need them.