Introduction
Team Fortress 2 (TF2) is a popular online multiplayer game developed by Valve Corporation. It brings together teams of players who compete in a variety of game modes. Whether you’re a seasoned player or a newcomer to the game, you may have noticed that the default Heads-Up Display (HUD) in TF2 is functional but may not suit your personal preferences or gaming style. Luckily, TF2 allows players to customize their HUD, providing a more tailored and immersive gaming experience.
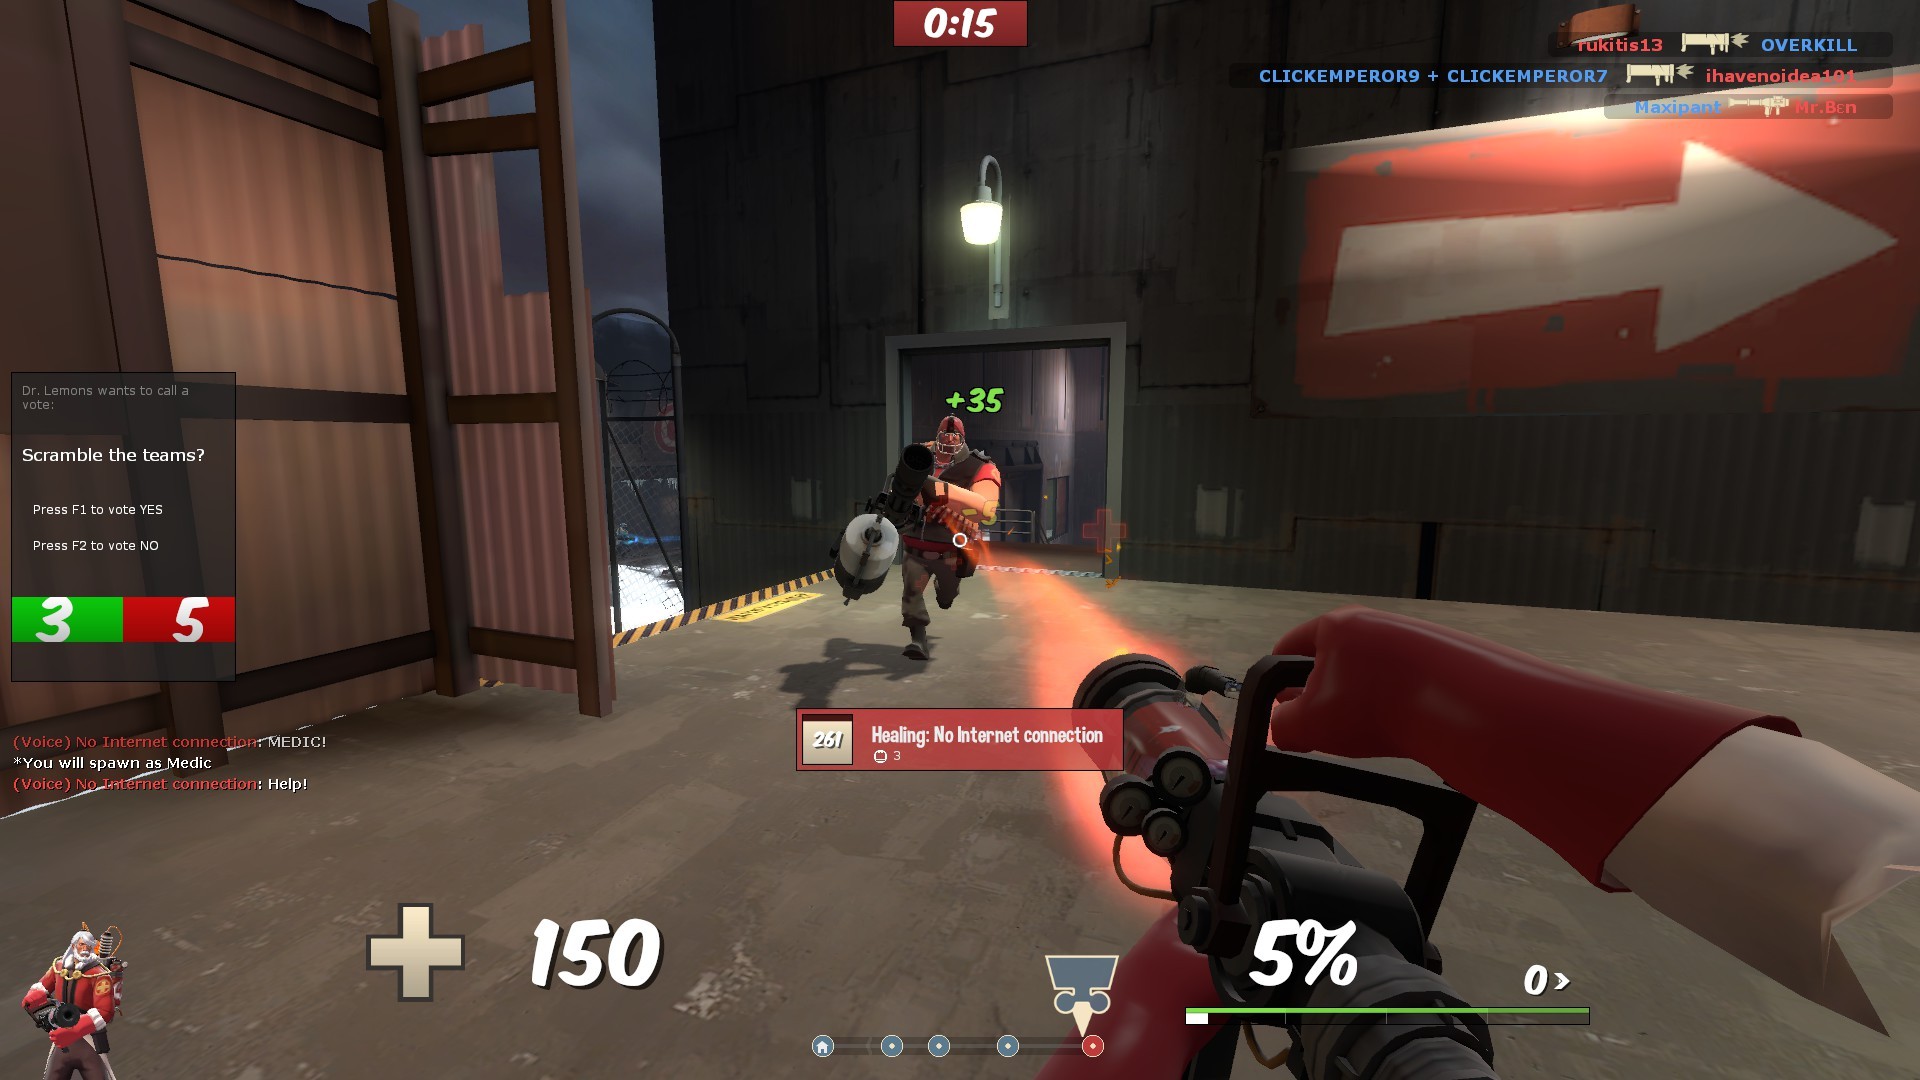
A TF2 HUD is a user interface overlay that displays essential information during gameplay, such as your health, ammo count, and objectives. It enhances your gaming experience by providing key information in a way that is easy to read and understand. While the default HUD is functional, many players choose to download and install custom HUDs to personalize their interface and improve their gameplay.
In this guide, we will walk you through the process of downloading and installing a custom HUD for TF2. Whether you’re looking for a sleek and minimalist design or a vibrant and informative HUD, you’ll find the steps here to help you enhance your TF2 gaming experience.
Note: The following steps are applicable to downloading and installing custom HUDs for TF2 on PC. The process may vary slightly for different operating systems.
What is TF2 HUD?
TF2 HUD stands for Heads-Up Display, which is an important element in the game interface. It provides players with essential information during gameplay, such as health, ammo count, player status, and objective progress. The default HUD in TF2, while functional, may not provide the customization options or visual appeal that some players desire. This is where custom HUDs come into play.
A custom HUD is a modified user interface that replaces the default HUD in TF2. It allows players to personalize their gaming experience by choosing a HUD design that suits their preferences and gameplay style. Custom HUDs come in a variety of styles, ranging from minimalist and clean designs to more elaborate and visually appealing options. They can provide additional information, streamline the interface, and enhance gameplay by making key elements more accessible and easier to read.
With a custom HUD, you have the flexibility to display information in a way that makes sense to you. You can adjust the size, position, and color of various elements to ensure that they are visible and easy to process during intense gameplay. Additionally, some custom HUDs offer extra features, such as advanced damage indicators or improved team communication tools, giving you a competitive edge in TF2.
Custom HUDs not only enhance the aesthetics and functionality of the game but also allow players to personalize their gaming experience. In a game as popular and long-lasting as TF2, where players spend countless hours immersed in the vast and diverse world, having a customized HUD can contribute to a more enjoyable and immersive gameplay experience.
Why should you use a custom HUD?
Using a custom HUD in TF2 offers several benefits that can greatly enhance your overall gaming experience. Here are some compelling reasons why you should consider using a custom HUD:
- Personalization: A custom HUD allows you to personalize the game interface according to your preferences. You can choose a design that resonates with your gaming style or reflects your personality. Whether you prefer a minimalistic layout or a visually immersive one, a custom HUD gives you the freedom to customize your gaming experience.
- Improved Visibility: A well-designed custom HUD can improve visibility by presenting information in a more organized and clear manner. You can resize and reposition elements, ensuring that important details like health, ammo, and objective progress are easily visible during intense gameplay. With improved visibility, you can react quickly to changing conditions and make better decisions in the game.
- Optimized Gameplay: Custom HUDs often come with features that optimize gameplay. Some HUDs offer advanced damage indicators, helping you track and react to incoming attacks more effectively. Others provide additional callouts or team communication tools, facilitating better coordination with your teammates. These gameplay enhancements can give you a competitive edge and improve your overall performance in TF2.
- Clearer Information: A cluttered or crowded HUD can make it challenging to process information quickly. By using a custom HUD, you can declutter the interface and display information in a way that is more visually appealing and easier to read. This can minimize distractions and allow you to focus on the core gameplay elements, leading to improved awareness and decision-making during matches.
- Community Support: The TF2 community has created and shared numerous custom HUDs over the years. This means you have access to a wide range of options, each with its own unique features and design. You can join the thriving community of TF2 players who use custom HUDs and even contribute to the development and improvement of HUDs by providing feedback or suggestions.
By utilizing a custom HUD in TF2, you can tailor the game interface to your liking, improve visibility and gameplay optimization, and benefit from clearer information during matches. With the wide variety of custom HUDs available, there is sure to be one that matches your preferences and enhances your TF2 gaming experience.
Step 1: Finding a HUD
The first step in downloading a custom HUD for TF2 is finding the one that suits your preferences and gaming style. There are several online resources where you can browse and download custom HUDs. Here’s how you can find the perfect HUD for your TF2 gaming setup:
- TF2 Community Websites: A good place to start looking for custom HUDs is on TF2 community websites. These websites often have dedicated HUD sections where users can share and discuss different HUD options. Some popular community websites for TF2 include GameBanana and TF2 Hud Repository. Explore these websites and check out their HUD sections to find a variety of options.
- TF2 Steam Workshop: Another option is to check out the TF2 Steam Workshop. Here, you can find a wide range of custom HUDs created by the community. The workshop allows users to rate and comment on HUDs, which can help you gauge their popularity and quality. To access the workshop, go to the TF2 page on Steam, click on the “Workshop” tab, and search for TF2 HUDs.
- Community Forums and Subreddits: TF2 community forums and subreddits are also valuable resources for finding custom HUDs. These platforms offer discussions, recommendations, and even showcases of various HUD options. Engaging with the community can provide insights, tips, and suggestions for finding the right HUD that matches your preferences.
- YouTube and Twitch: Content creators on platforms like YouTube and Twitch often showcase their TF2 gameplay with custom HUDs. Watching videos or streams of players using different HUDs can give you a better idea of how they look and function in action. Pay attention to the HUDs being used and any recommendations given by the creators.
Once you have explored these resources, take your time to browse through the different HUD options available. Consider factors such as design, layout, features, and user ratings or reviews. Look for HUDs that have positive feedback and match your personal preferences. Keep in mind that you can always switch HUDs later if you find one that better suits your needs.
With Step 1 complete, you are now ready to move on to the next step: downloading the HUD of your choice.
Step 2: Downloading the HUD
Now that you’ve found a custom HUD that you want to use for TF2, it’s time to download it. Follow these steps to successfully download the HUD onto your computer:
- Locate the HUD Download Link: On the website or platform where you found the custom HUD, look for a download link or button associated with the HUD you have chosen. This is usually located on the HUD’s page or in the description section. Click on the download link to initiate the downloading process.
- Select the Correct HUD Version: Pay attention to the version of the HUD you’re downloading, as it should be compatible with the version of TF2 you’re running. Check if the HUD is compatible with the latest TF2 update or the version you currently have installed on your system. Using an incompatible HUD version may result in errors or compatibility issues.
- Choose a Download Location: When prompted, choose the location on your computer where you want to save the downloaded HUD file. It’s a good practice to create a separate folder for HUDs or save them in a recognizable location for easier access and management.
- Wait for the Download to Complete: Depending on the size of the HUD file and your internet connection speed, the download may take a few seconds to several minutes. Be patient and let the download complete.
- Scan the Downloaded File: After the download is finished, it’s advisable to scan the downloaded HUD file for any viruses or malware. Use a reliable antivirus software to ensure that the HUD file is safe to proceed with the next steps.
By following these steps, you can successfully download the custom HUD file onto your computer. With the HUD file in your possession, you’re now ready to move on to the next step: extracting the HUD files.
Step 3: Extracting the HUD files
After downloading the custom HUD file for TF2, the next step is to extract the files from the downloaded package. Follow these instructions to extract the HUD files:
- Locate the Downloaded HUD File: Open the folder or location on your computer where you saved the downloaded HUD file. The file will typically have a compressed format such as .zip or .rar.
- Use File Compression Software: If the downloaded HUD file is in a compressed format, you will need to use file compression software to extract its contents. Most operating systems have built-in tools that can handle file compression, like Windows’ File Explorer or Mac’s Archive Utility. Right-click on the HUD file and select the option to extract/uncompress the files.
- Choose an Extraction Location: When prompted, choose the location on your computer where you want to extract the HUD files. It’s recommended to create a separate folder specifically for the HUD files to keep them organized and easily accessible.
- Wait for the Extraction to Complete: The extraction process may take a few seconds to a minute, depending on the size of the compressed HUD file. Be patient and let the extraction complete.
- Verify Extracted Files: Once the extraction is finished, navigate to the location where you extracted the HUD files. Check if all the necessary files for the HUD are present. The extracted files may include resource files, scripts, and other components required for the HUD to function properly.
It’s important to note that some custom HUDs may have additional installation instructions or specific file organization requirements. In such cases, carefully read any accompanying documentation or readme files provided with the HUD to ensure that you follow the correct steps for installation.
With Step 3 completed, you now have the extracted HUD files ready for installation. The next step is to install the HUD and make it available in the TF2 interface.
Step 4: Installing the HUD
Now that you have extracted the HUD files, it’s time to install the custom HUD in TF2. Follow these steps to successfully install the HUD:
- Open the TF2 Directory: Navigate to the directory where TF2 is installed on your computer. The default installation location for TF2 varies depending on your operating system:
- Windows: Typically, the TF2 directory can be found in the “Program Files” or “Program Files (x86)” folder, within the “Steam” folder.
- Mac: The TF2 directory is usually located in the “Applications” folder, within the “Steam” folder.
- Linux: The TF2 directory is commonly found in the “~/.steam/steam/steamapps/common/Team Fortress 2” folder.
- Locate the “custom” Folder: Within the TF2 directory, look for a folder named “custom”. If it doesn’t exist, create a new folder and name it “custom”. This folder will house the custom HUD files.
- Move the Extracted HUD Files: Take the extracted files from Step 3 and move them into the newly created or existing “custom” folder within the TF2 directory. Make sure to maintain the file structure specified by the HUD author, if provided.
- Verify the Installation: Double-check that the custom HUD files are now located in the “custom” folder within the TF2 directory. The HUD files should be organized according to the file structure specified by the HUD author.
With these steps, you have successfully installed the custom HUD in TF2. However, the installation process may vary depending on the specific HUD you are using. Some HUDs may require additional steps, such as modifying TF2’s launch options or configuring specific settings within the game.
If the HUD you installed doesn’t appear in the TF2 interface, make sure you followed all the installation steps correctly and verify that the HUD files are in the correct location. Additionally, check for any additional instructions provided by the HUD author regarding any required configuration or launch options.
With the custom HUD installed, you’re now ready to move on to the next step: configuring the HUD to your preferences.
Step 5: Configuring the HUD
After installing the custom HUD in TF2, the next step is to configure it according to your preferences. Follow these steps to successfully configure the HUD:
- Launch TF2: Open Steam and launch TF2 as you normally would. The custom HUD should now be active within the game.
- Access the Options Menu: Once TF2 is running, navigate to the main menu and click on the “Options” button. This will allow you to access various settings and configurations.
- Go to the HUD Settings: Within the Options menu, look for a section specifically dedicated to HUD settings. This section may be labeled as “HUD Options” or something similar. Click on it to access the HUD configuration options.
- Customize the HUD: Inside the HUD options, you will find various settings that can be customized. Depending on the specific HUD you installed, you may have options to adjust the size, color, position, and visibility of different HUD elements. Take your time to explore and modify these settings according to your preferences.
- Apply and Save the Changes: After you have made the desired modifications to the HUD, ensure to apply and save the changes. Look for a “Save” or “Apply” button within the HUD configuration menu to confirm your adjustments.
- Test and Adjust: Once you have applied the changes, exit the Options menu and start a game or join a server in TF2. Test out the custom HUD and see how it feels in gameplay. If you find that certain elements are still not to your liking, you can return to the HUD configuration settings and make further adjustments as needed.
Note that the specific configuration options and settings may vary depending on the custom HUD you installed. Be sure to consult any documentation or instructions provided by the HUD author for details on how to configure specific features or elements of the HUD.
With Step 5 completed, you have successfully configured the custom HUD to your liking. Now, you’re ready to move on to the final step: launching TF2 with the custom HUD.
Step 6: Launching TF2 with the HUD
Congratulations! You have installed and configured the custom HUD for TF2. Now it’s time to launch TF2 with the newly installed HUD. Follow these steps to ensure that the custom HUD is active during gameplay:
- Launch Steam: Open the Steam application on your computer and sign in to your account if you haven’t already done so.
- Navigate to the Library: Click on the “Library” tab at the top of the Steam interface to access your list of installed games.
- Locate Team Fortress 2: Scroll through your library or use the search bar to find Team Fortress 2. Once located, click on the game to proceed.
- Click the “Play” Button: On the right-hand side of the Team Fortress 2 page, click the “Play” button to launch the game.
- Verify the HUD: As the game launches, pay close attention to the HUD. If the custom HUD is active, you should see the modified user interface elements in the game, reflecting your chosen design and configuration settings.
- Test the HUD in Gameplay: Enter a match or start a game to test the custom HUD in action. Pay attention to the visibility, readability, and overall functionality of the HUD. If there are any issues or elements that need further adjustment, you can refer back to the HUD configuration settings to make the necessary changes.
It’s worth noting that some custom HUDs may require additional steps or settings to be manually enabled for functionality. Be sure to consult any accompanying documentation or instructions provided by the HUD author for any specific launch options or tweaks that may be required to ensure the custom HUD works as intended.
With Step 6 completed, you are now ready to enjoy TF2 with your custom HUD. Take some time to explore and adapt to the new interface, and enjoy the personalized and enhanced gaming experience the custom HUD provides.
Conclusion
Customizing your TF2 gaming experience by using a custom HUD can greatly enhance your gameplay. By following the steps outlined in this guide, you can easily download, install, and configure a custom HUD that suits your preferences and gaming style.
Starting with Step 1, you learned how to find a custom HUD by exploring TF2 community websites, the Steam Workshop, community forums, and platforms like YouTube and Twitch. Then, in Step 2, you downloaded the HUD file and ensured its compatibility with your TF2 version.
Step 3 guided you in extracting the HUD files from the downloaded package, while Step 4 focused on installing the HUD by placing the extracted files into the “custom” folder in the TF2 directory.
In Step 5, you configured the HUD according to your preferences, adjusting aspects such as the size, color, and position of the HUD elements. Finally, in Step 6, you launched TF2 with the custom HUD, ensuring that it was active during gameplay.
By following these steps, you now have a customized TF2 HUD that offers improved visibility, personalization, and optimized gameplay. The custom HUD allows you to have a more immersive and tailored gaming experience that matches your preferences and style.
Remember, the TF2 community is continuously creating and sharing new custom HUDs, so if you ever feel the need for a change or want to explore different options, always keep an eye out for updates and new releases.
Now, go forth and enjoy playing TF2 with your custom HUD, and may it enhance your gaming experience to new heights!