Introduction
Welcome to our guide on how to change the download location in Steam. If you’re an avid gamer who frequently uses Steam to download and play games, you may have wondered if it is possible to change the default download location. Whether you’re looking to save precious disk space on your main drive or want to organize your game library across multiple storage devices, changing the download location can be a useful feature to customize your Steam experience.
Steam is a popular digital distribution platform developed by Valve Corporation, which allows users to buy, download, and play a wide range of games across various genres. By default, Steam installs and downloads games to the Steam folder located in the main drive of your computer. However, with the option to change the download location, you have the freedom to store your games in a different directory or drive of your choice.
In this guide, we will walk you through the steps to change the download location in Steam, allowing you to relocate your game installations to a different location on your computer. So, let’s dive in and explore how to customize your Steam download settings!
Step 1: Open Steam
The first step to changing the download location in Steam is to open the Steam application on your computer. Locate the Steam icon either on your desktop or in your Start menu and double click on it to launch the program.
If you haven’t installed Steam yet, you can visit the official Steam website at https://store.steampowered.com/ to download and install the application. Once installed, you can proceed with the following steps.
Upon opening Steam, you will be prompted to log in to your Steam account. Enter your username and password in the provided fields and click on the “Log In” button. If you don’t have a Steam account yet, you can create one by clicking on the “Create Account” option.
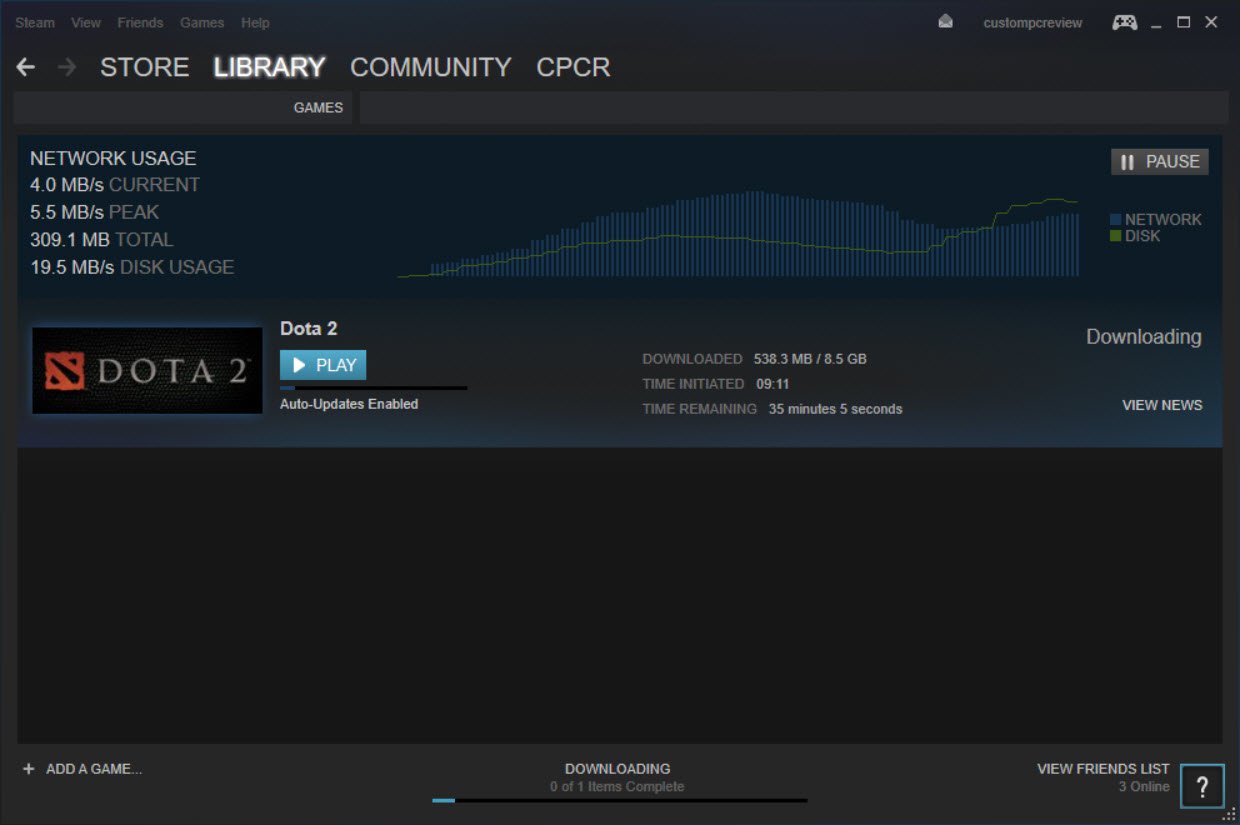
After successfully logging in, you will be greeted with the Steam interface, which displays various tabs and options for browsing and accessing your games, settings, and community features.
It is important to ensure that you have a stable internet connection before proceeding with the following steps, as some changes may require Steam to download additional files or update its software.
Step 2: Click on Settings
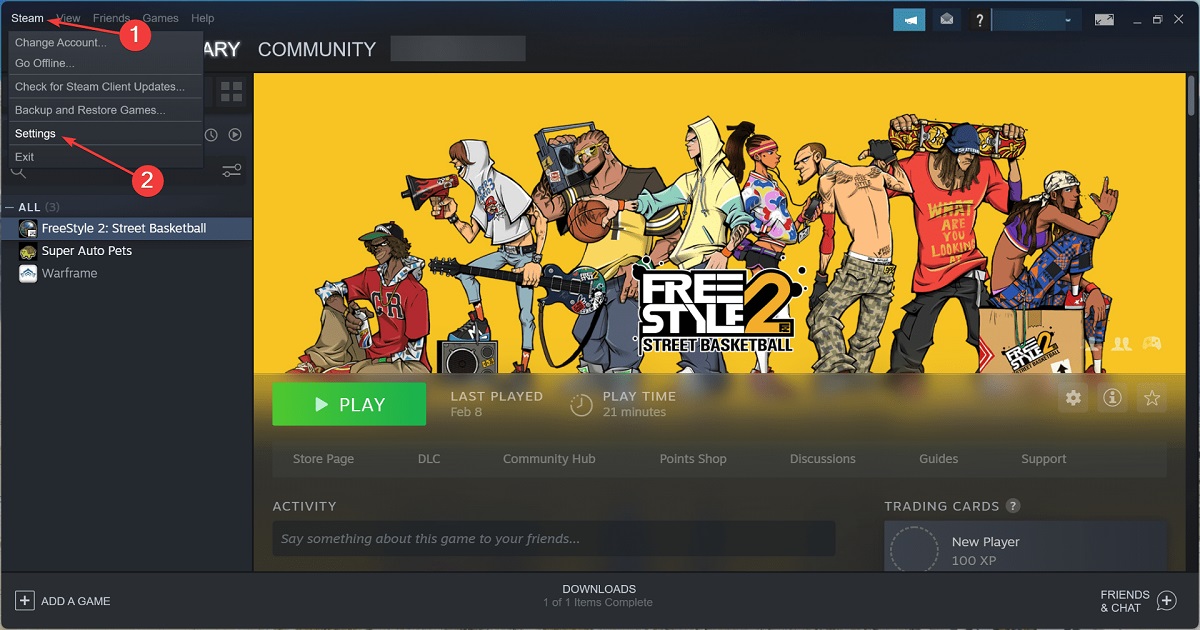
Once you have opened the Steam application and logged into your account, the next step is to access the Settings menu. To do this, look for the “Steam” option in the top-left corner of the Steam interface. Click on it to reveal a drop-down menu.
In the drop-down menu, you will find various options such as “Friends,” “Library,” and “Settings.” Click on the “Settings” option to proceed. Alternatively, you can also access the Settings menu by using the keyboard shortcut combination of “Ctrl + comma” on Windows or “Command + comma” on Mac.
Clicking on the “Settings” option will open a new window where you can customize and manage various Steam settings.
Note: It is important to ensure that your Steam client is up to date. If there are any available updates, Steam will prompt you to install them before you can access the Settings menu. This ensures that you have access to the latest features and improvements.
The Settings window is divided into multiple tabs, each corresponding to a specific category of settings. These tabs include “Account,” “Friends,” “Interface,” “Downloads,” and many more.
For the purpose of changing the download location, we will focus on the “Downloads” tab. Click on the “Downloads” tab to proceed to the next step.
Step 3: Select Downloads
After clicking on the “Settings” option in the drop-down menu, you will be presented with the Settings window. In this window, you will find a list of tabs on the left-hand side. Look for and select the “Downloads” tab to continue with changing the download location.
The Downloads tab is where you can customize various settings related to your game downloads in Steam. Here, you can control aspects such as download speed limits, download regions, and of course, the download location.
Once you have selected the Downloads tab, you will see a range of options and preferences related to your downloads. These options include settings for automatic updates, download restrictions, and notifications.
Scroll down the Downloads tab until you find the section labeled “Content Libraries.” This is the area where you can choose and modify the download location for your games in Steam.
Before proceeding with changing the download location, it is a good idea to take note of the current location. This will help you remember the original directory and switch back if needed.
Now, let’s move on to the next step and learn how to choose the new download location in Steam.
Step 4: Choose the New Download Location
With the Downloads tab selected in the Settings window, you are now ready to choose the new download location for your Steam games.
Within the “Content Libraries” section, you will see a drop-down menu labeled “Steam Library Folders.” This menu displays the current download location and any additional library folders you may have added.
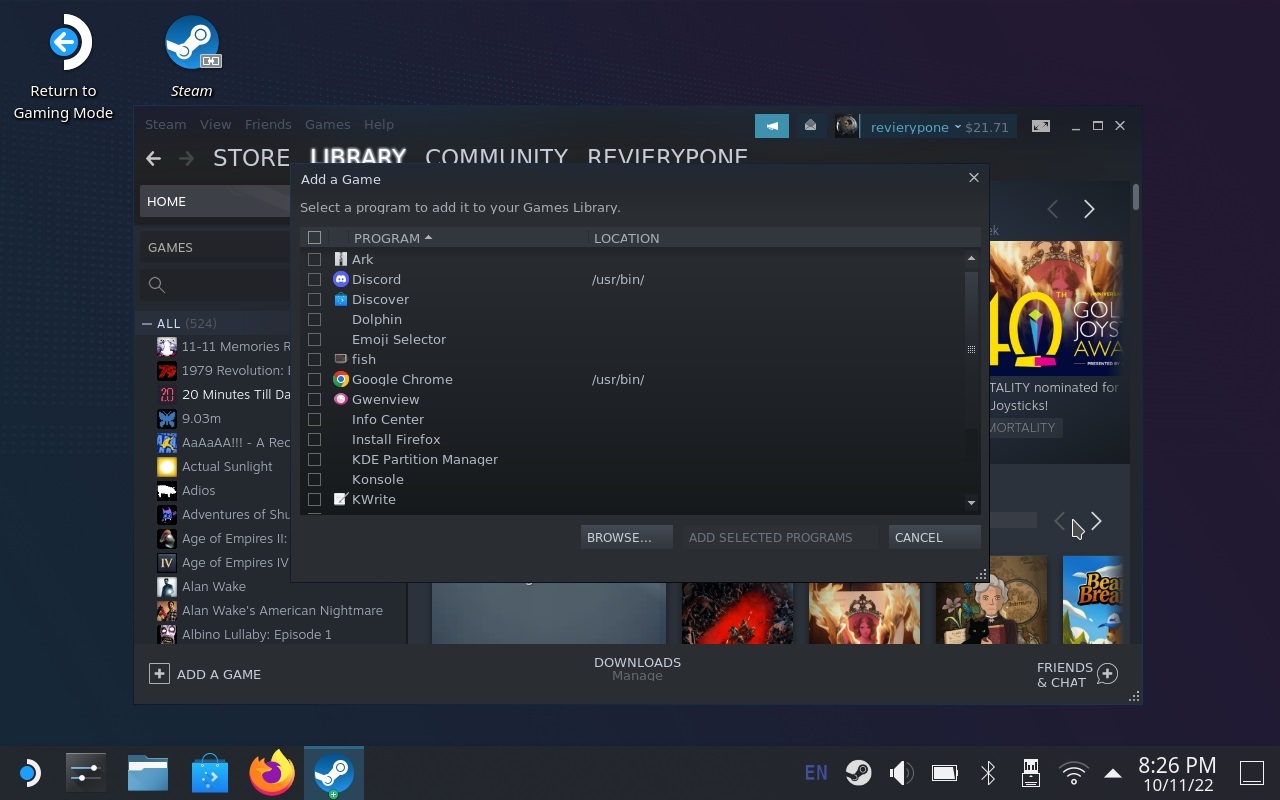
To change the download location, click on the “+ Add Library Folder” button located at the bottom left of the Downloads tab. This will open a new window where you can select the folder or directory where you want to store your Steam games.
Browse through your computer’s file system to find the desired folder. You can choose any accessible location, including a different drive or a specific folder on your current drive. Once you have chosen the folder, click on the “Select” button to add it as a new library folder.
The newly added library folder will now appear in the Steam Library Folders drop-down menu. You can repeat the process to add multiple library folders if desired.
In order to prioritize the new download location, you can use the arrow buttons next to the library folders to rearrange their order. The higher the library folder is on the list, the higher priority it will have for download and installation of new games.
Keep in mind that if your new library folder is located on a different drive or partition, you may need to allocate sufficient disk space to accommodate the games you plan to download in the future.
Now that you have selected the new download location, it’s time to apply the changes and ensure that Steam recognizes the updated settings.
Step 5: Apply the Changes
After selecting the new download location for your Steam games, it is important to apply the changes so that Steam recognizes and implements the updated settings.
To apply the changes, simply click on the “OK” button located at the bottom right of the Settings window. This will save the new download location and return you to the main Steam interface.
Upon applying the changes, Steam will automatically update its settings to reflect the new download location. This means that any future game downloads and installations will be directed to the chosen folder or directory.
While the changes are being applied, it is normal for Steam to briefly interrupt any ongoing downloads or updates. However, once the changes are successfully implemented, you can resume your downloads without any interruption.
It is important to note that the existing games in your Steam library will remain in their original installation directory. Changing the download location does not automatically move or relocate existing game files. If you wish to move the existing games to the newly selected folder, you will need to use the “Move Install Folder” feature in the Steam client.
Once you have applied the changes, you are almost ready to start downloading games to your new location. However, to ensure that the changes take effect and that Steam recognizes the new download location, it is recommended to restart the Steam application.
Let’s move on to the final step and learn how to restart Steam to complete the process.
Step 6: Restart Steam
After applying the changes to the download location in Steam, it is important to restart the application to ensure that the modifications are fully recognized and implemented.
To restart Steam, simply close the Steam application completely. You can do this by clicking on the Steam menu in the top-left corner of the Steam interface and selecting the “Exit” option. Alternatively, you can use the keyboard shortcut combination of “Alt + F4” on Windows or “Command + Q” on Mac to close the application.
Once Steam is closed, give it a few seconds and then relaunch the application. Locate the Steam icon on your desktop or Start menu and double click on it to open Steam once again.
When Steam restarts, it will recognize the new download location that you have set in the previous steps. This means that any new game downloads or installations will now be directed to the selected folder or directory.
Additionally, restarting Steam ensures that any pending updates or changes are fully implemented, providing a fresh start to your gaming experience with the updated download location settings.
You are now ready to enjoy the benefits of having your game downloads stored in the new location. You can browse through the Steam store, choose your favorite games, and begin downloading them to your updated download location.
Remember, if you ever wish to change the download location again, simply follow these steps once more to select a different folder or directory of your choice.
By following these six steps, you have successfully changed the download location in Steam, giving you greater flexibility and control over your game library organization.
Conclusion
Changing the download location in Steam is a straightforward process that allows you to customize where your games are stored on your computer. Whether you want to free up space on your main drive or organize your game library across multiple storage devices, the ability to change the download location gives you greater control and flexibility.
In this guide, we walked you through the step-by-step process of changing the download location in Steam:
- Open Steam
- Click on Settings
- Select Downloads
- Choose the New Download Location
- Apply the Changes
- Restart Steam
By following these steps, you can easily modify the download location and ensure that any future game downloads are directed to the folder or directory of your choice.
Remember, changing the download location only affects future downloads. Existing games in your Steam library will remain in their original installation directories unless you choose to move them using the “Move Install Folder” feature in Steam.
We hope this guide has been helpful in assisting you with changing the download location in Steam. Enjoy organizing and downloading your games to the location that suits your preferences!