Gaming: How To Turn On Ray Tracing in Minecraft
Welcome to the exciting world of gaming! In today’s blog post, we are going to explore the incredible feature known as ray tracing in Minecraft. Whether you are a casual player or a dedicated enthusiast, unlocking the power of ray tracing can take your gaming experience to a whole new level. So, let’s dive into the world of Minecraft and discover how to turn on ray tracing!
Key Takeaways:
- Ray tracing is a rendering technique that simulates the behavior of light, creating a more realistic and immersive visual experience in games like Minecraft.
- To turn on ray tracing in Minecraft, you need a compatible graphics card that supports this feature, along with the necessary drivers and the Microsoft DirectX Raytracing (DXR) API.
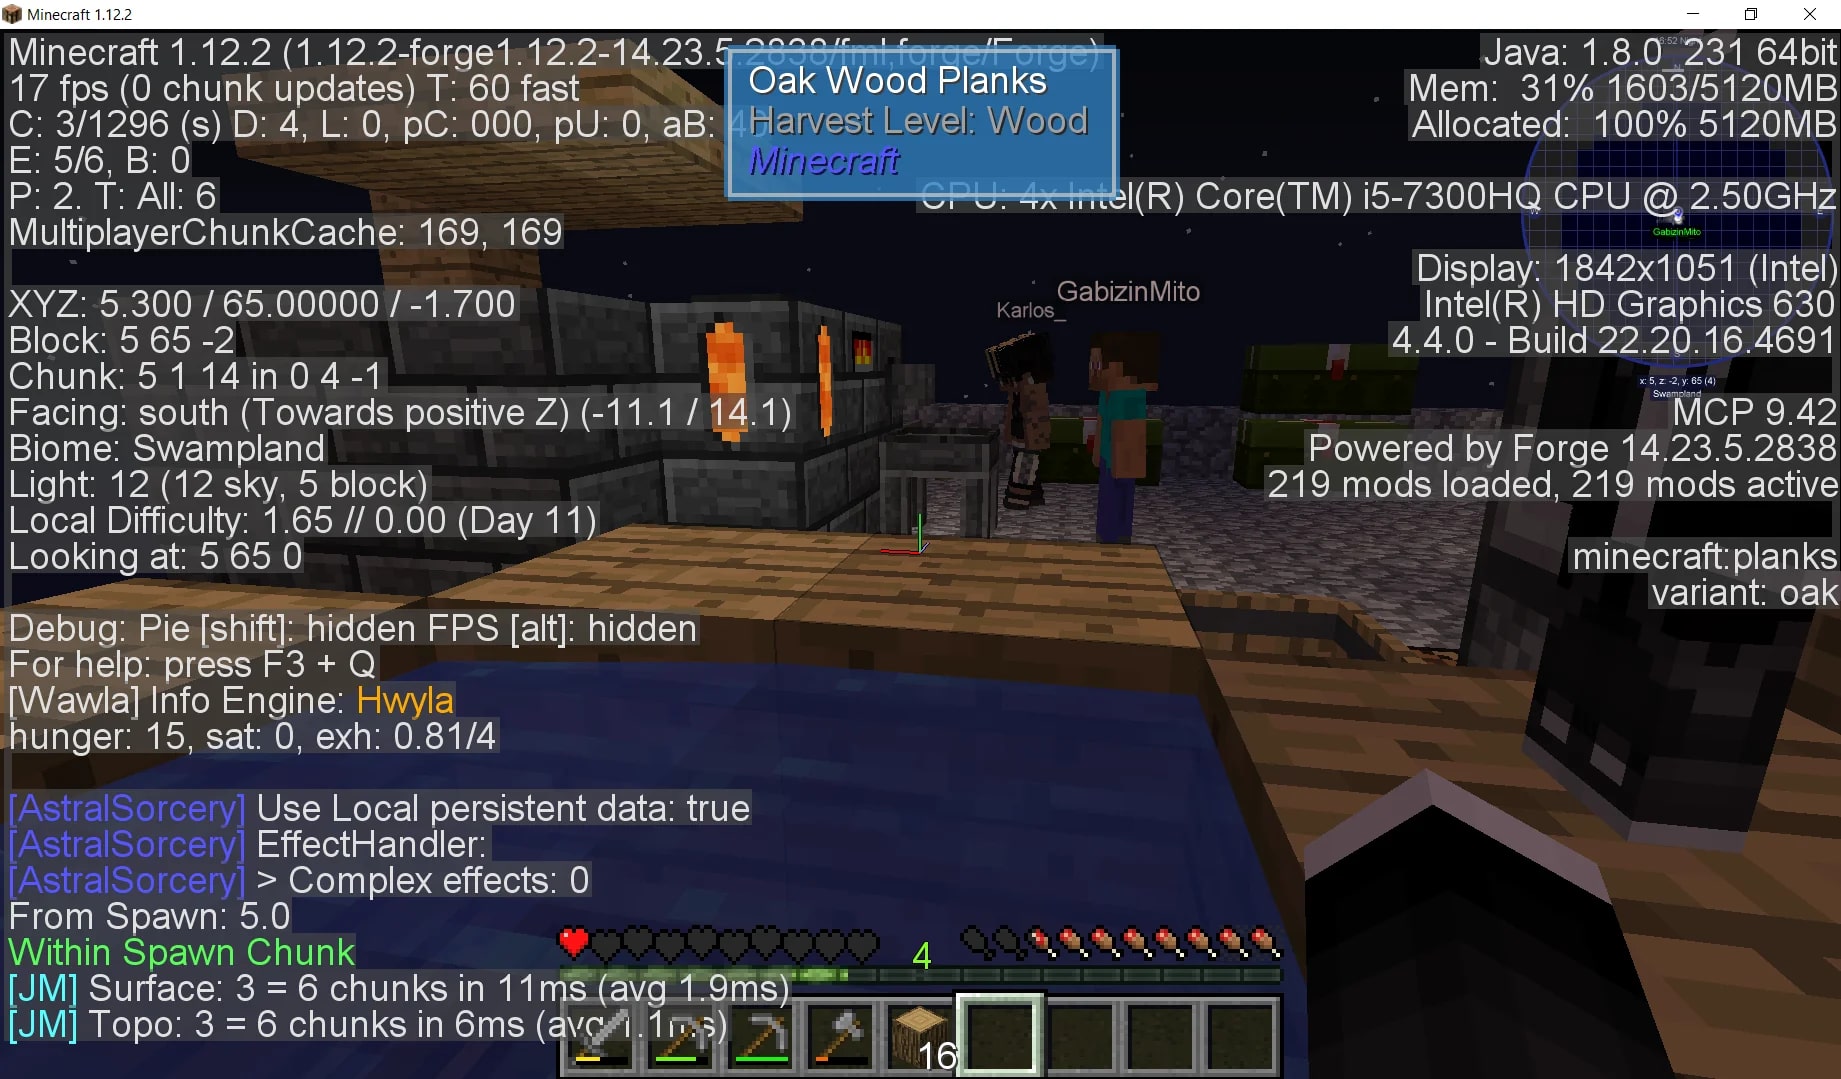
Step-by-Step Guide to Enable Ray Tracing in Minecraft:
- Check your hardware compatibility: Before diving into the world of ray tracing, make sure your graphics card supports this feature. Nvidia’s GeForce RTX series is currently the most popular choice for ray tracing in Minecraft.
- Update your graphics drivers: To enable ray tracing, ensure that you have installed the latest graphics drivers for your compatible graphics card. These drivers often include optimizations and bug fixes to enhance your gaming experience.
- Install Optifine: Optifine is a widely-used Minecraft optimization mod that also adds support for ray tracing. Download the latest version of Optifine and install it on your computer.
- Download a ray tracing resource pack: To fully enjoy the breathtaking visual effects of ray tracing, you’ll need a compatible resource pack that is specifically designed to work with Optifine and ray tracing. There are several resource packs available online, created by the Minecraft community.
- Enable ray tracing in Minecraft: Once you have installed Optifine and the ray tracing resource pack, launch Minecraft and go to the video settings. Look for the ray tracing option and enable it. You may need to restart the game for the changes to take effect.
- Enjoy the enhanced visuals: Congratulations! You have successfully turned on ray tracing in Minecraft. Explore your favorite worlds and be amazed by the realistic lighting, shadows, and reflections that ray tracing brings to the game.
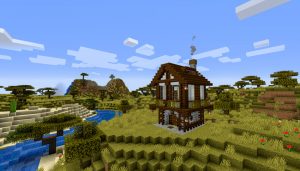
With ray tracing enabled, Minecraft transforms into a stunning virtual world filled with vibrant colors, detailed environments, and lifelike lighting effects. Whether you are building impressive structures, exploring vast landscapes, or engaging in epic battles, the immersive experience offered by ray tracing will make every gaming session truly unforgettable.
So, what are you waiting for? Unlock the power of ray tracing in Minecraft and take your gaming adventures to the next level!
Key Takeaways:
- Ray tracing is a rendering technique that simulates the behavior of light, creating a more realistic and immersive visual experience in games like Minecraft.
- To turn on ray tracing in Minecraft, you need a compatible graphics card that supports this feature, along with the necessary drivers and the Microsoft DirectX Raytracing (DXR) API.