How To Get Ray Tracing In Minecraft: A Step-by-Step Guide
Are you a Minecraft enthusiast looking to take your gaming experience to the next level? If so, you may have heard about the game-changing technology called ray tracing. In this blog post, we will guide you through the process of getting ray tracing in Minecraft, allowing you to enjoy stunningly realistic graphics and immerse yourself in the world of blocks like never before.
Key Takeaways:
- Ray tracing is a rendering technique that simulates the behavior of light in a virtual environment, creating lifelike reflections, shadows, and other visual effects.
- You can enable ray tracing in Minecraft by using mods or resource packs specifically designed for this purpose.
Step 1: Check Your Hardware
Before diving into the world of ray tracing, it’s essential to ensure that your computer meets the necessary hardware requirements. Ray tracing is a computationally intensive process, so make sure your PC or gaming console has the following minimum specifications:
- A powerful graphics card that supports ray tracing, such as NVIDIA’s RTX series or AMD’s RDNA 2-based cards.
- Adequate RAM and processor power to handle the increased workload.
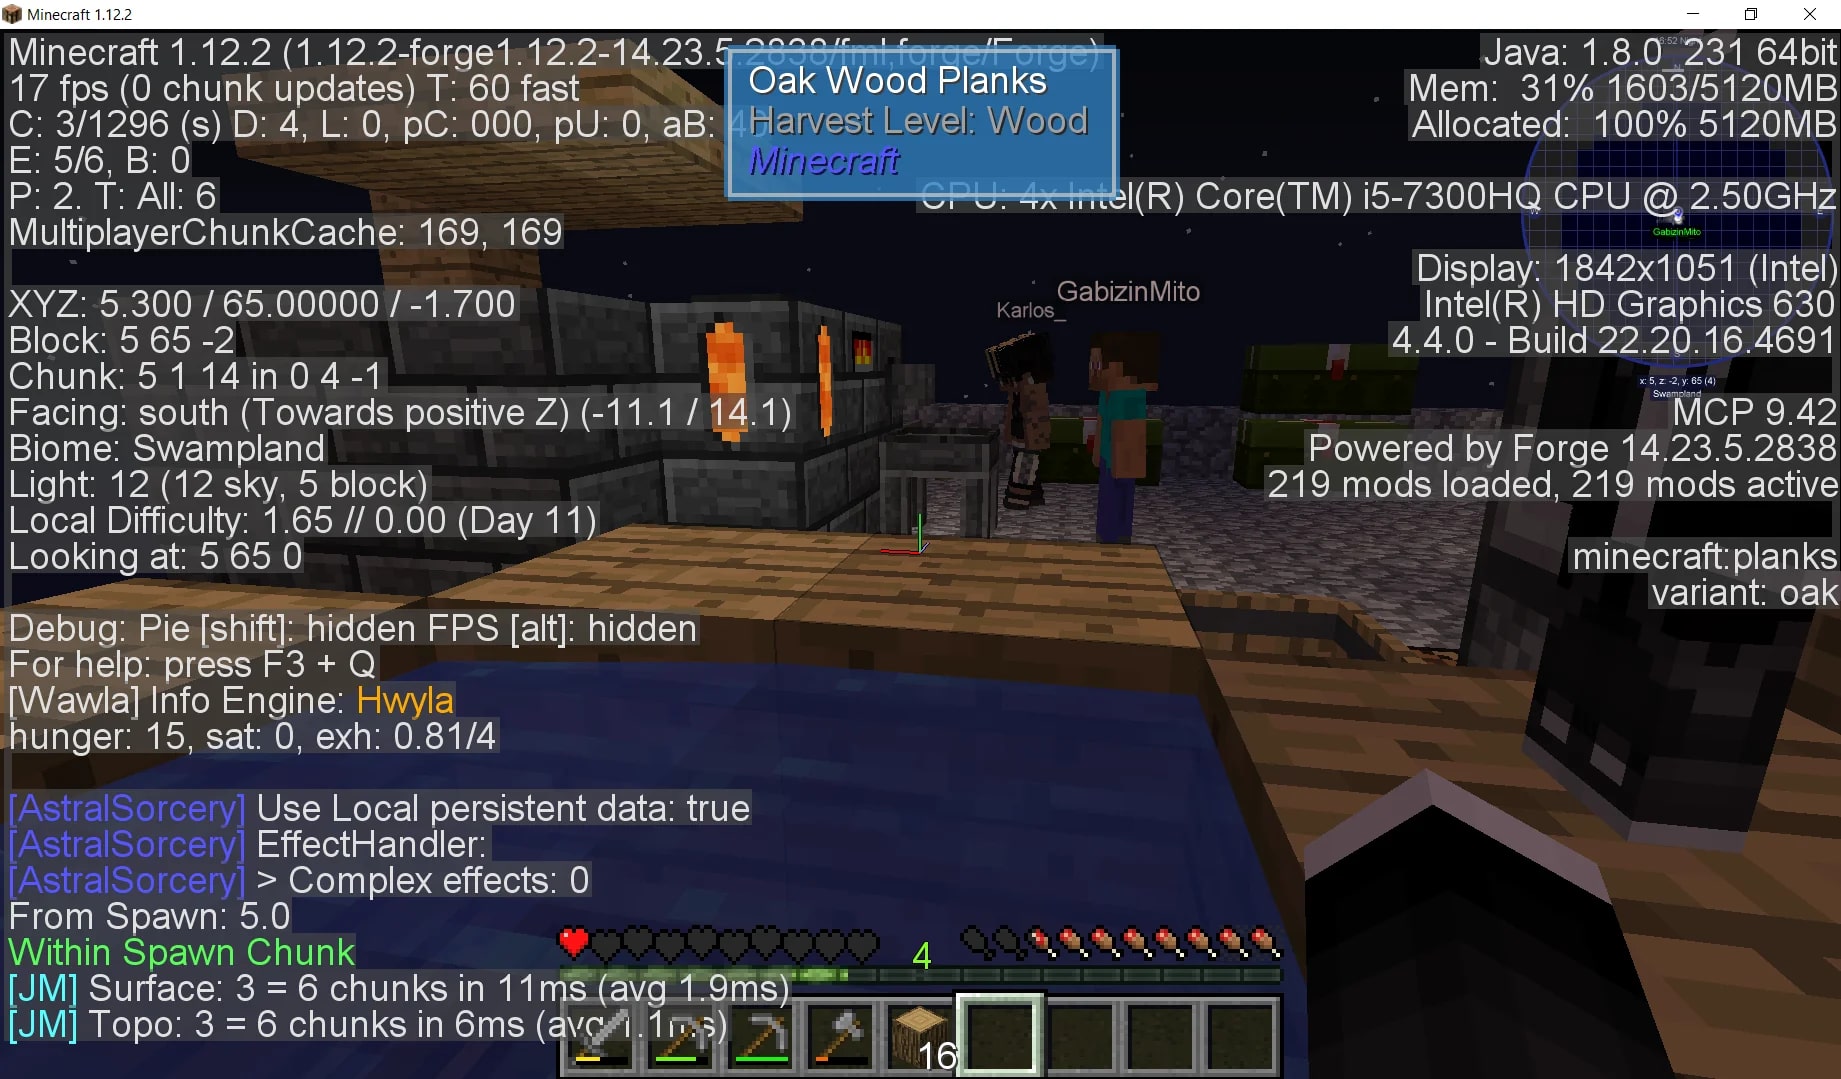
- The latest version of Minecraft, as ray tracing is only supported in the Bedrock Edition.
Step 2: Install Minecraft RTX
Once you have confirmed that your hardware is compatible, the next step is to install Minecraft RTX. This version of Minecraft is specifically developed to support ray tracing. Here’s how you can get it:
- Purchase or update to the latest version of Minecraft Bedrock Edition from the official website or Microsoft Store.
- Launch the Minecraft Launcher and sign in to your account.
- In the top-right corner, click on the “…” next to your account name and select “Settings.”
- In the Settings menu, click on “Game” and enable the “Experimental Features” by toggling the switch.
- Return to the main menu, click on “Marketplace,” and search for “Minecraft RTX.”
- Download and install the “Minecraft RTX Beta” from the available options.
- Once the installation is complete, you can launch the game and start experiencing ray tracing in Minecraft!
Step 3: Installing Ray Tracing Resource Packs
To enhance the visual effects of ray tracing even further, you can install resource packs designed specifically for Minecraft RTX. These packs add high-resolution textures, realistic lighting, and other details to make your Minecraft world truly come alive. Follow these steps to install a ray tracing resource pack:
- Visit reputable Minecraft modding websites or resource pack platforms.
- Search for ray tracing resource packs compatible with Minecraft RTX.
- Download the pack of your choice.
- Launch Minecraft and go to the “Settings” menu.
- Select “Resource Packs” and click on “Open Pack Folder.”
- Copy the downloaded resource pack into the opened folder.
- Back in the game, navigate to the “Resource Packs” menu and enable the downloaded pack.
- Your Minecraft world will now be enhanced with stunning ray tracing visuals!
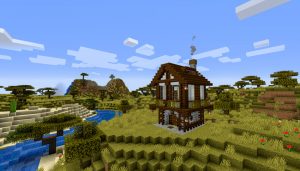
With ray tracing technology empowering Minecraft, you can explore the vastness of the blocky universe with breathtaking visual fidelity. Follow the steps outlined above, and get ready to immerse yourself in a truly spellbinding Minecraft experience like no other. Unleash the power of ray tracing and witness your favorite virtual world come to life!
Key Takeaways:
- Ray tracing can be enabled in Minecraft by installing Minecraft RTX and using ray tracing resource packs.
- Ensure that your hardware meets the necessary specifications before attempting to enable ray tracing.