Introduction
Introduction
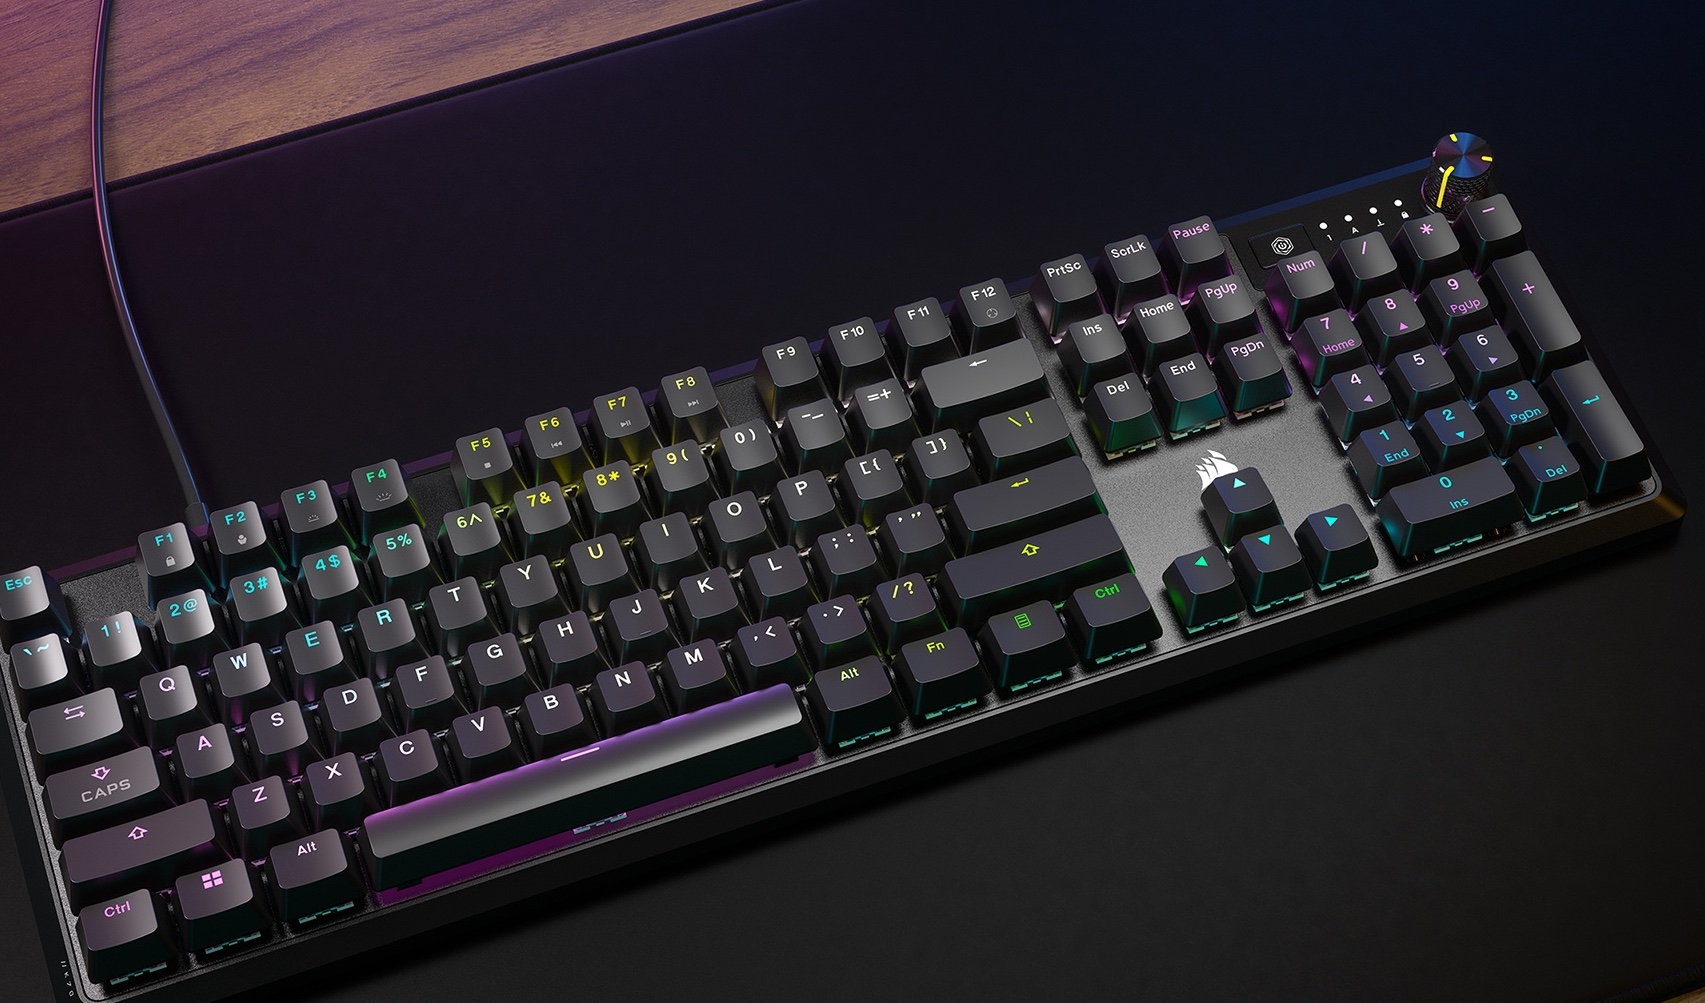
Corsair gaming keyboards are renowned for their advanced features and customizable options, allowing users to tailor their keyboard to suit their specific needs and preferences. One of the key functionalities that sets Corsair keyboards apart is the ability to program keys, enabling users to assign specific functions or macros to individual keys for enhanced productivity and gaming performance.
Programming keys on a Corsair gaming keyboard involves using the Corsair Utility Engine (CUE), a powerful software application that provides extensive customization options for Corsair peripherals. Whether you're a professional gamer looking to optimize your gaming experience or a power user seeking to streamline your workflow, programming keys on your Corsair gaming keyboard can significantly enhance your overall computing experience.
In this guide, we will walk you through the step-by-step process of programming keys on your Corsair gaming keyboard using the Corsair Utility Engine. By following these instructions, you will be able to unlock the full potential of your keyboard and tailor it to your specific needs, whether for gaming, productivity, or general computer use. Let's dive into the details of how to unleash the full power of your Corsair gaming keyboard through key programming.
Step 1: Install Corsair Utility Engine (CUE)
Step 1: Install Corsair Utility Engine (CUE)
Before you can begin programming keys on your Corsair gaming keyboard, you will need to install the Corsair Utility Engine (CUE) software on your computer. The CUE software serves as the control center for customizing and managing Corsair gaming peripherals, providing a user-friendly interface for programming keys, creating macros, and adjusting various settings.
To install CUE, follow these steps:
- Download CUE: Visit the official Corsair website or the product page for your specific keyboard model to locate the CUE software. Once you’ve found the appropriate download link, click to download the CUE installer file to your computer.
- Run the Installer: Locate the downloaded CUE installer file and double-click on it to initiate the installation process. Follow the on-screen prompts to proceed with the installation. You may be required to accept the end-user license agreement and choose the installation directory.
- Complete the Installation: Once the installation is complete, launch the Corsair Utility Engine to ensure that it is running properly and is ready for the next steps in programming your keyboard.
After successfully installing the Corsair Utility Engine, you are now ready to move on to the next steps in the key programming process. With CUE installed, you’ll have access to a wide range of customization options that will allow you to unleash the full potential of your Corsair gaming keyboard.
Step 2: Connect the Keyboard
Once you have installed the Corsair Utility Engine (CUE) on your computer, the next step is to connect your Corsair gaming keyboard to ensure that it is properly recognized by the CUE software. Proper connection is essential for the software to communicate with the keyboard and enable the programming of keys and customization of settings.
Follow these steps to connect your keyboard:
- USB Connection: Use the provided USB cable to connect your Corsair gaming keyboard to an available USB port on your computer. Ensure that the connection is secure to avoid any interruptions during the programming process.
- Driver Installation (if applicable): In some cases, your computer may automatically install the necessary drivers for the keyboard upon connection. If prompted to install drivers, follow the on-screen instructions to complete the installation process. This step is crucial for establishing a stable connection between the keyboard and the computer.
- Recognition by CUE: Once the keyboard is connected, launch the Corsair Utility Engine (CUE) and verify that the software recognizes the connected keyboard. You should see your keyboard model displayed within the CUE interface, indicating that it is successfully connected and ready for customization.
Ensuring that your Corsair gaming keyboard is properly connected to your computer is a vital prerequisite for programming keys and accessing the full range of customization options offered by the Corsair Utility Engine. With the keyboard successfully connected, you are now prepared to proceed to the next steps in the key programming process, unlocking the potential for personalized key functions and macros tailored to your specific needs.
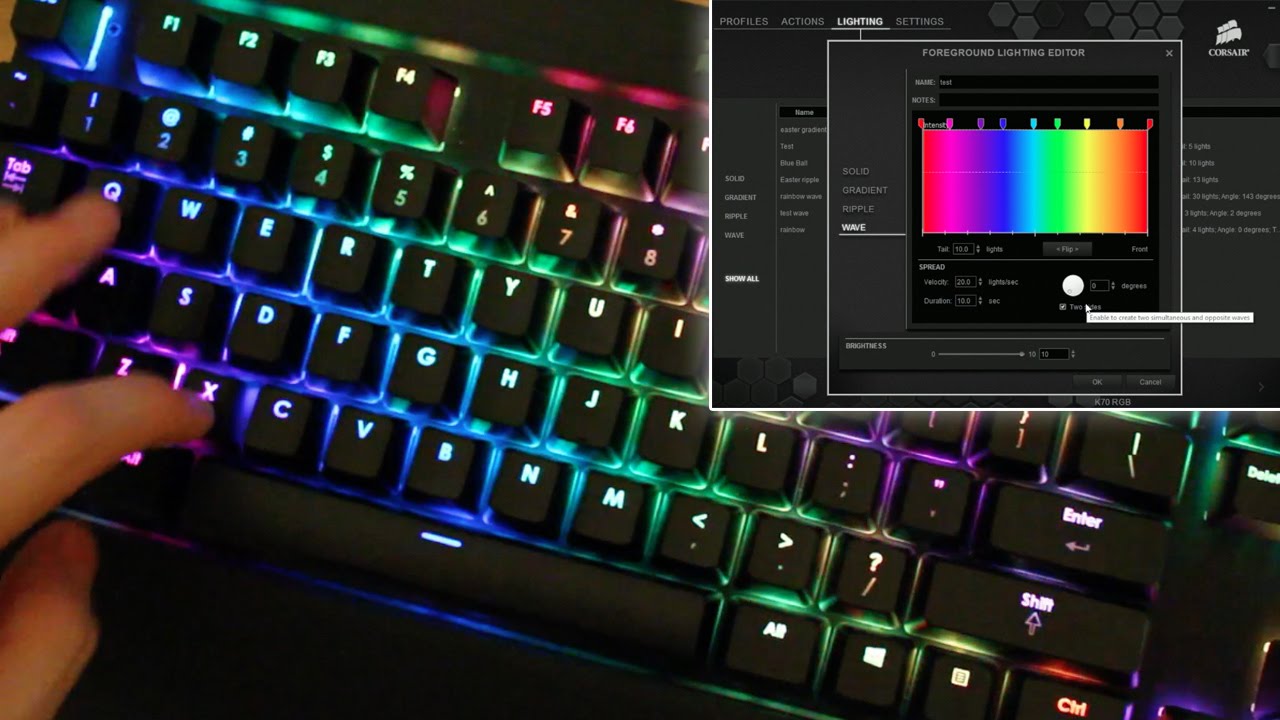
Step 3: Open CUE and Select the Keyboard
With your Corsair gaming keyboard connected to your computer, the next step in programming keys involves opening the Corsair Utility Engine (CUE) and selecting the connected keyboard within the software interface. This step is essential for accessing the customization options and programming capabilities specific to your keyboard model.
Follow these steps to open CUE and select your keyboard:
- Launch CUE: Locate the Corsair Utility Engine (CUE) icon on your computer and double-click to launch the application. Alternatively, you can access CUE from the system tray or the Start menu, depending on your operating system.
- Identify Connected Keyboard: Once CUE is open, the software will automatically detect the connected Corsair gaming keyboard. You should see your keyboard model displayed within the CUE interface, indicating that it has been successfully recognized by the software.
- Select Keyboard (if multiple devices are connected): If you have multiple Corsair devices connected to your computer, ensure that you select the specific keyboard you wish to customize within the CUE interface. This step is crucial for directing your customization efforts to the intended keyboard.
By opening the Corsair Utility Engine (CUE) and selecting your connected keyboard, you gain access to a comprehensive suite of customization options, including key programming, macro creation, and lighting effects. With the keyboard identified within CUE, you are now poised to delve into the intricate process of programming keys to suit your unique preferences and enhance your overall computing experience.
Step 4: Program Keys
Now that you have accessed the Corsair Utility Engine (CUE) and selected your connected keyboard, you are ready to embark on the key programming process. Programming keys on your Corsair gaming keyboard allows you to assign specific functions, macros, or shortcuts to individual keys, providing a tailored experience that aligns with your unique computing or gaming needs.
Follow these steps to program keys using CUE:
- Select a Key: Within the CUE interface, choose the key that you want to program. This could be a standard key, a function key, or a macro key, depending on your keyboard model and personal preferences.
- Assign a Function: Once you’ve selected the key, you can assign a specific function, action, or macro to it. This could include launching a program, executing a series of commands, or triggering a complex macro sequence tailored to your workflow or gaming style.
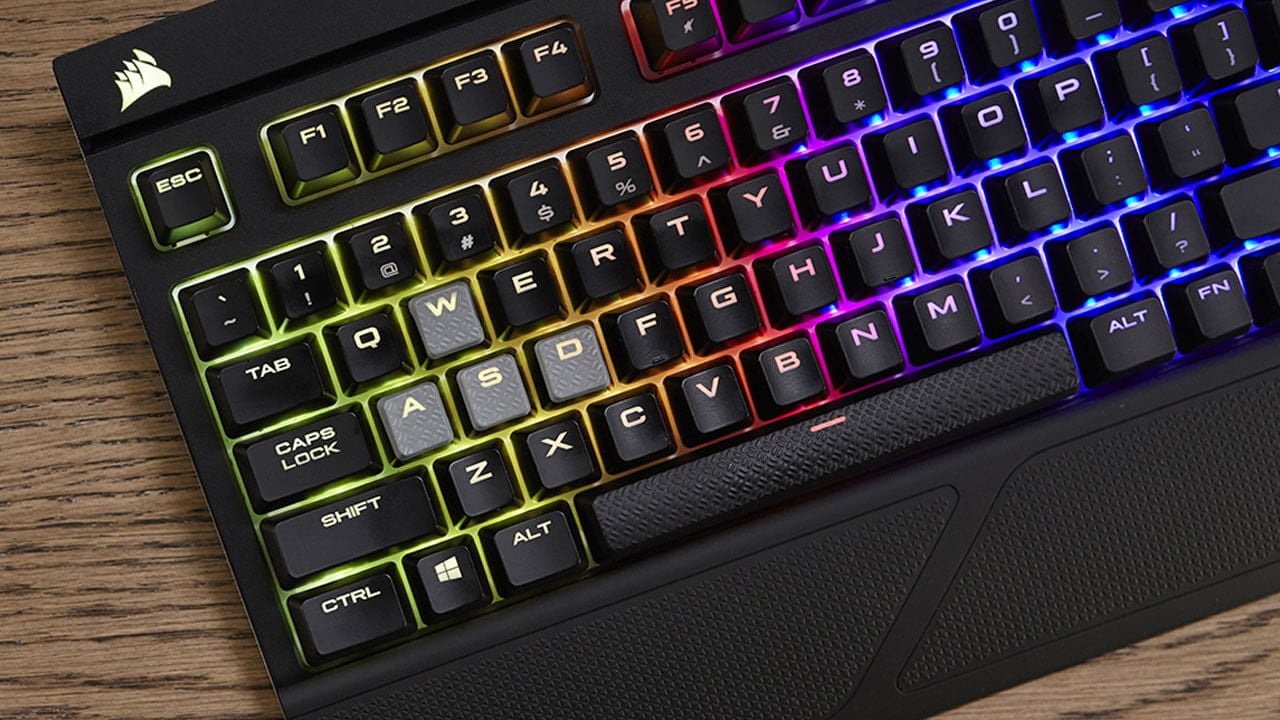
- Customize Key Lighting (if applicable): If your Corsair gaming keyboard features customizable RGB lighting, you may have the option to customize the key’s backlighting color or effects to visually differentiate programmed keys. This visual cue can be particularly useful for identifying key functions at a glance.
- Test the Programming: After programming the key, it’s essential to test its functionality to ensure that it performs as intended. Verify that the assigned function or macro executes properly when the programmed key is pressed, and make any necessary adjustments as needed.
By programming keys on your Corsair gaming keyboard, you can tailor the keyboard’s functionality to suit your specific workflow, gaming preferences, or productivity needs. Whether you’re creating custom shortcuts for software applications, assigning complex macros for gaming, or streamlining repetitive tasks, the key programming capabilities offered by CUE empower you to unlock the full potential of your Corsair gaming keyboard.
Step 5: Save and Apply Changes
After programming the keys on your Corsair gaming keyboard to your desired specifications, it’s crucial to save and apply the changes to ensure that your customizations are preserved and actively utilized by the keyboard. Saving and applying the programmed key settings through the Corsair Utility Engine (CUE) finalizes the customization process, allowing you to seamlessly integrate your personalized key functions and macros into your computing or gaming experience.
Follow these steps to save and apply the programmed key changes using CUE:
- Save the Profile: Within the CUE interface, locate the option to save the profile containing your programmed key settings. Profiles allow you to create and store different sets of customizations for various purposes, such as gaming, productivity, or specific applications.
- Apply the Profile: Once the profile is saved, ensure that it is applied to your connected Corsair gaming keyboard. Applying the profile activates the programmed key settings, ensuring that your customizations take effect and are ready for use.
- Verify Functionality: After applying the profile, test the programmed keys to confirm that your customizations are functioning as intended. Verify that the assigned functions, macros, or shortcuts execute properly and enhance your overall keyboard experience.
By saving and applying the changes made to the programmed keys, you solidify the integration of your customizations into the functionality of your Corsair gaming keyboard. Whether you’ve programmed keys for gaming macros, productivity shortcuts, or creative applications, the ability to save and apply profiles through CUE ensures that your personalized settings are readily available whenever you use your keyboard.
Conclusion
Programming keys on your Corsair gaming keyboard using the Corsair Utility Engine (CUE) empowers you to unlock a new level of customization and functionality tailored to your specific needs. By following the step-by-step process outlined in this guide, you have gained the knowledge and skills to personalize your keyboard, whether for gaming, productivity, or general computing tasks.
With the installation of CUE, the connection of your keyboard, the selection of the keyboard within the software, the programming of keys, and the application of your customizations, you have harnessed the full potential of your Corsair gaming keyboard. The ability to assign specific functions, create macros, and customize key lighting provides a personalized computing experience that aligns with your unique preferences and usage scenarios.
Whether you’re a passionate gamer seeking to optimize your gaming performance with custom macros, a content creator streamlining your workflow with productivity shortcuts, or a power user tailoring your keyboard to specific applications, the key programming capabilities offered by CUE elevate your keyboard to new heights of versatility and efficiency.
As you continue to explore the diverse customization options available through CUE, remember that the ability to program keys is just one facet of the extensive features provided by Corsair gaming keyboards. Embrace the flexibility and adaptability of your keyboard, and let your creativity and individuality shine through as you harness the power of key programming to enhance your computing experience.
With your newly acquired knowledge of key programming on Corsair gaming keyboards, you are well-equipped to embark on a personalized journey of keyboard customization, unleashing the full potential of your keyboard to complement your unique computing needs and preferences.