Introduction
Welcome to the exciting world of gaming mice customization! If you're an avid gamer or someone who spends long hours working on a computer, having a gaming mouse with programmable features can greatly enhance your experience. Customizing your gaming mouse on Windows 10 allows you to tailor its functionality to suit your specific needs, whether it's assigning complex macros for gaming or streamlining productivity tasks.
In this guide, we'll walk you through the step-by-step process of programming your gaming mouse on a Windows 10 system. By following these instructions, you'll be able to unleash the full potential of your mouse and take your gaming or work performance to the next level.
Now, let's dive into the fascinating realm of gaming mouse customization and discover how you can harness the power of your mouse to optimize your digital endeavors. Whether you're a seasoned gamer seeking a competitive edge or a professional aiming for greater efficiency, the ability to program your gaming mouse will undoubtedly elevate your computing experience. So, without further ado, let's embark on this enlightening journey into the realm of personalized mouse functionality.
Step 1: Install the Mouse Software
Before delving into the customization process, you'll need to ensure that the necessary software for your gaming mouse is installed on your Windows 10 system. Most gaming mice come with dedicated software that allows users to program and customize various features. Here are the essential steps to install the mouse software:
- Check the Manufacturer’s Website: Visit the official website of the gaming mouse manufacturer to locate the appropriate software for your specific model. Look for the "Support" or "Downloads" section to find the software compatible with Windows 10.
- Download the Software: Once you’ve identified the correct software for your gaming mouse, download the installation package to your computer. Ensure that you’re downloading the version designed for Windows 10 to guarantee compatibility.
- Run the Installer: Locate the downloaded installation file and run the installer. Follow the on-screen prompts to complete the installation process. It’s crucial to carefully review each step to ensure that the software is installed correctly.
- Connect the Mouse: After the software is successfully installed, connect your gaming mouse to a USB port on your Windows 10 computer. The software should automatically detect the connected mouse and initialize the setup process.
By following these steps, you’ll have the necessary software installed and ready to facilitate the customization of your gaming mouse. The software serves as the gateway to unlocking the full potential of your mouse, allowing you to personalize its functions and settings according to your preferences.
Step 2: Open the Mouse Software
Once you have successfully installed the mouse software on your Windows 10 system, the next step is to open the software and gain access to the customization features. Here’s how you can accomplish this:
- Launch the Software: Locate the shortcut icon for the gaming mouse software on your desktop or in the Windows Start menu. Double-click on the icon to launch the software. Alternatively, you can access the software through the system tray or taskbar if it’s running in the background.
- Connect the Mouse: Ensure that your gaming mouse is connected to your computer. If the mouse is already connected, the software should automatically detect it and display the relevant settings and options.
- Explore the Interface: Once the software is open, take some time to familiarize yourself with the user interface. You’ll likely encounter tabs or sections dedicated to button customization, DPI settings, profile management, and other advanced features specific to your gaming mouse model.
- Access Advanced Settings: Depending on the complexity of your gaming mouse software, you may find additional options for customizing lighting effects, sensor calibration, and surface tuning. These advanced settings can further enhance your overall gaming or productivity experience.
By opening the mouse software, you gain access to a wealth of customization options that can transform your gaming mouse into a personalized tool tailored to your unique preferences and usage patterns. This step sets the stage for the subsequent customization processes, allowing you to harness the full potential of your gaming mouse on your Windows 10 system.
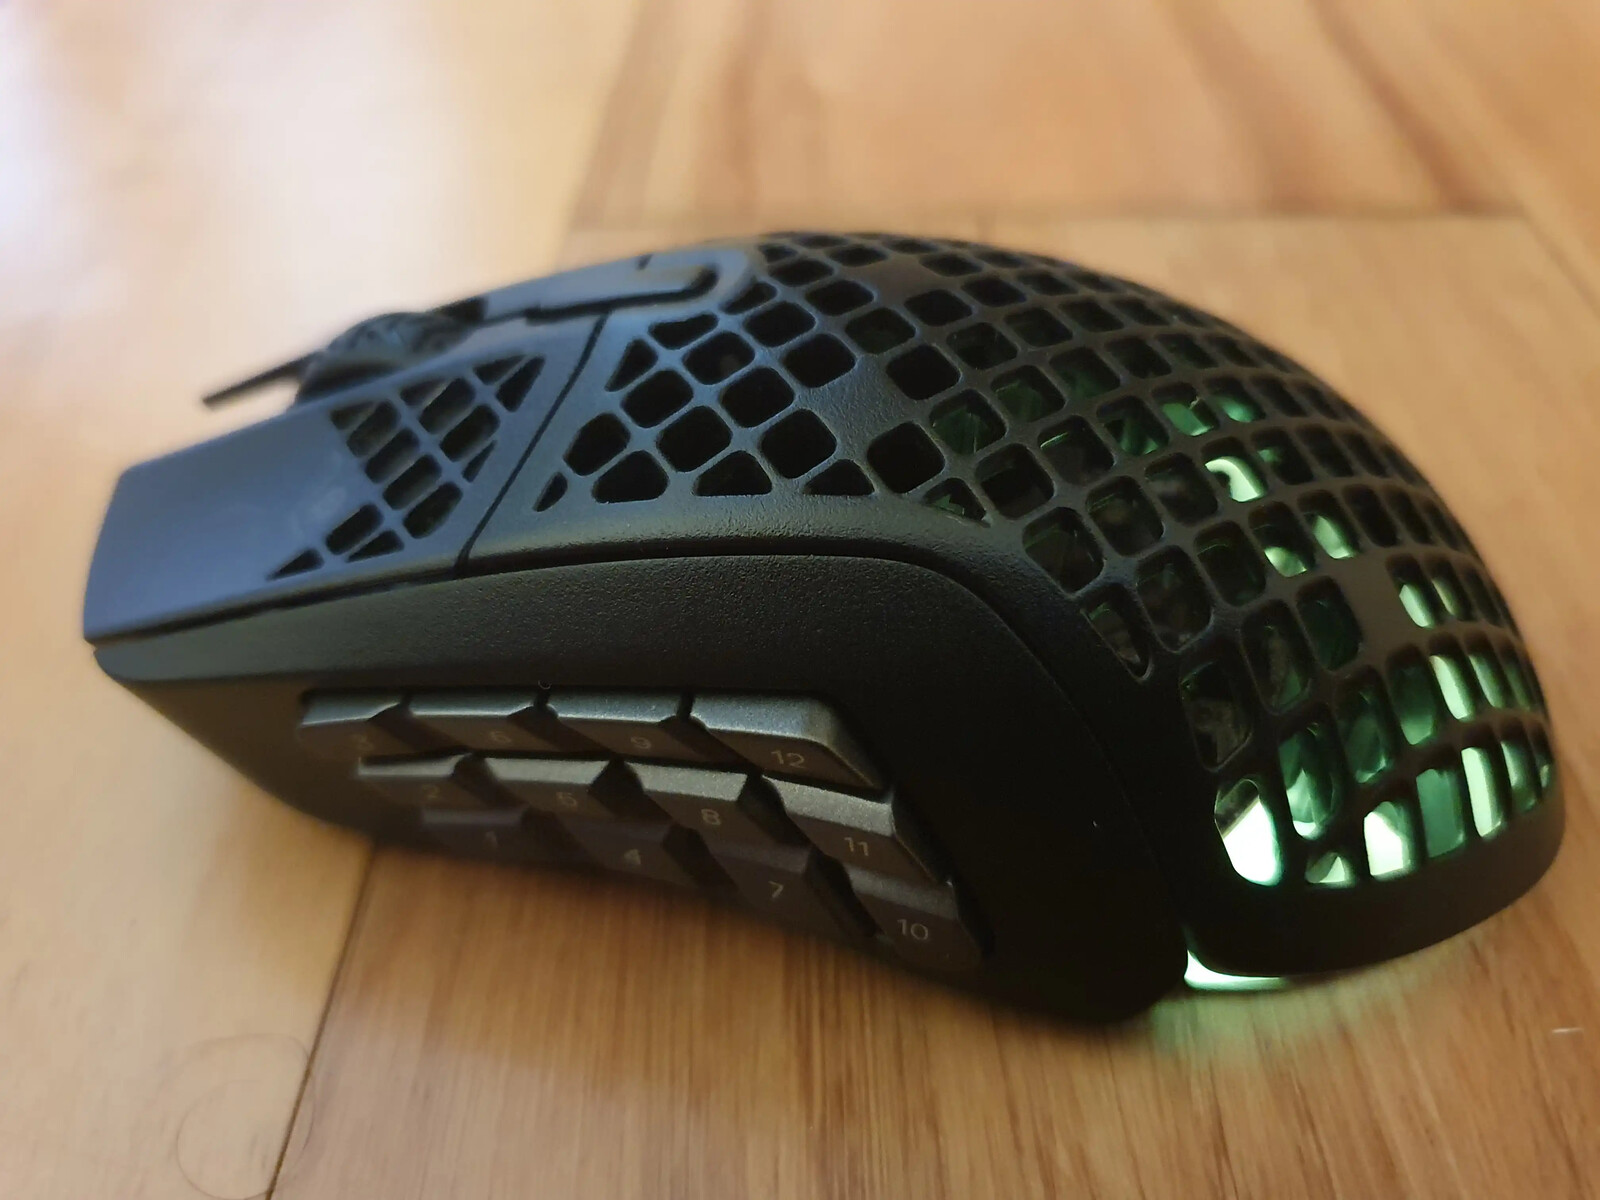
Step 3: Customize Button Functions
Customizing the button functions of your gaming mouse is a pivotal aspect of tailoring its functionality to your specific needs. Whether you’re a gamer looking to assign complex macros for in-game actions or a professional seeking streamlined shortcuts for productivity tasks, the ability to program the mouse buttons can significantly enhance your computing experience. Here’s a comprehensive guide on how to customize the button functions of your gaming mouse on a Windows 10 system:
- Select Button Mapping: Within the mouse software interface, navigate to the section dedicated to button customization or mapping. This area allows you to assign specific functions or commands to each button on your gaming mouse.
- Identify Buttons: Many gaming mice feature multiple programmable buttons, often labeled with numbers or unique icons. Identify each button within the software to ensure accurate customization.
- Assign Functions: For each button, choose the desired function or command from a list of predefined options. Common functions include keyboard key presses, mouse clicks, macros, application shortcuts, and multimedia controls.
- Create Macros: If your gaming mouse software supports macro creation, take advantage of this feature to record and assign complex sequences of commands or actions to a single button. Macros can be invaluable for gaming and productivity alike.
- Test and Refine: After customizing the button functions, test each button to ensure that the assigned functions work as intended. Make adjustments as needed to refine the button mappings to your liking.
By customizing the button functions of your gaming mouse, you can transform it into a versatile tool that caters to your specific computing requirements. Whether you’re executing intricate commands in a game or streamlining tasks in your professional workflow, the ability to program the mouse buttons empowers you to achieve greater efficiency and control.
Step 4: Adjust DPI Settings
Dynamic Polling Rate (DPI) settings play a crucial role in customizing your gaming mouse to suit your preferences and usage scenarios. DPI refers to the sensitivity of the mouse’s optical sensor, affecting how fast the cursor moves on the screen in relation to physical movement. Whether you require precise control for graphic design or swift movements for gaming, adjusting the DPI settings can significantly impact your overall experience. Here’s how you can adjust DPI settings for your gaming mouse on a Windows 10 system:
- Access DPI Settings: Within the mouse software interface, locate the section dedicated to DPI settings. This area typically allows you to adjust the DPI levels and customize the sensitivity of the mouse sensor.
- Adjust DPI Levels: Depending on your gaming mouse model, you may have the option to configure multiple DPI levels. Higher DPI settings result in faster cursor movement, while lower settings offer finer control. Customize the DPI levels to align with your specific preferences and usage requirements.
- Create DPI Profiles: Some gaming mouse software enables users to create multiple DPI profiles, each tailored to different tasks or applications. For instance, you might configure a high-DPI profile for gaming and a lower-DPI profile for precise photo editing.
- Test Sensitivity: After adjusting the DPI settings, test the mouse’s sensitivity by navigating through various tasks and applications. Fine-tune the DPI levels until you find a configuration that feels comfortable and responsive for your computing needs.
By adjusting the DPI settings of your gaming mouse, you can optimize its performance to deliver the precise level of control and responsiveness you require. Whether you’re engaging in intense gaming sessions or executing intricate design work, the ability to fine-tune DPI settings empowers you to achieve an optimal and personalized user experience.
Step 5: Create Profiles
Creating profiles for your gaming mouse allows you to establish distinct configurations tailored to specific tasks, games, or applications. This feature is particularly valuable for users who engage in diverse activities, as it enables seamless transitions between custom settings without the need for manual adjustments. Here’s a detailed guide on how to create profiles for your gaming mouse on a Windows 10 system:
- Access Profile Management: Navigate to the profile management section within the mouse software interface. This area typically allows you to create, edit, and switch between multiple profiles, each with its unique settings.
- Create New Profiles: Initiate the profile creation process by selecting the option to add a new profile. Give each profile a descriptive name that reflects its intended use, such as "Gaming", "Productivity", or the name of a specific game or application.
- Customize Settings: Within each profile, customize the button functions, DPI settings, lighting effects (if applicable), and any other configurable parameters to align with the requirements of the associated task or activity.
- Assign Activation Methods: Some gaming mouse software allows users to designate activation methods for profiles, such as specific button combinations or automatic profile switching based on detected applications. Configure these activation methods to streamline the profile-switching process.
- Save and Apply: After customizing the profiles, save the settings within the mouse software. Ensure that the profiles are applied to the gaming mouse, allowing it to seamlessly transition between configurations based on your predefined settings.
By creating profiles for your gaming mouse, you can establish a versatile and adaptive tool that effortlessly adapts to your varied computing needs. Whether you’re shifting from intense gaming sessions to focused productivity tasks, the ability to switch between custom profiles empowers you to maintain optimal settings for each activity, enhancing your overall user experience.
Step 6: Save and Apply Changes
Once you’ve customized the various settings for your gaming mouse, it’s essential to save your configurations and apply the changes to ensure that your personalized preferences are effectively implemented. This final step in the customization process ensures that your gaming mouse operates according to your tailored specifications. Here’s how you can save and apply the changes for your gaming mouse on a Windows 10 system:
- Review Customizations: Before proceeding, review all the custom settings you’ve configured for your gaming mouse, including button functions, DPI levels, lighting effects, and any other personalized parameters. Ensure that each customization aligns with your preferences and usage requirements.
- Save Settings: Within the mouse software interface, locate the option to save the custom configurations. Depending on the software, this action may involve clicking a "Save" or "Apply" button to store the settings to the gaming mouse’s onboard memory or the software’s profile library.
- Apply Changes: After saving the settings, initiate the process to apply the changes to the gaming mouse. This action ensures that the customized configurations are actively implemented, allowing you to experience the benefits of your personalized settings during computer usage.
- Test Functionality: Once the changes are applied, test the functionality of the gaming mouse to ensure that the customized settings perform as intended. Verify that button functions, DPI levels, and other personalized features function seamlessly during various tasks and applications.
By saving and applying the changes to your gaming mouse, you solidify the personalized configurations that align with your specific preferences and computing needs. This step ensures that the customized settings are actively integrated into your gaming mouse’s functionality, allowing you to experience a tailored and optimized user experience that enhances your productivity and enjoyment.
Conclusion
Congratulations! You’ve successfully navigated the intricate process of programming your gaming mouse on a Windows 10 system, unlocking a world of personalized functionality and tailored performance. By following the comprehensive steps outlined in this guide, you’ve gained the knowledge and skills to harness the full potential of your gaming mouse, whether for immersive gaming experiences or streamlined productivity tasks.
Through the installation of the mouse software, exploration of advanced customization options, and the creation of profiles, you’ve equipped yourself with the tools to transform your gaming mouse into a versatile and adaptive tool that seamlessly adapts to your diverse computing needs. By adjusting DPI settings, customizing button functions, and saving the changes, you’ve personalized your gaming mouse to deliver an optimal and responsive user experience.
As you continue to explore the capabilities of your gaming mouse, remember that the customization process is an ongoing journey. Feel free to revisit the settings, experiment with new configurations, and refine your personalized profiles to further enhance your computing experience.
By programming your gaming mouse on Windows 10, you’ve taken a significant step towards elevating your digital interactions, whether in the realm of gaming, creative design, or professional productivity. Embrace the power of customization and unleash the full potential of your gaming mouse as you embark on your computing endeavors with confidence and personalized precision.