Introduction
Are you tired of using a boring, generic mouse pad? Why not create your own personalized mouse pad that reflects your unique style and personality? Making your own mouse pad is not only fun and creative, but it also allows you to customize it to perfectly suit your preferences. Whether you want a sleek and professional design for your office or a vibrant and colorful one for your home, crafting your own mouse pad is an excellent way to add a personal touch to your workspace.
In this step-by-step guide, we will walk you through the process of making your own mouse pad from scratch. You will learn about the materials needed, how to choose the right fabric, cutting the fabric to size, adding padding for comfort, attaching the fabric to the base, and adding final touches for a polished look. Additionally, we will explore various customization options to make your mouse pad truly one-of-a-kind.
By following these simple instructions, you can unleash your creativity and design a custom mouse pad that not only enhances your computing experience but also serves as an expression of your individuality. Let's embark on this exciting DIY journey and create a unique and functional accessory for your desk.
Materials Needed
Before embarking on the journey of creating your own mouse pad, it’s essential to gather the necessary materials. The following items are crucial for crafting a personalized mouse pad:
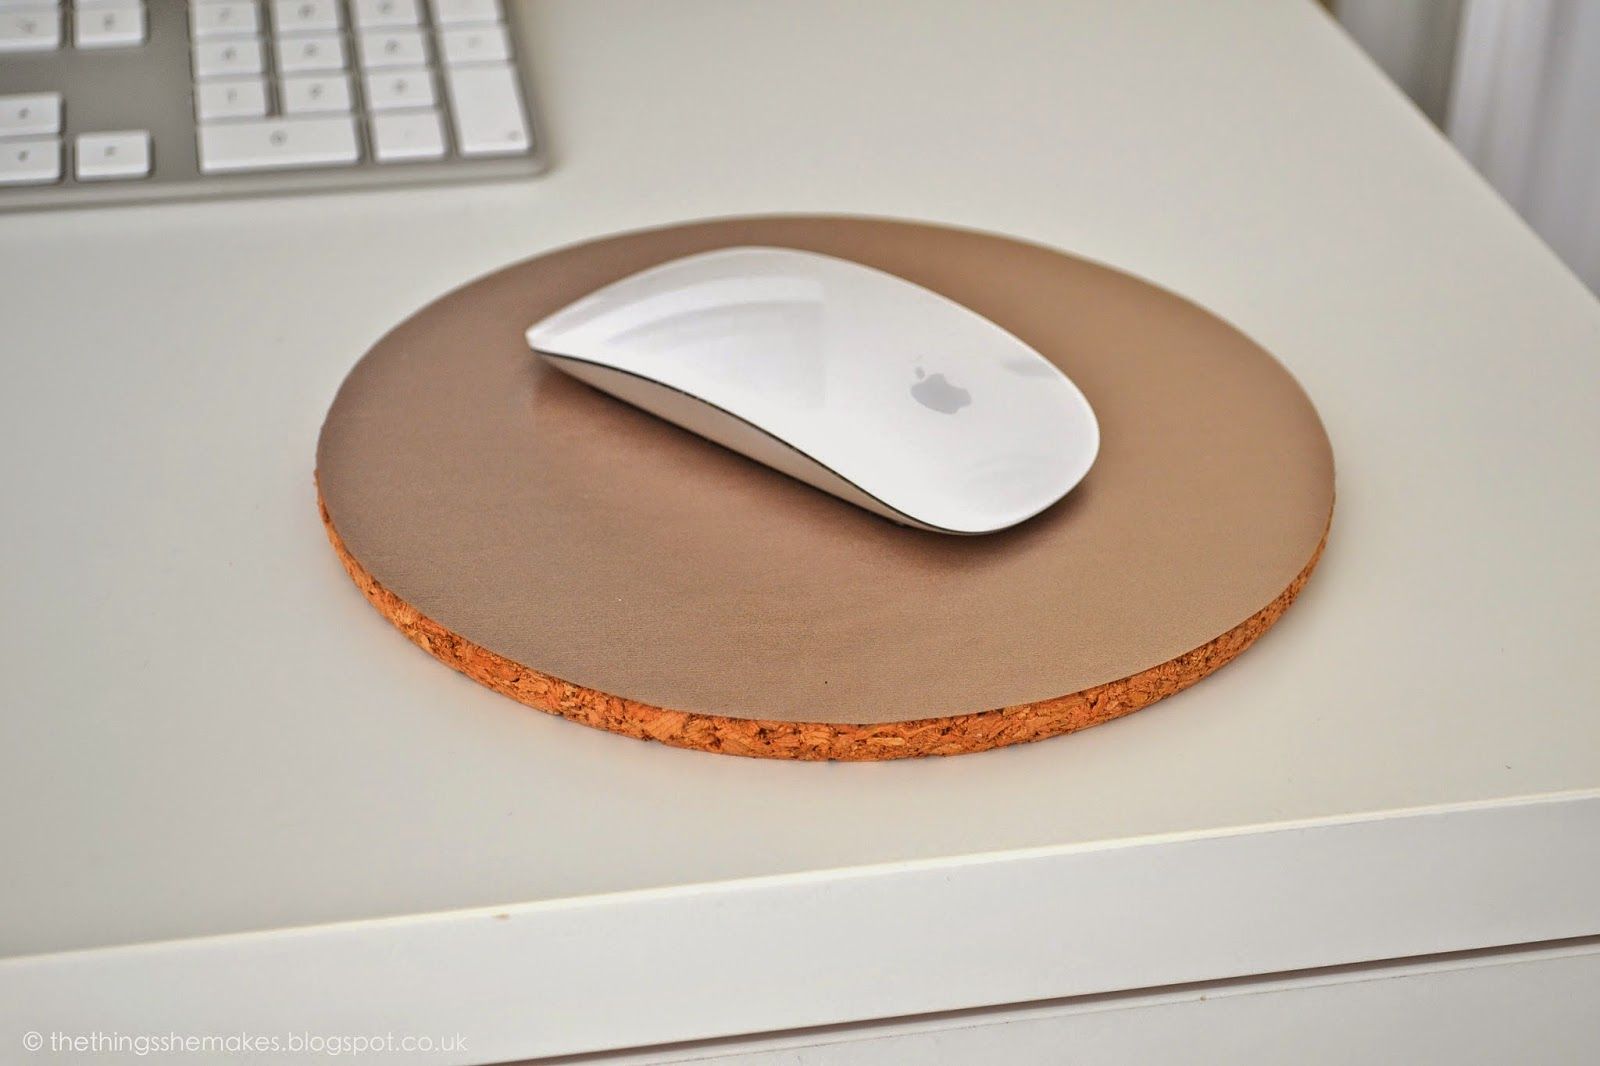
- Base material: A sturdy and smooth base material is the foundation of your mouse pad. This can be a piece of cork, rubber, or foam in the desired shape and size.
- Fabric: Choose a fabric that not only complements your style but also provides a smooth surface for your mouse to glide on. Consider factors such as texture, color, and durability when selecting the fabric.
- Scissors: A pair of sharp scissors is essential for cutting the fabric to the desired dimensions with precision.
- Adhesive: Depending on the base material, you may need adhesive to securely attach the fabric to the base. Double-sided tape or fabric glue are suitable options for this purpose.
- Padding material (optional): If you prefer a padded mouse pad for added comfort, consider including a layer of foam or felt to provide cushioning.
- Decorative elements (optional): To personalize your mouse pad further, gather decorative elements such as buttons, ribbons, or fabric paint to add unique embellishments.
- Measuring tools: A ruler or measuring tape will aid in accurately sizing and cutting the fabric and padding material.
- Protective cover (optional): Consider using a clear, protective cover to shield your custom mouse pad from spills and stains, extending its lifespan.
By ensuring you have these materials on hand, you’ll be well-prepared to embark on the creative process of crafting your own custom mouse pad. With these essential items at your disposal, you can move on to the next steps of choosing the right fabric and cutting it to size.
Choosing the Right Fabric
When it comes to creating a custom mouse pad, the choice of fabric plays a crucial role in both aesthetics and functionality. The ideal fabric should offer a smooth surface for effortless mouse movement while also aligning with your personal style. Here are some key considerations for selecting the right fabric:
- Texture: Opt for a fabric with a smooth texture to facilitate seamless mouse tracking. Avoid rough or coarse materials that may hinder the mouse’s movement.
- Color and Design: Reflect on your preferences and the overall aesthetic of your workspace. Whether you prefer a solid color, a vibrant pattern, or a customized design, the fabric should resonate with your personal style and complement your desk environment.
- Durability: Since the mouse pad will endure frequent use, choose a durable fabric that can withstand daily wear and tear. Consider factors such as stain resistance and ease of cleaning to ensure longevity.
- Thickness: The fabric should be thin enough to maintain a low profile for the mouse pad while providing sufficient durability. A thin yet durable fabric ensures optimal mouse tracking without compromising on resilience.
- Personalization: If you aspire to add a personal touch, consider custom-printed fabrics or DIY fabric painting to showcase your unique creativity and individuality.
Whether you opt for a sleek, minimalist fabric or a vibrant, personalized design, the chosen fabric should harmonize with your workspace and elevate your computing experience. By carefully considering these factors, you can select a fabric that not only enhances the functionality of your mouse pad but also reflects your distinctive taste and style.
Cutting the Fabric to Size
Once you have chosen the perfect fabric for your custom mouse pad, the next step is to ensure that it is precisely cut to the desired dimensions. This process requires accuracy and attention to detail to achieve a professional and polished result. Here’s a step-by-step guide to cutting the fabric to size:
- Measurements: Begin by measuring the dimensions of your base material using a ruler or measuring tape. Ensure that the measurements are precise, accounting for any desired overhang or border around the edges of the base.
- Marking the Fabric: Lay the chosen fabric on a flat, clean surface with the wrong side facing up. Using a fabric pencil or washable marker, carefully mark the measured dimensions on the fabric. Double-check the markings to guarantee accuracy before proceeding to cut.
- Cutting: With a pair of sharp scissors, carefully cut along the marked lines to create the fabric piece that will cover the base. Exercise caution to maintain straight and even edges, as precision is key to achieving a professional finish.
- Trimming (if necessary): If the fabric extends beyond the edges of the base, trim any excess material to ensure a neat and snug fit. Take care to trim the fabric evenly on all sides for a balanced appearance.
By meticulously following these steps, you can ensure that the fabric is tailored to fit the base material accurately, presenting a clean and refined appearance. Attention to detail during the cutting process is essential to achieve a flawless result that enhances both the visual appeal and functionality of your custom mouse pad.
Adding Padding
While not mandatory, adding padding to your custom mouse pad can significantly enhance comfort and functionality, providing a more ergonomic surface for prolonged use. If you opt to incorporate padding, consider the following steps to ensure a comfortable and supportive mouse pad:
- Selection of Padding Material: Choose a suitable padding material such as foam or felt that offers a balance of cushioning and support. The thickness of the padding should complement the overall profile of the mouse pad without impeding its functionality.
- Measuring and Cutting: If the padding material is to be included, measure and cut it to match the dimensions of the base material, ensuring a precise fit. The padding should align with the edges of the base without overlapping the fabric covering.
- Attaching the Padding: Securely adhere the padding to the base using a suitable adhesive, ensuring that it lies flat and uniform beneath the fabric. Smooth out any wrinkles or air pockets to maintain an even surface.
- Testing Comfort: After attaching the padding, assess the comfort and functionality of the mouse pad. Ensure that the added padding does not impede the mouse’s tracking or create an uneven surface, as optimal functionality is paramount.
By incorporating padding into your custom mouse pad, you can create a more comfortable and supportive work surface, reducing strain during extended computer use. The inclusion of padding not only enhances the tactile experience but also demonstrates your attention to ergonomic considerations, resulting in a mouse pad that prioritizes both style and comfort.
Attaching the Fabric to the Base
Once you have prepared the fabric and, if desired, added padding to your custom mouse pad, the next crucial step is securely attaching the fabric to the base material. This process ensures a snug and professional finish, allowing for optimal functionality and durability. Here’s a systematic approach to effectively affixing the fabric to the base:
- Positioning the Fabric: Lay the fabric flat with the right side facing down, ensuring it is free of wrinkles or creases. Place the base material on top of the fabric, aligning it carefully to ensure an even border around all sides.
- Securing the Edges: Starting from one edge, fold the fabric over the base and use an adhesive, such as fabric glue or double-sided tape, to secure it in place. Work gradually, smoothing out the fabric as you progress to prevent bunching or unevenness.
- Corners and Edges: When reaching the corners, neatly fold and tuck the fabric to create clean and crisp edges. Ensure that the corners lie flat and the fabric is taut to avoid any excess material that may interfere with the mouse pad’s functionality.
- Finishing Touches: Once all edges are securely fastened, inspect the fabric to confirm that it is uniformly attached to the base without any loose areas. Smooth out any imperfections or air bubbles to achieve a seamless and professional appearance.
By following these steps, you can effectively attach the fabric to the base, creating a custom mouse pad with a tailored and refined finish. Attention to detail during this process ensures that the fabric is firmly secured, providing a smooth and durable surface for optimal mouse functionality and long-term use.
Final Touches and Customization
With the fabric securely attached to the base, you have the opportunity to add unique and personalized touches to your custom mouse pad, elevating it from a functional accessory to a reflection of your individual style. Consider the following steps to add final touches and customization to your creation:
- Decorative Elements: Incorporate decorative elements such as buttons, ribbons, or fabric paint to embellish the borders or corners of the mouse pad. These additions can infuse personality and creativity into the design, making it distinctly yours.
- Custom Printing: If you have access to a fabric printer, consider custom-printing a design or pattern onto the fabric to create a truly unique and personalized mouse pad. This option allows for endless creativity and customization possibilities.
- Protective Cover (Optional): To safeguard your custom creation from spills and stains, consider adding a clear, protective cover. This cover not only preserves the aesthetics of the mouse pad but also enhances its durability.
- Personalization: Explore additional ways to personalize your mouse pad, such as incorporating monograms, favorite quotes, or images that hold significance to you. These personal touches can transform your mouse pad into a meaningful and cherished accessory.
By embracing these final touches and customization options, you can transform your custom mouse pad into a functional work of art that embodies your unique style and creativity. Whether through subtle embellishments or bold custom designs, these personalizations will set your mouse pad apart as a one-of-a-kind creation that reflects your individuality.
Conclusion
Congratulations on successfully creating your own custom mouse pad! Through this DIY journey, you have not only crafted a functional accessory for your workspace but also infused it with your personal style and creativity. By following the step-by-step guide, you have gained valuable insights into the process of making a custom mouse pad from scratch, from choosing the right fabric to adding final touches and customization.
As you admire your handiwork, take pride in the fact that your mouse pad is a unique reflection of your individuality, tailored to your preferences and designed to enhance your computing experience. The careful selection of materials, precise cutting of fabric, and thoughtful additions such as padding and decorative elements have culminated in a personalized accessory that brings a touch of personality to your desk.
Furthermore, your custom mouse pad serves as a testament to your creativity and resourcefulness, showcasing your ability to transform everyday items into personalized works of art. Whether it’s a sleek, professional design for your office or a vibrant, customized creation for your home, your custom mouse pad stands as a testament to your ingenuity and flair.
As you continue to explore DIY projects and creative endeavors, let this experience inspire you to infuse your surroundings with personalized touches that reflect your unique identity. Your custom mouse pad is not just a functional accessory; it’s a statement piece that embodies your creativity and individuality, making your workspace truly your own.
Embrace the satisfaction of creating a custom mouse pad that is as distinctive as you are, and let it inspire you to embark on future DIY projects with confidence and creativity.