Introduction
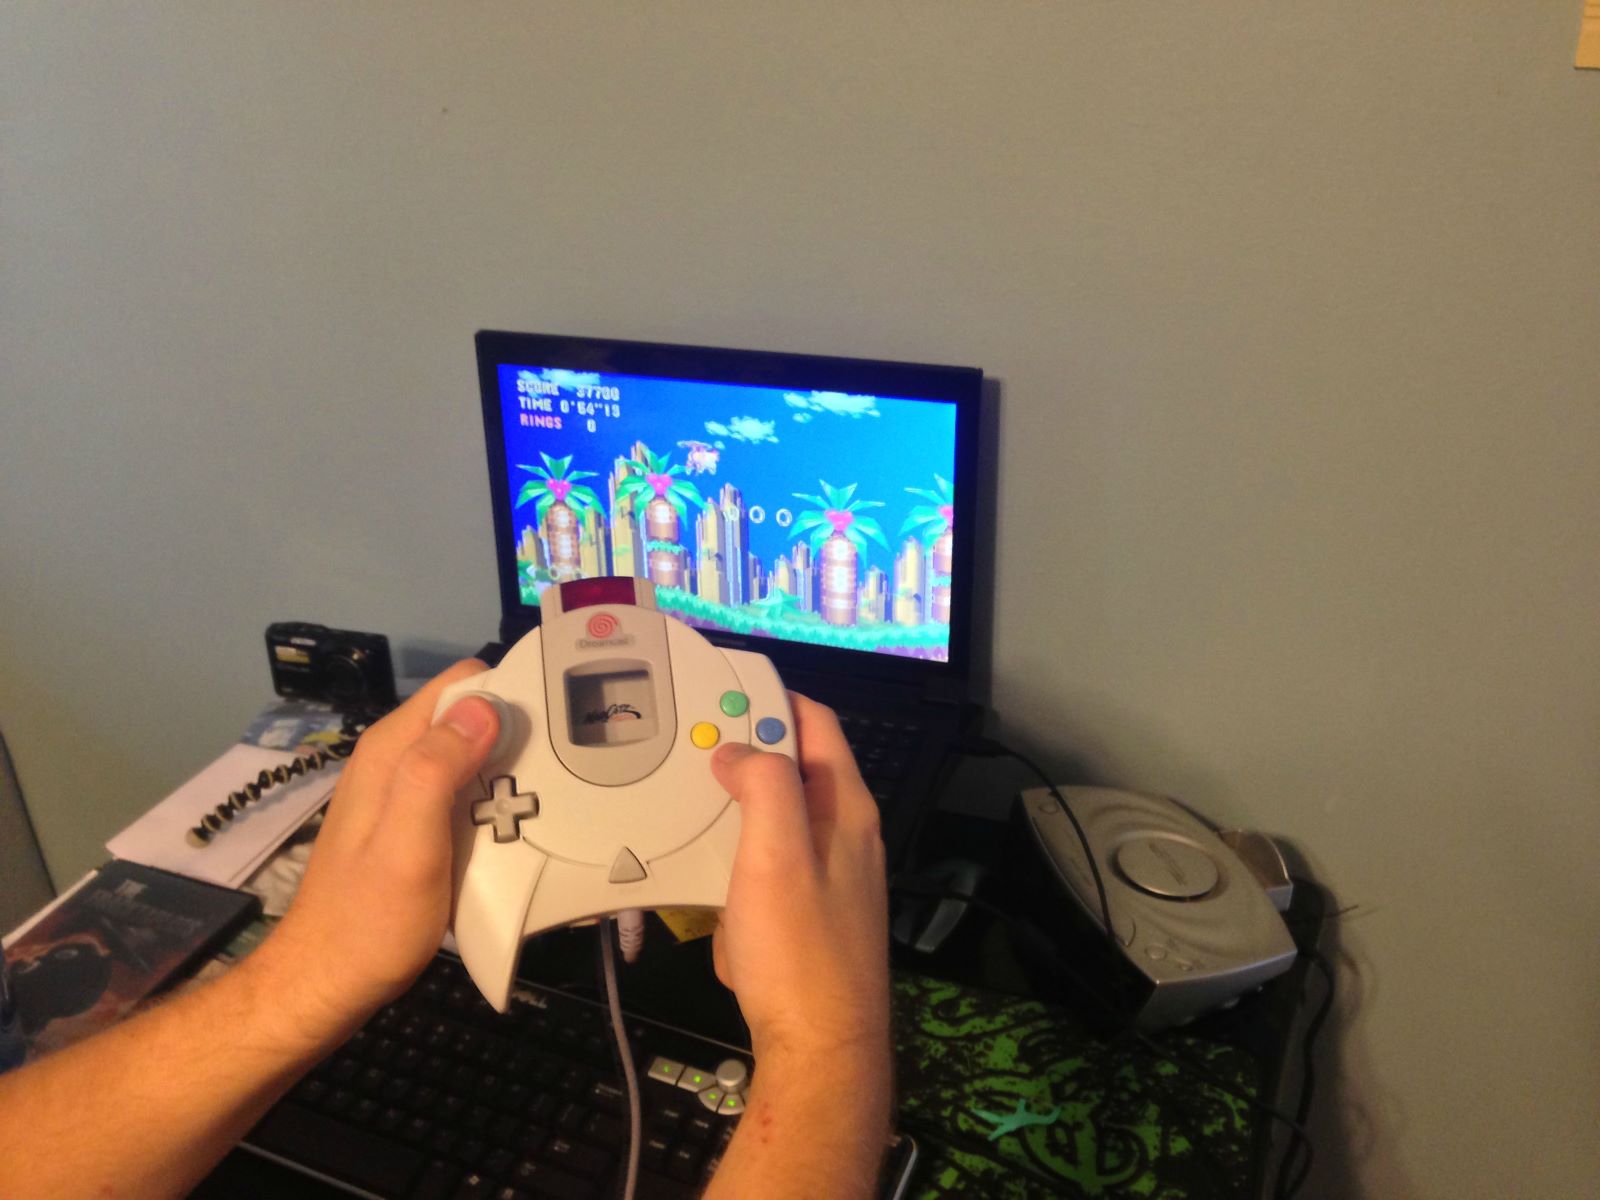
Are you a gaming enthusiast looking to relive the nostalgia of classic video games on your computer? NullDC, a popular open-source emulator, allows you to play your favorite Sega Dreamcast games on your PC. However, to truly immerse yourself in the gaming experience, you may prefer using a USB video game controller instead of a keyboard. This guide will walk you through the process of connecting and configuring a USB video game controller to work seamlessly with NullDC, ensuring that you can enjoy a more authentic and comfortable gaming experience.
Using a USB video game controller with NullDC offers several advantages. It allows for more precise and responsive gameplay, making it easier to execute complex maneuvers and enjoy a more immersive gaming experience. Additionally, the ergonomic design of a controller can reduce hand and wrist fatigue compared to using a keyboard, particularly during extended gaming sessions. By following the steps outlined in this guide, you can seamlessly integrate a USB video game controller with NullDC, enhancing your overall gaming experience.
Whether you're a seasoned gamer or new to the world of emulators, this guide will provide you with clear and concise instructions to help you connect and configure your USB video game controller with NullDC. With a few simple steps, you'll be ready to embark on your gaming journey, rediscovering the joy of classic Sega Dreamcast titles with the added comfort and precision of a USB video game controller. Let's dive into the process of setting up your controller and optimizing it for use with NullDC.
Step 1: Download and Install NullDC
Before you can connect a USB video game controller to NullDC, you’ll need to download and install the emulator on your computer. Follow these steps to get started:
- Visit the NullDC Website: Begin by navigating to the official NullDC website to download the emulator. Look for the latest stable version to ensure compatibility and optimal performance.
- Download the Installer: Once you’ve located the appropriate version of NullDC for your operating system, download the installation file to your computer. The file is typically available in a compressed format, such as a ZIP or RAR archive.
- Extract the Files: After downloading the installation file, extract its contents to a location of your choice on your computer. This will create a folder containing the necessary files for installing NullDC.
- Run the Installer: Open the extracted folder and locate the installer file. Double-click the installer to initiate the installation process. Follow the on-screen prompts to complete the installation of NullDC on your computer.
- Launch NullDC: Once the installation is complete, launch NullDC to ensure that it runs without any issues. Familiarize yourself with the emulator’s interface and settings to prepare for the next steps in connecting your USB video game controller.
By following these steps, you can successfully download and install NullDC, laying the foundation for integrating a USB video game controller with the emulator. With NullDC up and running on your computer, you’re ready to proceed to the next step of connecting your USB video game controller and configuring it to work seamlessly with the emulator.
Step 2: Connect the USB Video Game Controller to Your Computer
Now that NullDC is installed on your computer, it’s time to connect your USB video game controller. Follow these steps to establish the connection:
- Locate an Available USB Port: Identify an available USB port on your computer where you can connect the USB video game controller. Most modern computers have multiple USB ports located on the front, back, or sides of the device.
- Insert the USB Connector: Take the USB cable attached to the video game controller and insert it into the USB port on your computer. Ensure that the connector is inserted securely to establish a stable connection between the controller and your computer.
- Controller Recognition: Upon connecting the USB video game controller, your computer may automatically recognize the device and begin installing any necessary drivers. Allow the installation process to complete before proceeding to ensure that the controller is ready for use.
- Check for Compatibility: Verify that the USB video game controller is compatible with your operating system. Some controllers may require specific drivers or software to function correctly. Visit the manufacturer’s website to download any required drivers or software updates to ensure seamless compatibility.
- Test the Connection: Once the controller is connected and recognized by your computer, test its functionality by pressing various buttons and moving the analog sticks. Ensure that the controller’s inputs are being registered by your computer to confirm that the connection is successful.
By following these steps, you can successfully connect your USB video game controller to your computer, laying the groundwork for configuring it to work with NullDC. With the controller connected and functioning properly, you’re ready to proceed to the next step of configuring NullDC to recognize and utilize the controller’s inputs for an enhanced gaming experience.
Step 3: Configure NullDC to Recognize the Controller
With your USB video game controller connected to your computer, the next step is to configure NullDC to recognize and utilize the controller’s inputs. Follow these instructions to set up the controller within the emulator:
- Open NullDC: Launch NullDC on your computer to access the emulator’s interface and settings. Ensure that the emulator is running and ready for configuration.
- Access the Options Menu: Navigate to the “Options” or “Settings” menu within NullDC to locate the input configuration settings. These settings allow you to map the controller’s buttons and analog sticks to the corresponding inputs within the emulator.
- Configure Controller Inputs: Look for the “Input” or “Controller Settings” section within the options menu. Here, you can map the buttons and analog sticks of your USB video game controller to the virtual controls used by NullDC. Follow the on-screen instructions to assign each button and axis to its corresponding function within the emulator.
- Save the Configuration: Once you have mapped all the controller inputs, be sure to save the configuration settings within NullDC. This ensures that your controller settings are retained for future gaming sessions, eliminating the need to reconfigure the controller each time you use the emulator.
- Test the Configuration: After saving the controller configuration, test the inputs within NullDC to ensure that the controller is responding accurately. Launch a game within the emulator and verify that the controller’s inputs are correctly mapped and functioning as intended.
By following these steps, you can successfully configure NullDC to recognize and utilize your USB video game controller, providing you with a seamless and responsive gaming experience. With the controller inputs mapped and tested within the emulator, you’re now ready to proceed to the final step of testing the controller’s functionality within NullDC to ensure optimal performance.
Step 4: Test the Controller in NullDC
Now that you have configured your USB video game controller within NullDC, it’s time to test its functionality within the emulator. Follow these steps to ensure that the controller is working as intended:
- Launch a Game: Select a game from your Sega Dreamcast library within NullDC and launch it to begin playing. Choose a game that you are familiar with to easily assess the responsiveness and accuracy of the controller inputs.
- Verify Controller Inputs: Once the game has started, test each button and analog stick on your USB video game controller to ensure that the inputs are accurately registered within the game. Check for responsiveness, accuracy, and any potential issues with the controller’s functionality.
- Execute In-Game Actions: While playing the game, perform various in-game actions that require precise inputs, such as jumping, attacking, or navigating menus. Assess the controller’s performance in executing these actions and ensure that the inputs are translated accurately within the game.
- Adjust Settings if Necessary: If you encounter any issues with the controller’s responsiveness or accuracy, return to the controller configuration settings within NullDC to make necessary adjustments. Fine-tune the controller inputs to address any discrepancies and ensure optimal performance.
- Enjoy Seamless Gameplay: Once you are satisfied with the controller’s performance, immerse yourself in the gaming experience and enjoy seamless gameplay with your USB video game controller. Experience the nostalgia of classic Sega Dreamcast titles with the added comfort and precision of a controller.
By following these steps and testing the controller within NullDC, you can confirm that your USB video game controller is fully integrated and functioning optimally within the emulator. With the controller successfully tested and fine-tuned for optimal performance, you can now enjoy a more immersive and enjoyable gaming experience, reliving the excitement of classic Sega Dreamcast titles with modern convenience.


