Introduction
Are you a gaming enthusiast eager to elevate your racing experience by connecting a Logitech racing wheel to your large desk? You've come to the right place! This comprehensive guide will walk you through the process, from gathering the necessary tools to testing the connection and making adjustments. By following these steps, you can seamlessly integrate your Logitech racing wheel with your gaming setup, allowing for an immersive and exhilarating racing simulation experience.
Whether you're a seasoned gamer or a newcomer to the world of racing simulators, setting up a Logitech racing wheel on a large desk can enhance your gameplay by providing a more realistic and responsive control interface. With the right tools and a clear understanding of the setup process, you can transform your gaming space into a thrilling racing cockpit.
In the following steps, you'll learn how to gather the essential tools, prepare your desk and racing wheel, attach the wheel securely to the desk, connect it to your gaming console or PC, and perform a test to ensure everything is functioning optimally. This guide aims to simplify the setup process, empowering you to enjoy a seamless and immersive racing experience without unnecessary complications or frustrations.
So, let's dive into the details and get ready to elevate your racing game to new heights by connecting your Logitech racing wheel to your large desk. With a few simple steps, you'll be well on your way to experiencing the thrill of high-speed racing from the comfort of your own gaming space. Let's get started!
Step 1: Gather the Necessary Tools
Before embarking on the process of connecting your Logitech racing wheel to a large desk, it’s essential to gather the required tools and ensure that you have everything at your disposal. By having the necessary equipment on hand, you can streamline the setup process and address any potential challenges that may arise along the way.
Here’s a list of the tools and materials you’ll need:
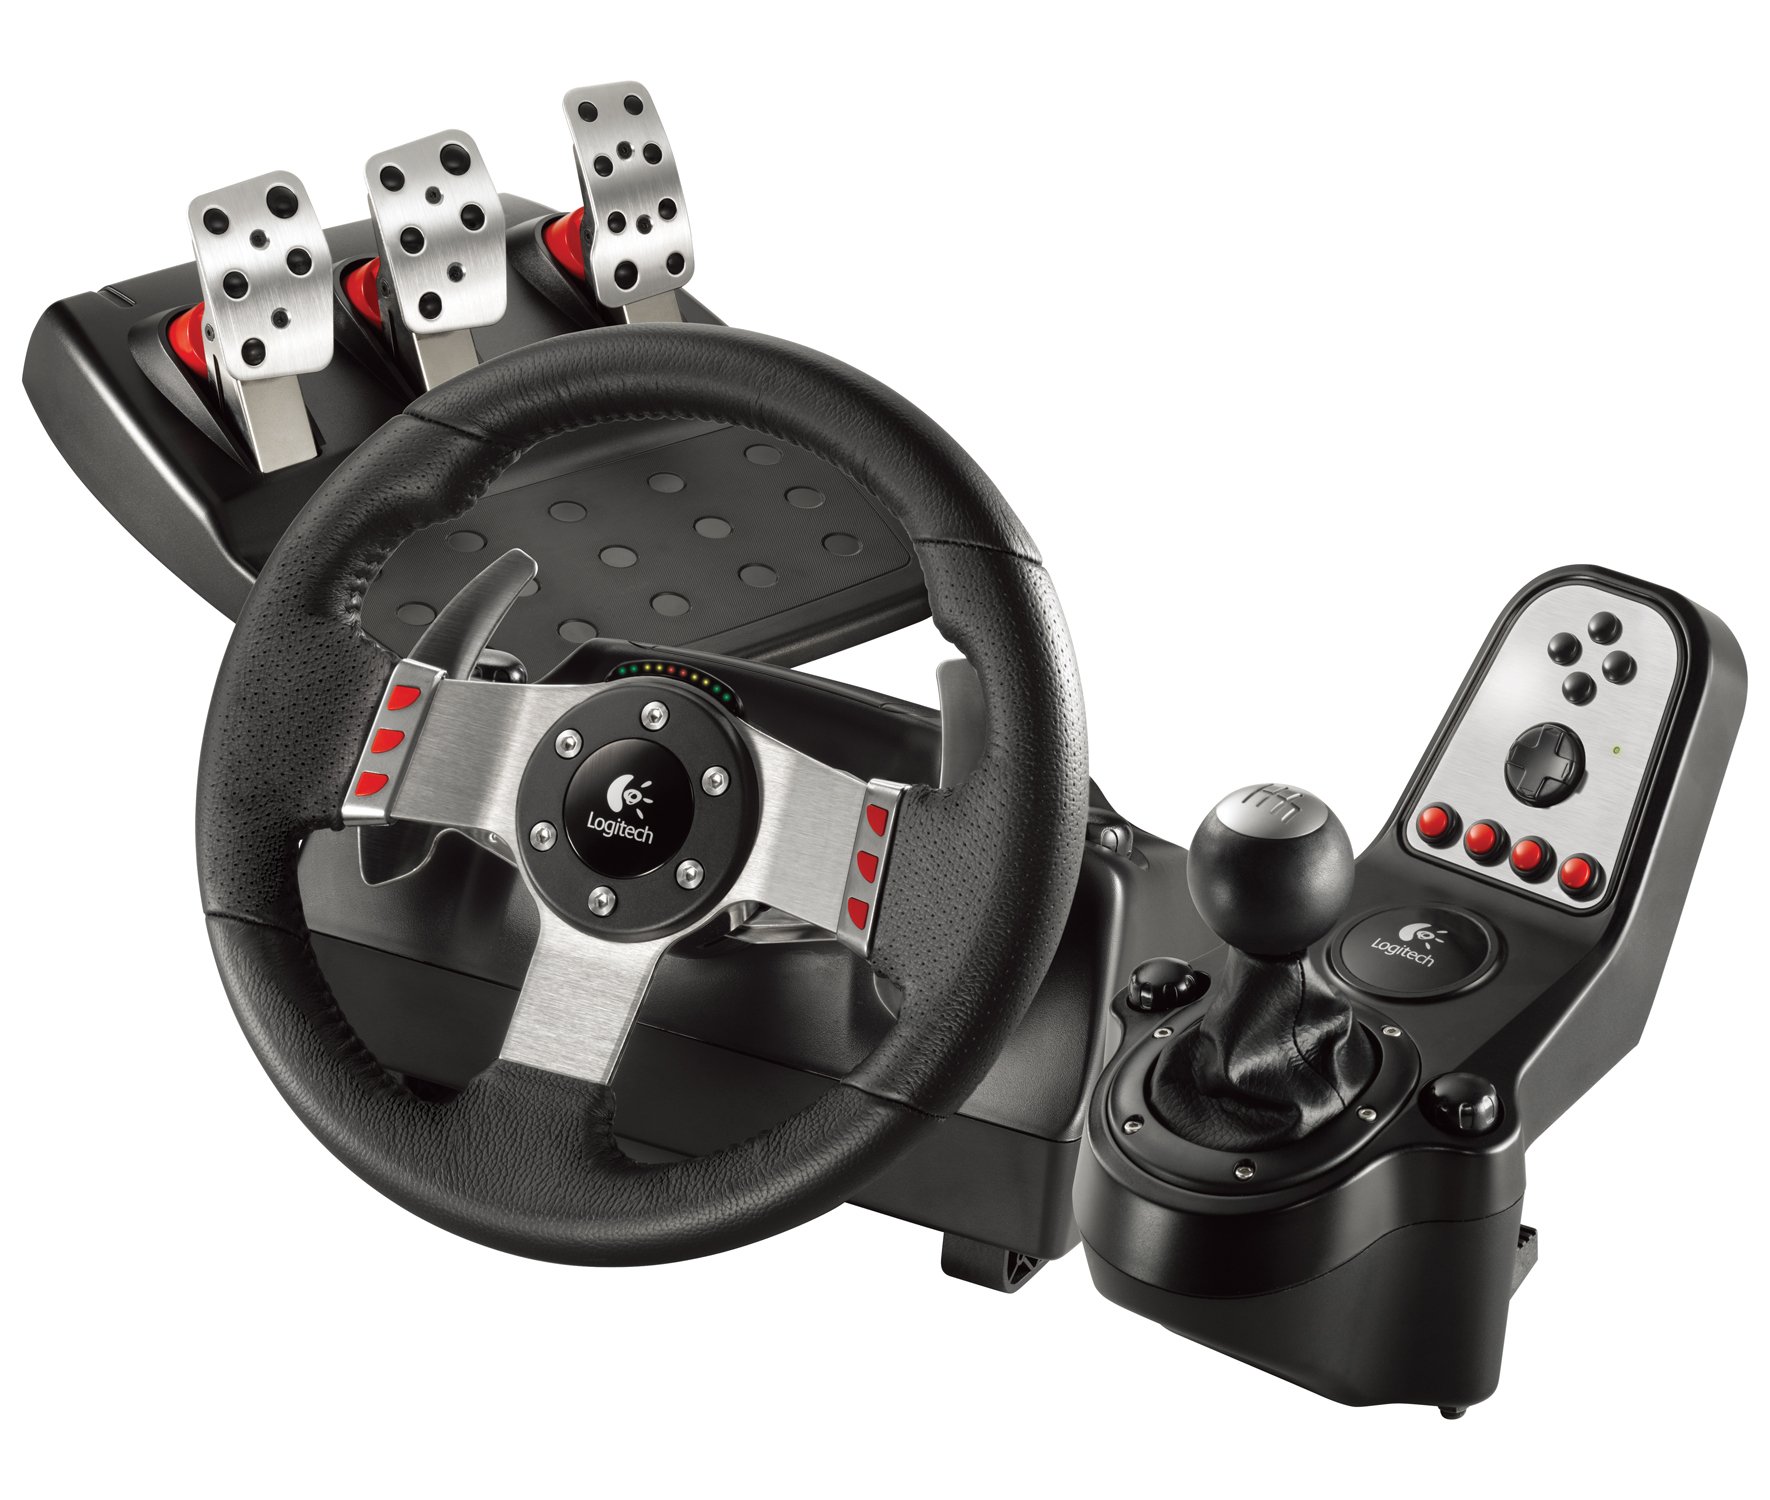
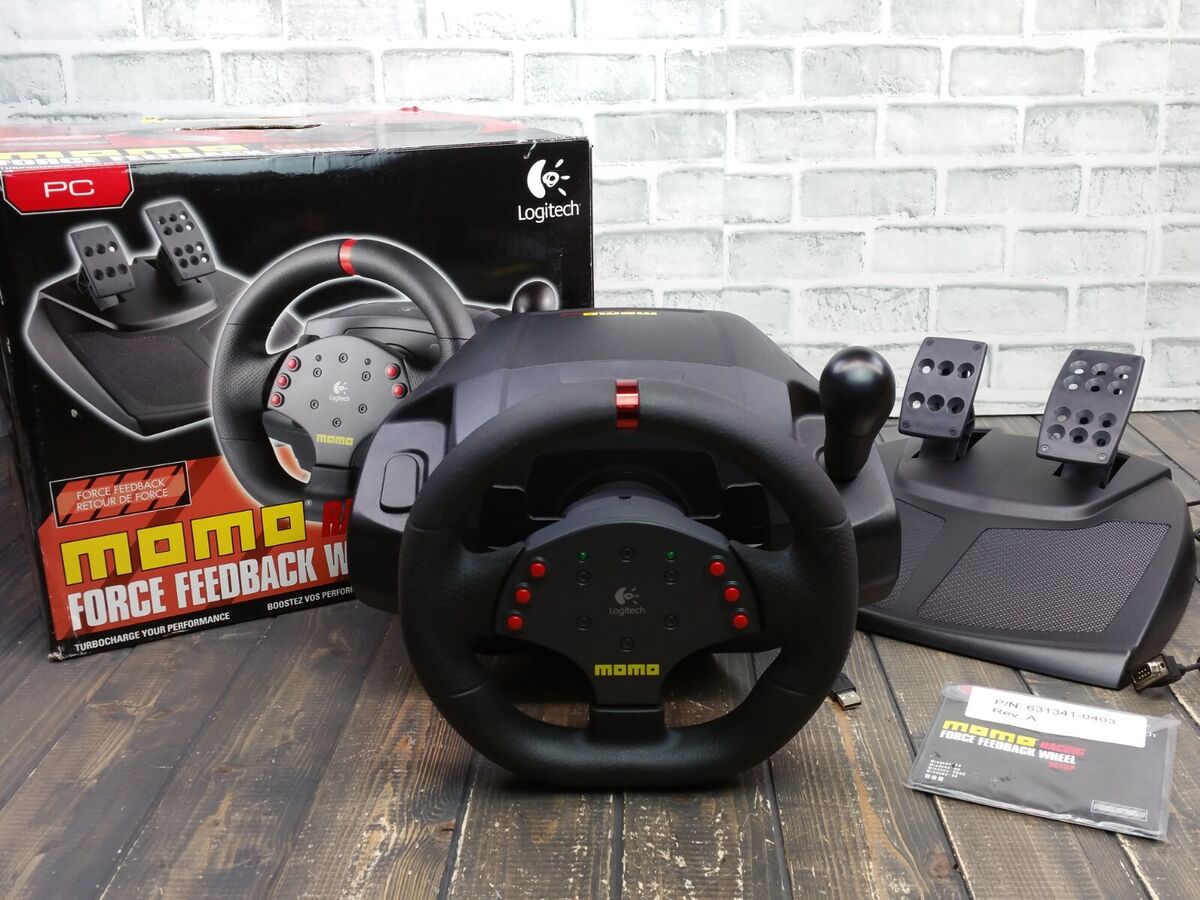
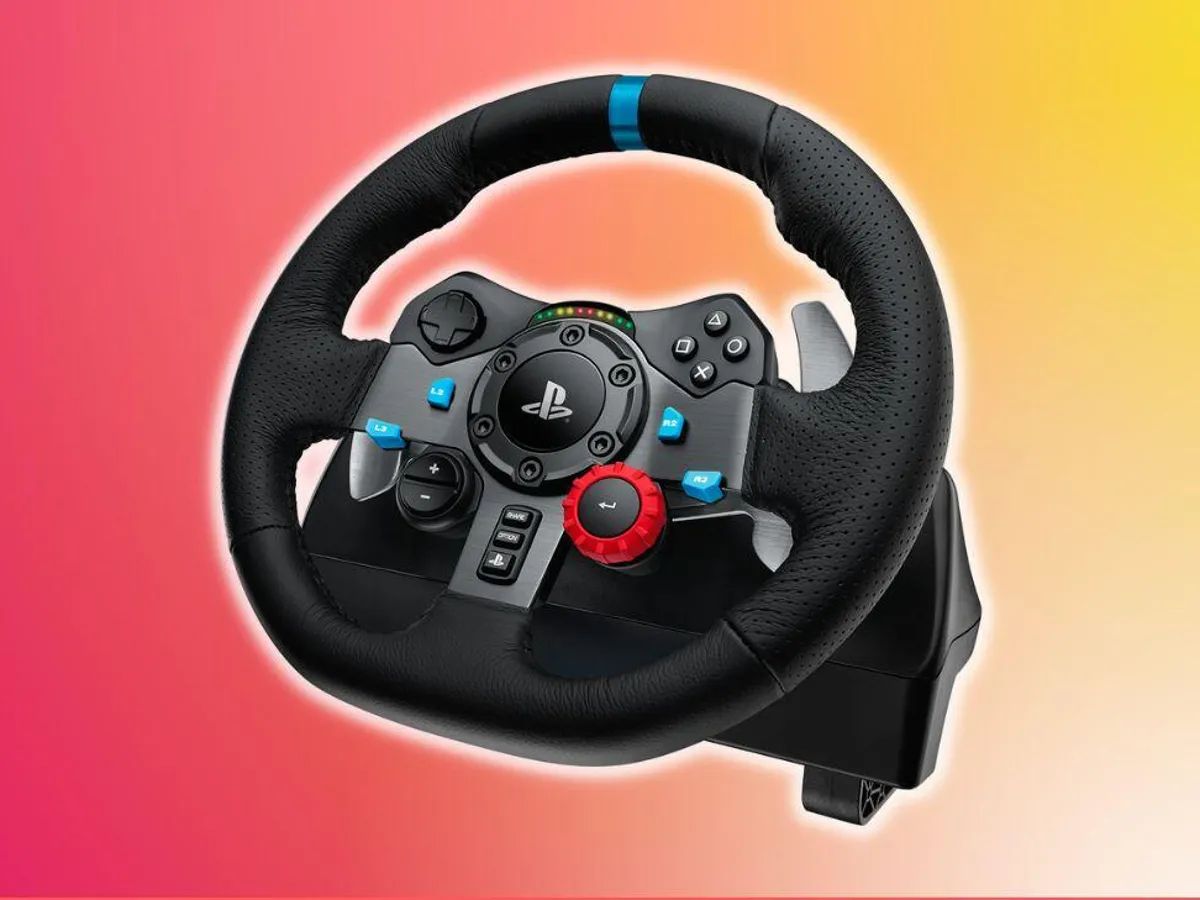
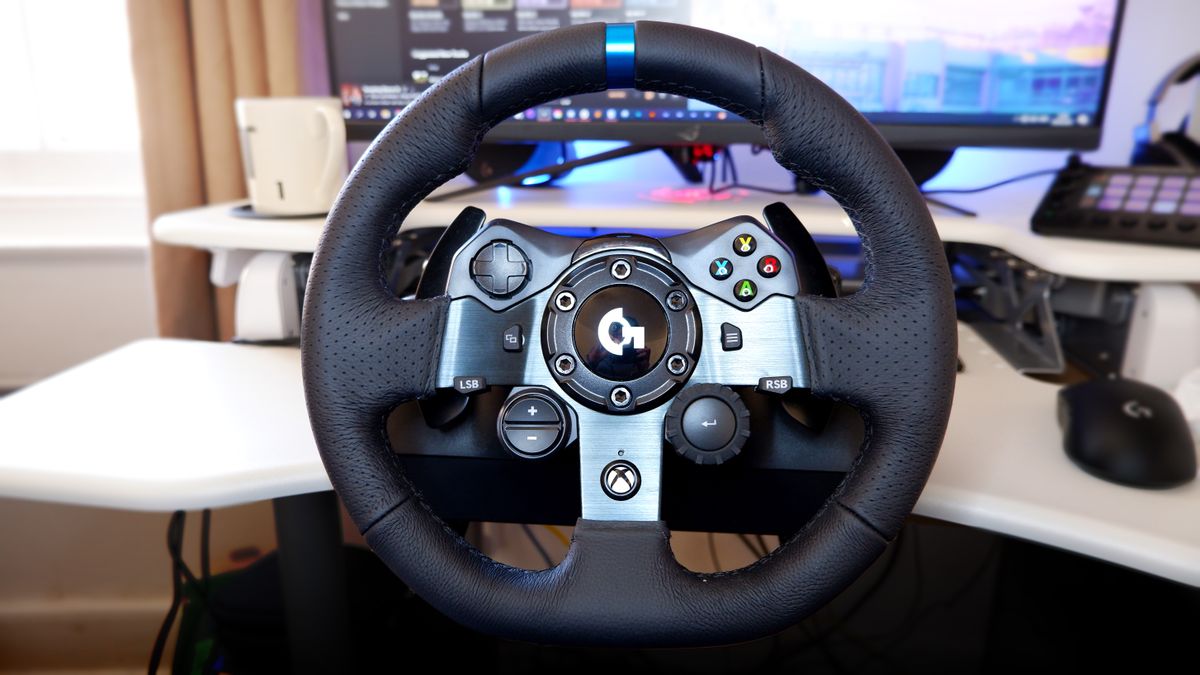
- Logitech Racing Wheel: Ensure that you have the Logitech racing wheel model compatible with your gaming console or PC. This may include the Logitech G29, G920, or other compatible models.
- Large Desk: Verify that your desk provides ample space and a suitable surface for mounting the racing wheel securely.
- Mounting Clamps or Screws: Depending on the design of your racing wheel, you may need mounting clamps or screws to secure it to the desk. Check the wheel’s manual for specific mounting requirements.
- Power Adapter and Cables: Ensure that the racing wheel’s power adapter and necessary cables are available and easily accessible.
- Gaming Console or PC: Have your gaming console or PC ready for testing the connection once the wheel is set up.
- Optional: Cable Management Tools: Consider cable ties or clips to manage the wires and prevent clutter around your desk.
By confirming the availability of these tools and materials, you can proceed with confidence, knowing that you’re fully equipped to connect your Logitech racing wheel to your large desk. This proactive approach will help you avoid interruptions during the setup process and ensure a smoother transition to the subsequent steps.
Step 2: Prepare the Desk and Wheel
With the necessary tools gathered, it’s time to prepare both your desk and the Logitech racing wheel for the upcoming connection process. This step is crucial in ensuring that the desk provides a stable and suitable surface for mounting the wheel, while also preparing the wheel itself for secure attachment.
Here’s how to prepare the desk and wheel for the upcoming setup:
- Clean and Clear the Desk: Start by clearing the desk of any clutter or obstructions. This will provide a clean and spacious area for mounting the racing wheel and allow for easy access during the setup process.
- Position the Desk Chair: Adjust your desk chair to a comfortable and ergonomic position, ensuring that it allows for easy access to the desk and the area where the racing wheel will be mounted.
- Inspect the Racing Wheel: Examine the Logitech racing wheel to ensure that it’s in optimal condition and free from any damage. Check the cables and connectors for any signs of wear or fraying, and address any issues before proceeding.
- Review the Mounting Instructions: Refer to the user manual or mounting instructions provided with the racing wheel to familiarize yourself with the specific requirements for attaching it to a desk. Different models may have varying mounting methods, so it’s essential to follow the manufacturer’s guidelines.
- Identify Mounting Points: If your racing wheel requires mounting clamps or screws, identify the appropriate mounting points on the wheel and ensure that they align with the desk’s surface. This will help you determine the ideal positioning for secure attachment.
By thoroughly preparing the desk and the racing wheel, you’ll set the stage for a smooth and successful connection process. Taking the time to clear the desk, inspect the wheel, and familiarize yourself with the mounting requirements will contribute to a more efficient and hassle-free setup experience.
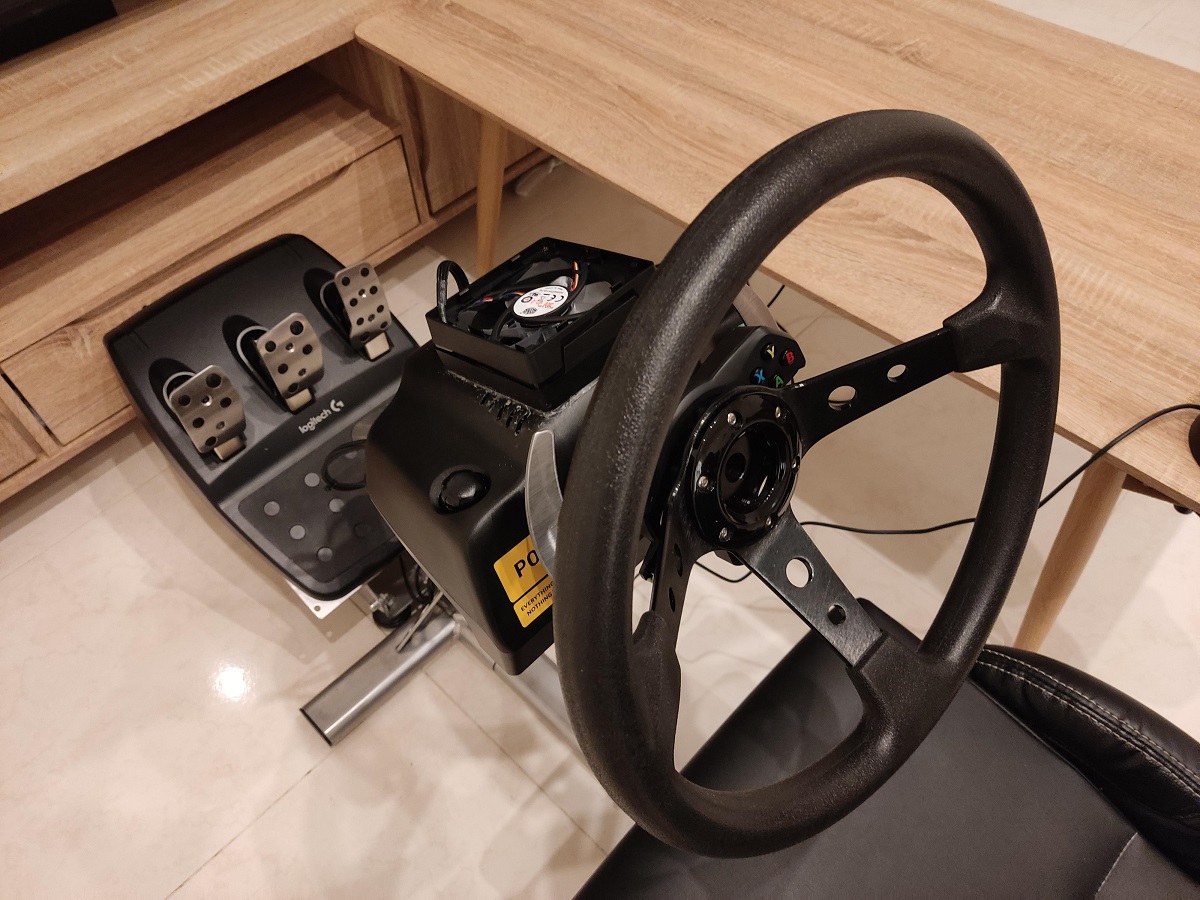
Step 3: Attach the Wheel to the Desk
Now that the desk and racing wheel are prepared, it’s time to proceed with attaching the Logitech racing wheel securely to the desk. This step is crucial in ensuring that the wheel is stable and properly positioned for an optimal racing experience. Depending on the specific mounting requirements of your racing wheel, you’ll need to follow the appropriate guidelines to achieve a secure attachment.
Here’s a detailed guide on how to attach the racing wheel to the desk:
- Positioning the Wheel: Place the racing wheel in the desired position on the desk, ensuring that it is aligned with your seating position and provides a comfortable reach for gameplay.
- Using Mounting Clamps or Screws: If your racing wheel is designed to be secured using mounting clamps or screws, carefully attach them to the designated mounting points on the wheel. Ensure that the clamps are tightened securely or the screws are fastened according to the manufacturer’s instructions.
- Stability Check: Once the wheel is attached, perform a stability check by gently applying pressure in different directions to ensure that it is firmly secured to the desk. This step is crucial in preventing any unexpected movement or instability during gameplay.
- Cable Management: Organize the cables connected to the racing wheel, ensuring that they are neatly routed and secured to prevent tangling or interference during gameplay. Utilize cable ties or clips to manage the cables and maintain a tidy setup.
- Adjustments and Alignment: Make any necessary adjustments to the wheel’s positioning and alignment to ensure that it complements your gaming setup and provides an ergonomic and immersive racing experience.
By following these steps, you can securely attach your Logitech racing wheel to the desk, creating a stable and optimized setup for your racing simulations. Taking the time to position the wheel, secure it to the desk, manage the cables, and make necessary adjustments will contribute to a more enjoyable and hassle-free gaming experience.
Step 4: Connect the Wheel to the Gaming Console or PC
With the Logitech racing wheel securely attached to the desk, the next step involves connecting the wheel to your gaming console or PC. This crucial stage ensures that the racing wheel is properly integrated with your gaming setup, allowing for seamless communication and interaction during gameplay. By following the appropriate connection process, you can ensure that the racing wheel functions optimally and enhances your overall gaming experience.
Here’s a comprehensive guide on how to connect the racing wheel to your gaming console or PC:
- Locate the Wheel’s Connection Ports: Identify the various connection ports on the racing wheel, including the power input, USB port, and any additional ports specific to your model.
- Power Connection: If your racing wheel requires external power, connect the power adapter to a suitable power outlet and then to the designated power input on the wheel. Ensure that the power connection is secure and stable.
- USB Connection: Use a USB cable to connect the racing wheel to an available USB port on your gaming console or PC. Ensure that the cable is securely plugged in and that the connection is stable.
- Driver Installation (If Required): Depending on your gaming platform and the specific model of the racing wheel, you may need to install drivers or software to enable full functionality. Follow the manufacturer’s instructions for driver installation, if necessary.
- Configuration and Calibration: Once the wheel is connected, access the settings or calibration options on your gaming console or PC to configure the racing wheel. This may involve adjusting sensitivity, button mapping, and other settings to suit your preferences.
- Test the Connection: Verify that the racing wheel is recognized by your gaming console or PC by navigating to the system settings or control panel. Test the functionality of the wheel by turning it and pressing the buttons to ensure that the inputs are registered correctly.
By following these steps, you can successfully connect your Logitech racing wheel to your gaming console or PC, ensuring that it is fully integrated and ready for an immersive racing experience. Taking the time to establish a stable and functional connection will contribute to a seamless and enjoyable gaming setup.
Step 5: Test the Connection and Adjustments
After connecting your Logitech racing wheel to the gaming console or PC, it’s essential to test the connection and make any necessary adjustments to ensure that the wheel functions optimally and enhances your gaming experience. This final step allows you to verify the stability of the connection, fine-tune settings, and make ergonomic adjustments for a more immersive and responsive racing simulation.
Here’s a detailed guide on how to test the connection and make adjustments to the racing wheel setup:
- Functional Testing: Begin by testing the functionality of the racing wheel by launching a racing game or simulation. Verify that the wheel’s inputs, including steering, pedals, and buttons, are responsive and accurately reflected in the gameplay.
- Calibration and Sensitivity: Access the calibration or sensitivity settings for the racing wheel on your gaming console or PC. Fine-tune the wheel’s sensitivity, dead zones, and force feedback settings to achieve a personalized and immersive racing experience.
- Ergonomic Adjustments: Evaluate the positioning of the racing wheel and make ergonomic adjustments to ensure that it provides a comfortable and natural feel during gameplay. Consider the positioning of the pedals, the angle of the wheel, and the overall alignment with your seating position.
- Button Mapping and Customization: If your racing wheel features customizable buttons or controls, take the time to map them according to your preferences. Assign functions such as gear shifting, menu navigation, and in-game commands to optimize your gaming experience.
- Feedback and Fine-Tuning: Pay attention to the force feedback and tactile response of the racing wheel during gameplay. Fine-tune the feedback settings to achieve a balance between realism and comfort, ensuring that the wheel’s feedback enhances the overall gaming experience.
- Extended Gameplay Test: Engage in an extended gameplay session to thoroughly assess the performance and comfort of the racing wheel setup. Pay attention to any areas that may require further adjustments or fine-tuning based on your experience during gameplay.
By following these steps, you can effectively test the connection and make adjustments to your Logitech racing wheel setup, ensuring that it delivers an immersive, responsive, and comfortable racing experience. Taking the time to fine-tune settings, assess functionality, and make ergonomic adjustments will contribute to an optimized and enjoyable gaming setup.
Conclusion
Congratulations! By following the comprehensive guide outlined above, you have successfully connected your Logitech racing wheel to your large desk, creating an immersive and exhilarating gaming setup. The process of gathering the necessary tools, preparing the desk and racing wheel, attaching the wheel securely, connecting it to your gaming console or PC, and testing the connection and adjustments has empowered you to elevate your racing simulation experience to new heights.
With the racing wheel seamlessly integrated into your gaming space, you now have the opportunity to immerse yourself in thrilling racing simulations, enjoying responsive controls, realistic force feedback, and personalized settings tailored to your preferences. The attention to detail in positioning the wheel, managing cables, and fine-tuning settings ensures that your gaming setup provides both functionality and comfort, enhancing the overall gaming experience.
As you embark on your racing adventures, remember to periodically review and adjust the setup to accommodate any evolving preferences or gameplay experiences. Whether navigating challenging tracks, competing in virtual races, or simply enjoying the immersive sensation of high-speed driving, your Logitech racing wheel setup is poised to deliver countless hours of excitement and enjoyment.
Embrace the dynamic world of racing simulations with confidence, knowing that your Logitech racing wheel and large desk setup are primed to deliver a thrilling and responsive gaming experience. Get ready to feel the adrenaline rush of high-speed racing as you navigate virtual circuits and compete for victory, all from the comfort of your own gaming space.
With your Logitech racing wheel seamlessly integrated into your gaming setup, the possibilities for exhilarating racing adventures are limitless. So, grab the wheel, buckle up, and get ready to embark on unforgettable racing experiences that await you in the virtual world.