Introduction
Welcome to the exhilarating world of racing simulations! Project Cars 2, a critically acclaimed racing game, offers an immersive experience that can be further enhanced with the Logitech G29 Racing Wheel. This powerful peripheral device provides a realistic and responsive driving experience, allowing players to feel every twist and turn of the track as they navigate high-speed races and challenging circuits.
Setting up the G29 Racing Wheel in Project Cars 2 is an essential step to fully immerse yourself in the game and elevate your racing skills. Whether you’re a seasoned pro or a newcomer to the world of racing simulations, configuring the G29 Racing Wheel properly can significantly enhance your gaming experience, providing a level of realism and control that is unparalleled.
This guide will walk you through the process of installing and setting up the G29 Racing Wheel with Project Cars 2, ensuring that you can hit the virtual track with confidence and precision. From unpacking the wheel to fine-tuning the settings within the game, each step is designed to help you make the most of this impressive racing peripheral and elevate your gaming experience to new heights.
Installing the G29 Racing Wheel
Before diving into the heart-pounding races in Project Cars 2, it’s crucial to properly install the Logitech G29 Racing Wheel to ensure seamless compatibility and optimal performance. The following steps will guide you through the installation process, allowing you to set up the G29 Racing Wheel with ease:
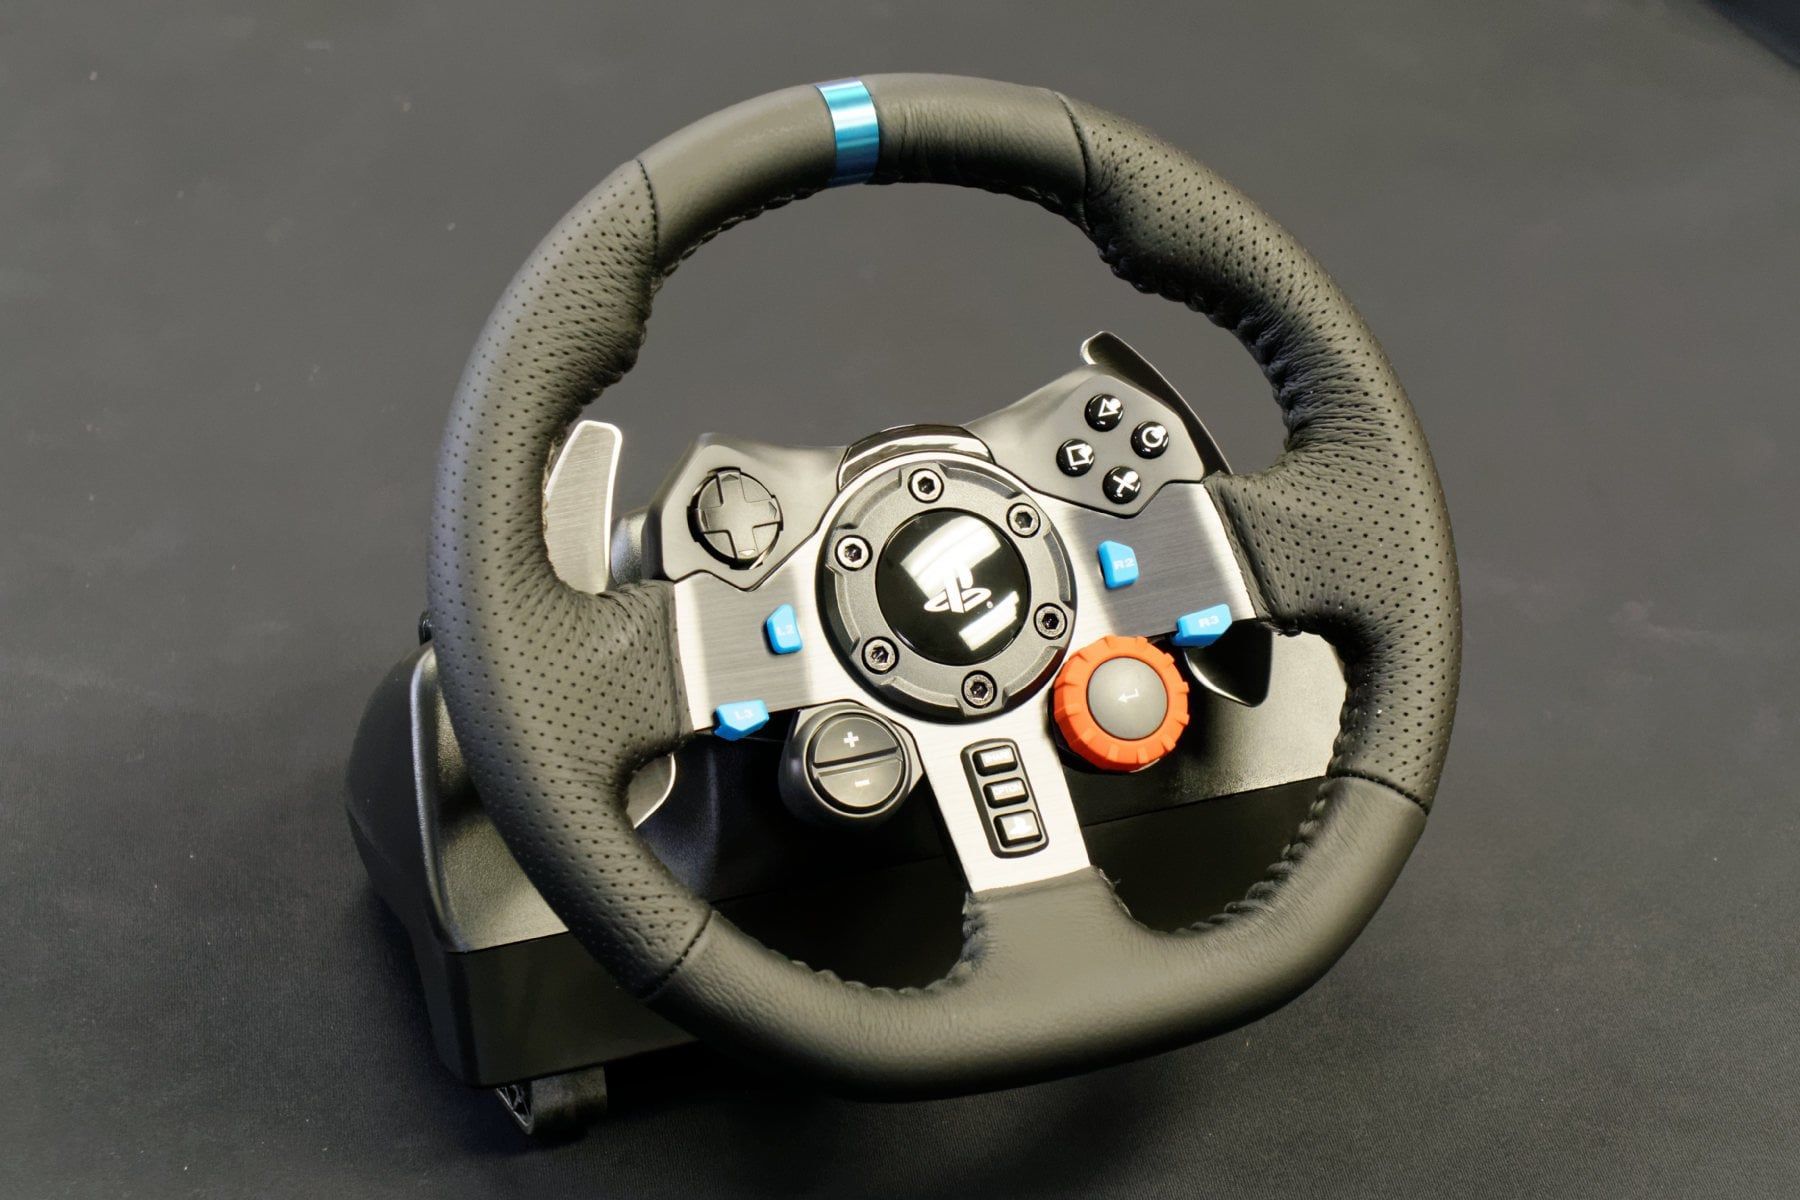
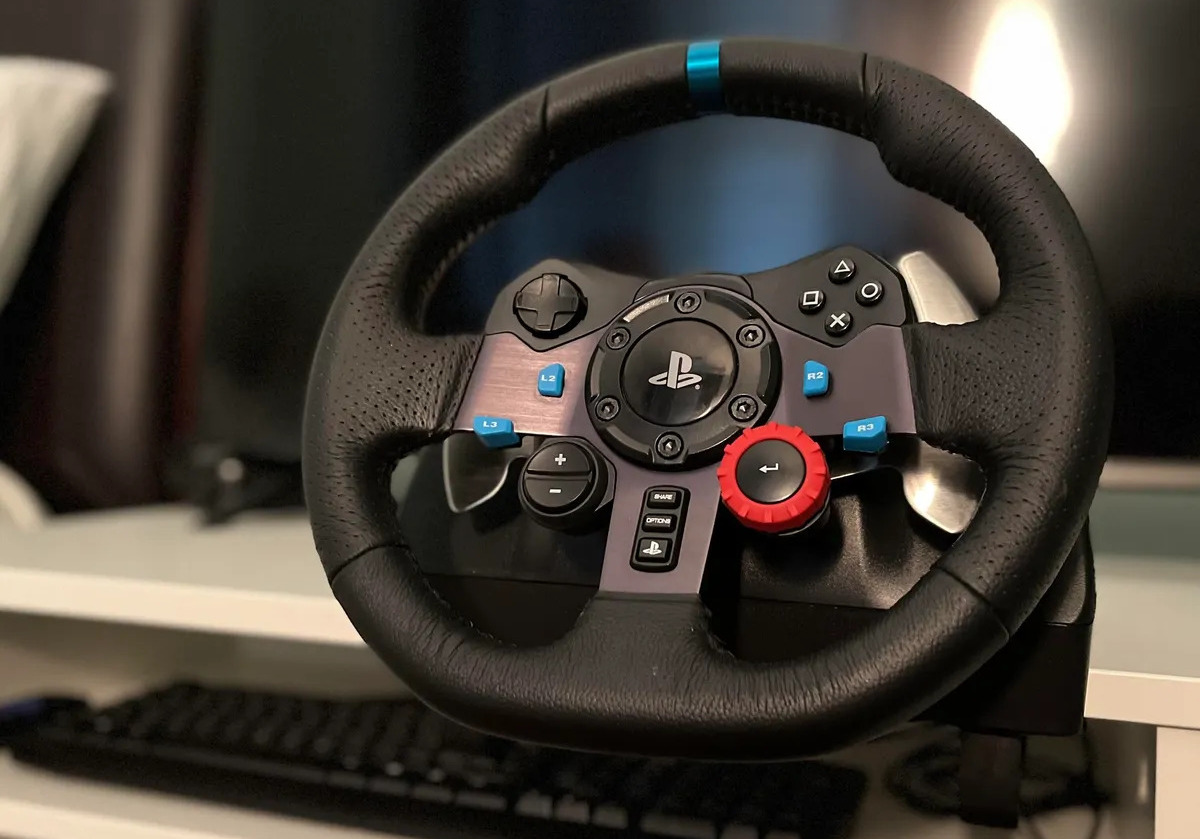
- Unboxing the G29 Racing Wheel: Begin by carefully unboxing the G29 Racing Wheel, ensuring that all components, including the wheel, pedals, and power adapter, are present and undamaged. Take a moment to familiarize yourself with the various parts and their functions before proceeding.
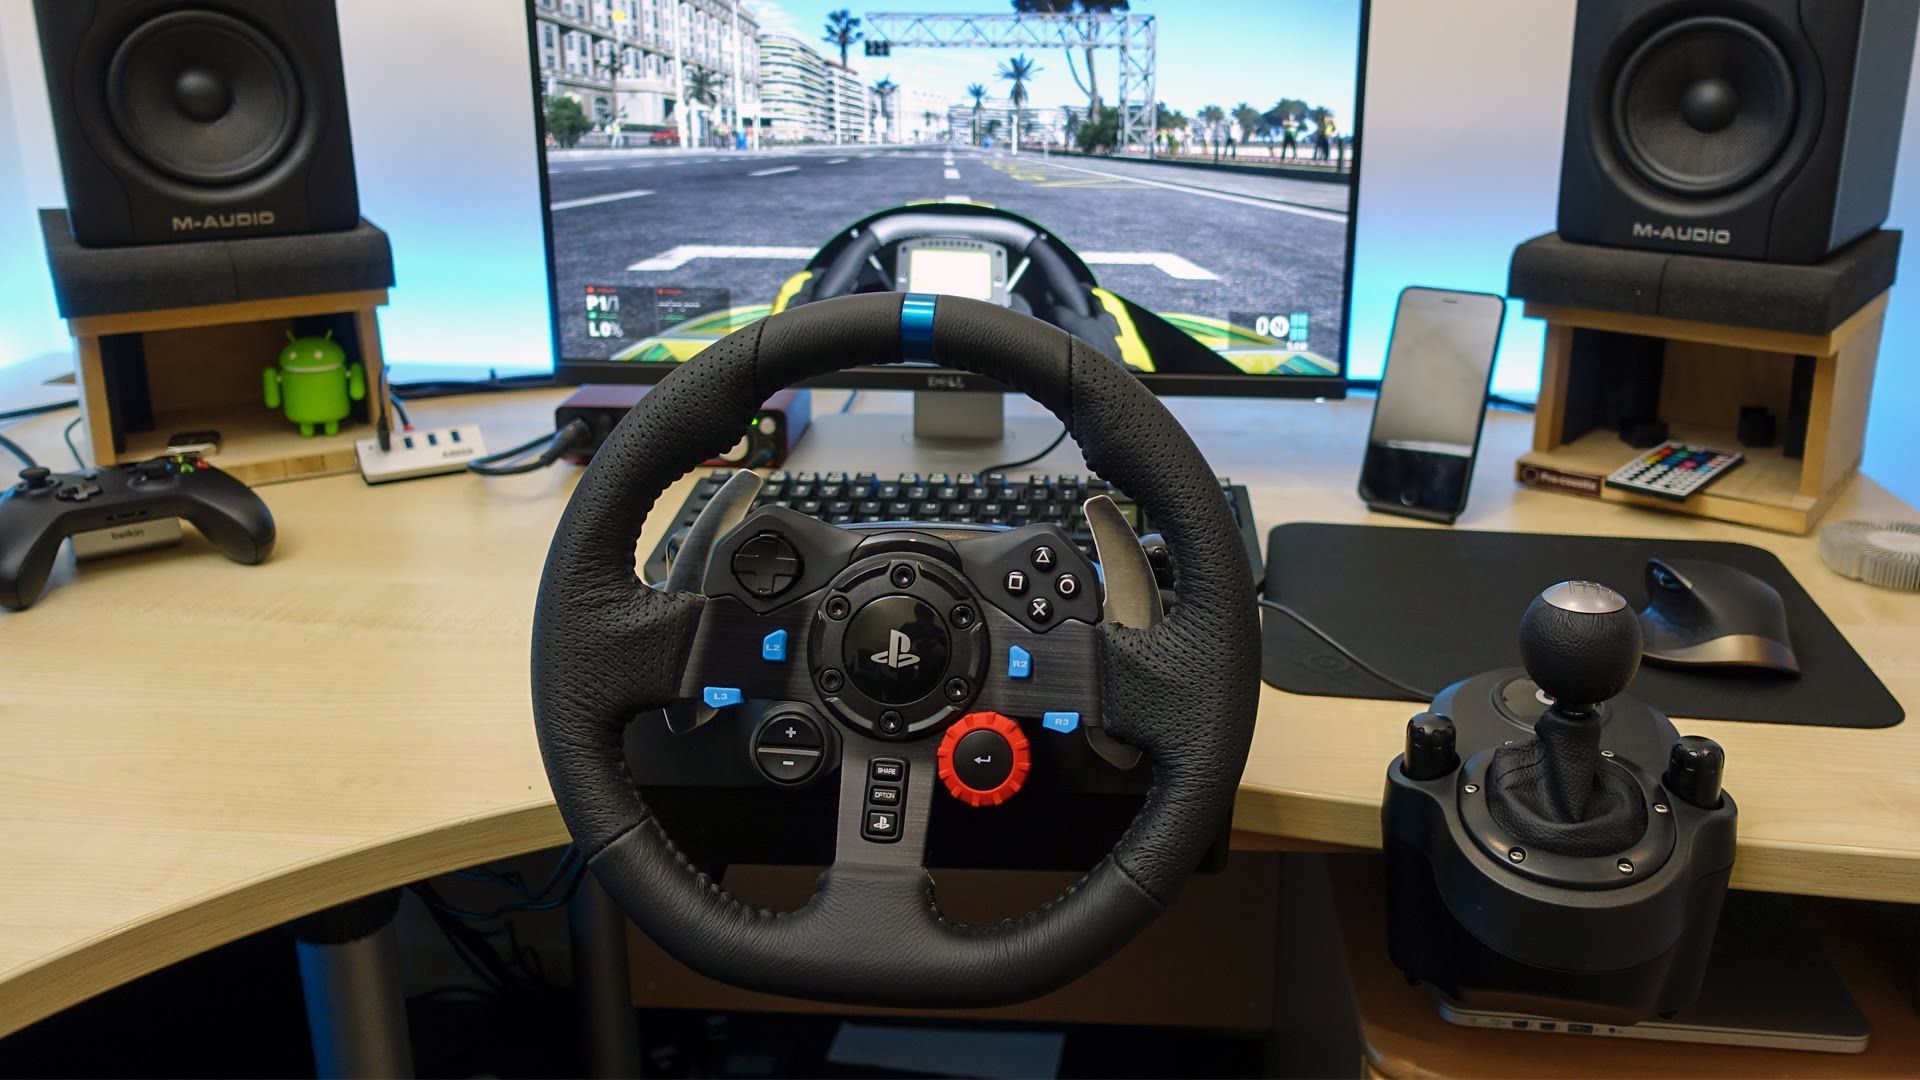
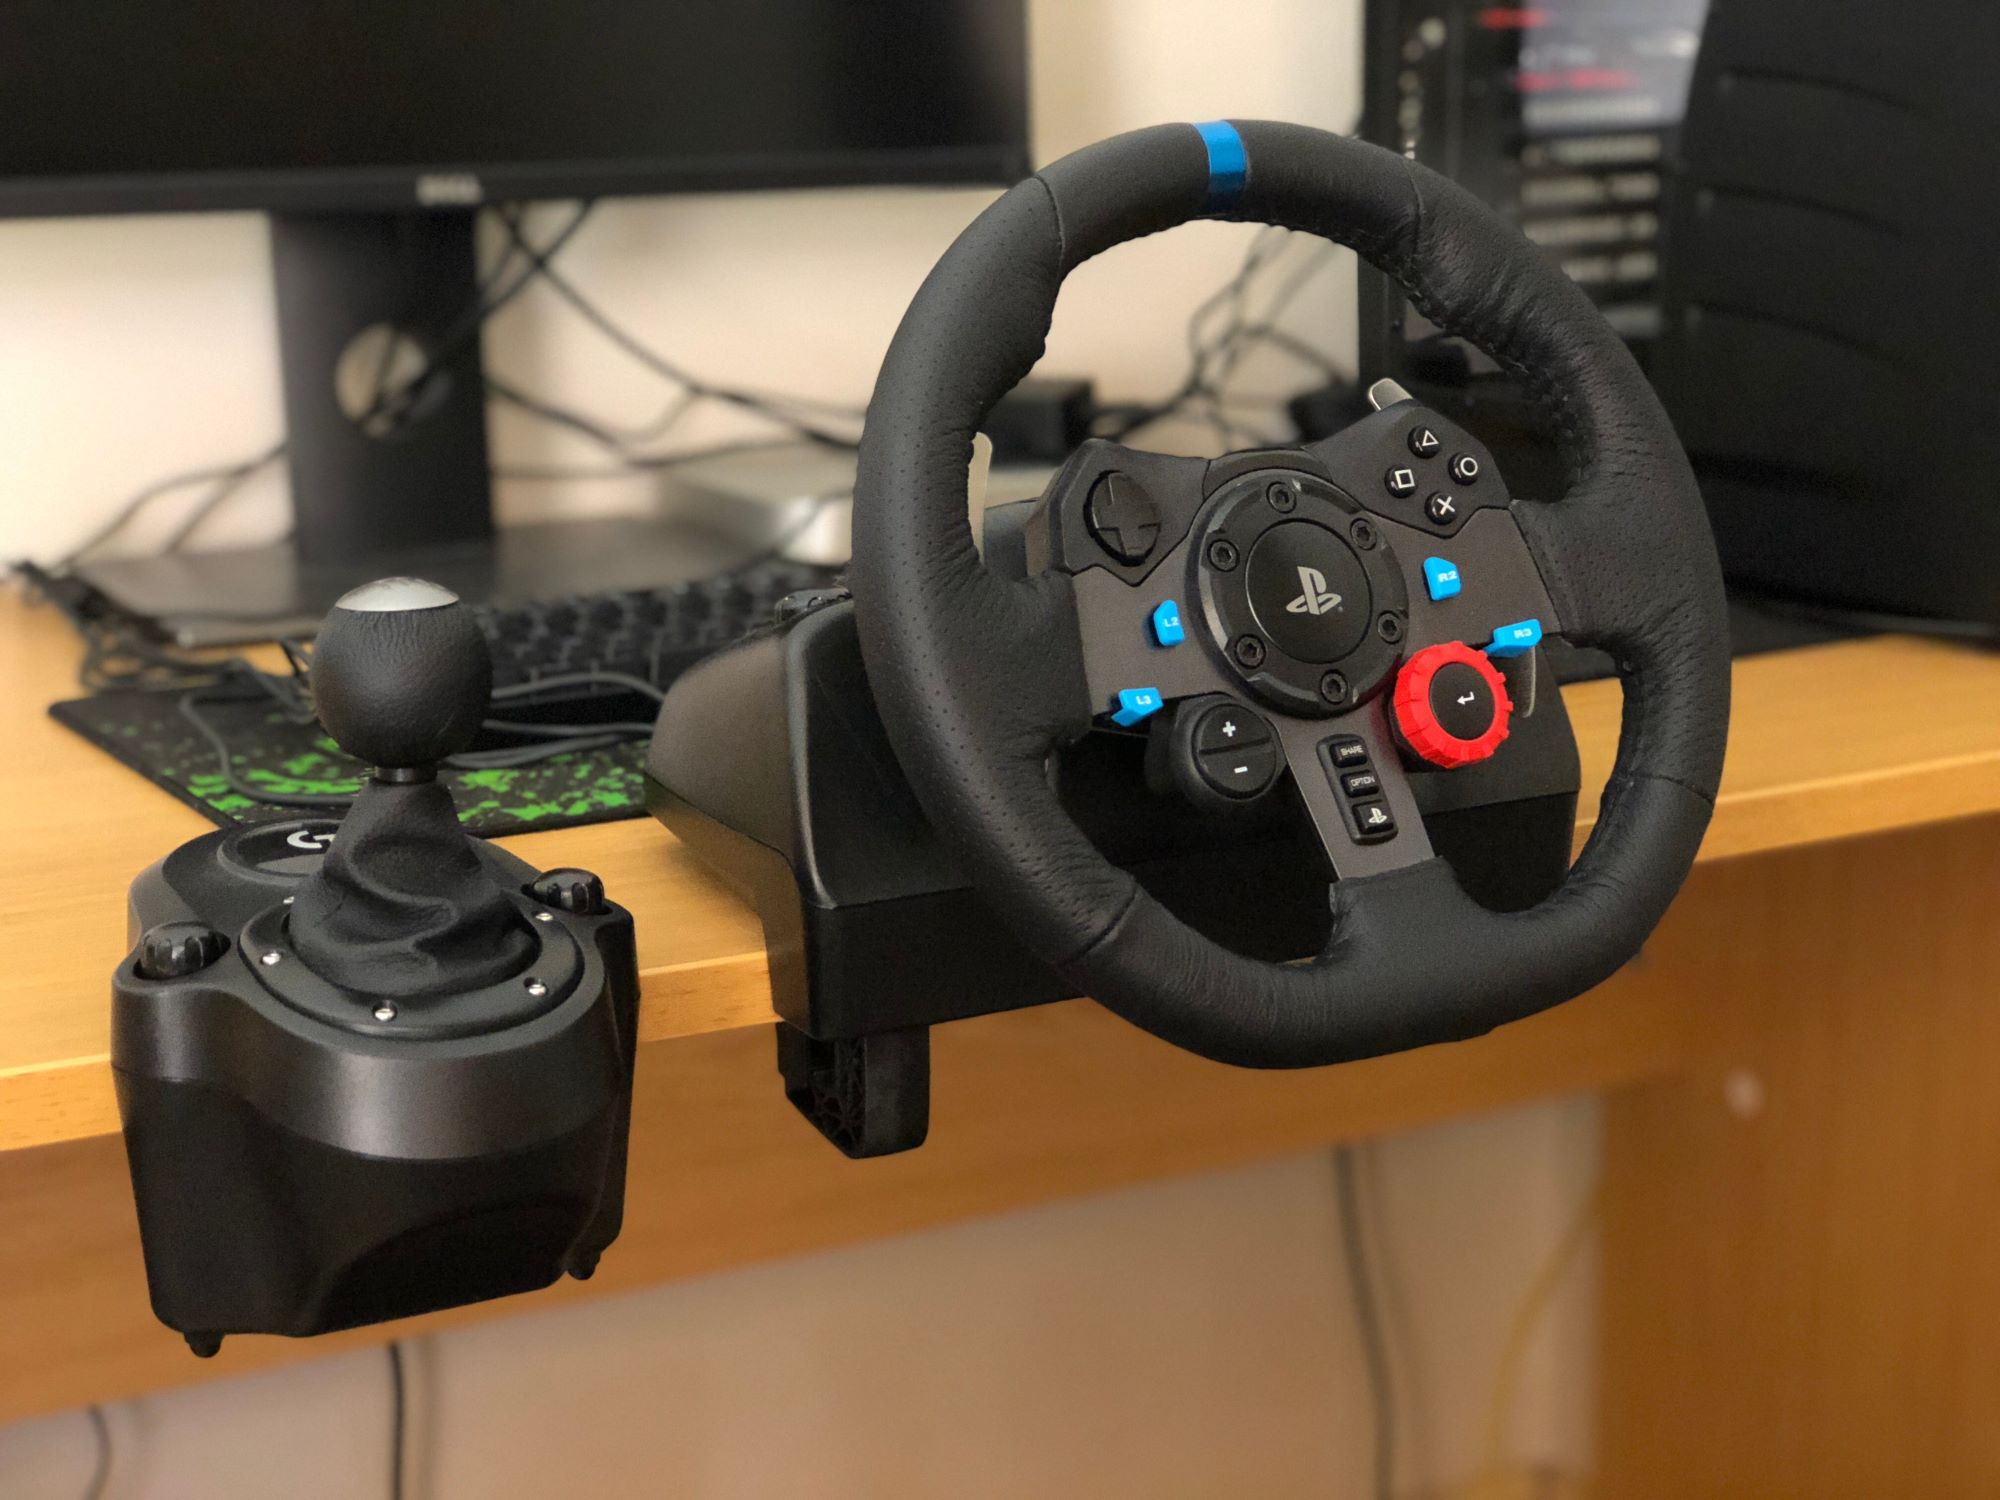
- Connecting the Wheel to the Stand: If you have a dedicated wheel stand, securely attach the G29 Racing Wheel to the stand using the provided clamps or mounting hardware. Ensure that the wheel is positioned at a comfortable height and angle for your racing setup.
- Connecting the Pedals: Place the pedal unit in a suitable position on the floor, ensuring that it is stable and will not shift during intense racing sessions. Connect the pedal unit to the wheel using the integrated cable, ensuring a secure connection.
- Connecting to Power: Plug the power adapter into a suitable power outlet and connect the other end to the G29 Racing Wheel. Verify that the power connection is secure and that the wheel’s indicator lights illuminate, indicating that it is receiving power.
- Connecting to the Gaming Console or PC: Depending on your gaming platform, connect the G29 Racing Wheel to your console or PC using the appropriate cables or adapters. Ensure that the connections are secure and that the wheel is recognized by your gaming system.
- Updating Firmware and Drivers: To ensure optimal performance, visit the Logitech website to download and install the latest firmware and drivers for the G29 Racing Wheel. This step is essential for compatibility and may introduce new features or improvements.
By following these steps, you can confidently install the G29 Racing Wheel, setting the stage for an immersive and thrilling racing experience in Project Cars 2. With the hardware in place, you’re one step closer to harnessing the full capabilities of the G29 Racing Wheel and dominating the virtual racetrack with precision and finesse.
Setting Up the G29 Racing Wheel in Project Cars 2
Now that the G29 Racing Wheel is successfully installed, it’s time to optimize its settings within Project Cars 2 to deliver a truly immersive and responsive racing experience. The following steps will guide you through the process of fine-tuning the wheel’s settings, ensuring that it is perfectly aligned with your preferences and racing style:
- Accessing the Control Settings: Launch Project Cars 2 and navigate to the game’s main menu. From there, access the control settings, where you can customize the input devices and fine-tune the G29 Racing Wheel’s configuration.
- Calibrating the Wheel: Within the control settings, locate the option to calibrate the G29 Racing Wheel. Follow the on-screen prompts to ensure that the wheel’s range of motion and sensitivity are accurately detected and calibrated within the game.
- Adjusting Force Feedback: Fine-tune the force feedback settings to your preference, balancing the level of feedback and resistance provided by the wheel to match the intensity of the virtual racing experience. Experiment with different settings to find the optimal balance for your racing style.
- Configuring Button Assignments: Customize the button assignments on the G29 Racing Wheel to streamline your access to in-game functions such as shifting, view adjustments, and other essential controls. Mapping the buttons to your preferred layout can enhance your efficiency during races.
- Testing and Refinement: After configuring the settings, take the time to test the G29 Racing Wheel in various racing scenarios within Project Cars 2. Refine the settings based on your experiences, making incremental adjustments to achieve the perfect balance of responsiveness and realism.
By meticulously adjusting the G29 Racing Wheel’s settings within Project Cars 2, you can tailor the driving experience to your liking, ensuring that every race is a thrilling and authentic representation of high-speed competition. With the wheel finely tuned to your preferences, you’re poised to unleash your full potential on the virtual racetrack and conquer the most challenging circuits with precision and confidence.