Introduction
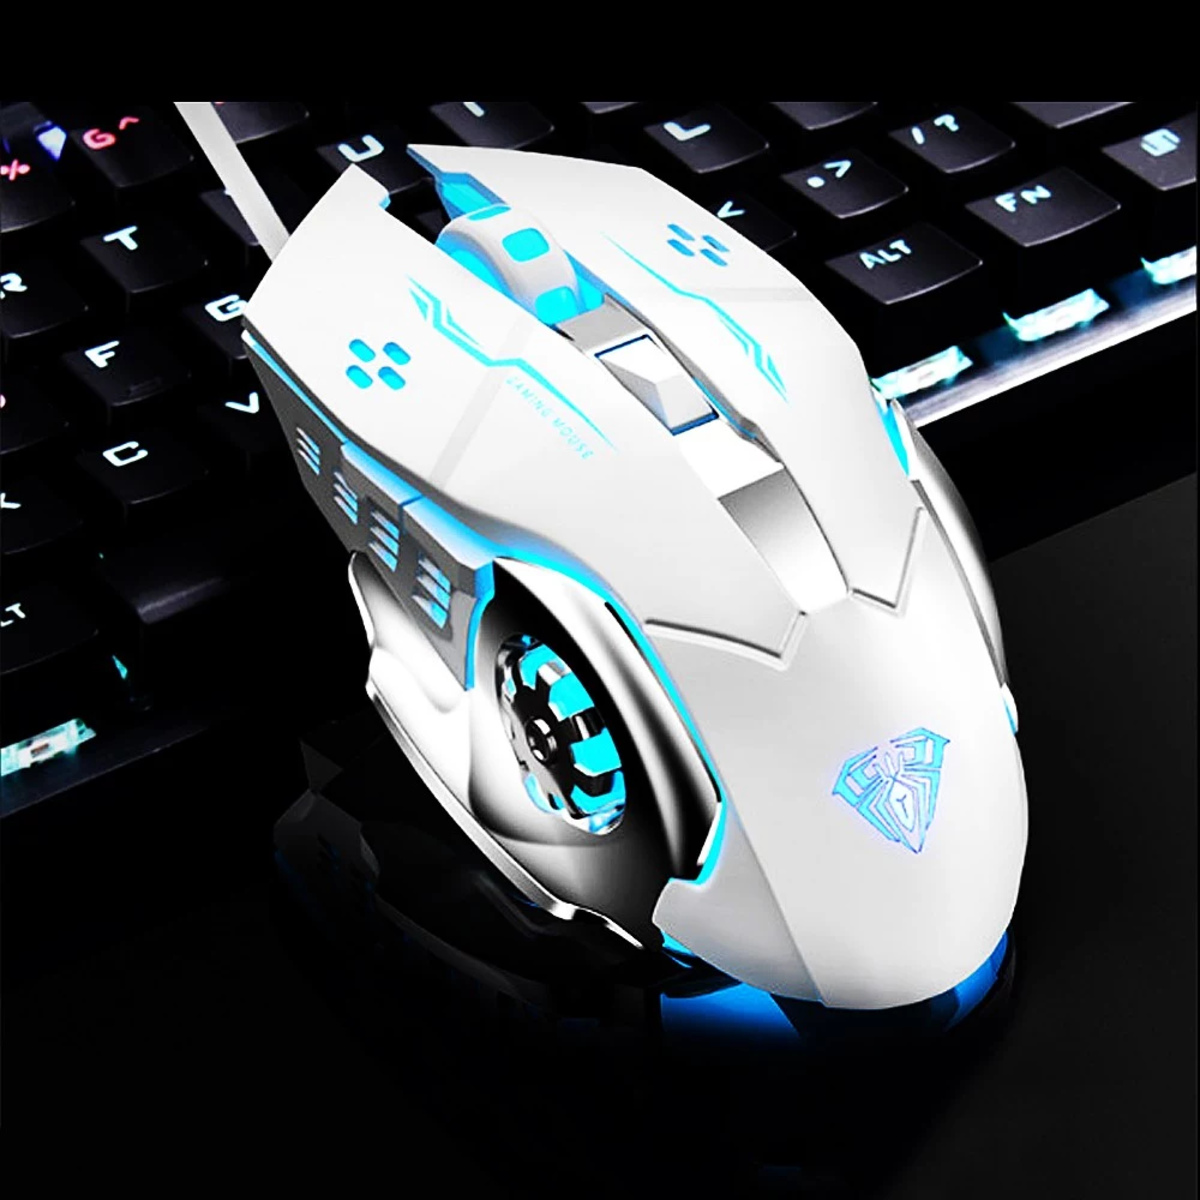
Are you ready to elevate your gaming experience with a personalized touch? The Aula gaming mouse offers a unique feature that allows you to change the color of the mouse, adding a vibrant and customizable element to your gaming setup. This guide will walk you through the step-by-step process of changing the mouse color on your Aula gaming mouse, ensuring that you can unleash your creativity and make your gaming environment truly your own.
Customizing the color of your gaming mouse not only adds a visually appealing aspect to your setup but also allows for easy identification of your mouse during intense gaming sessions. Whether you prefer a soothing blue hue, a fiery red glow, or any other color that suits your style, the Aula gaming mouse software makes it simple to achieve your desired look. With just a few easy steps, you can transform the appearance of your gaming mouse to perfectly complement your gaming rig or match your mood.
The ability to change the mouse color on your Aula gaming mouse empowers you to create a gaming environment that reflects your personality and preferences. Whether you're a professional gamer, an avid enthusiast, or simply someone who enjoys customizing their tech accessories, this feature provides an exciting opportunity to express yourself and enhance your gaming setup.
In the following sections, we will delve into the specific steps required to change the color of your Aula gaming mouse, guiding you through the process from start to finish. By the end of this guide, you will have the knowledge and confidence to effortlessly customize the color of your Aula gaming mouse, adding a personalized flair to your gaming experience. Let's embark on this journey to unleash your creativity and transform your gaming setup with the vibrant hues of the Aula gaming mouse.
Step 1: Download Aula Mouse Software
Before you can begin customizing the color of your Aula gaming mouse, you need to download the Aula mouse software from the official Aula website. This software is specifically designed to provide users with the tools and features necessary to personalize their gaming mouse, including the ability to change its color.
To initiate the process, open your preferred web browser and navigate to the official Aula website. Once there, locate the “Support” or “Downloads” section, where you can find the Aula mouse software. Ensure that you are downloading the correct software version that corresponds to your Aula gaming mouse model, as different models may have specific software requirements.
Upon finding the appropriate software for your Aula gaming mouse, click on the download link to initiate the download process. Depending on your internet connection speed, the download may take a few moments to complete. Once the download is finished, locate the file in your designated download folder and proceed to the next step.
Downloading the Aula mouse software is the crucial first step in the process of changing the color of your Aula gaming mouse. This software serves as the gateway to unlocking the full potential of your gaming mouse, allowing you to unleash your creativity and customize its appearance to your liking.
Step 2: Install the Software
Once you have successfully downloaded the Aula mouse software, it’s time to install it on your computer. Locate the downloaded software file, which is typically in the form of an executable (.exe) file, and double-click on it to initiate the installation process.
Follow the on-screen prompts to guide you through the installation wizard. You may be prompted to choose the installation directory and agree to the software’s terms and conditions. It’s important to review the installation options carefully to ensure that the software is installed in the desired location on your computer.
After confirming your installation preferences, proceed with the installation process. Depending on your computer’s performance and the size of the software, the installation may take a few moments to complete. Once the installation is finished, you will receive a confirmation message indicating that the Aula mouse software has been successfully installed on your computer.
With the software now installed, you are one step closer to customizing the color of your Aula gaming mouse. The installed software provides the interface and controls necessary to modify the appearance of your gaming mouse, allowing you to unleash your creativity and personalize your gaming setup.
By following this step, you have ensured that the essential software for customizing your Aula gaming mouse is now readily available on your computer, setting the stage for the subsequent steps in the color customization process.
Step 3: Connect Your Aula Gaming Mouse
Now that the Aula mouse software is installed on your computer, it’s time to connect your Aula gaming mouse to ensure seamless communication between the software and the device. Begin by locating the USB cable that accompanies your Aula gaming mouse. Once you have the cable in hand, proceed to connect the Aula gaming mouse to an available USB port on your computer.
Upon plugging in the Aula gaming mouse, your computer should automatically detect the device and initiate the necessary driver installation process. In some cases, the Aula mouse software may prompt you to confirm the connection and proceed with the device setup. Follow any on-screen instructions provided by the software to ensure that the Aula gaming mouse is properly recognized and connected to your computer.
Once the connection is established, the Aula mouse software should indicate that your Aula gaming mouse is successfully connected and ready for customization. This step is crucial in preparing your gaming mouse for the upcoming color customization process, ensuring that the software can communicate effectively with the device to implement your desired color changes.
By connecting your Aula gaming mouse to your computer, you have established the vital link that enables the Aula mouse software to interact with and control your gaming mouse. This seamless connection is essential for the successful customization of the mouse’s color, setting the stage for the exciting customization process that follows.
Step 4: Open the Software and Customize Mouse Color
With your Aula gaming mouse connected and the software installed on your computer, it’s time to open the Aula mouse software to begin the process of customizing the mouse color. Locate the shortcut or the installed application of the Aula mouse software on your computer and double-click to launch it.
Upon opening the Aula mouse software, you will be greeted by the user interface, which provides a range of customization options for your gaming mouse. Look for the specific settings related to the color customization feature, which may be located within the “Mouse Settings,” “Customization,” or a similarly named section of the software.
Once you have accessed the color customization settings, you will likely be presented with a color wheel or a palette, allowing you to select the precise color you desire for your Aula gaming mouse. Experiment with different hues and shades to find the perfect color that complements your gaming setup and reflects your personal style.
After choosing your preferred color, ensure that the software provides a way to apply and save your color selection to your Aula gaming mouse. Look for an “Apply” or “Save” button within the software interface to confirm your color choice and synchronize it with your gaming mouse.
By opening the Aula mouse software and customizing the mouse color, you are taking full advantage of the unique feature offered by the Aula gaming mouse. This step empowers you to infuse your gaming setup with a personalized touch, allowing you to express your individuality and enhance your gaming experience with vibrant and customizable colors.
Step 5: Save Your Settings
After customizing the color of your Aula gaming mouse to your satisfaction, it’s essential to save your settings to ensure that your preferred color choice is retained and applied whenever you use your gaming mouse. Within the Aula mouse software, locate the “Save” or “Apply” button, which is typically situated near the color customization interface.
Click on the “Save” or “Apply” button to confirm your color selection and synchronize it with your Aula gaming mouse. This action ensures that your customized color settings are stored within the gaming mouse’s memory, allowing the device to maintain your chosen color even when disconnected from your computer or used on a different system.
Upon saving your settings, you will receive a confirmation message from the Aula mouse software, indicating that your color preferences have been successfully applied to your Aula gaming mouse. This confirmation assures you that your personalized color choice is now an integral part of your gaming mouse’s identity.
By saving your settings, you are securing the custom color configuration that you meticulously selected, allowing you to enjoy a consistent and personalized visual experience every time you use your Aula gaming mouse. This step ensures that your gaming mouse reflects your unique style and adds a vibrant touch to your gaming setup, enhancing both the aesthetics and functionality of your gaming environment.
Conclusion
Congratulations! You have successfully navigated the process of changing the color of your Aula gaming mouse, adding a personalized and vibrant element to your gaming setup. By following the steps outlined in this guide, you have harnessed the power of the Aula mouse software to unleash your creativity and customize your gaming mouse to reflect your unique style and preferences.
With the ability to change the color of your Aula gaming mouse, you have elevated your gaming experience to a new level, infusing your setup with a personalized touch that sets it apart. Whether you prefer a calming blue, an intense red, or any other color that resonates with you, the Aula gaming mouse software has empowered you to express yourself through your gaming peripherals.
As you embark on your gaming adventures, the customized color of your Aula gaming mouse will serve as a visual representation of your individuality and gaming persona, adding a dynamic and engaging element to your gaming environment. The vibrant hues emanating from your gaming mouse will not only enhance the aesthetics of your setup but also provide practical benefits, allowing for easy identification of your mouse during intense gaming sessions.
By following the steps outlined in this guide, you have unlocked the full potential of your Aula gaming mouse, harnessing its color customization feature to create a gaming environment that truly reflects your personality and style. Embrace the freedom to change your mouse color at any time, adapting it to match your mood, gaming theme, or aesthetic preferences, and enjoy the immersive experience that comes with a personalized gaming setup.
With your Aula gaming mouse now boasting a customized color that aligns with your unique vision, you are poised to embark on your gaming endeavors with a renewed sense of individuality and style. Let your gaming mouse’s vibrant hues inspire you as you delve into the virtual realms of your favorite games, knowing that your gaming setup is a true reflection of your identity and creativity.