Introduction
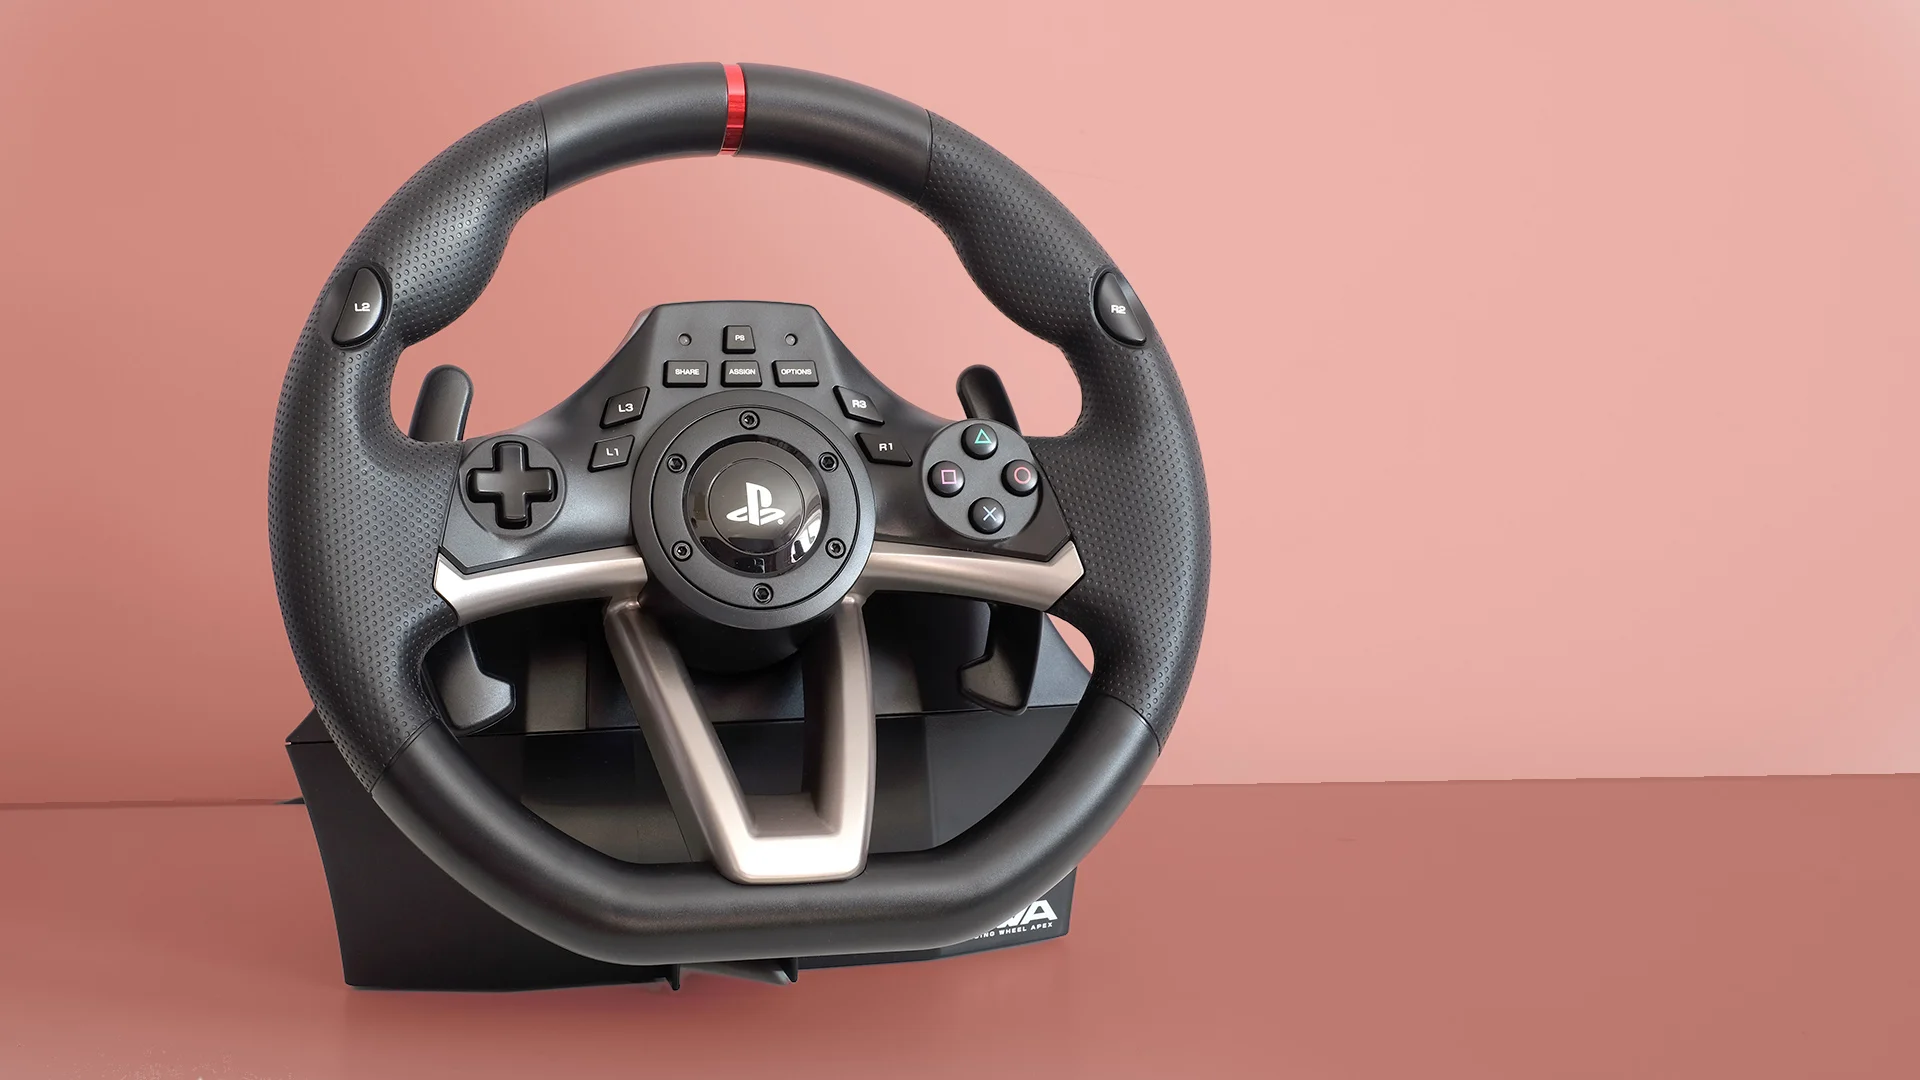
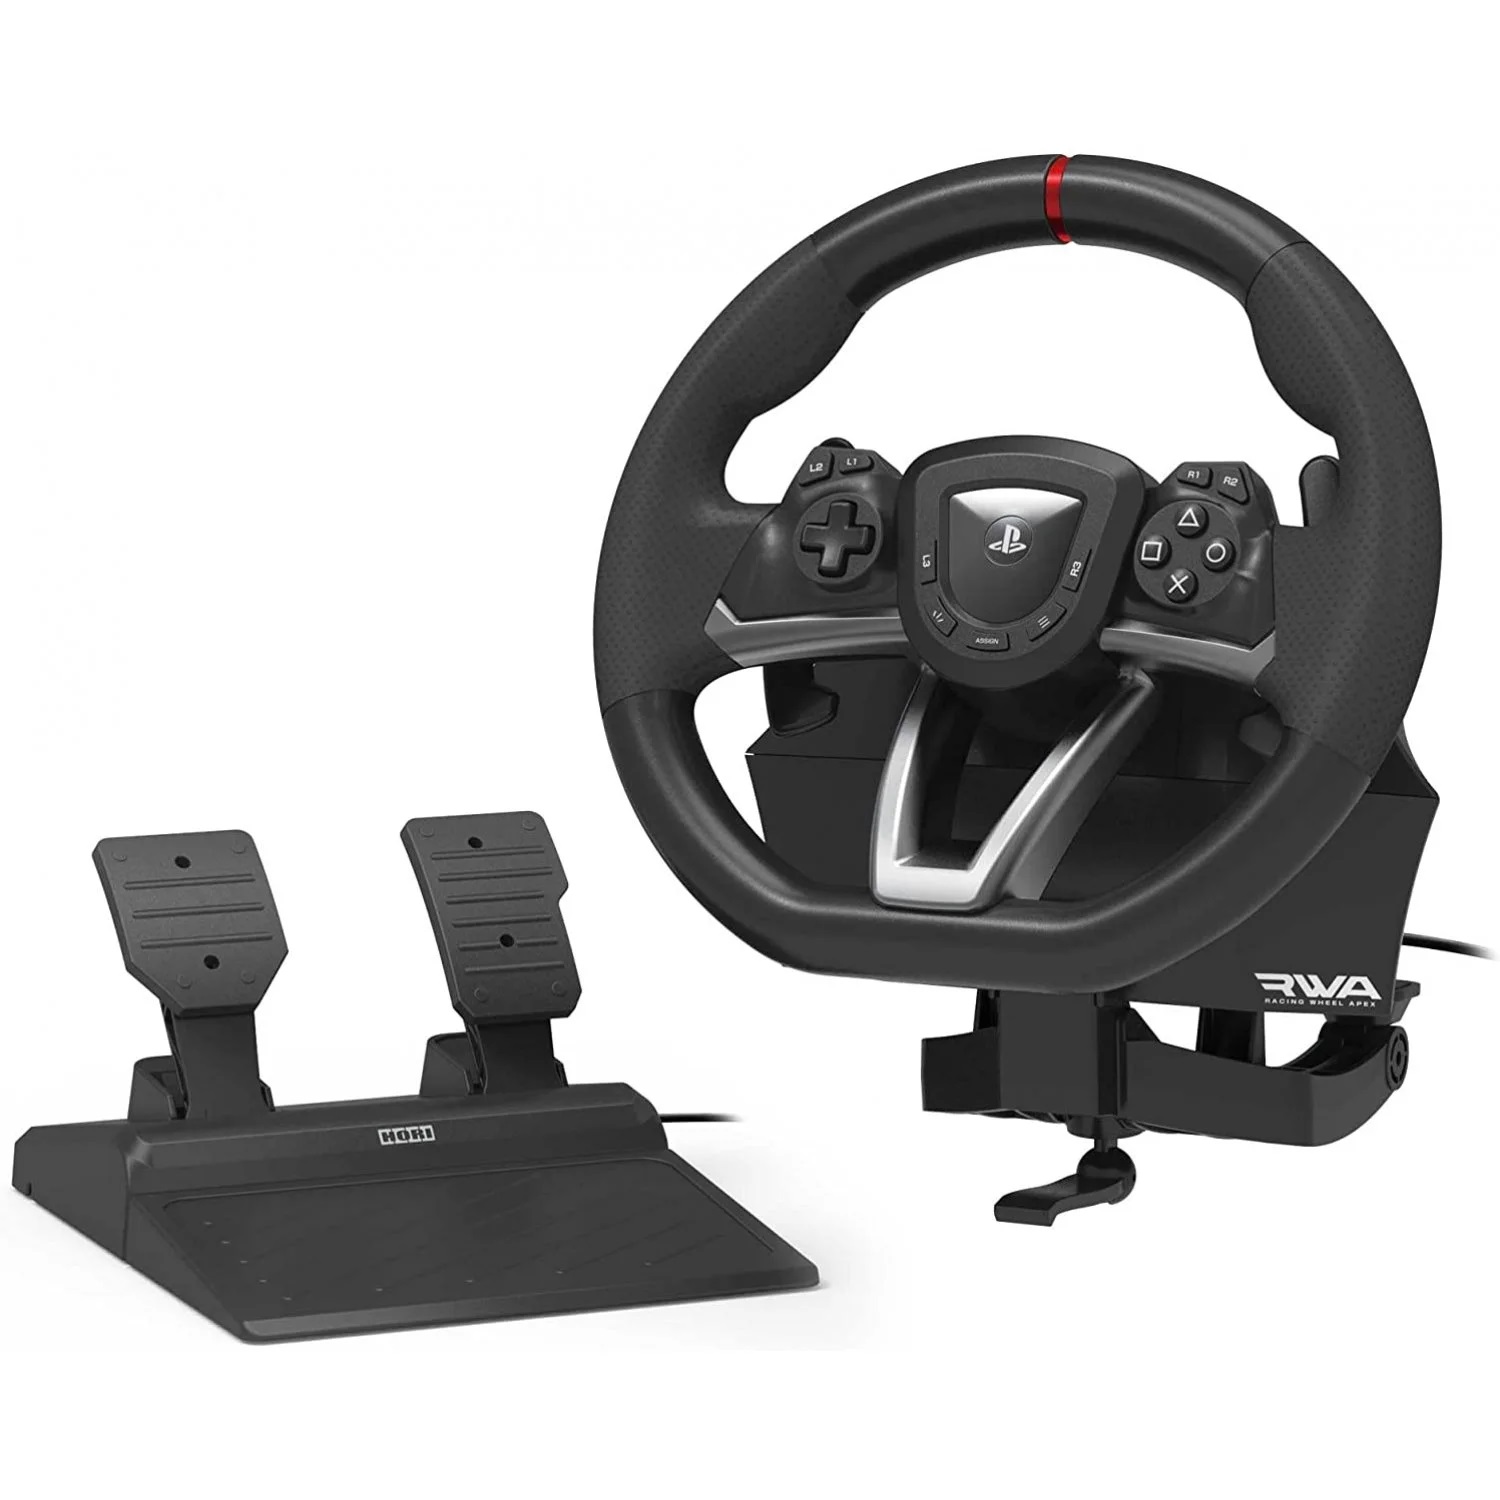
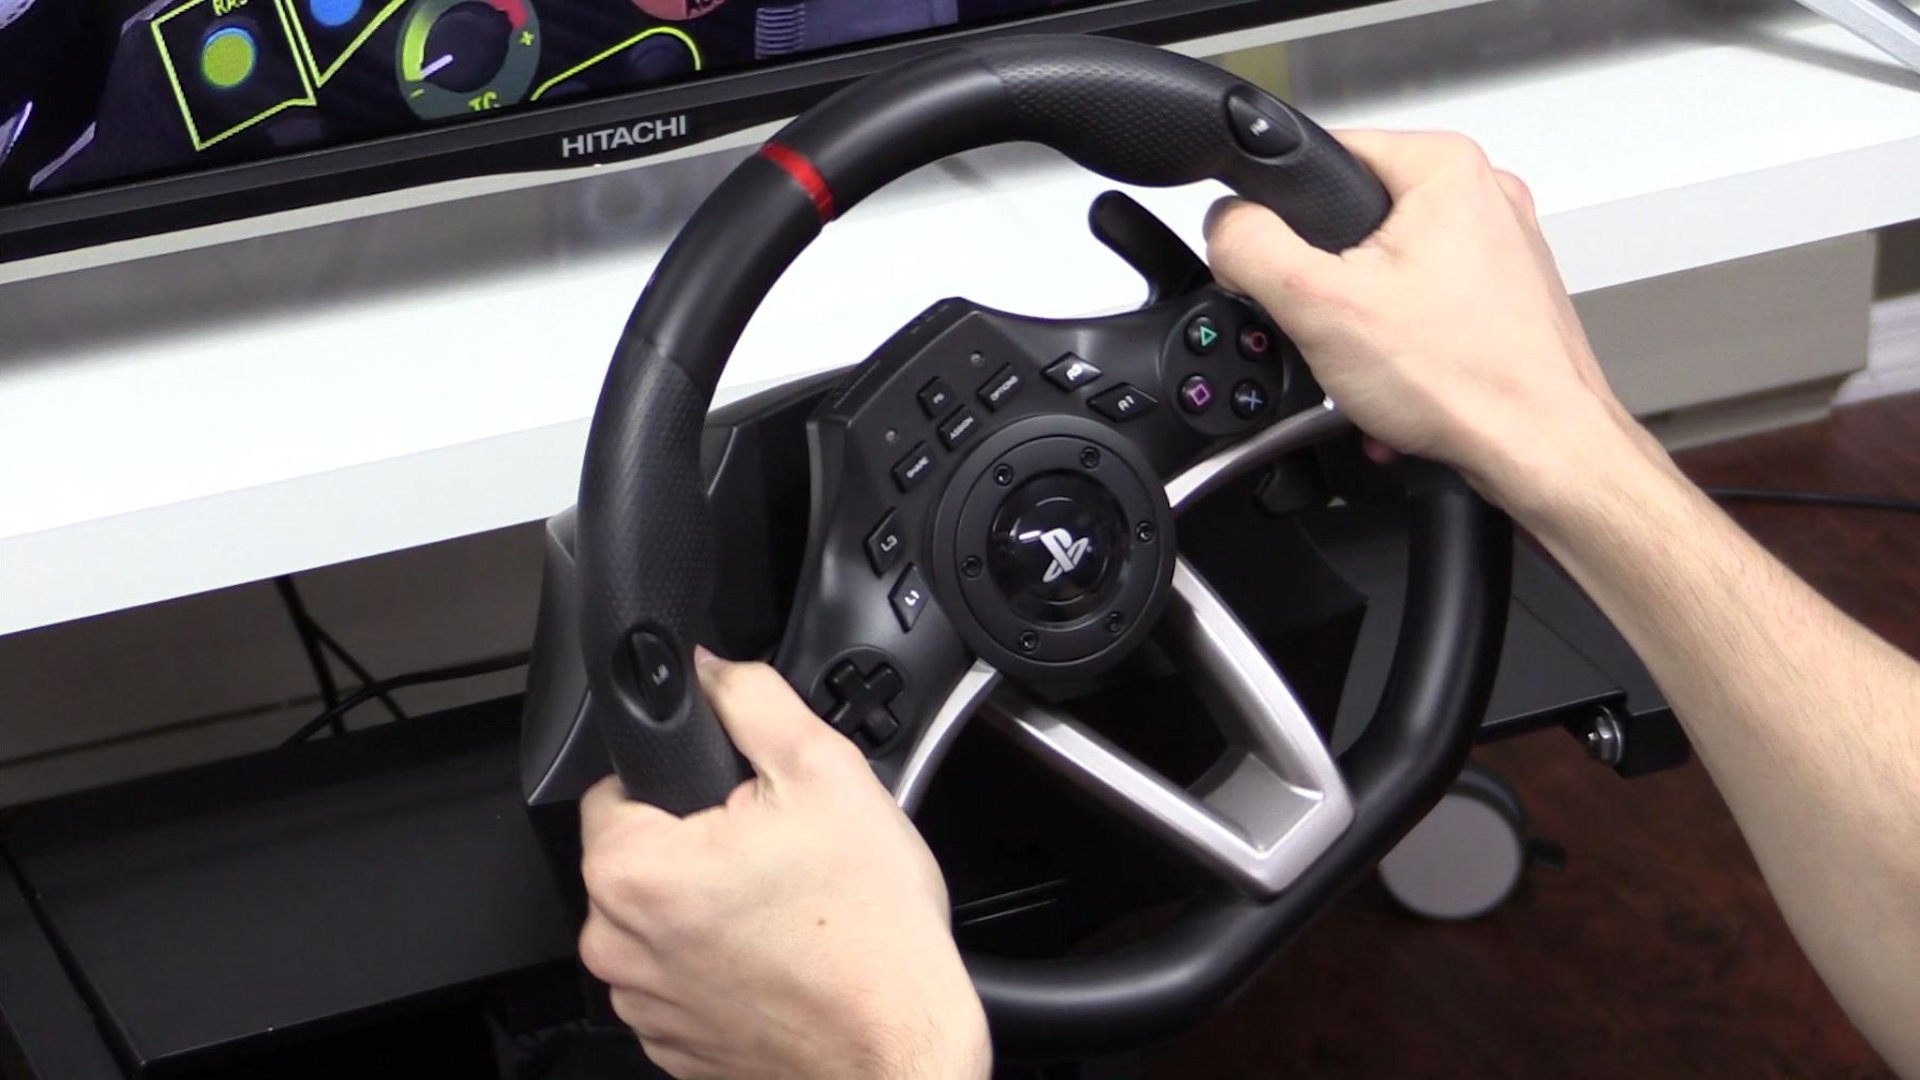
Welcome to the world of virtual racing! If you're a racing enthusiast, you understand the importance of precision and responsiveness when it comes to your racing wheel. One crucial aspect of optimizing your racing experience is adjusting the deadzone on your racing wheel, particularly the Racing Wheel Apex. In this comprehensive guide, we'll delve into the significance of deadzone adjustment, its impact on your racing performance, and the step-by-step process to fine-tune the deadzone on your Racing Wheel Apex.
Whether you're a seasoned virtual racer or just stepping into the world of simulated racing, understanding and adjusting the deadzone on your racing wheel can significantly enhance your driving experience. It's not just about eliminating that frustrating lag or unresponsiveness; it's about achieving the perfect balance between control and sensitivity, allowing you to navigate the virtual track with unparalleled precision and confidence.
So, buckle up and get ready to unlock the full potential of your Racing Wheel Apex by mastering the art of deadzone adjustment. Whether you're aiming for that perfect lap time or simply seeking a more immersive and realistic racing experience, this guide will equip you with the knowledge and skills to fine-tune your racing wheel to perfection. Let's dive in and explore the world of deadzone adjustment on the Racing Wheel Apex!
What is Deadzone on a Racing Wheel?
Before delving into the process of adjusting the deadzone on your Racing Wheel Apex, it’s essential to grasp the concept of deadzone and its significance in the realm of virtual racing. In the context of racing wheels, deadzone refers to the central area of the wheel’s range of motion where no input or response is registered by the game or simulation. This means that when you turn the wheel within this central zone, the game does not detect any steering input until the wheel is turned beyond this deadzone.
Imagine navigating a challenging hairpin bend or executing a precise overtaking maneuver, only to encounter a delay or unresponsiveness in the steering input as you initiate the turn. This delay, often attributed to an inadequate deadzone configuration, can significantly impact your racing performance and overall experience. The deadzone essentially represents a neutral zone where your steering inputs are not translated into in-game actions, potentially compromising your ability to maneuver the vehicle with the desired level of control and precision.
For Racing Wheel Apex users, understanding and adjusting the deadzone is paramount in achieving optimal responsiveness and accuracy during virtual races. By customizing the deadzone settings to suit your preferences and driving style, you can mitigate the risk of unresponsive steering inputs, enhance the sensitivity of the wheel, and ultimately elevate your racing performance to new heights.
As we delve deeper into the process of adjusting the deadzone on the Racing Wheel Apex, it’s important to recognize that this fundamental aspect of wheel configuration plays a pivotal role in shaping your virtual racing experience. By gaining a clear understanding of deadzone and its implications, you are poised to harness the full potential of your racing wheel and elevate your prowess on the digital racetrack.
Why Adjusting Deadzone is Important
Adjusting the deadzone on your Racing Wheel Apex holds profound significance in the realm of virtual racing, transcending the realm of mere technical configuration to directly impact your performance, control, and overall racing experience. Here’s why fine-tuning the deadzone is a crucial aspect of optimizing your virtual racing setup:
- Enhanced Responsiveness: A properly adjusted deadzone ensures that the steering inputs from your racing wheel are accurately and promptly translated into in-game actions, eliminating any delay or unresponsiveness in the steering mechanism. This heightened responsiveness empowers you to execute precise maneuvers, navigate challenging corners, and maintain optimal control over your vehicle throughout the race.
- Precision Steering Control: By customizing the deadzone settings to align with your preferred level of sensitivity, you can achieve a fine balance between steering control and wheel movement, allowing for nuanced and precise adjustments during high-speed racing scenarios. This precision is instrumental in optimizing your racing lines, minimizing oversteer or understeer, and mastering the art of controlled, dynamic driving.
- Immersion and Realism: An appropriately configured deadzone contributes to a more immersive and realistic racing experience, where the responsiveness of your racing wheel mirrors the nuanced feedback and control nuances encountered in real-world driving scenarios. This heightened immersion elevates the overall enjoyment and engagement of virtual racing, blurring the lines between simulation and reality.
- Personalized Driving Experience: Every virtual racer has a unique driving style and preference for steering sensitivity. By adjusting the deadzone to align with your individual preferences, you can tailor your racing wheel’s behavior to complement your specific driving techniques and tendencies, fostering a personalized and optimized driving experience that resonates with your racing instincts.
As you embark on the journey of adjusting the deadzone on your Racing Wheel Apex, it’s essential to recognize that this seemingly technical adjustment transcends its mechanical implications, directly influencing your ability to conquer virtual racetracks with finesse, precision, and unwavering control. By embracing the process of deadzone customization, you are poised to unlock the full potential of your racing wheel and elevate your virtual racing prowess to unprecedented levels of mastery.
How to Adjust Deadzone on Racing Wheel Apex
Adjusting the deadzone on your Racing Wheel Apex is a straightforward yet pivotal process that empowers you to tailor the steering responsiveness to your specific preferences and racing style. Here’s a step-by-step guide to fine-tuning the deadzone on your Racing Wheel Apex:
- Accessing the Configuration Menu: Begin by accessing the configuration menu of your Racing Wheel Apex. This can typically be achieved through the accompanying software or configuration interface provided by the manufacturer. Ensure that your racing wheel is connected to your gaming platform or computer before proceeding.
- Locating Deadzone Settings: Once within the configuration interface, navigate to the specific settings related to steering or wheel calibration. Look for the option that pertains to adjusting the deadzone, often labeled as “Deadzone Adjustment,” “Wheel Sensitivity,” or a similar descriptor.
- Understanding Deadzone Parameters: Before making any adjustments, familiarize yourself with the parameters associated with the deadzone settings. This may include options to modify the deadzone size, sensitivity threshold, or the degree of responsiveness within the central steering range.
- Customizing Deadzone Values: With an understanding of the deadzone parameters, proceed to customize the deadzone values based on your desired level of responsiveness and steering sensitivity. This involves incrementally adjusting the deadzone size or sensitivity threshold until you achieve the optimal balance between responsiveness and control.
- Testing and Refinement: After making initial adjustments, it’s crucial to test the modified deadzone settings within a racing simulation or game environment. Pay close attention to the responsiveness of the steering inputs, the elimination of unresponsiveness in the central steering range, and the overall feel of the wheel’s behavior during racing scenarios.
- Iterative Optimization: Fine-tuning the deadzone is often an iterative process, requiring incremental adjustments and testing to achieve the perfect configuration. Continuously refine the deadzone settings based on your racing experiences and feedback, aiming to strike the ideal balance between responsiveness and precision.
By following these steps and engaging in a process of deliberate customization and refinement, you can effectively adjust the deadzone on your Racing Wheel Apex to align with your unique racing preferences and performance requirements. Remember, the goal is to achieve a seamless and responsive steering experience that empowers you to conquer virtual racetracks with unparalleled control and finesse.


