Introduction
Welcome to the world of Splitwise, a handy app that can revolutionize the way you manage expenses and split bills with your friends or roommates. Whether you’re planning a trip, going out for dinner, or sharing household expenses, Splitwise offers a simple and efficient solution for keeping track of who owes what.
Splitwise is designed to alleviate the headache of manually calculating bills and chasing down friends for their share. With just a few taps on your smartphone, you can enter your expenses, split them among your friends, and keep a running tally of who owes what. No more awkward conversations or forgotten debts!
The app offers a user-friendly interface and a host of features that make splitting expenses a breeze. Real-time updates ensure that everyone in the group is on the same page, and notifications keep you in the loop about any changes or new expenses added. With Splitwise, you can focus on enjoying life and leave the bill-splitting stress behind.
In this guide, we will walk you through the process of setting up your Splitwise account, adding friends, creating bills, managing expenses, and settling up. We will also share some tips and tricks to make the most of this powerful app. So, let’s get started and discover how Splitwise can simplify your financial life!
What is Splitwise?
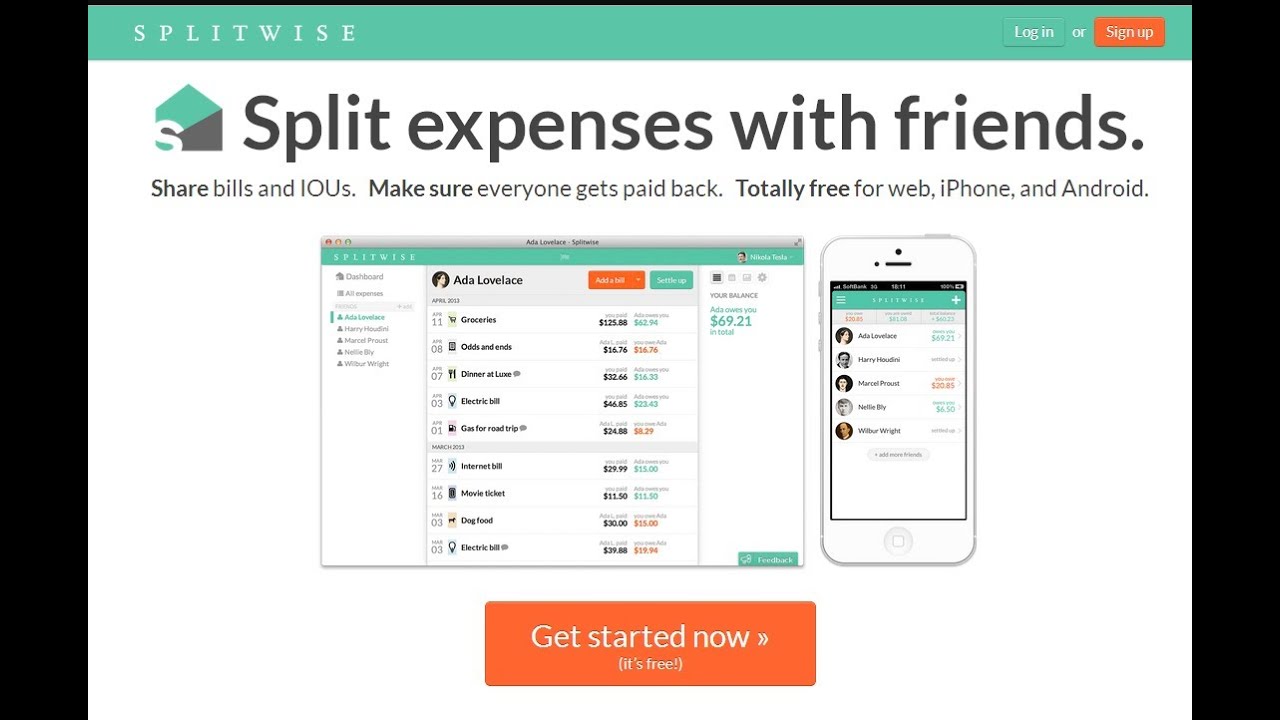
Splitwise is a popular expense-sharing app that helps you manage and split bills with friends, family, or roommates. Whether you’re on a vacation, living in a shared space, or simply going out for dinner, Splitwise can simplify the process of splitting expenses and keeping track of who owes what.
At its core, Splitwise provides a platform for users to create and manage shared expenses. It allows you to enter details of a bill, such as the total amount, the people involved, and the specific expenses incurred. By inputting this information, the app calculates each person’s share and keeps a running tally of who owes money to whom.
One of the key advantages of Splitwise is its ability to handle complex splitting scenarios. You can divide expenses equally, split them based on a percentage, or even customize the split to accommodate different spending habits. This flexibility makes it ideal for a variety of situations, from simple outings to ongoing shared expenses like rent and utilities.
Splitwise also offers several convenient features for seamless expense management. You can set up notifications to keep everyone in the group informed about new expenses or payment requests. The app also allows you to attach receipts, add notes, and categorize expenses for better organization and clarity.
Additionally, Splitwise supports multiple currencies, making it a valuable tool for international travelers or groups with diverse backgrounds. It automatically converts expenses into the preferred currency, eliminating the need for manual calculations and preventing confusion during settlement.
The app promotes transparency and accountability among friends by providing a comprehensive overview of all shared expenses. You can view the complete history of bills, see individual balances, and generate reports to analyze spending patterns and trends. This level of visibility fosters open communication and prevents misunderstandings or disputes over money.
Whether you’re planning a group trip, managing household expenses, or simply splitting the bill at a restaurant, Splitwise offers a user-friendly and efficient solution. With its intuitive interface, robust features, and seamless integration, Splitwise is the go-to app for hassle-free expense-sharing and bill-splitting.
Setting Up Your Account
Getting started with Splitwise is quick and easy. Follow these steps to set up your account and start managing expenses with ease:
- Download the Splitwise app: Splitwise is available for both iOS and Android devices. Head to the App Store or Google Play Store and search for “Splitwise.” Download and install the app on your device.
- Create an account: Launch the app and sign up for a new account. You can choose to sign up with your email address or use your existing Google or Facebook account for a seamless authentication process.
- Set your currency preferences: Once you’re logged in, navigate to the settings section and select your preferred currency. This ensures that all expenses and amounts are displayed in the currency of your choice.
- Personalize your profile: Customize your Splitwise profile by adding a profile picture and entering your name. This personal touch helps your friends easily identify you and adds a sense of familiarity to the app.
- Invite friends: To fully utilize Splitwise, you’ll need to add your friends or roommates to your account. You can invite them via email or directly from your phone contacts. If they’re already Splitwise users, you can search for their username and send a friend request.
Once you’ve completed these steps, your account is all set up and ready to go. You can now start creating bills, adding expenses, and splitting costs effortlessly.
It’s worth noting that Splitwise also offers a web version, giving you the flexibility to manage your expenses from your computer. You can access the web version by visiting the Splitwise website and logging in using your account credentials.
Remember, the more friends you add to your Splitwise account, the easier it becomes to split expenses and keep everyone in the loop. So, don’t hesitate to invite your friends and get everyone on board with this convenient expense-sharing app.
Adding Friends
One of the fundamental aspects of Splitwise is the ability to add friends to your account, allowing you to easily split bills and track expenses with them. Here’s how you can add friends to your Splitwise account:
- Open the Splitwise app and navigate to your dashboard or home screen.
- Click on the “Friends” tab or icon. This will take you to the page where you can manage your list of friends.
- Look for the option to add a friend, usually represented by a “plus” or “add” button.
- Select the method by which you want to add your friend. You can choose to add them by email, username, or by importing them from your phone contacts.
- If you choose to add a friend by email, enter their email address in the provided field and send them an invitation to join Splitwise. They will receive an email with instructions on how to create an account and connect with you.
- If you know your friend’s Splitwise username, you can search for it and send them a friend request directly.
- If you prefer to add friends from your phone contacts, grant Splitwise permission to access your contacts. You can then select the friends you want to add from the list. Splitwise will send them a notification or email to join your group if they are not already Splitwise users.
Once you’ve added your friends to Splitwise, you can begin splitting bills and managing expenses together. Sharing expenses in Splitwise is as simple as selecting the friends involved and entering the details of the bill or expense.
Remember, adding friends to your Splitwise account ensures everyone is on the same page and can view and track shared expenses. It fosters transparency and eliminates the need for constant reminders or awkward conversations about who owes what.
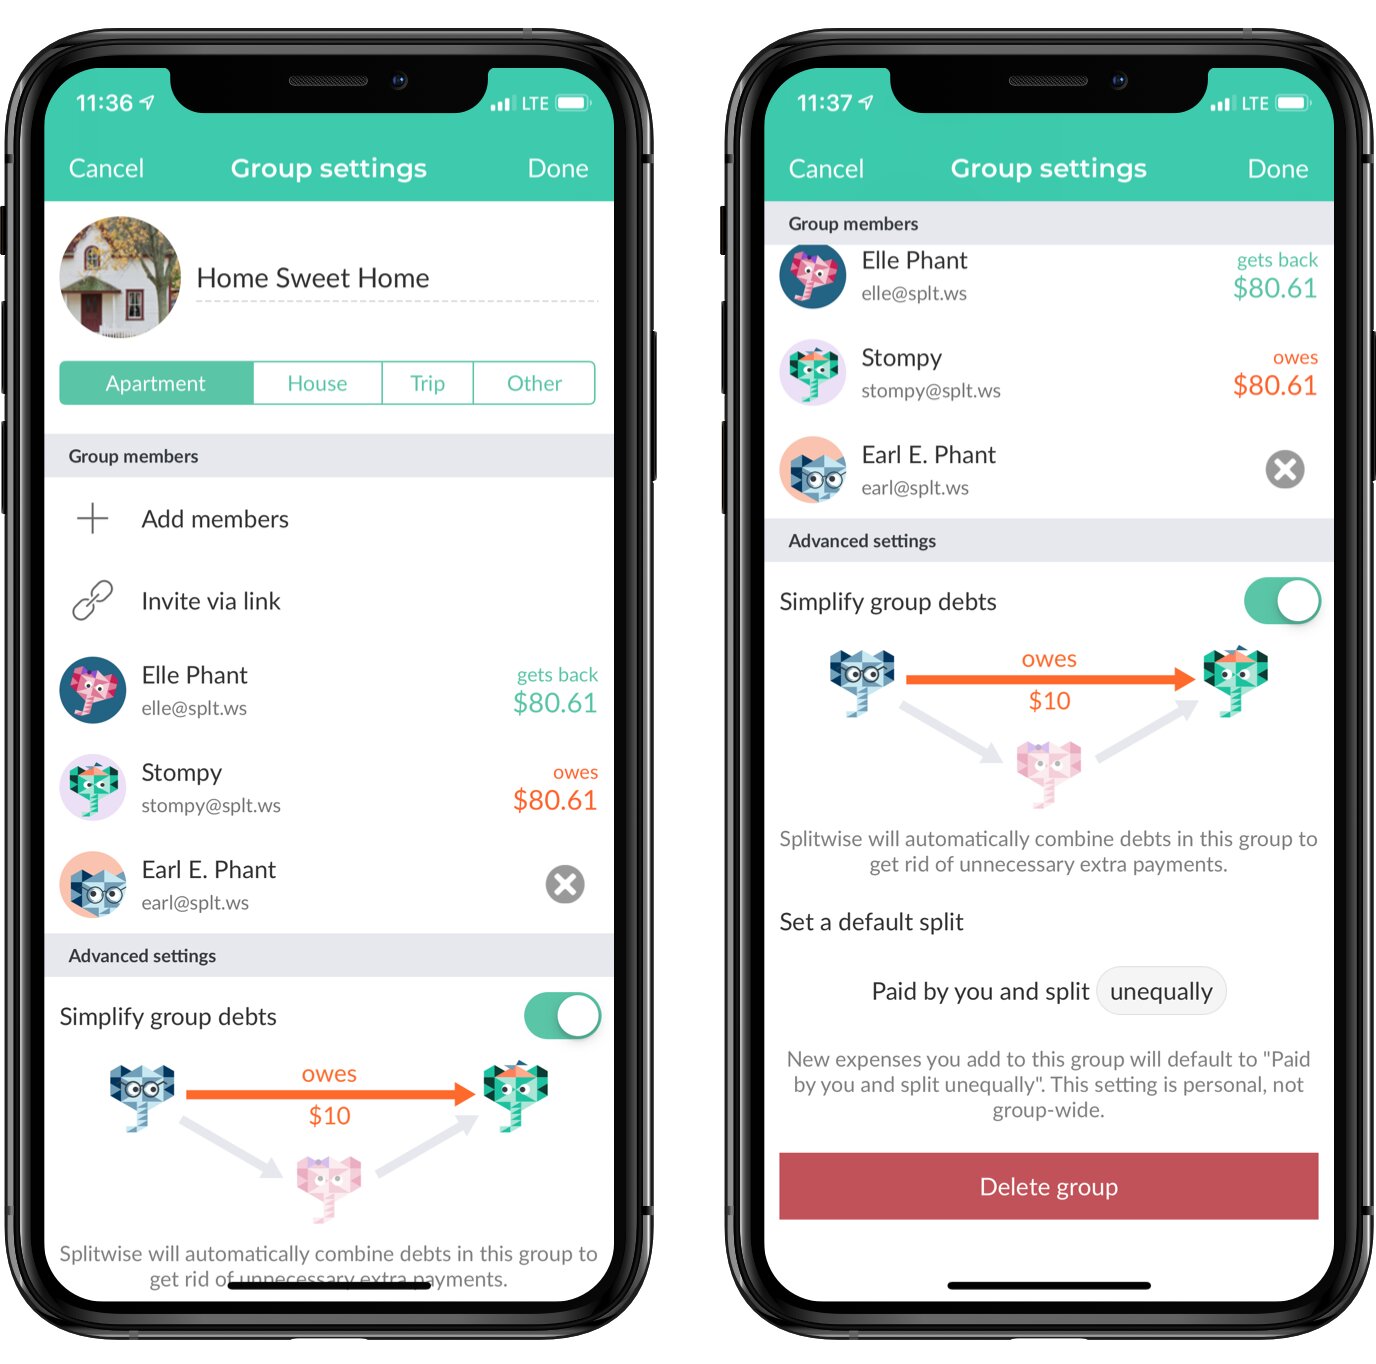
Furthermore, Splitwise offers the option to create groups, which is particularly useful for large-scale expenses or long-term shared expenses like rent and utilities. You can create a group and add multiple friends to it, making it easier to manage and split bills among the members of that group.
Adding friends to your Splitwise account is an essential step towards efficient expense sharing and bill splitting. So, take a moment to invite your friends and get ready to streamline your financial management with Splitwise.
Creating Bills
In Splitwise, creating a bill is a straightforward process that allows you to record and track shared expenses with your friends or roommates. Here’s how you can create bills in Splitwise:
- Open the Splitwise app and navigate to your dashboard or home screen.
- Tap on the “Add a bill” button or icon, usually located prominently on the screen.
- Select the friends involved in the bill. You can choose from your existing friends or add new ones if necessary.
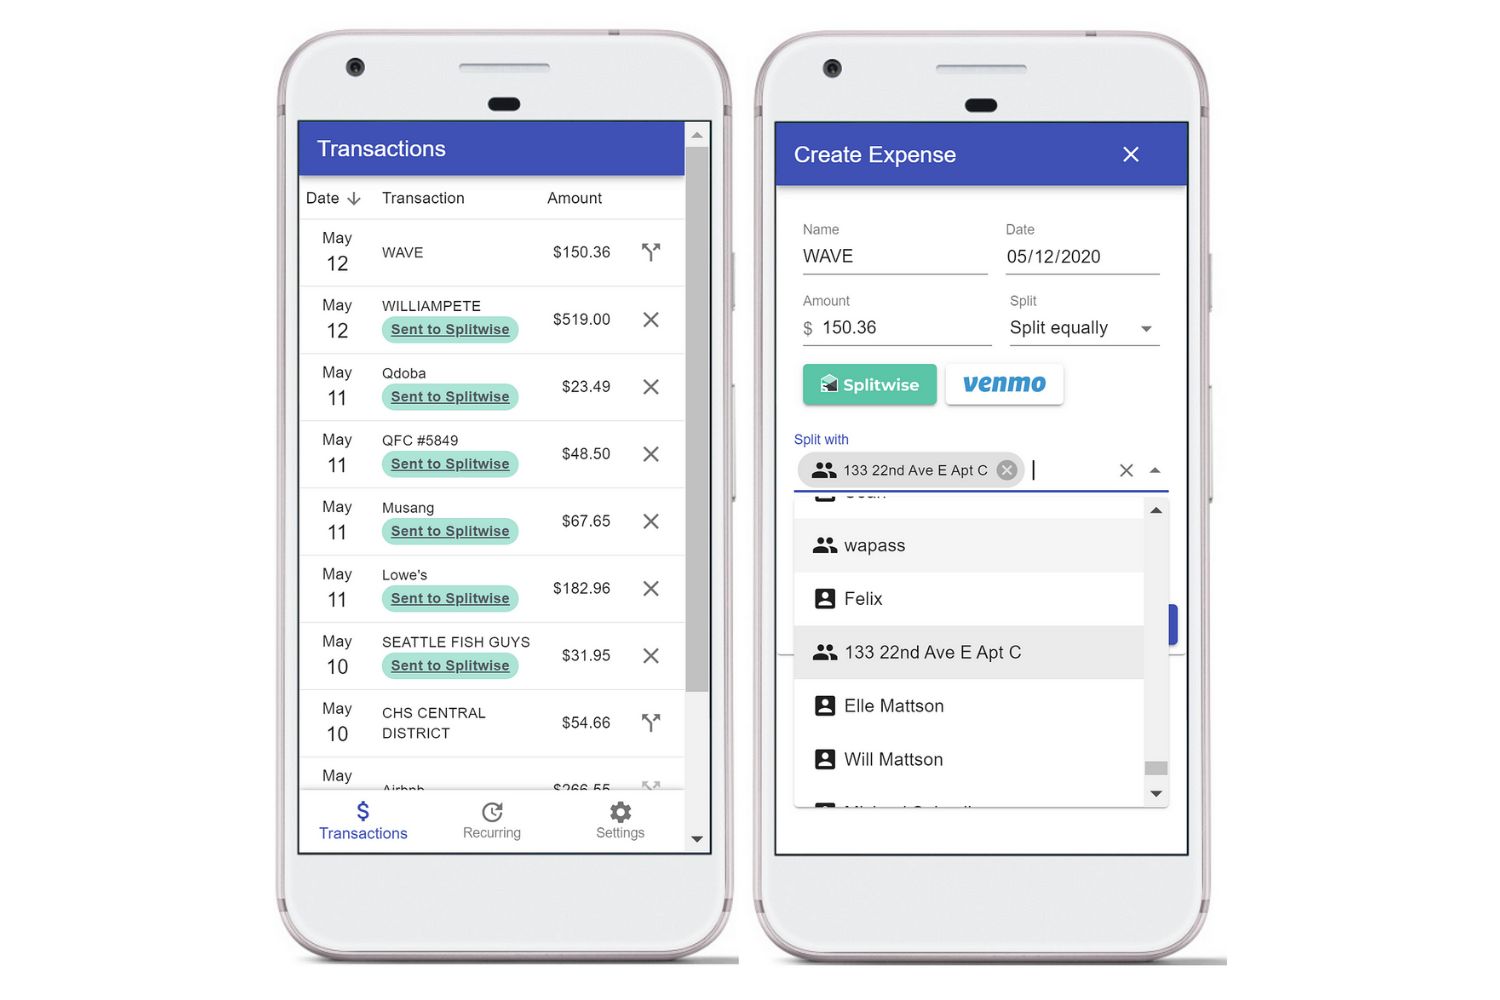
- Enter the details of the bill, including the total amount, a brief description, and the date of the transaction.
- If the bill is related to specific expenses, such as groceries, transportation, or utilities, you can categorize it for better organization. Splitwise offers preset categories, but you can also create your own custom categories.
- If applicable, attach receipts or additional supporting documents to the bill. This can be done by taking a photo of the receipt or choosing a file from your device’s storage.
- Once all the information is entered, review the bill details and make any necessary modifications.
- Finally, click on the “Save” or “Add” button to create the bill.
With the bill created, Splitwise will automatically calculate each person’s share based on the splitting method you choose. It offers various splitting options, including equal splits, percentage splits, and custom splits. You can customize the split to accurately reflect each person’s contribution.
In addition to creating individual bills, Splitwise also allows you to create recurring bills for regular expenses. This feature is particularly useful for bills that occur on a monthly or periodic basis, such as rent or utilities. You can set the frequency and due date of the recurring bill, and Splitwise will handle the rest. The app will automatically create new instances of the bill at the specified intervals.
Creating bills in Splitwise provides a clear record of shared expenses, eliminates manual calculations, and ensures that everyone is aware of their obligations. It promotes transparency, reduces confusion, and makes settling up later much easier.
By utilizing the bill creation feature in Splitwise, you can keep track of all your shared expenses in one place and maintain harmonious financial relationships with your friends or roommates.
Splitting Bills
Splitting bills is at the core of Splitwise’s functionality, and it’s where the app truly shines. With Splitwise, you can easily divide expenses among your friends or roommates, ensuring that everyone pays their fair share. Here’s how you can split bills using Splitwise:
- Open the Splitwise app and navigate to your dashboard or home screen.
- Select the bill you want to split from the list of recorded bills.
- Review the details of the bill, such as the total amount, description, and date.
- Tap on the “Split” or “Add friends” button to allocate the expenses among the people involved.
- Choose the splitting method that best suits your needs. Splitwise offers several options, including equal splits, percentage splits, or custom splits.
- If you opt for a custom split, you can enter the specific amounts owed by each person. This is useful when there are variations in spending or when different individuals are responsible for different portions of the bill.
- Once you’ve allocated the expenses, Splitwise will display the individual shares for each person involved.
- Review the split details to ensure accuracy, and make any necessary adjustments if needed.
Splitwise also offers the option to include different currencies or exclude certain individuals from the split. This flexibility allows for more precise splitting when dealing with complex spending scenarios.
What sets Splitwise apart is its ability to handle multiple bills and expenses simultaneously. As you add more bills and expenses to the app, Splitwise continuously updates the overall balances and adjusts the amounts owed by each person. This real-time updating eliminates the need for manual calculations and keeps everyone informed about their financial obligations.
In situations where bills are being split across different groups or multiple individuals, Splitwise maintains separate balances for each scenario. You can easily switch between these groups or individuals to view their respective balances and settle up accordingly.
Remember, Splitwise is not a payment app. It solely focuses on tracking and splitting expenses. In the app, you can note down how much money has been paid and by whom, but the actual payment transfer is done outside of Splitwise, such as through cash, digital wallets, or online banking.
Splitwise simplifies the process of splitting bills, ensuring fairness and transparency among friends or roommates. By utilizing its powerful splitting features, you can avoid misunderstandings, share expenses accurately, and maintain strong financial relationships.
Adding Expenses
Splitwise makes it easy to track and add expenses, ensuring that every shared cost is accounted for. By adding expenses to Splitwise, you can keep an accurate record of your spending and facilitate fair bill splitting. Here’s how you can add expenses to Splitwise:
- Open the Splitwise app and navigate to your dashboard or home screen.
- Tap on the “Add an expense” button or icon, usually located prominently on the screen.
- Select the friends involved in the expense. You can choose from your existing friends or add new ones if necessary.
- Enter the details of the expense, including the amount, a brief description, and the date of the transaction.
- If the expense is related to a specific category, such as groceries, transportation, or entertainment, you can categorize it for better organization. Splitwise offers preset categories, and you can also create custom ones.
- If applicable, attach receipts or additional supporting documents to the expense. You can do this by taking a photo of the receipt or choosing a file from your device’s storage.
- Once all the information is entered, review the expense details and make any necessary modifications.
- Finally, click on the “Save” or “Add” button to record the expense in Splitwise.
Splitwise allows you to add expenses in any currency, making it ideal for international travel or situations where different currencies are involved. The app automatically converts the amounts to the preferred currency, simplifying expense tracking and ensuring accurate bill splitting.
Furthermore, Splitwise offers the option to add detailed notes to your expenses, providing additional context or clarifying any specific details. This feature is useful when there are multiple expenses within a single transaction or when you want to provide further clarity to your friends about the nature of the expense.
By recording expenses in Splitwise, you create a comprehensive record of spending and establish a transparent system for bill splitting. Each person involved in the expense can easily view and monitor their outstanding balances, fostering open communication and a sense of financial accountability.
Adding expenses to Splitwise ensures that no shared cost goes unnoticed and helps maintain accurate financial records among friends or roommates.
Settling Up
Splitwise simplifies the process of settling up by keeping track of everyone’s individual balances and making it easy to settle debts among friends or roommates. Here’s how you can settle up using Splitwise:
- Open the Splitwise app and navigate to your dashboard or home screen.
- Select the “Activity” or “Balances” tab to view a summary of your current balances with your friends.
- Review the balances shown, which indicate how much you owe or are owed by each person.
- Decide on the method of settlement with your friends. You can choose to settle up in various ways, such as cash, bank transfers, digital payment platforms, or other preferred methods.
- Coordinate with your friends to settle up. If you owe them money, you can initiate the payment process by transferring the owed amount directly to their bank account or using a preferred payment app. If your friends owe you money, communicate with them to receive the owed amount.
- As each payment is made, record it in the Splitwise app by clicking on the respective expense and updating the payment status. You can mark the expense as “Paid” or enter the amount that has been settled.
- Splitwise will automatically adjust the balances, reflecting the payments made and updating the amounts owed accordingly.
- Regularly check your balances in Splitwise to ensure that all expenses are settled, and no one is left with outstanding debts.
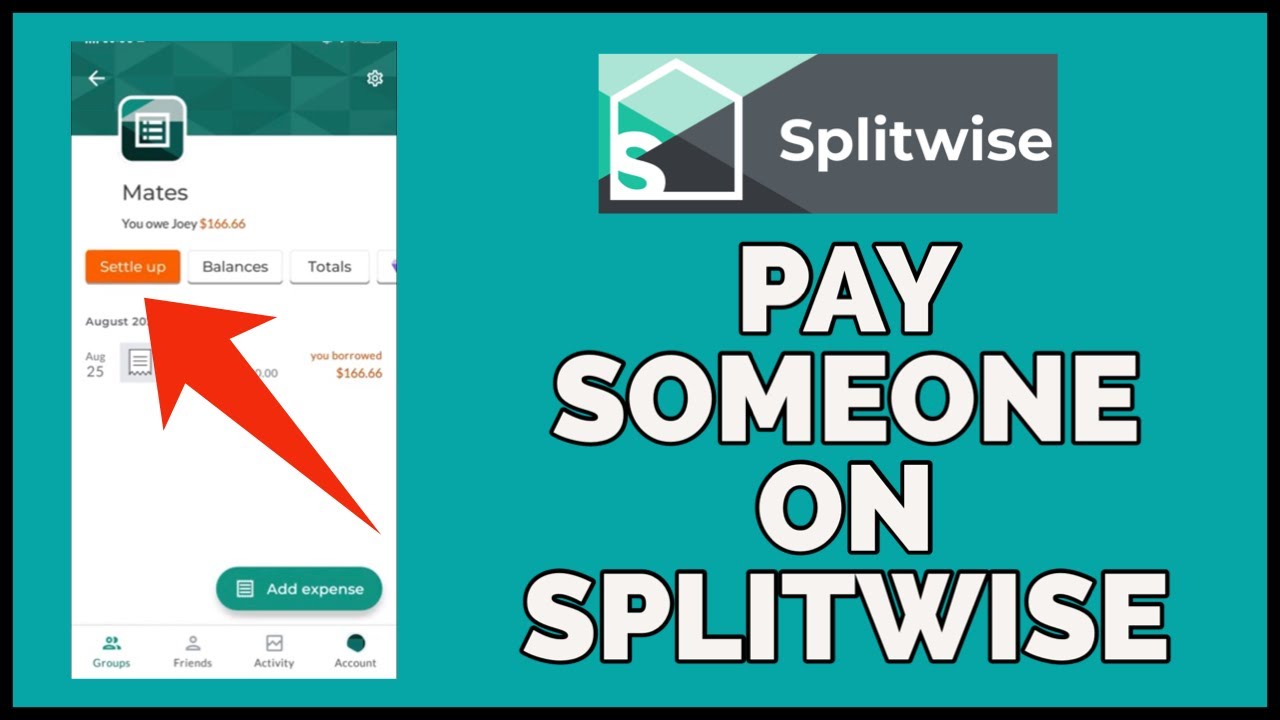
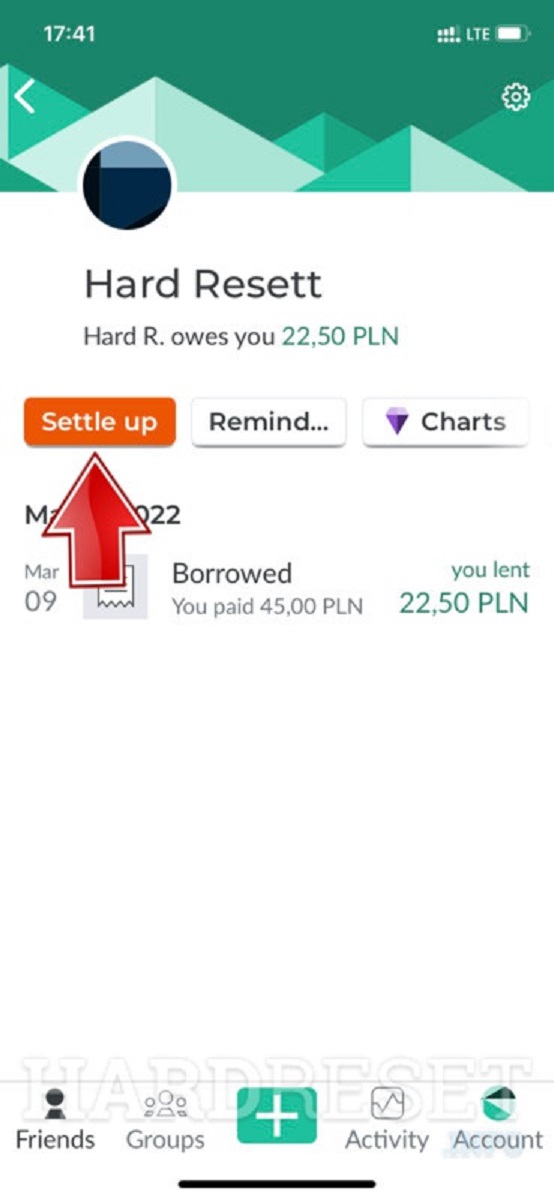
Splitwise also provides the option to settle up within the app using its integrated settlement feature called “Settle up.” This feature allows you to settle all outstanding balances with a group of friends or individual friends at once. Splitwise will calculate the most efficient way to settle up the debts, minimizing the number of transactions required.
Remember, communication is key when settling up with friends. Keep the lines of communication open, confirm the payment details, and maintain transparency throughout the settlement process. This will ensure a smooth settlement and avoid any confusion or misunderstandings.
By consistently settling up in Splitwise, you maintain accurate financial records, eliminate outstanding debts, and reinforce the trust and transparency in your financial relationships.
Tips and Tricks
Here are some helpful tips and tricks to enhance your experience with Splitwise:
- Regularly update your expenses: Make it a habit to enter your expenses into Splitwise as soon as they occur. This will ensure that your records are up to date and prevent you from forgetting to add expenses later on.
- Settle up frequently: Settling up frequently with your friends helps keep the balances low and avoids accumulating large outstanding debts. Aim to settle up at least once a month or whenever the balances become significant.
- Label shared expenses: When adding expenses, use clear and descriptive labels to specify what the expense is for. This helps in easily identifying and categorizing expenses later on, especially when looking at past records.
- Attach receipts: Whenever possible, attaching receipts to expenses can serve as proof and provide clarity on what the expense was for. This is particularly helpful when multiple people are involved in the expense.
- Create expense notes: Use the notes feature in Splitwise to add any important details or reminders about the expense. This can include reminders to split a particular expense differently or any notes that will help with later reference.
- Be proactive in adding friends: It’s essential to add all your friends or roommates to Splitwise, even if you don’t have immediate expenses to split. This way, you’re prepared for future shared expenses, and everyone is on the same page from the beginning.
- Settle up using group payments: If you’re settling up with a group of friends, consider using group payments to settle all the outstanding balances at once. This streamlines the process and minimizes the number of individual transactions.
- Utilize email or push notifications: Enable email or push notifications in Splitwise to stay updated on any new expenses, payment requests, or changes made by your friends. This ensures you’re always in the loop and can respond promptly.
- Communicate openly: Splitwise is an excellent tool, but it’s still important to maintain open communication with your friends or roommates. Discuss any discrepancies, clarify expenses, and address any concerns to maintain a harmonious financial relationship.
- Take advantage of Splitwise Pro: Consider upgrading to Splitwise Pro, which offers additional features such as receipt scanning, Excel exporting, and priority customer support. Evaluate if the premium features will enhance your Splitwise experience.
By incorporating these tips and tricks into your Splitwise routine, you can optimize your expense-sharing experience, maintain accurate records, and ensure smooth financial management among friends or roommates.
Conclusion
Splitwise is an invaluable tool for anyone looking to efficiently manage shared expenses and split bills with friends, family, or roommates. With its user-friendly interface, comprehensive features, and real-time updates, Splitwise simplifies the process of expense tracking and bill splitting.
By setting up your Splitwise account, adding friends, creating bills, and adding expenses, you can effortlessly track shared costs and eliminate the hassle of manual calculations. The ability to split bills based on various methods ensures fairness and accuracy in dividing expenses among individuals.
Settling up is made easy with Splitwise, as you can view individual balances and make payments outside of the app using preferred methods. Regularly settling up and maintaining clear communication with friends ensure a harmonious and transparent financial relationship.
To optimize your experience with Splitwise, consider following some helpful tips and tricks, such as updating expenses promptly, attaching receipts, using expense notes, and settling up frequently. These practices enhance the accuracy, organization, and efficiency of managing shared expenses.
Remember that Splitwise is not just a financial management tool; it also fosters open communication, trust, and transparency. By using Splitwise, you can minimize misunderstandings, prevent conflicts, and maintain healthy financial relationships with those you share expenses with.
So, whether you’re planning a group trip, managing household expenses, or simply going out for dinner with friends, Splitwise is here to simplify your expense-sharing process. Download the app, set up your account, and embrace the convenience and ease that Splitwise brings to your financial life.


