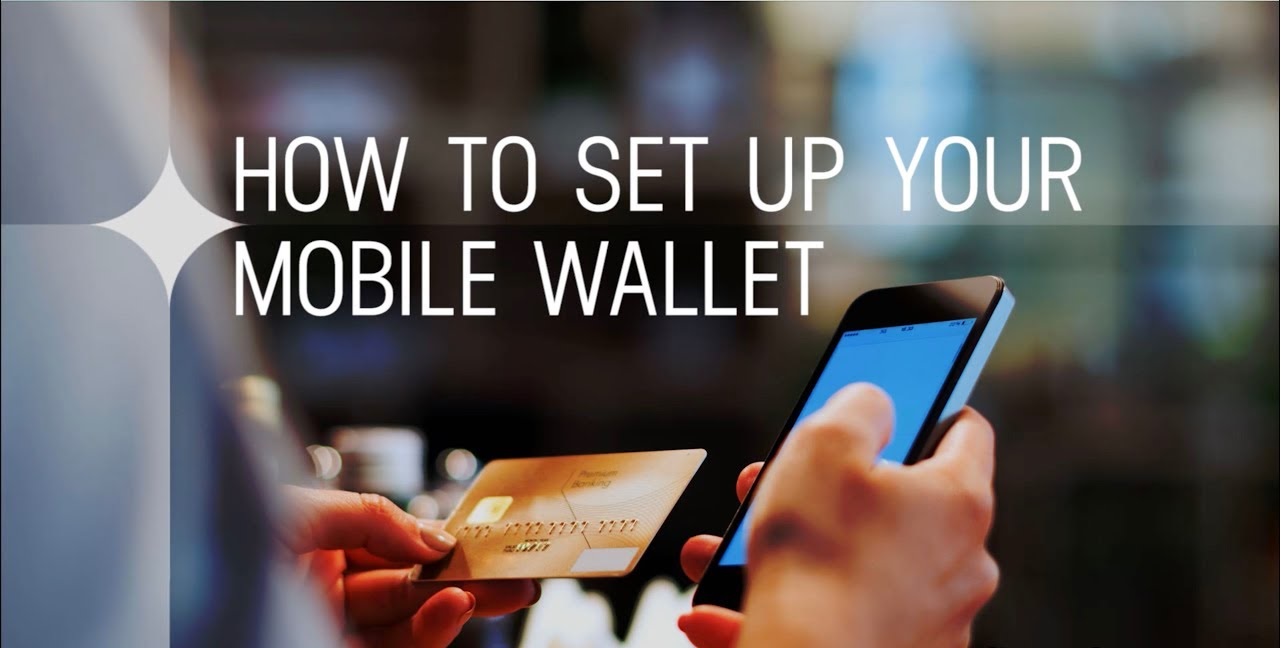
Introduction
Welcome to the digital age, where convenience and flexibility are paramount. One of the notable innovations in the realm of financial technology is the electronic wallet, commonly known as an E-wallet. As the world becomes increasingly digitized, traditional methods of payment and transactions are being revolutionized by this secure and convenient means of storing and transferring funds.
An E-wallet, essentially, is a digital version of your physical wallet. It allows you to store your funds securely and carry out various financial transactions through your mobile device or computer. Whether you want to make purchases, send money to family and friends, or pay bills, an E-wallet provides a streamlined and efficient solution. With just a few taps or clicks, you can enjoy the convenience of managing your finances anytime, anywhere.
This article will guide you through the process of setting up and using an E-wallet, ensuring you make the most of this modern financial tool. From choosing the right E-wallet to adding funds and making payments, we will cover all the essential steps.
Before we dive into the specifics, it’s essential to understand the advantages of using an E-wallet. Embracing this technology can significantly enhance your financial experience and simplify your day-to-day transactions. You’ll discover the benefits, such as increased convenience, improved security, and seamless integration with various payment methods.
So, let’s get started and unlock the world of hassle-free transactions and secure digital payments with an E-wallet.
What is an E-wallet?
An E-wallet, also known as a digital wallet or mobile wallet, is a virtual platform that allows users to store and manage their financial information electronically. It serves as a secure and convenient tool for making online payments, transferring funds, and even storing loyalty cards and digital tickets. Essentially, it is a digital counterpart of your physical wallet, but with added features and convenience.
With an E-wallet, you can link various payment methods, such as credit or debit cards, bank accounts, and even cryptocurrencies. Once linked, these payment methods can be used to fund your wallet and make transactions without the need to share your sensitive financial details with every merchant or website you transact with.
While E-wallets are primarily used for online transactions, many also offer the functionality of making payments at physical stores through Near Field Communication (NFC) or Quick Response (QR) codes. This means you can tap or scan your mobile device at a compatible point-of-sale terminal to make a payment, eliminating the need for physical cash or cards.
Furthermore, E-wallets are typically equipped with additional features to enhance their usability. These may include features like expense tracking, budgeting tools, rewards programs, and even peer-to-peer payment capabilities. The integration of these features varies depending on the specific E-wallet provider and their partnerships with other financial institutions.
Security is a crucial aspect of E-wallets. To ensure the safety of your financial information, most E-wallets utilize encryption techniques and multi-factor authentication methods. This adds an extra layer of protection to your transactions, reducing the risk of fraud and unauthorized access.
Overall, E-wallets offer a convenient, secure, and versatile solution for managing your finances digitally. Whether you’re an avid online shopper, a frequent traveler, or simply looking for a more streamlined payment method, an E-wallet can simplify your financial transactions and provide peace of mind.
Benefits of using an E-wallet
The adoption of E-wallets has been steadily rising, thanks to the numerous advantages they offer. Let’s explore some of the key benefits of using an E-wallet:
- Convenience: One of the major advantages of E-wallets is the convenience they provide. Gone are the days of carrying around a bulky wallet filled with cash and cards. With an E-wallet, you can make payments and transactions with just a few taps on your mobile device. Whether you’re shopping online, paying bills, or splitting expenses with friends, it can all be done seamlessly in a matter of seconds.
- Security: E-wallets prioritize the security of your financial information. Most E-wallet providers employ advanced encryption techniques and secure transaction protocols to safeguard your data. Additionally, by using an E-wallet, you can reduce the risk of card skimming or losing physical cash. Your financial details are securely stored within the wallet, and your transactions are protected from potential fraud or theft.
- Wide Acceptance: E-wallets are widely accepted by various merchants, both online and offline. You can use your E-wallet to make purchases at e-commerce websites, pay for services at restaurants or retail outlets, and even make transactions at vending machines or public transportation terminals. The versatile acceptance of E-wallets makes them a convenient payment option in various scenarios.
- Rewards and Discounts: Many E-wallet providers offer rewards programs or cashback incentives for using their services. By using an E-wallet for your transactions, you can accumulate points or earn cashback, which can be redeemed for discounts or future purchases. These rewards programs can help you save money and make your financial transactions even more rewarding.
- Speed and Efficiency: E-wallet transactions are incredibly fast and efficient. No more fumbling with physical cash or waiting for card authorization. With an E-wallet, payments are processed almost instantly, allowing you to complete your transactions with minimal delay. This speed and efficiency make E-wallets an excellent choice for time-sensitive transactions or when you’re on the go.
These are just a few of the many benefits of using an E-wallet. Whether you’re looking for convenience, security, rewards, or speed, an E-wallet can provide a seamless and efficient way to manage your finances. Embracing this digital payment solution can enhance your financial experience and simplify your transactions in the modern world.
Choosing the Right E-wallet
With the growing popularity of E-wallets, there are numerous options available in the market. To ensure you select the right one for your needs, consider the following factors:
- Compatibility: Before choosing an E-wallet, ensure it is compatible with your device’s operating system. Whether you’re using Android, iOS, or another platform, make sure the E-wallet is supported and offers a seamless user experience on your device.
- Features and Functionality: Evaluate the features and functionality offered by different E-wallets. Do you require additional services like expense tracking, budgeting tools, or peer-to-peer payments? Consider your specific needs and choose an E-wallet that offers the features you deem important.
- Accepted Merchants: Check the list of merchants, both online and offline, that accept the E-wallet you are considering. Ensure that the E-wallet is widely accepted by the merchants you frequently transact with to ensure a seamless payment experience.
- Security Measures: Pay attention to the security measures implemented by the E-wallet provider. Look for features like encryption, two-factor authentication, and biometric authentication options that add layers of protection to your transactions and personal information.
- User Reviews and Ratings: Research user reviews and ratings to gain insights into the experiences of existing users. The opinions and feedback from other users can provide valuable information about the reliability, usability, and customer support of the E-wallet.
- Integration with Payment Methods: Consider the payment methods that can be linked to the E-wallet. Can you connect your credit or debit cards, bank accounts, or even cryptocurrencies? An E-wallet that offers a wide range of payment options will allow you to fund your wallet and make transactions with ease.
- Customer Support: Check if the E-wallet provider offers reliable customer support. In case of any issues or concerns, it’s essential to have access to prompt assistance. Look for options like live chat, email support, or a dedicated customer support helpline.
By carefully considering these factors, you can choose an E-wallet that aligns with your requirements, preferences, and lifestyle. Remember, there is no one-size-fits-all E-wallet, so take the time to evaluate your options and select the one that best suits your needs.
Step 1: Download and Install the E-wallet App
The first step to setting up an E-wallet is to download and install the app on your mobile device. Follow these simple guidelines to get started:
- Research and Choose: Begin by researching and selecting the E-wallet app that suits your needs. Consider factors such as compatibility with your device’s operating system and the features offered by the app.
- Access the App Store: If you’re an iOS user, access the App Store on your iPhone or iPad. Android users can find the app on the Google Play Store. Alternatively, you may also find the app on the E-wallet provider’s official website.
- Search and Download: Once you’re on the app store, search for the name of the E-wallet app you’ve chosen. Tap on the app from the search results, and then click on the “Download” or “Install” button to begin the installation process.
- Grant Permissions: During the installation, the app may request certain permissions to access various features on your device. Review these requested permissions and tap on “Accept” or “Allow” to grant the necessary access. These permissions are crucial for the proper functioning of the E-wallet app.
- Wait for Installation: Depending on your internet connection speed, the app may take a few moments to download and install. Be patient and avoid interrupting the process.
- Open the App: Once the installation is complete, the app will appear on your device’s home screen or in the app drawer. Tap on the app icon to open it.
Now that you have successfully downloaded and installed the E-wallet app, you’re one step closer to utilizing its features and functionalities. In the next steps, we will guide you through the process of setting up your E-wallet account, linking payment methods, and making transactions.
It’s important to note that various E-wallet apps may have slightly different installation processes. Therefore, be sure to consult the specific instructions provided by the app developer or refer to the app’s user guide for more customized installation guidance.
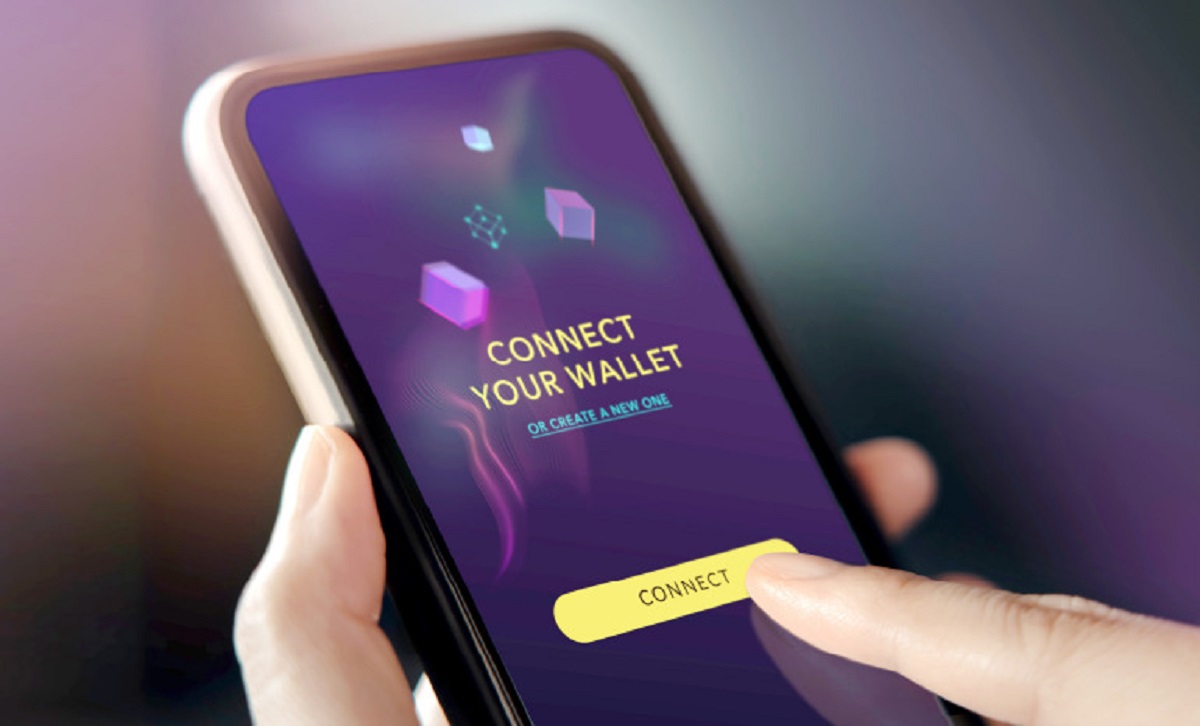
Step 2: Account Registration
Now that you have downloaded and installed the E-wallet app, it’s time to create your account. Follow these steps to complete the registration process:
- Launch the App: Open the E-wallet app on your device by tapping on the app icon.
- Registration Option: Depending on the app, you will typically be presented with options to either “Sign Up” or “Register.” Tap on the appropriate option to proceed.
- Provide Personal Information: On the registration screen, you will be prompted to enter your personal information. This may include your full name, email address, phone number, and sometimes your physical address. Fill in the required fields accurately.
- Create a Secure Password: Choose a strong and unique password for your E-wallet account. Ensure that it includes a combination of uppercase and lowercase letters, numbers, and special characters. This will help protect your account from unauthorized access.
- Accept Terms and Conditions: Read through the terms and conditions of the app and its services. If you agree with them, tick the box or tap the checkbox indicating your acceptance.
- Verify Email or Phone Number: Depending on the app, you may receive an email or a text message with a verification code. Enter the code in the app to verify your email address or phone number. This step adds an extra layer of security and confirms that you are the rightful owner of the account.
- Create a PIN or Passcode: Some E-wallet apps require you to create a personal identification number (PIN) or passcode. This adds an additional layer of security when accessing your E-wallet app. Create a PIN or passcode that is easy to remember but difficult for others to guess.
- Account Creation Confirmation: Once you have completed all the required steps, the app will confirm the successful creation of your E-wallet account. You may receive an email or an in-app notification confirming your registration.
With your account successfully registered, you are now on your way to utilizing the features and functionalities of your E-wallet. In the next step, we will guide you on how to link your preferred payment methods to your E-wallet account.
Note that the account registration process may vary slightly depending on the specific E-wallet app you are using. Therefore, carefully follow the instructions provided by the app, as they may offer unique registration steps or additional security measures.
Step 3: Linking Payment Methods
After successfully registering your E-wallet account, the next step is to link your preferred payment methods. This allows you to fund your E-wallet and make transactions seamlessly. Follow these steps to link your payment methods:
- Open the E-wallet App: Launch the E-wallet app on your device by tapping on the app icon.
- Access Payment Settings: Look for the “Settings” or “Payment Methods” section within the app. This is where you can manage your linked payment methods.
- Choose “Add Payment Method”: In the payment settings section, look for an option that allows you to add a new payment method. Tap on it to proceed.
- Select the Payment Method: From the list of available payment methods, choose the one you wish to link to your E-wallet. The options may include credit or debit cards, bank accounts, or even cryptocurrencies.
- Enter Payment Method Details: Follow the prompts to enter the required information for the chosen payment method. This may include the card number, expiration date, CVV, or bank account details. Ensure that you provide accurate and up-to-date information.
- Verify and Save: Depending on the payment method, you may be required to go through a verification process. This could involve confirming your ownership by entering a verification code or authorizing a small charge on your card. Follow the instructions provided to complete the verification.
- Repeat for Additional Payment Methods: If you have multiple payment methods you wish to link, repeat the above steps for each one.
- Set Preferred Payment Method: Some E-wallet apps allow you to set a preferred payment method for convenience. Choose your preferred option if this feature is available.
Once you have successfully linked your desired payment methods, you’ll be able to use them to add funds to your E-wallet and make transactions. This seamless integration of payment methods enhances the flexibility and convenience of your E-wallet experience.
Note that the process of linking payment methods may vary slightly depending on the specific E-wallet app you are using. Follow the instructions provided by the app and ensure the accuracy of the entered payment information for a smooth linking process.
Step 4: Identity Verification
Identity verification is an important step in the setup process of an E-wallet. It adds an extra layer of security and helps ensure that you are the rightful owner of the account. Follow these steps to complete the identity verification process:
- Access Verification Settings: Open the E-wallet app on your device and navigate to the “Settings” or “Account Settings” section.
- Choose Identity Verification: Look for an option related to identity verification or “Verify Your Account.” Tap on it to begin the process.
- Provide Required Information: Follow the prompts to enter the required information for verification. This may include personal details such as your full name, date of birth, and sometimes your residential address.
- Submit Supporting Documentation: Some E-wallet apps may require you to provide supporting documents to verify your identity. This could include a scanned copy or a high-quality photo of your government-issued identification, such as a passport or driver’s license. Follow the instructions provided to upload the necessary documents.
- Wait for Verification: Once you have provided the required information and documentation, the E-wallet provider will review and verify your identity. This process may take some time, so be patient and wait for the confirmation.
- Confirmation Notification: Upon successful verification, you will receive a notification or email confirming that your identity has been verified. You may also receive information regarding any additional steps you need to take, if applicable.
- Additional Security Measures: Some E-wallet apps may require additional security measures, such as setting up a biometric authentication system (e.g., fingerprint or facial recognition) or a two-factor authentication process. Follow the provided instructions to enable these measures, as they add an extra layer of security to your account.
Completing the identity verification process ensures that your E-wallet account is secure and helps prevent unauthorized access. It also ensures that you can fully utilize the features and functionalities of your E-wallet without any restrictions.
Remember to follow the instructions provided by the E-wallet app during the identity verification process. Accuracy and attention to detail are essential to ensure a successful verification and a smooth user experience.
Step 5: Adding Funds to Your E-wallet
Now that your E-wallet is set up and verified, it’s time to add funds so that you can start using it for transactions. Follow these steps to add funds to your E-wallet:
- Open the E-wallet App: Launch the E-wallet app on your device by tapping on the app icon.
- Access Fund Management: Look for the “Add Funds” or “Manage Funds” section within the app. This is where you can handle your wallet’s fund management.
- Choose a Funding Method: Select the funding method you want to use to add funds to your E-wallet. This can include options like bank transfer, credit or debit card, or even linked accounts such as PayPal or cryptocurrency wallets.
- Enter the Amount: Specify the amount you wish to add to your E-wallet. Be mindful of any minimum or maximum limits set by the E-wallet app or the funding method you have chosen.
- Verify the Transaction: Review the transaction details carefully to ensure accuracy. Confirm the transaction before proceeding.
- Authenticate the Transaction: Depending on the security measures implemented by the E-wallet app, you may need to authenticate the transaction. This could involve entering a verification code, using biometric authentication, or receiving a confirmation message to authorize the transaction.
- Wait for Funds to Reflect: After completing the transaction, wait for the funds to appear in your E-wallet. Depending on the payment method and processing times, this may happen instantly or take a short while.
- Verify Fund Availability: Once the funds have been added to your E-wallet, verify that they are available for use. The app should display your updated E-wallet balance.
By adding funds to your E-wallet, you ensure that you have sufficient funds to make payments and transactions effortlessly. It eliminates the need to enter your payment details for each individual transaction, streamlining the payment process.
Keep in mind that certain E-wallet apps may charge fees or impose limits on fund additions. Familiarize yourself with the terms and conditions related to fund management to ensure a seamless experience while using your E-wallet.
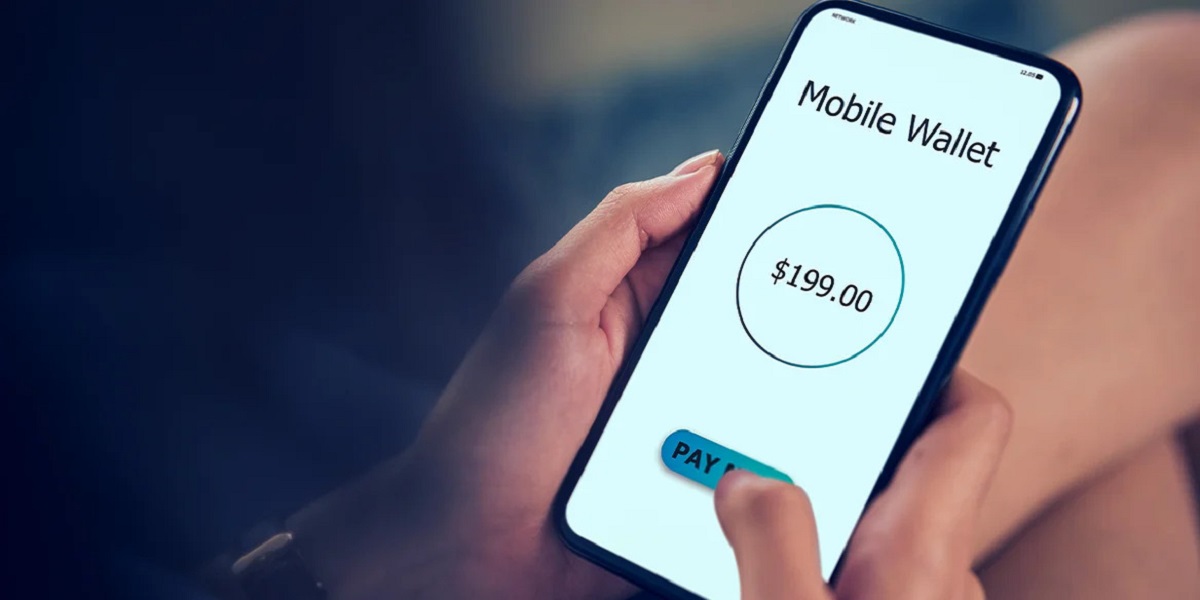
Step 6: Making Payments with Your E-wallet
Now that you have funds in your E-wallet, you can start making payments and transactions conveniently. Follow these steps to make payments with your E-wallet:
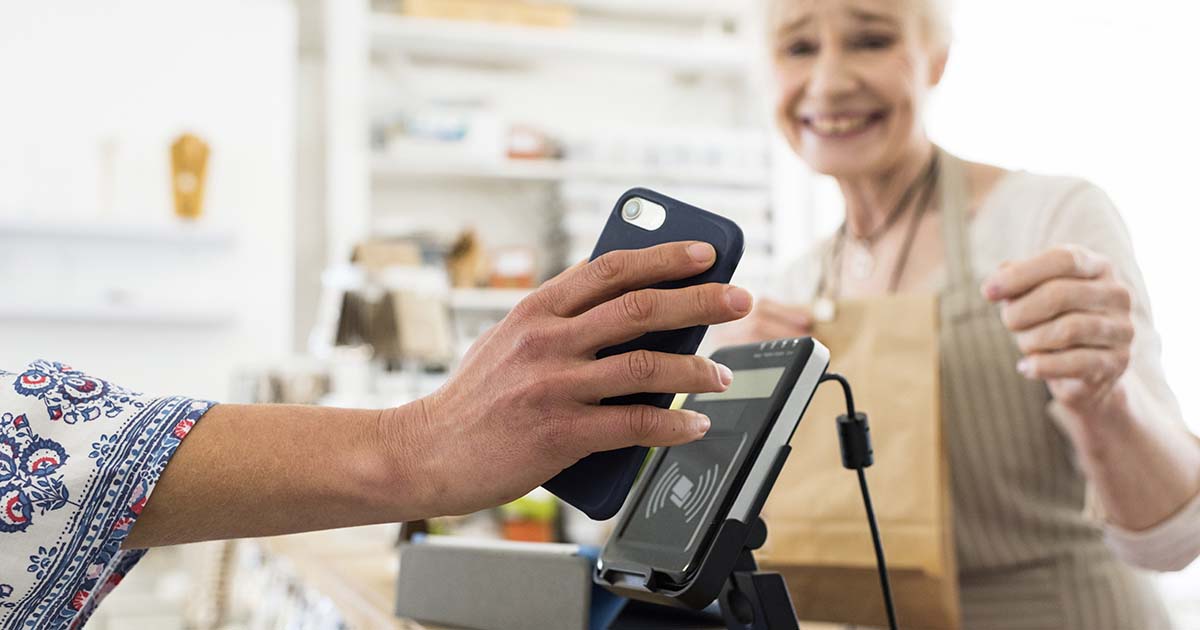
- Select the Payment Option: Choose the payment option that suits your needs. This could be within an app or website where the E-wallet is accepted, or in a physical store using NFC or QR code technology.
- Confirm Payment Method: During the checkout process, ensure that the E-wallet payment option is selected or specified. Some apps or websites may have multiple payment options available, so double-check that you’re selecting the E-wallet as the payment method.
- Authorize the Transaction: Depending on the E-wallet app and the security measures implemented, you may need to authorize the transaction. This could involve entering your PIN, providing biometric authentication, or using other methods of verification.
- Review Transaction Details: Before finalizing the payment, review the transaction details carefully. Make sure the payment amount and recipient information are accurate.
- Complete the Payment: Once you have verified the transaction details, proceed to complete the payment. The E-wallet app will process the payment, deducting the necessary amount from your E-wallet balance.
- Get Confirmation: After successful payment, you will receive a confirmation message or notification. Keep these confirmations for reference or proof of payment, if needed.
- Note Payment History: When using an E-wallet, it’s a good practice to keep track of your payment history. Most apps provide a transaction history section where you can review past payments and monitor your spending.
- Choose Automatic Payments: If available, consider setting up automatic payments for recurring expenses such as utility bills or subscription renewals. This can save time and ensure timely payments.
With the convenience and ease of using an E-wallet, making payments becomes efficient and secure. It eliminates the need to carry physical cash or cards while giving you the flexibility to transact online or in physical stores seamlessly.
Remember to keep your E-wallet app updated and stay vigilant about the security of your transactions. Regularly review your transaction history to identify any unauthorized activity and report it to the E-wallet provider immediately.
Step 7: Security Measures
Ensuring the security of your E-wallet is of utmost importance to protect your funds and personal information. Follow these essential security measures to keep your E-wallet secure:
- Create a Strong Password: Set a strong password for your E-wallet account that includes a mix of uppercase and lowercase letters, numbers, and special characters. Avoid using easily guessable information or common passwords.
- Enable Two-Factor Authentication (2FA): Most E-wallet apps offer the option of two-factor authentication as an added layer of security. Enable this feature to require a verification code or biometric authentication in addition to your password when accessing your E-wallet.
- Update the App Regularly: Keep your E-wallet app updated with the latest version. App updates often include security patches and bug fixes that help protect against potential vulnerabilities.
- Be Wary of Suspicious Messages or Calls: Be cautious of phishing attempts or scammers posing as E-wallet representatives. Avoid clicking on suspicious links or sharing your personal information over calls or messages.
- Monitor Account Activity: Regularly review your transaction history and account activity within the E-wallet app. Report any unauthorized or suspicious transactions to the E-wallet provider immediately.
- Secure Your Device: Keep your mobile device or computer secure by using a PIN, passcode, fingerprint, or facial recognition to secure access to your E-wallet app. Additionally, enable device lock and auto-lock features to protect against unauthorized access.
- Protect Personal Information: Avoid sharing sensitive information such as passwords, PINs, or verification codes with anyone. Ensure that you are accessing your E-wallet app on a secure and trusted network to minimize the risk of interception.
- Regularly Backup Your Data: Backup your E-wallet data, including transaction history and account details, regularly. This ensures that you can recover your information in case of loss, theft, or device malfunction.
- Keep Your E-wallet and Device Secure: Be mindful of physical security and avoid leaving your device unattended. Keep your E-wallet app locked when not in use and take appropriate measures to protect your device from theft or loss.
By following these security measures, you can minimize the risk of unauthorized access or fraudulent activity on your E-wallet. Stay informed about the latest security practices and maintain a cautious approach to ensure the safety of your funds and personal information.
If you encounter any security issues or suspect any fraudulent activity on your E-wallet, immediately report it to the E-wallet provider and take the necessary steps to safeguard your account.
Conclusion
Setting up and using an E-wallet is a convenient and secure way to manage your finances in today’s digital age. By following the steps outlined in this guide, you can easily create an E-wallet account, link your payment methods, and start making seamless transactions. The benefits of using an E-wallet, such as convenience, enhanced security, wide acceptance, and rewards programs, make it a valuable tool for everyday financial management.
Remember to choose the right E-wallet that aligns with your needs and preferences. Consider factors like compatibility, features, security measures, and user reviews to make an informed decision. Once you have selected your E-wallet, download and install the app on your device, and proceed with the registration process.
After registering your account, verify your identity to add an extra layer of security. Link your preferred payment methods to your E-wallet for easy fund management. Once you have funds in your E-wallet, you are ready to make payments online or at physical stores conveniently, often with just a few taps or scans.
While using your E-wallet, ensure that you follow security measures like creating a strong password, enabling two-factor authentication, and monitoring your account activity. Regularly update your E-wallet app and keep your device secure to protect against potential security threats.
With an E-wallet, you can enjoy the convenience of managing your finances anytime, anywhere. Whether it’s making online purchases, sending money to friends and family, or paying bills, an E-wallet offers a streamlined and efficient solution. Embrace the world of hassle-free transactions and secure digital payments with the power of an E-wallet.
Start your journey towards a more efficient and secure way of managing your finances by setting up your E-wallet today!