To set up a p2p network for your home or small office, you don't need complex server software, you just need to configure the built-in sharing features of your operating systems. This guide walks you through creating a direct, decentralized connection between your own computers so you can share files and printers effortlessly. For downloading files from the wider internet, you can apply the same decentralized principles with the ultimate guide to torrenting, or if someone sends you a direct link you can simply download wetransfer files without any special network setup. By following these practical steps, you’ll have a reliable peer-to-peer network running in under an hour, using only Ethernet cables and your existing Windows or macOS settings.
What is a local p2p network?
A local peer-to-peer (P2P) network is a way to directly connect your own computers for file and printer sharing without a central server. Unlike a client-server setup where all data flows through a dedicated machine, each device on a P2P network acts as both a client and a server. This means your Windows 11 laptop can share a folder with your macOS desktop directly, and vice versa, no cloud service or NAS required. For home users and small offices, this approach offers simplicity, cost savings, and complete control over your data, making it an ideal solution for collaborative work or media sharing between trusted devices, the same principles driving the future of p2p file sharing across the wider internet.
Before you begin: connect your devices
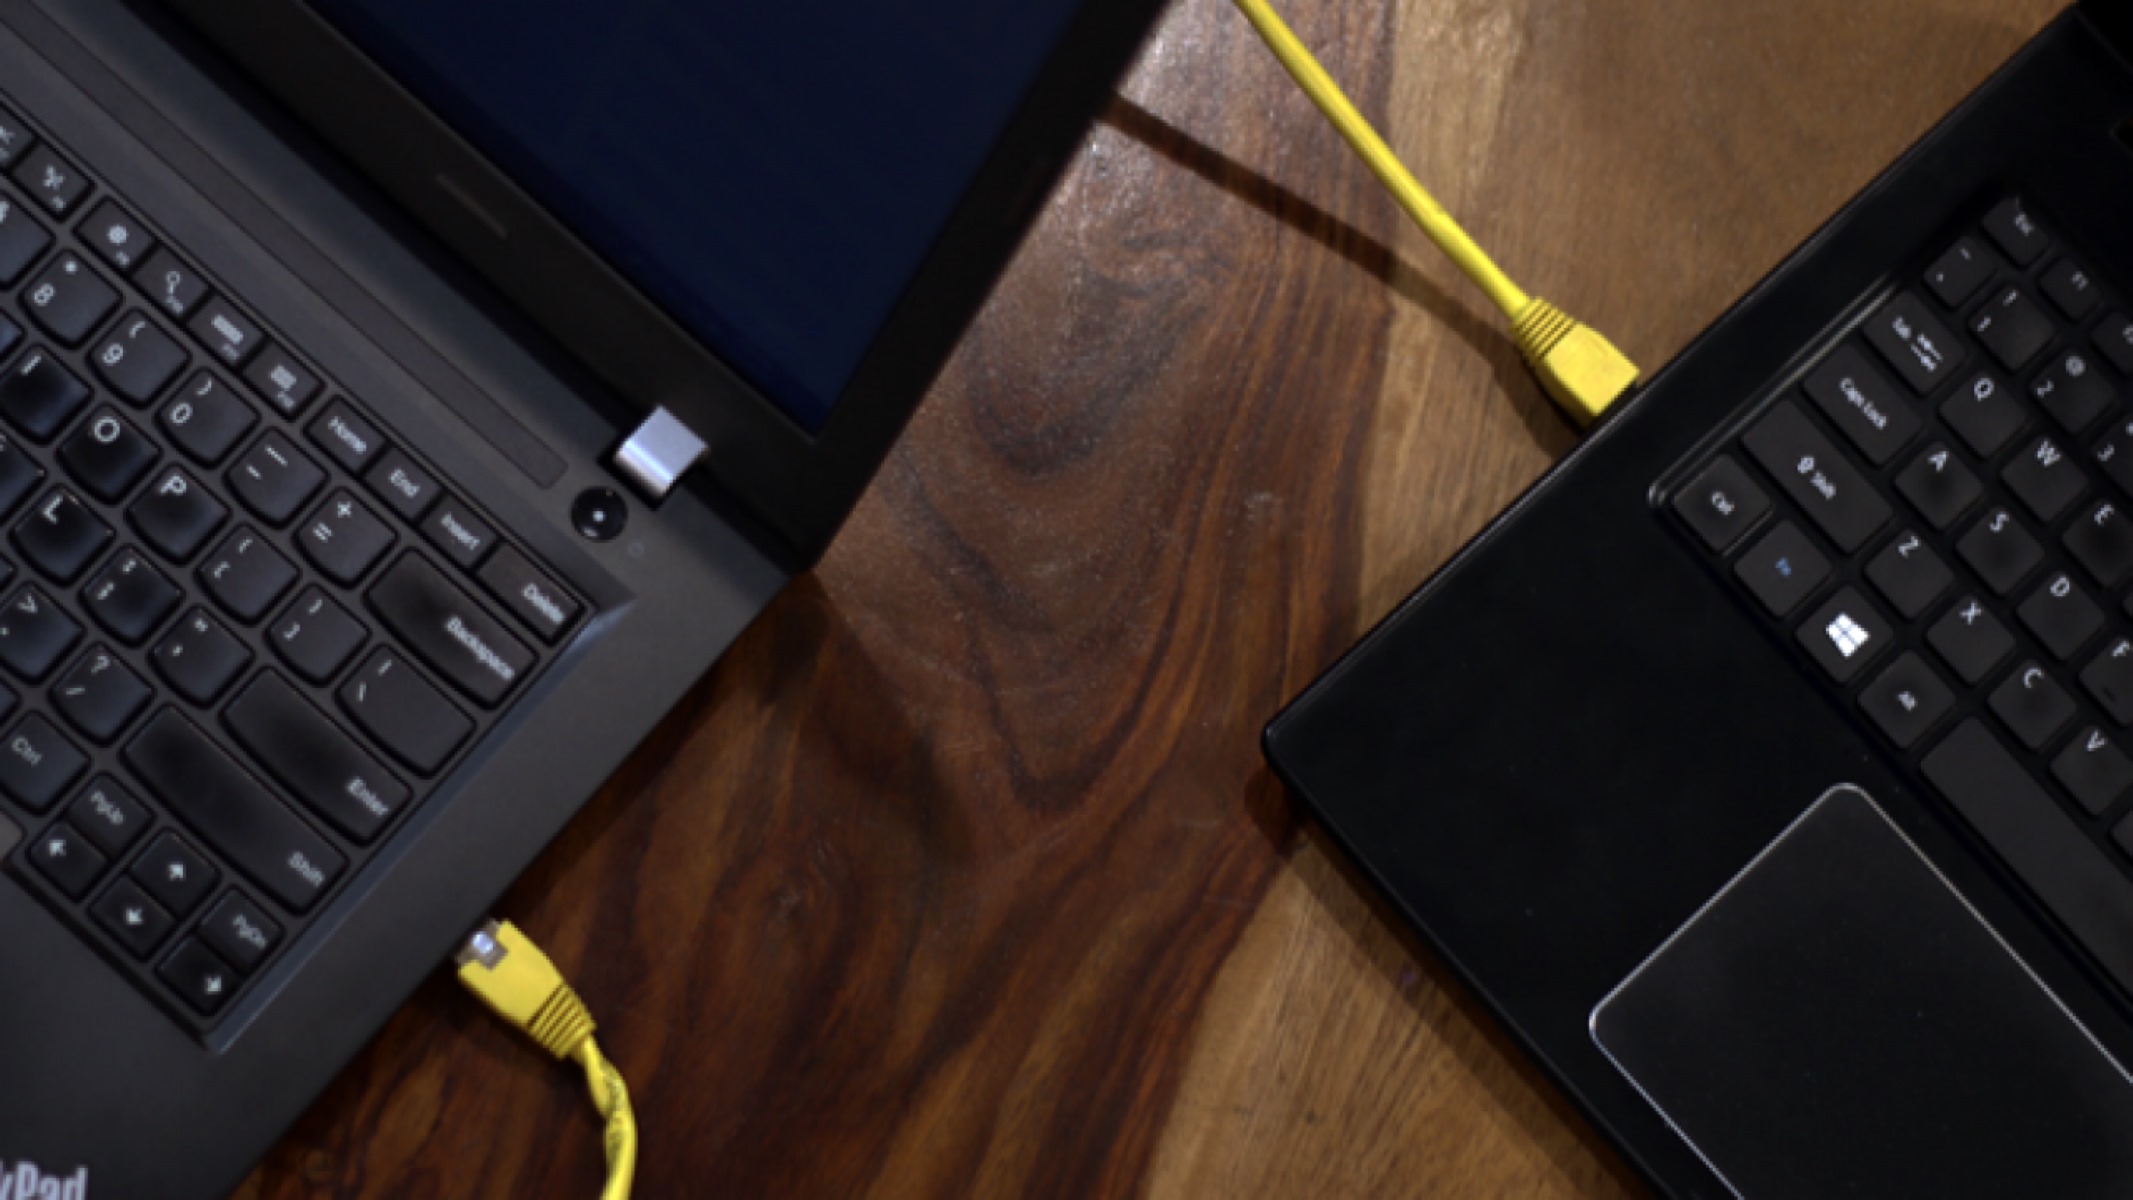
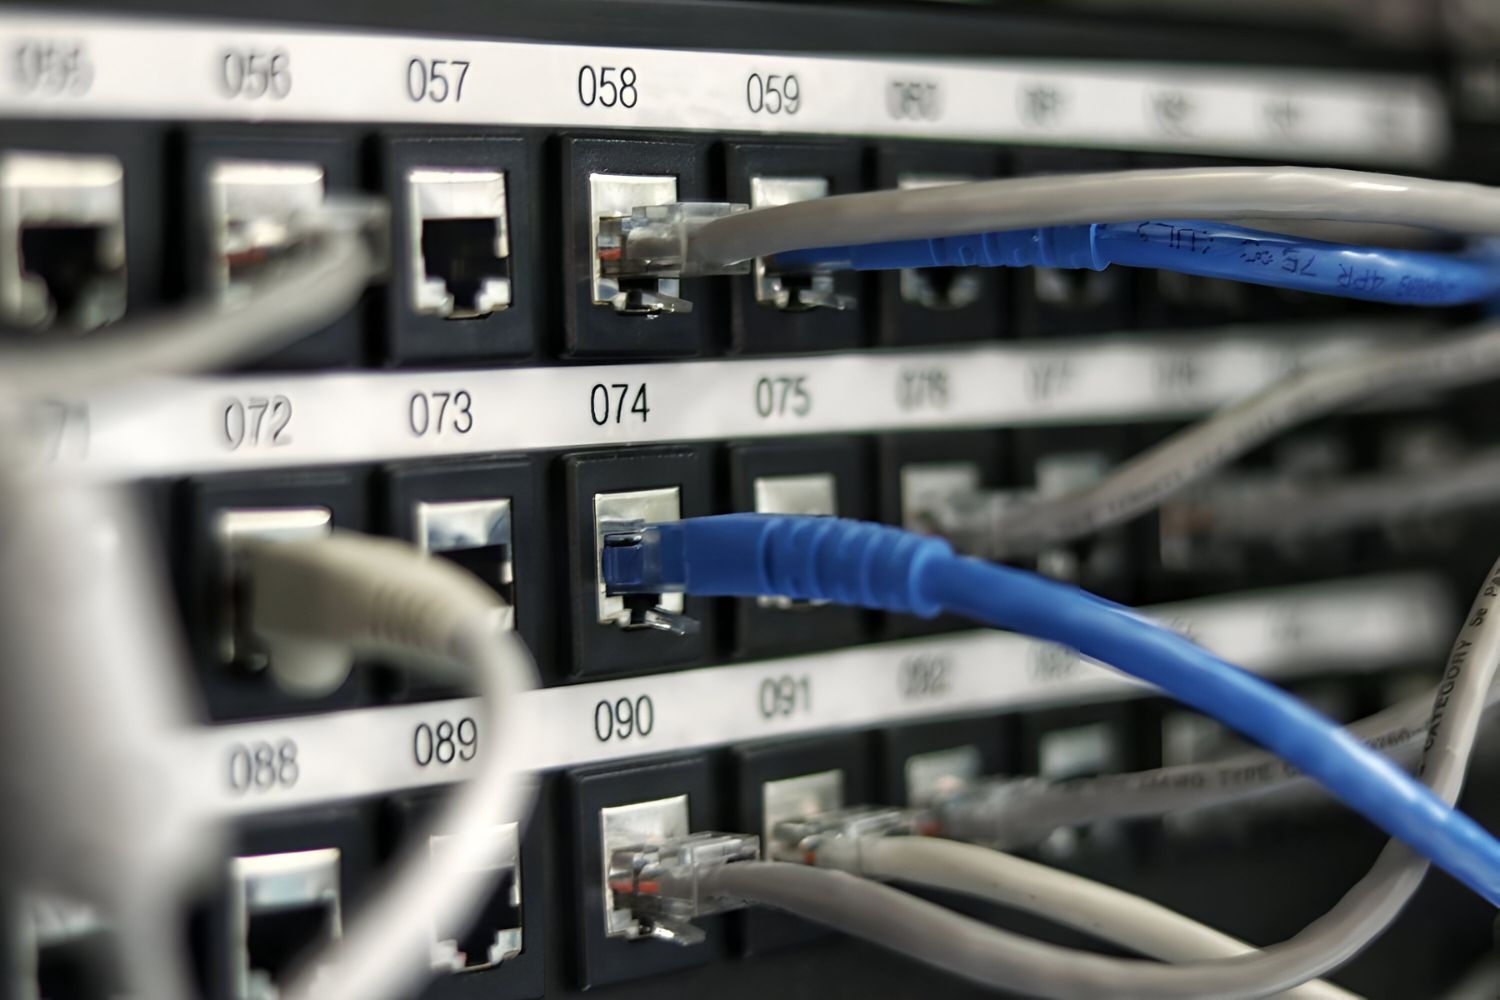
The foundation of any wired P2P network is the physical connection between your computers. For a simple two-device setup, you can connect them directly using a single Ethernet cable, modern network adapters auto-negotiate the connection, so no crossover cable is needed. If you have three or more computers, you'll need an Ethernet switch or hub: plug each computer into the switch using a standard Ethernet cable, and the switch will handle the communication between all devices. This wired approach provides the fastest, most stable connection for file transfers and printer sharing, and it avoids the interference issues that can plague Wi-Fi networks. Once your cables are connected and the link lights on your network adapters are blinking, you're ready to configure the software side.
Step 1: set a static IP address on each computer
To ensure reliable communication on your P2P network, each computer needs a unique, static IP address. This prevents conflicts that can occur when using dynamic DHCP addresses, which might change after a reboot. On Windows 11/10, open Settings > Network & internet, select your network adapter (Ethernet or Wi-Fi), click Edit next to "IP assignment," choose Manual, toggle on IPv4, and enter a unique IP address like 192.168.1.10, a subnet mask of 255.255.255.0, and a gateway (e.g., 192.168.1.1). Make sure the IP address is within your router's network range but outside its DHCP scope to avoid conflicts. On macOS, go to Apple menu > System Settings > Network, select your connection (Wi-Fi or Ethernet), click Details, navigate to the TCP/IP tab, change "Configure IPv4" from "Using DHCP" to "Manually," and enter the IPv4 Address, Subnet Mask, and Router.
Step 2: enable file and printer sharing on Windows
With static IPs in place, you now need to turn on Windows' built-in sharing features. Navigate to Settings > Network & internet > Advanced network settings > Advanced sharing settings. Under the Private section, select Turn on file and printer sharing. Then, expand the All networks section and turn on Password protected sharing, this ensures that only users with a username and password on your computer can access shared files, adding a layer of security. Note that the old HomeGroup feature, introduced in Windows 7, was deprecated in Windows 10 (version 1803) and is no longer available in Windows 10 or 11, so you must use this modern sharing method instead. After enabling these settings, Windows will automatically configure the necessary network protocols for peer-to-peer communication.
Step 3: allow file sharing through the firewall
Windows Defender Firewall often blocks incoming file-sharing connections by default, which is a critical step many users miss. To fix this, open Control Panel > System and Security > Windows Defender Firewall, then click Allow an app or feature through Windows Defender Firewall. Scroll down to find File and Printer Sharing and check the boxes for both Private and Domain networks. If you're on a home network, the Private profile is the one that matters. This configuration allows your computer to respond to file-sharing requests from other devices on your P2P network while still blocking unsolicited traffic from the internet. After making this change, your firewall will permit the SMB (Server Message Block) protocol that Windows uses for file and printer sharing.
Step 4: share a folder on the network
Now that sharing is enabled and the firewall is configured, you can share specific folders with other computers. Right-click the folder you want to share (e.g., "Project Files"), select Properties, and go to the Sharing tab. Click Share, then add the users you want to grant access to, you can choose "Everyone" for open access or select specific user accounts. Set the permission level to Read or Read/Write depending on whether you want others to just view files or also modify them. Click Share to apply the settings, and you'll see a network path (e.g., \\DESKTOP-ABC\Project Files) that other computers can use to access the folder.
How to create a wireless p2p network on a Mac
If you prefer a wireless setup between Macs, you can create an ad-hoc network directly from the Wi-Fi menu bar. Click the Wi-Fi icon in the menu bar, select Create Network, enter a network name, and choose a channel (WPA2 is recommended for security). This creates a direct Wi-Fi connection between your Macs without needing a router. However, be aware that while older macOS versions allowed password protection for ad-hoc networks, newer versions may not offer this option directly through the graphical user interface, potentially requiring Terminal commands for security. If the macOS firewall is active, ensure "Block all incoming connections" is unchecked, or explicitly allow "File Sharing" in the firewall options under System Settings > Network > Firewall. Once the network is created, you can enable file sharing via System Settings > General > Sharing, and other Macs on the ad-hoc network will appear in Finder's sidebar.
Troubleshooting: why can't I see the other computer?
If your computers aren't appearing in Network or Finder, start by verifying that all static IPs are on the same subnet, for example, all should be 192.168.1.x with a subnet mask of 255.255.255.0. Next, double-check that the Windows Defender Firewall has "File and Printer Sharing" enabled for Private networks, as this is the most common cause of invisible devices. On macOS, confirm that the firewall isn't set to "Block all incoming connections." Also, ensure that the network profile on Windows is set to Private (not Public), since Public profiles disable network discovery by default. If you're still having issues, try pinging the other computer's IP address from the command prompt (Windows) or Terminal (macOS) to test basic connectivity.