Introduction
Are you tired of keeping track of shared expenses with your friends and family? Splitwise is here to save the day! Splitwise is a popular expense tracking app that simplifies splitting bills, rent, and other shared expenses among groups. By creating a group on Splitwise, you can effortlessly manage and reconcile expenses with your roommates, colleagues, travel buddies, or any other group that shares common expenses.
In this article, we will guide you through the steps to create a group on Splitwise. Whether you’re starting a new shared living arrangement or planning a group trip, Splitwise provides an intuitive platform to keep everyone on the same page when it comes to shared expenses.
With Splitwise, you can say goodbye to those complicated spreadsheets and misunderstandings over who owes what. By creating a group, you’ll be able to easily track and split expenses, set custom group rules, and receive notifications for new expenses or balance updates.
So, grab your friends and fellow expense sharers, and let’s dive into the simple process of creating a group on Splitwise. By the end, you’ll have a central hub to manage and simplify shared expenses, making sure everyone pays their fair share.
Step 1: Sign-in to Splitwise
To create a group on Splitwise, the first step is to sign in to your Splitwise account. If you haven’t registered yet, you’ll need to create a new account before proceeding.
1. Open your web browser and visit the Splitwise website at www.splitwise.com.
2. Click on the “Sign in” button located in the top-right corner of the homepage.
3. You can sign in using your Google account or create a new account by entering your email address and password. Choose the option that suits you best.
4. Once you’ve entered your credentials, click on the “Sign in” button.
If you’re signing in with your Google account, make sure you give Splitwise permission to access your account information. This helps to streamline the sign-in process and save you time in the future.
If you’re new to Splitwise, click on the “Sign up” link and follow the instructions to create a new account. Supply the required information, such as your name, email address, and password, and then proceed with the registration process.
Once you’re signed in to your Splitwise account, you’re ready to move on to the next step of creating your group.
Step 2: Access the Dashboard
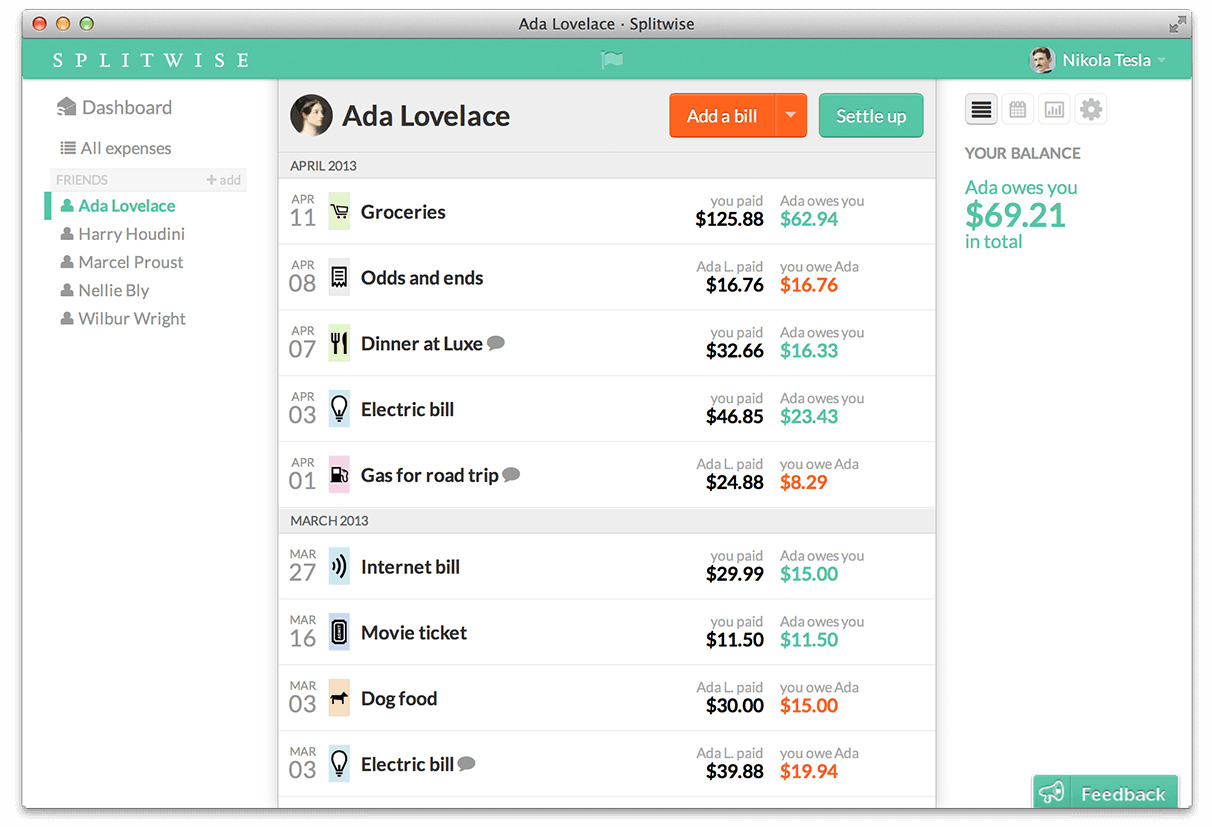
After signing in to your Splitwise account, you will be directed to the Splitwise dashboard. The dashboard is where you can access all the features and settings of your account, including creating and managing groups.
1. Once you’re signed in, take a moment to familiarize yourself with the Splitwise interface. The dashboard will display an overview of your recent activity, balances, and outstanding expenses.
2. Navigate to the sidebar menu, typically located on the left-hand side of the screen. You will find various options such as “Groups,” “Friends,” “Expenses,” and more.
3. Click on the “Groups” tab to proceed with creating a new group.
In addition to creating groups, the Splitwise dashboard provides easy access to your existing groups, allows you to manage expenses, view settlements, and track your overall financial activity. This centralized hub ensures that you have complete control and visibility over your shared expenses.
By accessing the dashboard, you’re ready to move forward and create your new group on Splitwise. Let’s proceed to the next step!
Step 3: Create a New Group
Now that you’re on the Splitwise dashboard, it’s time to create a new group where you can track shared expenses with your friends, roommates, or any other group you’re a part of. Follow these simple steps to create your new group:
1. From the Groups tab, click on the “Create a Group” button. This will prompt a new group creation form to appear.
2. In the group creation form, enter a name for your group. This could be something like “Apartment Expenses,” “Vacation Trip,” or any other name that clearly defines the purpose of the group.
3. Next, you have the option to set a group image. This can be a photo or icon that represents the group visually. It’s optional but can be helpful for identification purposes, especially if you’re part of multiple groups.
4. Choose the default currency for your group. Splitwise supports multiple currencies, allowing you to track expenses in your preferred currency.
5. Lastly, select the privacy setting for your group. The options are “Visible to everyone” or “Invite-only.” If you choose “Invite-only,” you’ll need to manually invite members to join the group.
Once you have filled in all the necessary details, click on the “Save” button to create your new group. Congratulations! You have successfully created a new group on Splitwise.
Creating a new group provides you with a dedicated space to manage and track expenses with your chosen group members. Now, let’s proceed to the next step and add members to your newly created group.
Step 4: Enter Group Details
Now that you have created a new group on Splitwise, it’s time to enter the necessary details that will help you and your group members keep track of expenses effectively.
1. To enter group details, click on the newly created group from your dashboard or navigate to the Groups tab and select your group from the list.
2. On the group page, you will find various sections where you can provide specific details about your group.
3. Start by adding a description for your group. This can include additional information about the purpose of the group, any specific rules or guidelines, or any other useful information for group members.
4. Set a start date for your group. This is useful if you want to track expenses from a specific date onwards. If you leave it blank, the start date will default to the day the group was created.
5. Next, you have the option to add an end date for the group. This can be useful for temporary groups, such as vacation expenses or short-term projects.
6. If you want to enable email notifications for group activity, make sure the “Receive email updates” option is checked.
7. Lastly, review and update the group settings as needed. You can specify whether expenses should be split equally among group members or customizing the split method according to specific percentages or amounts.
Once you have entered all the necessary details, click on the “Save” button to apply the changes to your group. These details will now be visible to all group members and will help maintain clear communication and understanding within the group.
With the group details set, it’s time to add members to your group in the next step. Read on to find out how!
Step 5: Add Group Members
Now that you have entered the necessary details for your group on Splitwise, it’s time to invite members to join the group and start tracking expenses together. Here’s how you can add group members:
1. On the group page, locate the “Members” section. You will find an input field where you can enter the email addresses or Splitwise usernames of the people you want to invite to join the group.
2. As you type each email address or Splitwise username, Splitwise will automatically suggest matches from your contacts or Splitwise user database. Select the correct option from the dropdown for each member.
3. If the person you want to add does not have a Splitwise account yet, you can send them an invitation by entering their email address. Splitwise will send them an email with an invitation to join the group.
4. Repeat this process for each person you want to add to the group. You can add as many members as you need.
5. Once you have added all the members, click on the “Save” or “Add Members” button to finalize the changes and send out the invitations.
Once the invitations are sent, the invited members will receive an email notification and can accept the invitation to join the group. Once they join, they will have access to all the group expenses and can start adding their own expenses.
Adding group members ensures that everyone involved can easily track and split expenses within the group. It promotes transparency and eliminates confusion when it comes to shared expenses.
In the next step, we will explore how you can customize the settings for your group. Let’s proceed!
Step 6: Customize Group Settings
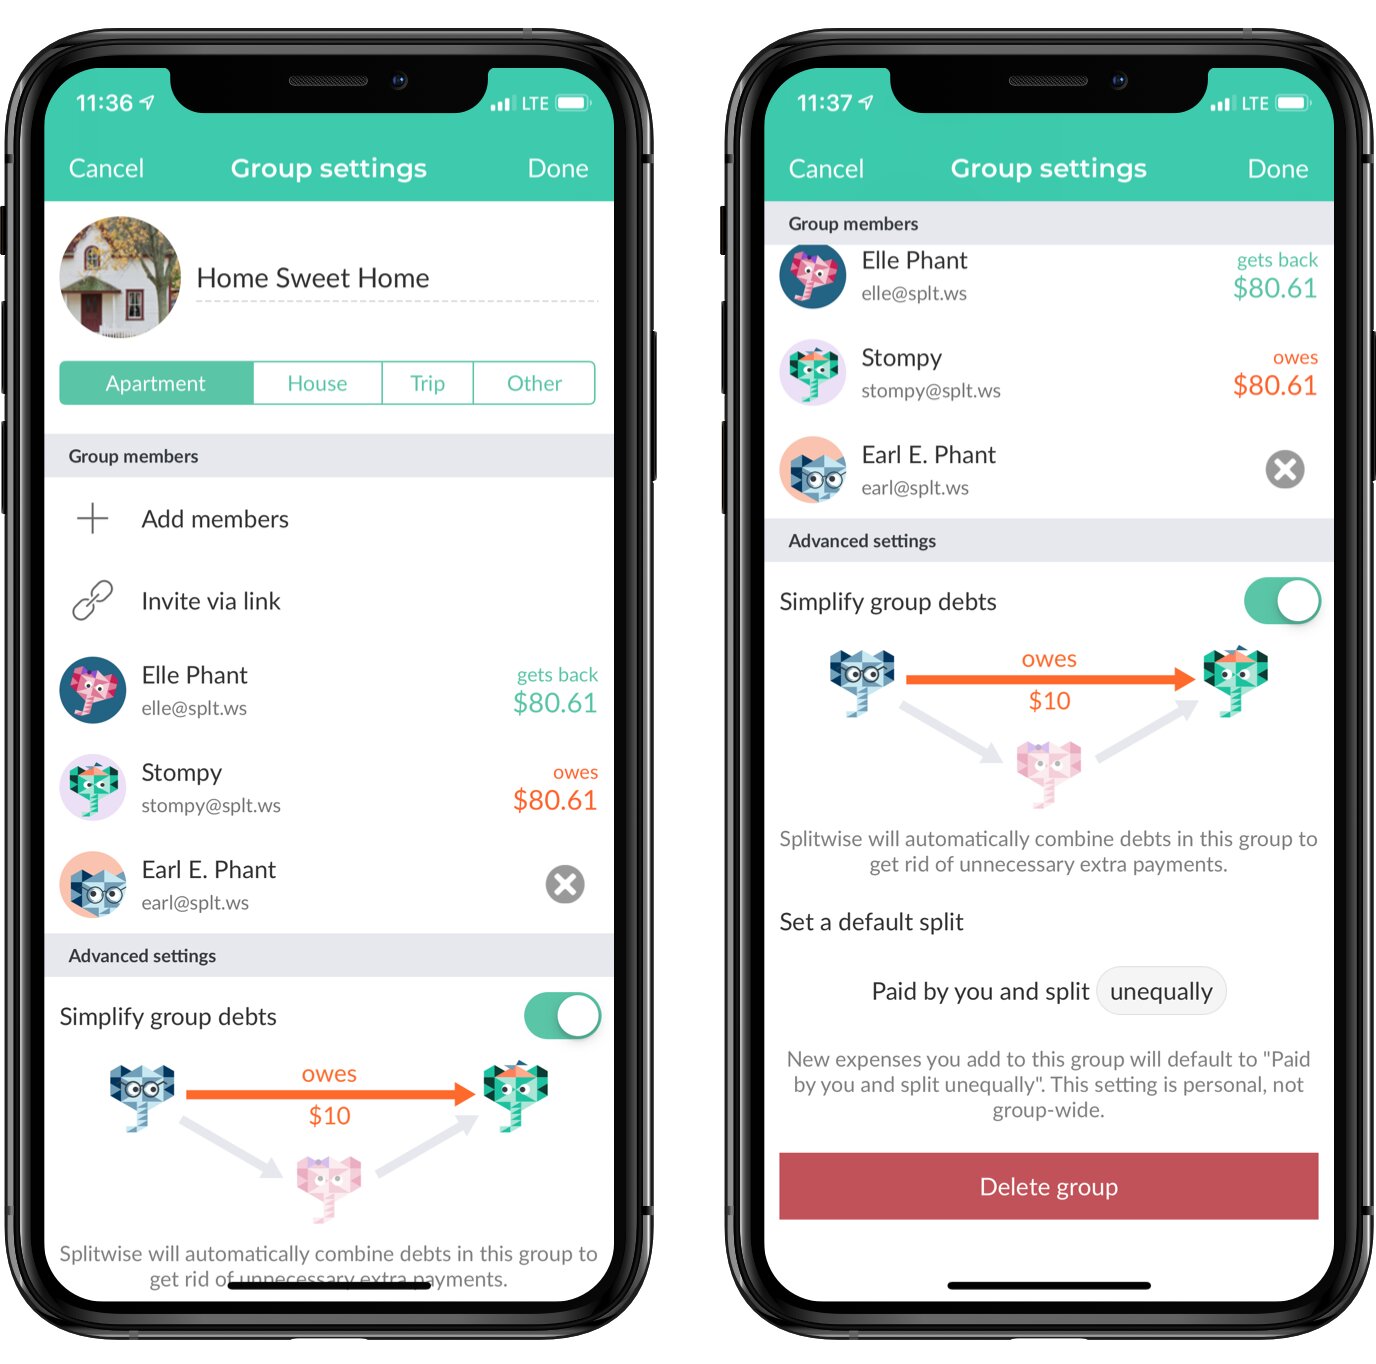
After adding members to your Splitwise group, you have the option to customize the group settings according to your preferences. By customizing the settings, you can ensure that the group functions exactly as you need it to. Here’s how you can customize the group settings:
1. On the group page, navigate to the “Settings” section. Here, you will find a range of options to fine-tune your group.
2. Start by reviewing the default split method. By default, Splitwise offers an equal split, where expenses are divided equally among group members. However, you can customize this to accommodate different scenarios, such as unequal splits or specific percentages.
3. If you want to limit who can add expenses to the group, you can adjust the “Expenses can be added by” setting. You have the option to allow all group members, or restrict it to only certain members.
4. Under the “Group Settings” tab, you can further refine your group settings. You can toggle options such as “Allow negative balances” or “Allow editing of expenses” based on your preferences.
5. If you want to keep the group organized, you can create categories for different types of expenses. This can be done by clicking on the “Categories” tab and adding the relevant categories.
6. Splitwise also allows you to specify a payment account for your group. This is useful if you want to keep track of actual payments made between members. Simply click on the “Payments Account” tab and set up the payment account details.
Once you have customized the group settings to your liking, click on the “Save” button to apply the changes. These settings will now be in effect when you and your group members track and split expenses within the group.
Customizing the group settings allows you to tailor Splitwise to fit your specific needs and preferences. It ensures a seamless experience for all group members and promotes efficient expense management.
In the next step, we will explore how you can start tracking expenses within your group. Let’s continue!
Step 7: Start Tracking Expenses
Now that your Splitwise group is set up and the settings have been customized, it’s time to start tracking expenses within the group. Splitwise provides an easy and convenient way to record and manage expenses. Here’s how you can start tracking expenses:
1. On the group page, navigate to the “Expenses” section. This is where you can add, view, and manage all the expenses within the group.
2. To add a new expense, click on the “Add an Expense” button. A form will appear where you can enter the details of the expense.
3. Enter the amount of the expense and select the payer from the list of group members. You can also specify who the expense is being split among.
4. Provide a description for the expense to provide clarity and context.
5. If necessary, you can assign the expense to a specific category that was set up during the customization of group settings.
6. Once you have entered all the necessary details, click on the “Save” button to add the expense to the group.
7. Repeat this process for each expense you want to track within the group.
As you and the other group members add expenses, Splitwise will automatically calculate and update the balances between group members. This ensures that everyone stays informed about their individual balances and the overall group expenses.
Additionally, Splitwise provides features such as comments, attachments, and even the ability to split specific expenses differently among group members. These features help facilitate clear communication and an accurate representation of each expense.
With Splitwise’s expense tracking capabilities, you and your group members can easily stay on top of shared expenses in a streamlined and efficient manner.
You have now completed all the steps to create a group, customize its settings, and start tracking expenses within Splitwise. Enjoy the seamless experience of managing shared expenses with your group members!
Conclusion
Creating a group on Splitwise is a game-changer when it comes to managing shared expenses. With a user-friendly interface and robust features, Splitwise simplifies the process of keeping track of expenses and ensuring everyone pays their fair share.
Starting from signing in to Splitwise and accessing the dashboard, we walked through the step-by-step process of creating a new group. By adding group details and inviting members, you established a centralized space for tracking and managing shared expenses. Customizing group settings allowed you to tailor Splitwise to your specific needs, while tracking expenses ensured transparency and accuracy in expense management.
Splitwise offers a seamless experience for group expense tracking, enabling you to easily add expenses, split them among group members, and keep track of everyone’s balances. The platform also provides additional features like categories, notifications, and communication tools to enhance collaboration within the group.
Say goodbye to the hassle of manually splitting bills and navigating complicated spreadsheets. Splitwise streamlines the process, making it effortless to manage shared expenses for various scenarios, whether it’s living expenses, group trips, or projects among friends and colleagues.
So, take the leap and create your own group on Splitwise. Experience the convenience and peace of mind that comes with efficient expense tracking and sharing. With Splitwise by your side, you can focus on enjoying your time with friends and loved ones instead of worrying about financial calculations.
Start simplifying your shared expenses – create a group on Splitwise today!


