Introduction
Backing a project on Kickstarter is an exciting and rewarding experience. Whether it’s supporting a creative idea, a product launch, or a charitable cause, pledging funds shows your trust and belief in the project. However, circumstances may arise where you need to cancel your pledge. It could be due to a change in financial situation, a shift in priorities, or simply a change of heart.
Cancelling a pledge on Kickstarter is a straightforward process, but it’s essential to follow the correct steps to ensure a smooth cancellation. In this guide, we will walk you through the process of cancelling a pledge on Kickstarter, and provide detailed instructions on each step.
Before we go any further, it’s important to note that cancelling a pledge is only possible if the project campaign is still active and has not reached its funding goal yet. Once a project is successfully funded, the pledge becomes a binding commitment, and cancelling it may not be possible. Therefore, if you’re considering cancelling a pledge, it’s crucial to act promptly while the campaign is still ongoing.
Now that we have clarified these points, let’s dive into the step-by-step process of cancelling a pledge on Kickstarter.
Step 1: Log in to your Kickstarter account
The first step in cancelling a pledge on Kickstarter is to log in to your Kickstarter account. This requires you to have an active account on the platform. If you don’t have an account yet, you can easily create one by visiting the Kickstarter website and following the registration process.
Once you have successfully logged in to your account, you’ll gain access to all the features and functionalities of Kickstarter, including managing your pledges.
Make sure to enter your login credentials accurately to ensure a seamless login experience. If you encounter any issues logging in, double-check your username and password and try again. In case you’ve forgotten your password, you can use the “Forgot password” option to reset it and regain access to your account.
By logging in to your Kickstarter account, you establish your identity on the platform and gain the necessary privileges to proceed with cancelling your pledge. With this crucial step out of the way, you’re now ready to move on to the next step in the cancellation process.
Step 2: Go to the project page
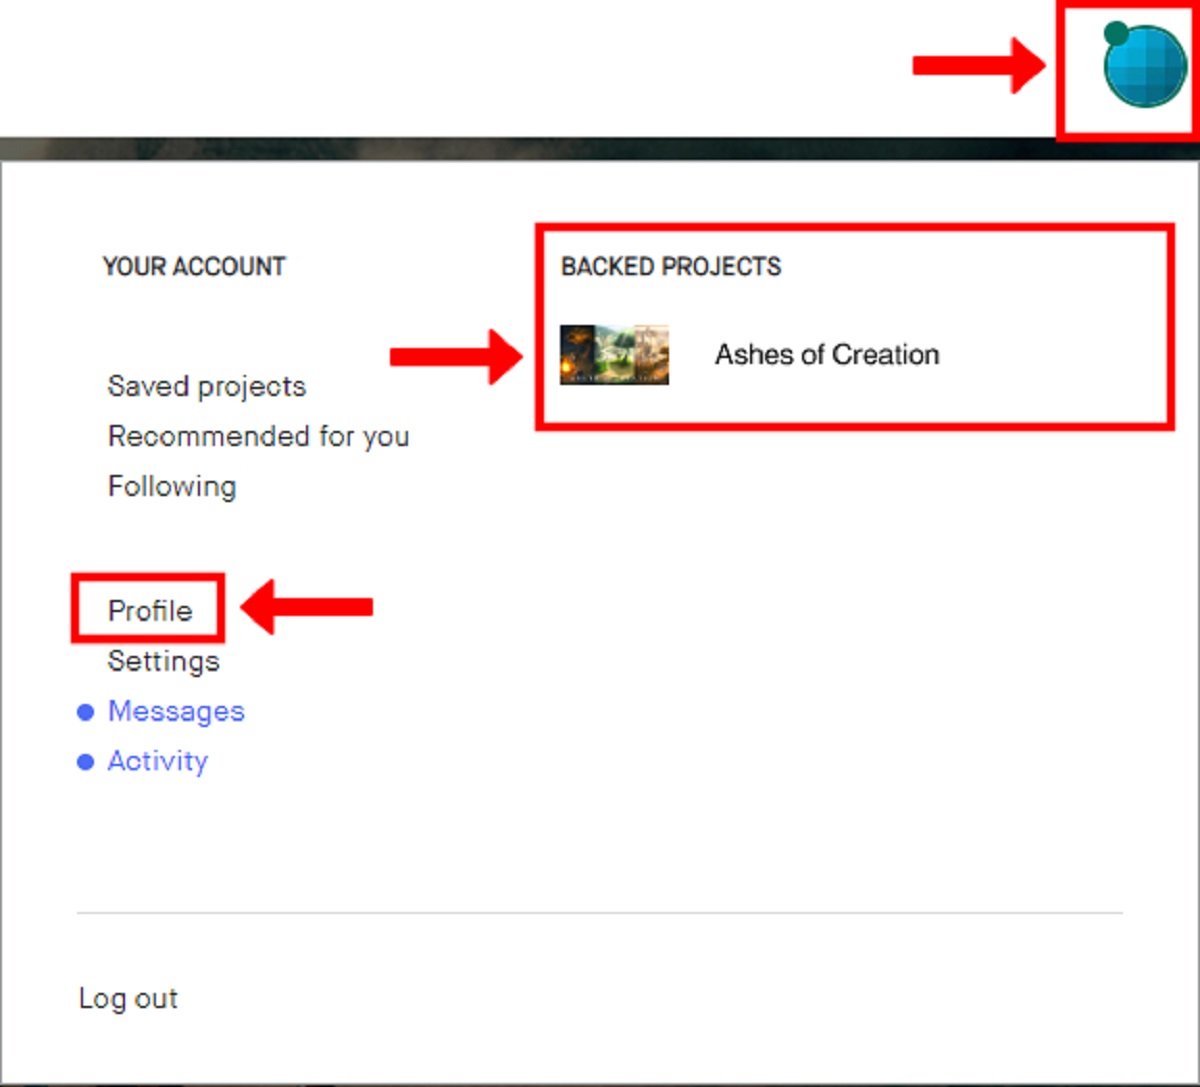
After logging in to your Kickstarter account, the next step in cancelling a pledge is to navigate to the project page for which you want to cancel your pledge. You can do this by either searching for the project or accessing it directly from your list of backed projects.
To search for the project, use the search bar located at the top of the Kickstarter website. Type in the name of the project or relevant keywords to find the specific project page. Once you see the project in the search results, click on it to be redirected to the project page.
If you prefer to access the project from your list of backed projects, go to your Kickstarter profile and locate the “Backed Projects” section. Here, you will find a list of all the projects you have backed. Scroll through the list or use the search bar within the list to find the project you would like to cancel your pledge for.
Once you have found the correct project page, click on it to open the project details. This will allow you to access the information related to the project, such as the funding goal, project updates, and your pledge details.
It’s important to ensure that you are on the correct project page before proceeding to the next step. Confirm that the project details match your intended cancellation before moving forward with the process.
Step 3: Locate your pledge
Once you are on the project page, the next step in cancelling your pledge on Kickstarter is to locate the specific pledge that you want to cancel. Kickstarter provides a clear and organized layout to help you identify and manage your pledges easily.
On the project page, you will find a section that displays the details of your pledge. It typically includes information such as the amount pledged, the reward tier selected, and any additional pledge addons you may have chosen.
Scroll down the project page until you find the section that lists your pledge details. This section is usually labeled as “Your Pledge” or something similar. Take a moment to carefully review the listed information to confirm that it matches the pledge you intend to cancel.
If you have backed multiple projects and are having trouble finding the relevant pledge, you can use the search or filter options provided by Kickstarter. These tools allow you to narrow down your view to only display the specific project or pledges that you want to focus on.
It’s crucial to locate the correct pledge before proceeding to ensure that you cancel the intended pledge and don’t accidentally cancel a different one. Double-check the pledge details and confirm that it corresponds to the pledge you wish to cancel before moving on to the next step.
Step 4: Click on “Manage Your Pledge”
Once you have located the pledge you want to cancel, the next step is to click on the “Manage Your Pledge” button. This button is typically found within the section that displays your pledge details on the project page.
Clicking on the “Manage Your Pledge” button will direct you to a new page where you can make changes to your pledge, including cancelling it. This page provides you with various options to modify your pledge, such as adjusting the funding amount, changing the reward tier, or adding/removing pledge addons.
By clicking on this button, you are essentially informing Kickstarter that you want to make changes to your existing pledge. This takes you to the pledge management page, where you can proceed with cancelling your pledge.
Note that once you click on “Manage Your Pledge,” you may be prompted to confirm your identity or enter your account password for security purposes. This additional step ensures that only the account owner has the authority to modify or cancel their pledge.
Ensure that you have successfully clicked on the “Manage Your Pledge” button and have been redirected to the pledge management page. This will allow you to proceed with the cancellation process and move on to the next step.
Step 5: Find the “Cancel Pledge” option
Once you are on the pledge management page, the next step in cancelling your pledge on Kickstarter is to locate the “Cancel Pledge” option. This option allows you to officially cancel your pledge and withdraw your financial commitment to the project.
On the pledge management page, you will find a set of options or buttons that are specifically related to managing your pledge. Look for a button or link that is labeled as “Cancel Pledge” or something similar.
The location of the “Cancel Pledge” option may vary depending on the project and the specific layout of the pledge management page. In most cases, you will find it near the other pledge management options, such as changing your funding amount or adjusting your reward selection.
Clicking on the “Cancel Pledge” option will prompt a confirmation dialogue or a series of steps to confirm your cancellation. Kickstarter wants to ensure that you are fully aware of the consequences of cancelling your pledge and may ask you to confirm your decision before proceeding.
It’s important to carefully read any instructions or messages that appear when you click on the “Cancel Pledge” option. This will ensure that you understand the process and any implications that cancelling your pledge may have on your account or the project.
Once you have found the “Cancel Pledge” option and are ready to proceed, move on to the next step to confirm your cancellation.
Step 6: Confirm cancellation
After selecting the “Cancel Pledge” option, the next step in the process of cancelling your pledge on Kickstarter is to confirm your cancellation. This step is essential to ensure that you are intentionally withdrawing your financial support for the project.
Once you click on the “Cancel Pledge” option, you will likely be prompted with a confirmation message or dialogue box. This message will reiterate the details of your cancellation and may provide additional information regarding the impact of cancelling your pledge.
Read the confirmation message carefully to ensure that you fully understand the consequences of cancelling your pledge. Take note of any details regarding refunds, changes in backer rewards, or other important information that may be relevant to your decision.
If you are certain that you want to proceed with cancelling your pledge, click on the confirmation button or follow any additional instructions provided to finalize the process. Keep in mind that once you confirm your cancellation, it may not be possible to reinstate your pledge later on.
On the other hand, if you have changed your mind and no longer wish to cancel your pledge, you can select the appropriate option to return to the previous page without completing the cancellation process.
Take your time to carefully consider your decision before confirming the cancellation of your pledge. Once you are confident in your choice, proceed with confirming the cancellation to proceed to the next step of the process.
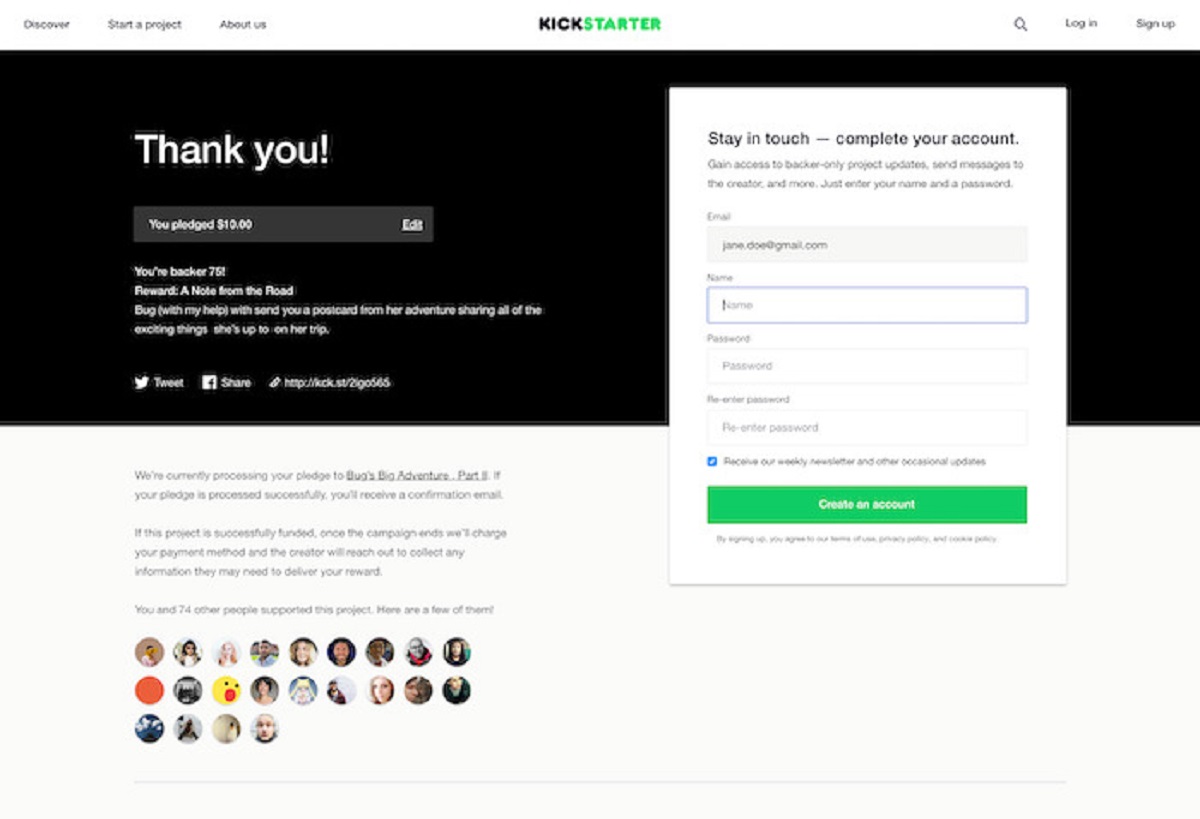
Step 7: Receive confirmation email
After completing the cancellation process, the final step in cancelling your pledge on Kickstarter is to receive a confirmation email. Kickstarter provides a confirmation email to ensure that you have a record of your cancelled pledge and to confirm that your cancellation request has been successfully processed.
The confirmation email will typically be sent to the email address associated with your Kickstarter account. It may take a few minutes for the email to arrive in your inbox, so please be patient.
Once you receive the email, open it and carefully review the contents. The email should confirm the details of your cancelled pledge, including the project name, the amount cancelled, and any other relevant information.
It’s important to keep this confirmation email in your records for future reference. If there are any issues or discrepancies concerning your cancelled pledge, you can refer back to this email as evidence of your cancellation request.
If you do not see the confirmation email in your inbox, check your spam or junk folder. In some cases, email filters may inadvertently classify the Kickstarter confirmation email as spam. Mark the email as “Not Spam” or add Kickstarter to your safe senders list to ensure that you receive future notifications from them.
If you have not received the confirmation email after some time, you may need to contact Kickstarter support to inquire about the status of your cancellation. They can assist you further and provide any necessary information or clarification regarding your cancelled pledge.
With the confirmation email received and stored away for safekeeping, you have successfully completed the process of cancelling your pledge on Kickstarter.
Conclusion
Cancelling a pledge on Kickstarter is a simple process that requires a few key steps. By following the instructions provided in this guide, you can navigate the cancellation process with ease and confidence.
Remember, cancelling a pledge is only possible while the project campaign is still active and has not reached its funding goal. Once a project is successfully funded, cancelling a pledge may not be feasible.
Here is a quick recap of the steps involved in cancelling a pledge on Kickstarter:
- Log in to your Kickstarter account to access your pledge management options.
- Go to the project page of the campaign for which you want to cancel the pledge.
- Locate your specific pledge within the project page.
- Click on “Manage Your Pledge” to access the pledge management page.
- Find the “Cancel Pledge” option and carefully consider your decision.
- Confirm the cancellation to finalize the withdrawal of your pledge.
- Receive a confirmation email that verifies the cancellation of your pledge.
By following these steps, you can successfully cancel your pledge on Kickstarter. Remember to review the project and cancellation details before proceeding to ensure that you are making the desired changes to your pledge.
If you have any further questions or encounter any issues during the cancellation process, don’t hesitate to reach out to Kickstarter support for assistance. They will be able to provide additional guidance and address any concerns you may have.
We hope this guide has been helpful in guiding you through the process of cancelling your pledge on Kickstarter. Whether it’s a change in circumstances or a change of heart, know that you have the ability to modify or cancel your pledge to better align with your current situation and preferences.
Happy pledging and happy cancelling!