Introduction
Adding a prepaid card to your PayPal account can be a convenient way to manage your finances and make online payments. Whether you’ve received a prepaid card as a gift or you want to use it as an alternative payment method, this guide will show you how to easily add your prepaid card to your PayPal account.
PayPal is one of the most popular and secure online payment platforms. It allows users to make purchases, receive payments, and transfer funds to and from their bank accounts. By linking a prepaid card to your PayPal account, you’ll have the flexibility to use the funds on the card for online transactions without the need for a traditional bank account or credit card.
Adding a prepaid card to your PayPal account is a straightforward process that can be completed in a few simple steps. In this guide, we’ll walk you through each step to ensure a smooth and hassle-free experience. So, let’s get started!
Step 1: Gather Your Materials
Before you begin the process of adding your prepaid card to PayPal, make sure you have the necessary materials at hand. Here’s what you’ll need:
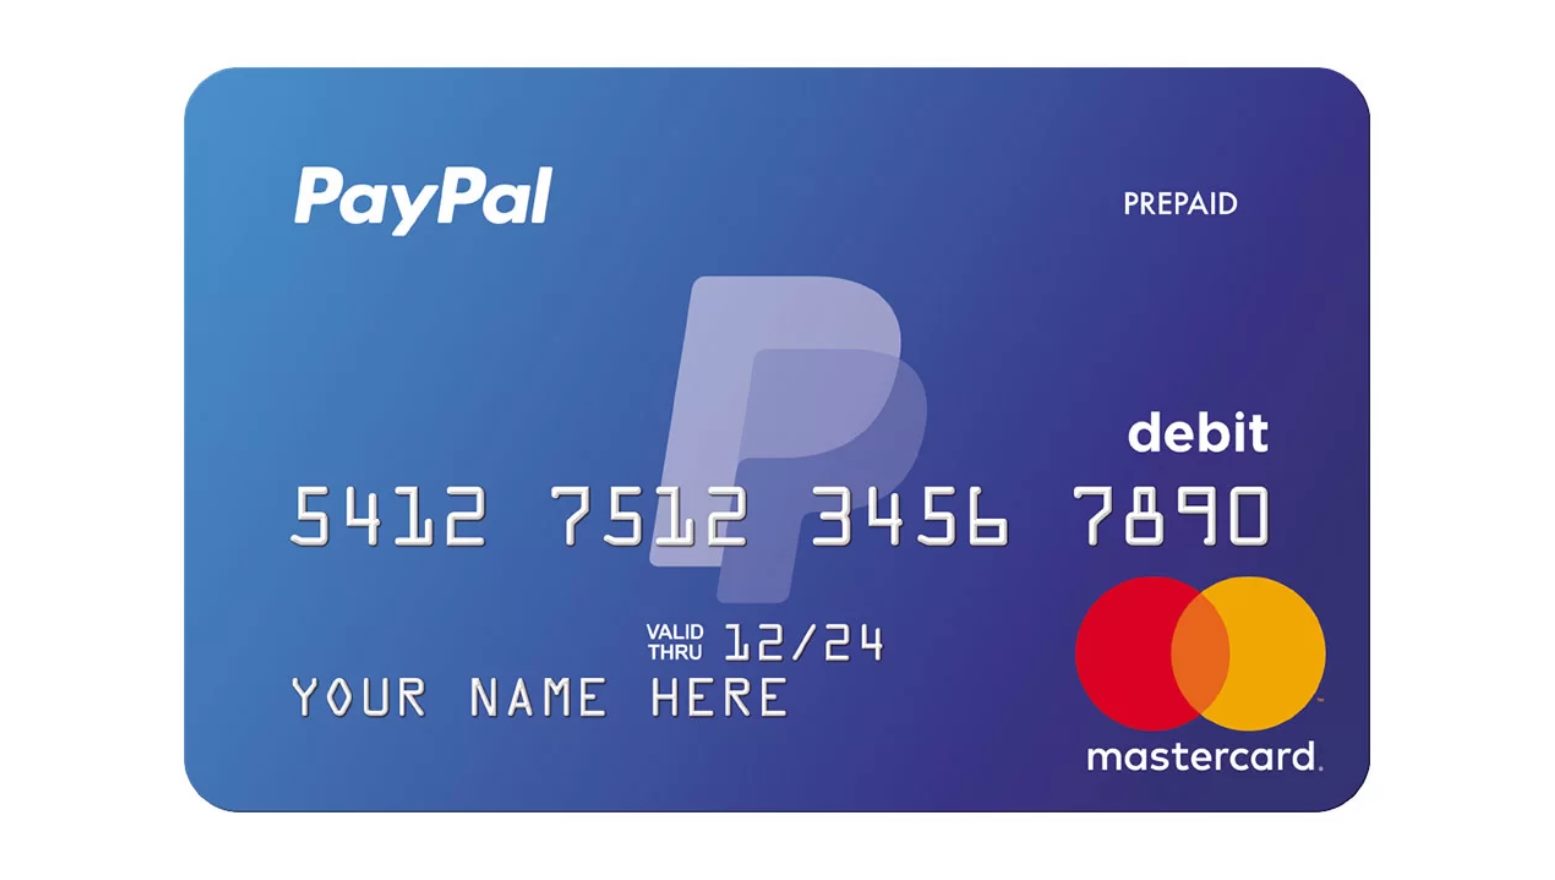
- A prepaid card: Ensure that your prepaid card is active and has enough funds to cover any fees that might be associated with adding the card to PayPal.
- A device with internet access: You’ll need a computer, smartphone, or tablet with a reliable internet connection to log into your PayPal account.
- Your PayPal login credentials: Make sure you know your PayPal email address or mobile number and password. If you don’t have a PayPal account yet, you can easily create one by visiting the PayPal website.
Once you have these materials ready, you’ll be well-prepared to proceed with the next steps of adding your prepaid card to PayPal. Having everything in order will help streamline the process and ensure a successful outcome.
Step 2: Activate and Register Your Prepaid Card
Before you can add your prepaid card to your PayPal account, you need to activate and register it. This step is essential to ensure that your card is verified and recognized by PayPal. Here’s how to activate and register your prepaid card:
- Read the instructions: Take some time to carefully read the instructions that came with your prepaid card. They will provide you with specific details on how to activate and register your card.
- Visit the card provider’s website: Typically, the website of the prepaid card provider will have a section dedicated to card activation and registration. Visit the website and locate the appropriate page or form.
- Enter the required information: Fill out the necessary information on the activation and registration form. This usually includes personal details such as your name, address, and card number. Make sure to double-check the information for accuracy.
- Follow any additional instructions: Depending on the card provider, you may need to follow additional steps to complete the activation and registration process. This could include verifying your identity or agreeing to the terms and conditions.
- Confirm the activation: Once you have submitted the necessary information, the card provider will confirm the activation of your prepaid card. This may be done through an email confirmation or a notification on the website.
Activating and registering your prepaid card is a crucial step before adding it to your PayPal account. It ensures that your card is legitimate and recognized by PayPal, allowing for smooth integration into your payment methods.
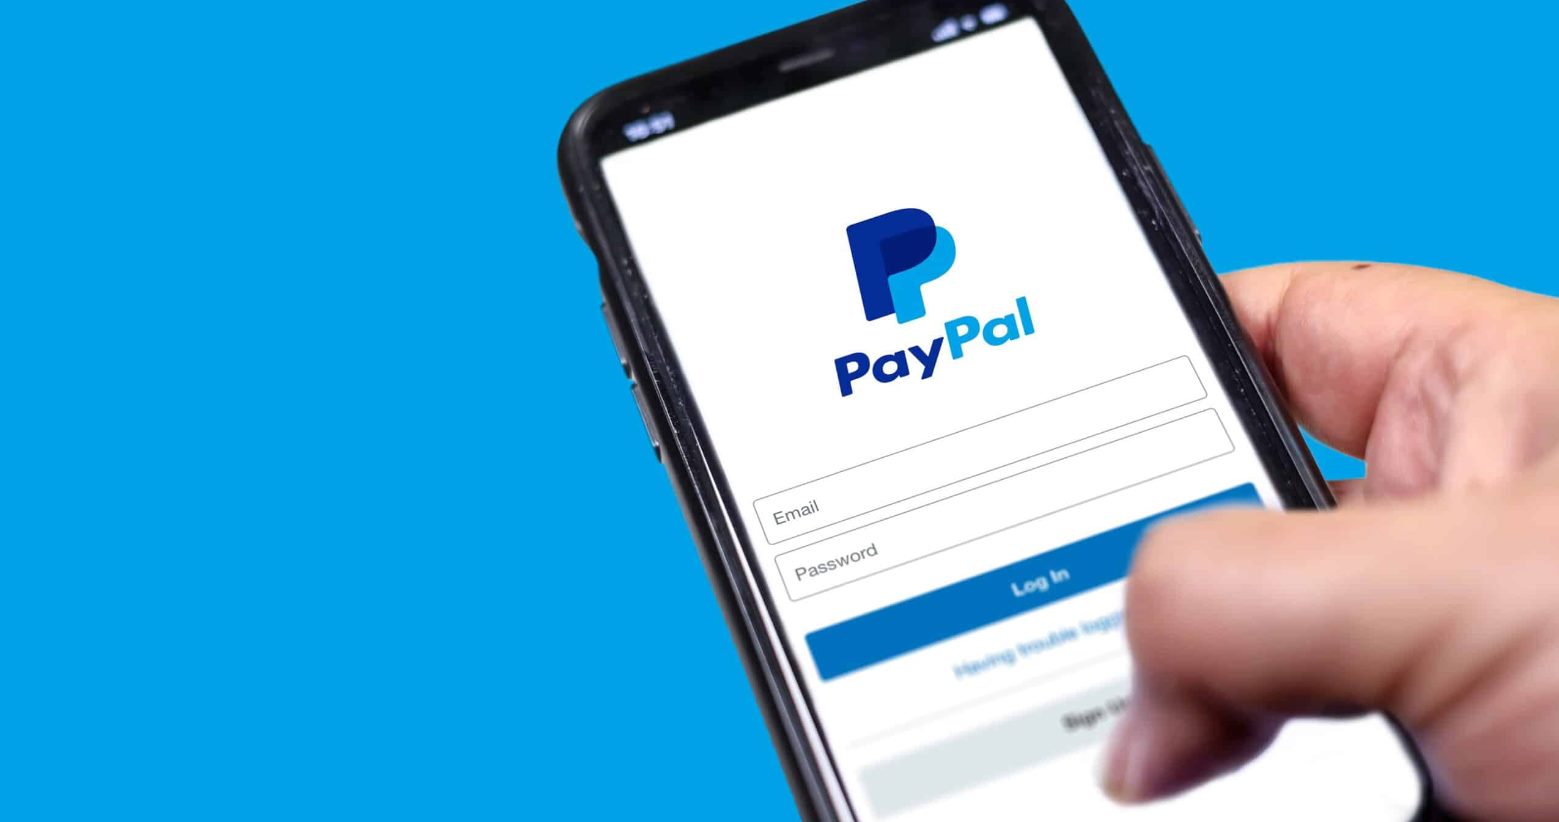
Step 3: Log into Your PayPal Account
Now that you’ve activated and registered your prepaid card, it’s time to log into your PayPal account. By logging in, you’ll gain access to your account settings, including the option to add a new payment method. Follow these steps to log into your PayPal account:
- Visit the PayPal website: Open your preferred web browser and navigate to the PayPal website at www.paypal.com.
- Enter your login credentials: On the PayPal homepage, you’ll find a login section. Enter your registered PayPal email address or mobile number, along with your password, into the designated fields.
- Click on the “Log In” button: After double-checking your login information for accuracy, click on the “Log In” button to proceed.
- Verify your account if prompted: Depending on your security settings, PayPal may prompt you to further verify your account before granting access. This could involve entering a verification code sent to your email or mobile number.
Once logged into your PayPal account, you’ll have full control over your account settings and payment options. This will allow you to move forward with the process of adding your prepaid card as a new payment method.
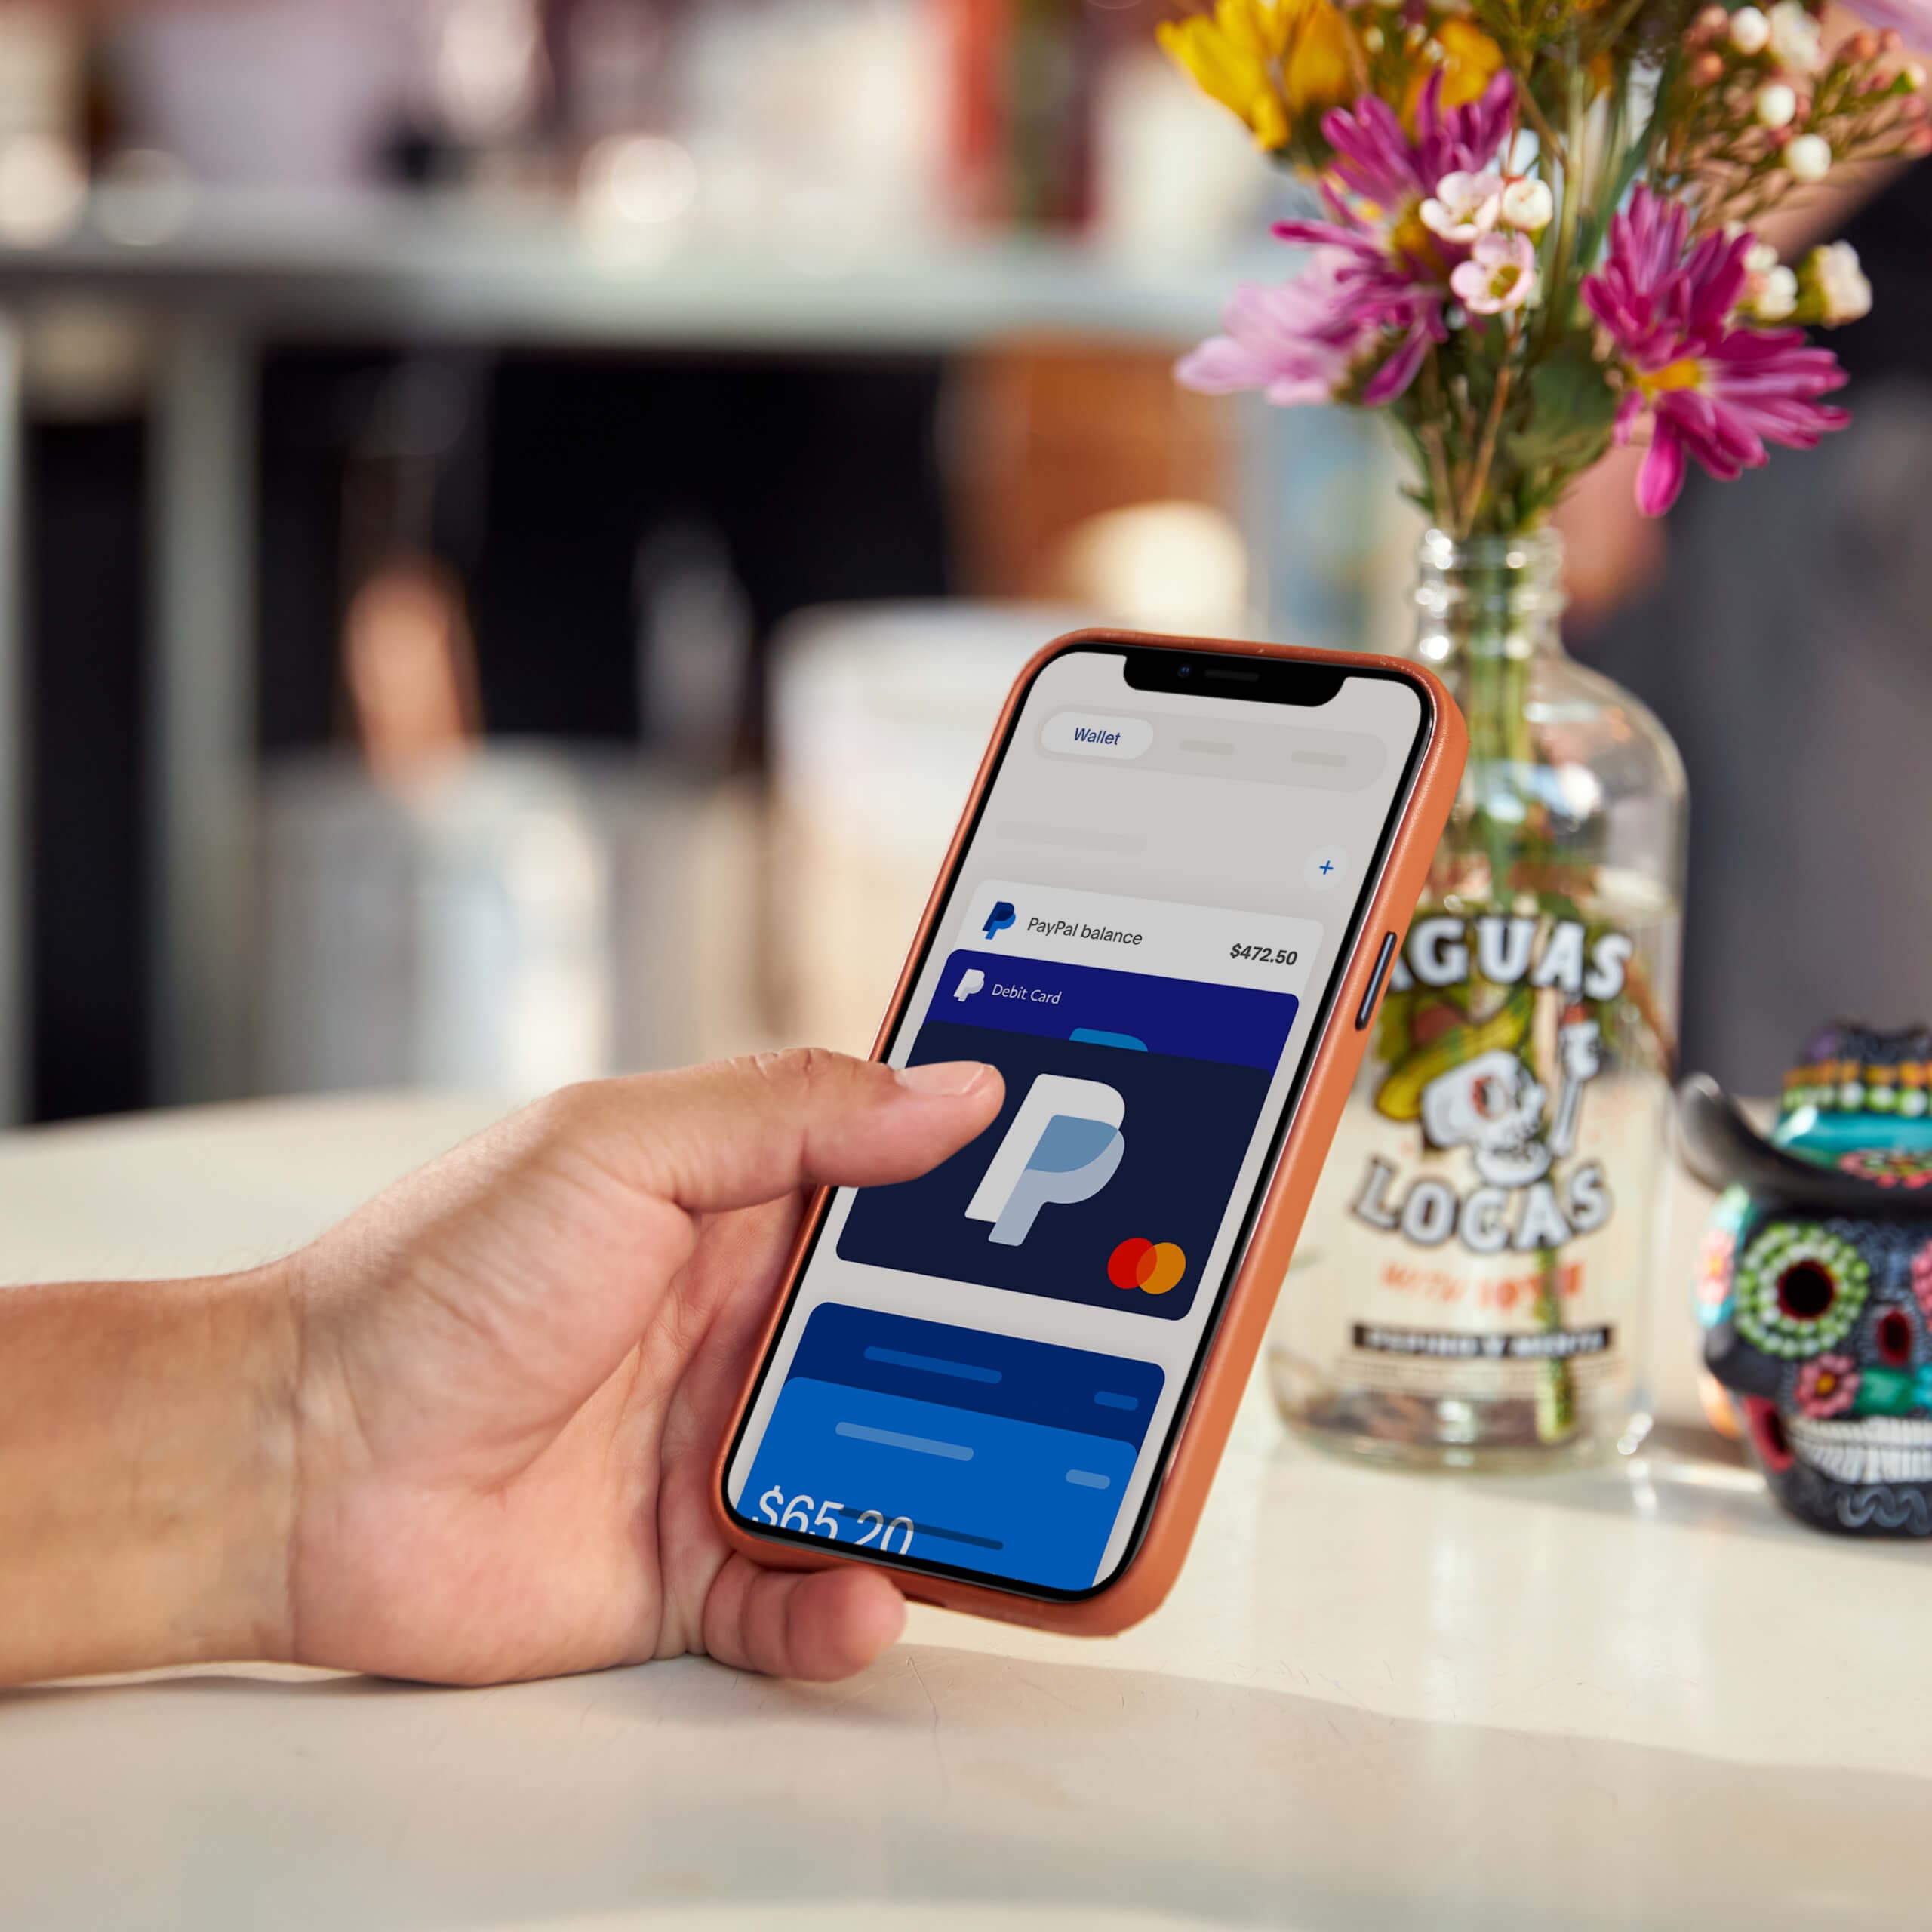
Step 4: Go to Wallet
After logging into your PayPal account, the next step is to navigate to the “Wallet” section. The Wallet is where you manage your payment methods, including adding and removing cards. Follow these instructions to find the Wallet:
- Once you are logged in to your PayPal account, you will find a navigation bar at the top of the page. Look for the “Wallet” option and click on it.
- Alternatively, you may find a dropdown menu under your profile name or picture. Click on the dropdown menu and select “Wallet” from the list of available options.
- Upon clicking on “Wallet,” you will be directed to a new page where you can view your existing payment methods and add new ones.
The Wallet section is where crucial payment method settings are located. By accessing this section, you will be able to proceed with adding your prepaid card to your PayPal account.
Step 5: Add a Card
Now that you’ve reached the Wallet section, it’s time to add your prepaid card to your PayPal account. This step allows PayPal to securely store your card information and associate it with your account. Follow these steps to add a card:
- Look for the “Add a Card” option: Within the Wallet section, you should see an option labeled “Add a Card” or something similar. Click on this option to proceed.
- Choose the card type: In the card addition form, you’ll likely be asked to select the type of card you wish to add. Select the appropriate option for your prepaid card.
- Enter your card information: Now, you’ll need to enter the necessary card details. This may include the card number, expiration date, CVV code, and billing information. Ensure that the information is accurate and matches the details associated with your prepaid card.
- Check for any additional fields: Depending on the prepaid card and regional requirements, there may be additional fields to fill out. Look for any prompts or instructions and provide the requested information.
- Review and confirm: Once you’ve entered all the required details, review the information for accuracy. Double-check the card number, expiration date, and CVV code to avoid any errors.
- Click on “Add Card” or “Save”: After confirming the accuracy of the information, click on the “Add Card” or “Save” button to submit your card details to PayPal.
By following these steps and successfully adding your prepaid card, you’ll be one step closer to using it for secure online transactions through PayPal.
Step 6: Enter Card Details
Once you’ve clicked on “Add a Card” in the Wallet section, you’ll be prompted to enter the details of your prepaid card. This step is crucial as it ensures that the card information is accurately recorded by PayPal. Follow these steps to enter your card details:
- Card Type: Select the card type from the dropdown menu that matches your prepaid card. Common options include Visa, Mastercard, American Express, and Discover.
- Card Number: Enter the 16-digit card number printed on the front of your prepaid card. Make sure to accurately input each digit without any spaces or dashes.
- Expiration Date: Provide the expiration date of your prepaid card. This typically consists of the month and year and is noted on the front or back of the card.
- CVV Code: Enter the three-digit CVV code found on the back of your prepaid card. This code acts as an additional security measure.
- Name on Card: Input the name exactly as it appears on your prepaid card. It’s important to use the full name or the name associated with the card.
- Billing Address: Enter the billing address associated with your prepaid card. This address should match the information provided during the card activation and registration process.
Take your time to carefully enter each detail, double-checking for accuracy before proceeding. Accurate card information ensures smooth transactions and reduces the chances of payment issues when using your prepaid card with PayPal.
Step 7: Confirm Your Card
After entering your prepaid card details, the next step is to confirm your card with PayPal. This step is necessary to ensure the validity and ownership of the card. Here’s how you can confirm your card:
- Review the entered information: Before confirmation, carefully review all the entered details about your prepaid card. Make sure everything is accurate and matches the information on your card.
- Click on the “Confirm Card” or “Submit” button: Once you’re confident that the details are correct, click on the appropriate button to submit the information to PayPal.
- Wait for the confirmation message: PayPal will then process the information and verify your prepaid card. This may take a few moments.
- Check your card statement or PayPal account: To complete the confirmation process, PayPal may make a small temporary charge or authorization request on your prepaid card. The exact amount or code may vary, but it usually ranges from $1 to $2.
- Enter the confirmation code: Once the temporary charge or authorization request appears on your card statement or PayPal account, take note of the specific amount or code provided. Log back into your PayPal account and enter the code to confirm your card.
Confirming your card is an essential step to ensure that your prepaid card is valid and authorized for use with PayPal. It helps to establish trust between your card issuer, PayPal, and yourself as the cardholder.
Step 8: Add Money to Your PayPal Account
Now that your prepaid card is successfully added and confirmed in your PayPal account, you may want to add funds to your PayPal balance. This will allow you to make online purchases or send money without relying solely on your prepaid card balance. Follow these steps to add money to your PayPal account:
- Log into your PayPal account: Visit the PayPal website and log in using your registered email address or mobile number and password.
- Go to the “Wallet” section: In your PayPal account, navigate to the “Wallet” section, which lists your available payment methods.
- Select “Add money”: Look for the option labeled “Add money” or “Add funds” and click on it.
- Enter the amount: Specify the amount of money you want to add to your PayPal account. Make sure it is within the limits set by PayPal.
- Choose the funding source: Select your prepaid card as the funding source. You can also choose other linked bank accounts or cards if desired.
- Confirm the transfer: Review the details of the transfer, including the amount and funding source. Double-check everything before proceeding.
- Complete the transaction: Click on the “Add” or “Transfer” button to initiate the transfer. PayPal will deduct the specified amount from your prepaid card and add it to your PayPal account balance.
By adding money to your PayPal account, you can have a readily available balance that you can use for online transactions, ensuring a seamless payment experience.
Step 9: Start Using Your Prepaid Card with PayPal
Congratulations! You have successfully added your prepaid card to your PayPal account. Now it’s time to start using your card for online transactions. Here’s how:
- Visit an online merchant: Browse your favorite online stores and select the items you wish to purchase.
- Proceed to checkout: When you’re ready to complete your purchase, proceed to the checkout page.
- Select PayPal as your payment method: Look for the option to pay with PayPal during the checkout process.
- Log in to your PayPal account: If you’re not already logged in, you will be prompted to do so. Enter your PayPal email address or mobile number and password to access your account.
- Choose your payment method: From the available payment methods, select your prepaid card as the desired payment source.
- Complete the transaction: Review your order details and confirm the payment. Once completed, the specified amount will be deducted from your prepaid card balance.
- Keep track of your transactions: PayPal provides a detailed transaction history for each transaction made using your prepaid card. You can access this information by logging into your PayPal account.
By using your prepaid card with PayPal, you can enjoy the convenience and security of online transactions while utilizing the funds on your card. Just make sure to keep an eye on your prepaid card balance and add more funds if needed.
Conclusion
Adding a prepaid card to your PayPal account opens up a world of convenient online payment options. By following the step-by-step process outlined in this guide, you can successfully link your card to your PayPal account and start using it for secure transactions.
Remember, before adding your prepaid card, ensure that it is activated and registered with the card provider. This step is essential to validate the card and ensure its smooth integration with PayPal.
Once added, your prepaid card becomes a trusted payment method within your PayPal account. You can use it to make purchases, receive payments, and transfer funds within the PayPal ecosystem. Adding money to your PayPal account further enhances your flexibility and allows you to maintain a balance for future transactions.
As you begin using your prepaid card with PayPal, make sure to monitor your card balance and ensure it has sufficient funds for your intended purchases. Checking your PayPal transaction history can also provide valuable insights into your spending and payment activity.
With the ease and security of PayPal on your side, along with the convenience of your prepaid card, you can confidently embark on your online shopping or financial endeavors. Enjoy the seamless payment experience, knowing that your transactions are protected and your prepaid card is securely linked to your PayPal account.