Introduction
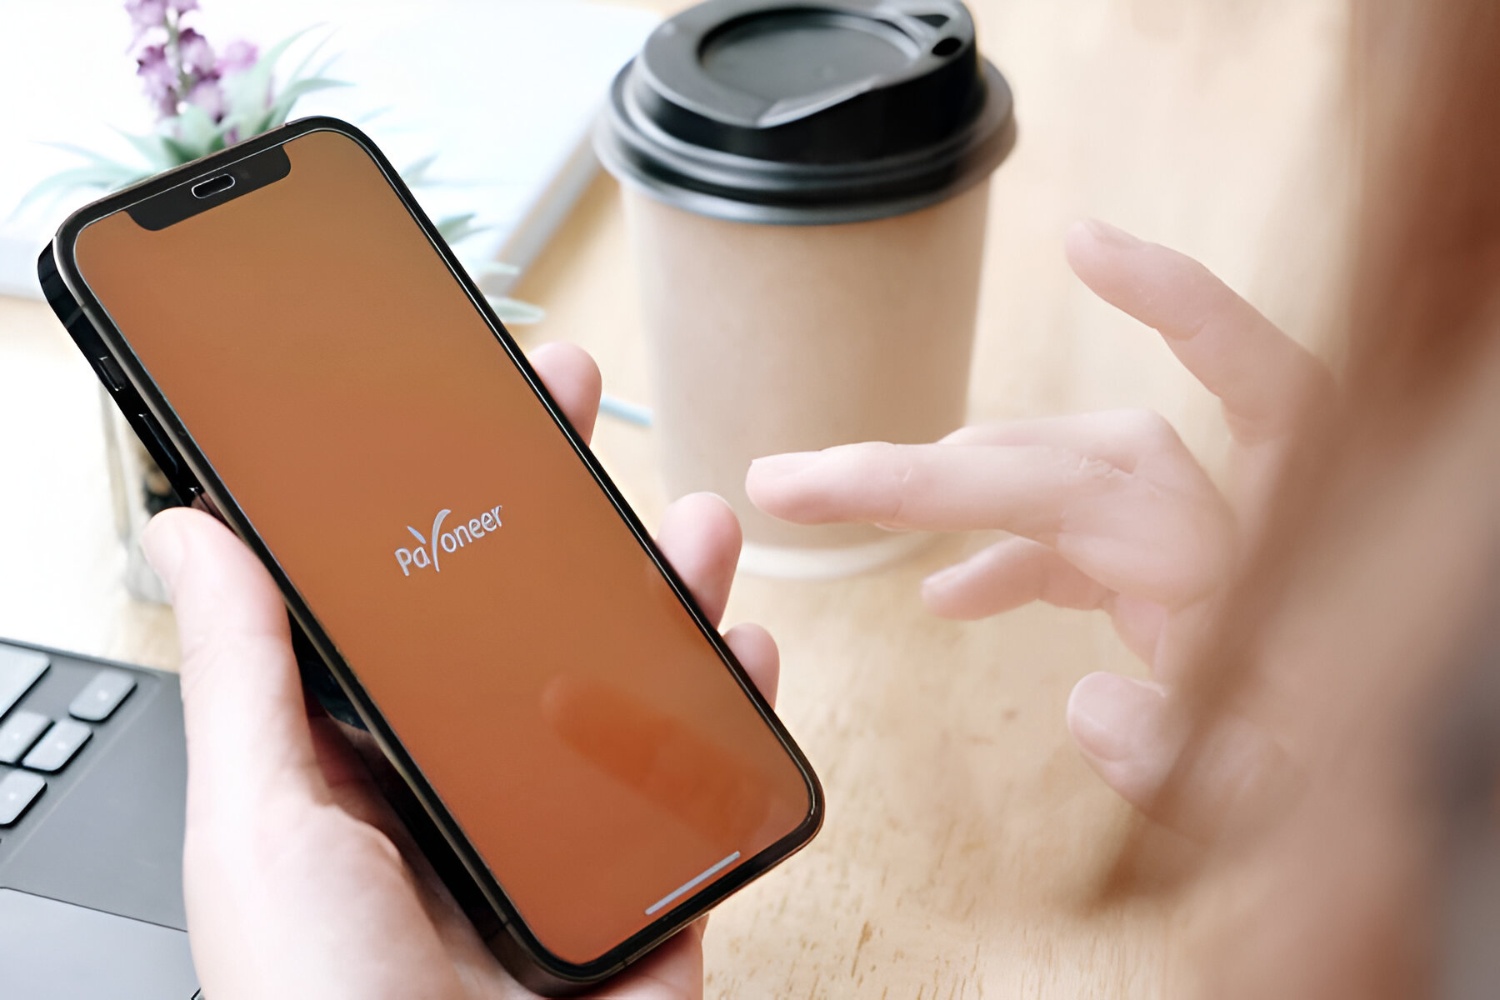
Welcome to the world of Payoneer, a global payment service that enables freelancers, businesses, and professionals to easily receive and manage their funds from anywhere in the world. One of the key features of Payoneer is the Payoneer card, which provides users with a convenient and secure way to access their funds, whether they are making online purchases or withdrawing cash from ATMs.
In this guide, we will walk you through the step-by-step process of activating your Payoneer card and getting started with using it. Whether you’ve just received your new Payoneer card or you’re considering getting one, this guide will help you navigate through the activation process smoothly.
Before we dive into the activation process, let’s take a moment to understand what Payoneer is all about. Payoneer is an e-commerce payment service that enables users to receive cross-border payments from companies around the world. With Payoneer, you can receive payments from popular freelancing platforms, affiliate networks, marketplaces, and even individual clients. This makes it a popular choice for freelancers, digital nomads, businesses, and anyone who works online.
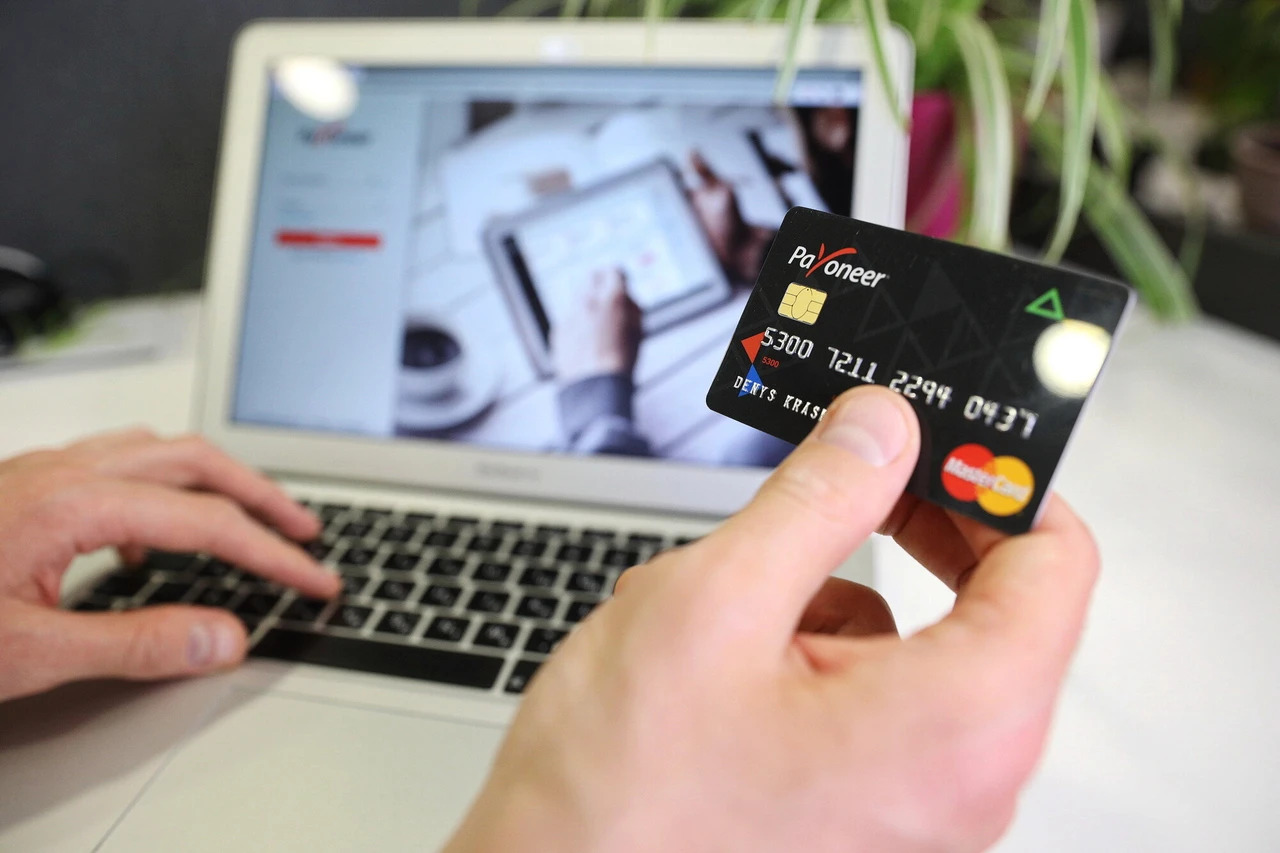
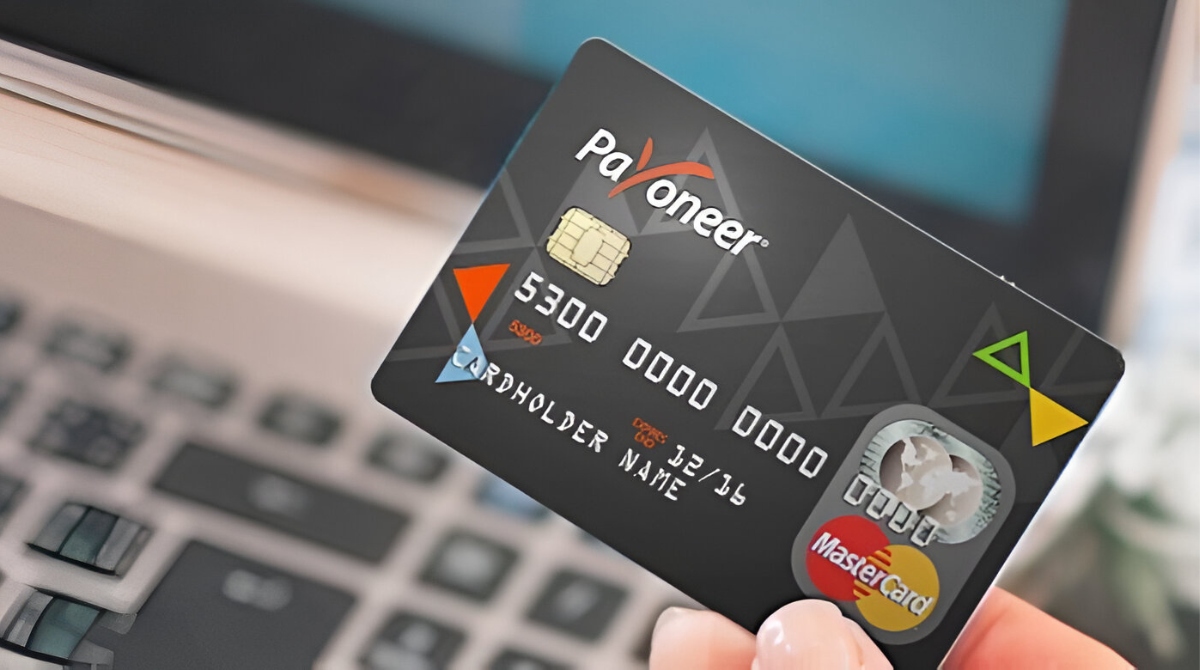
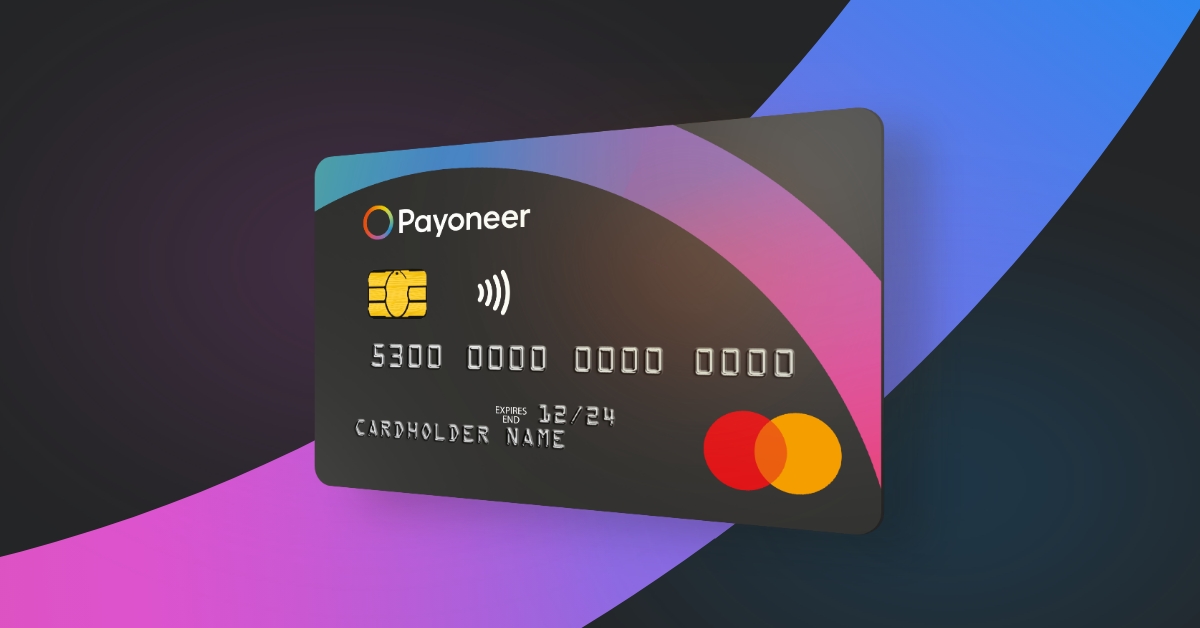
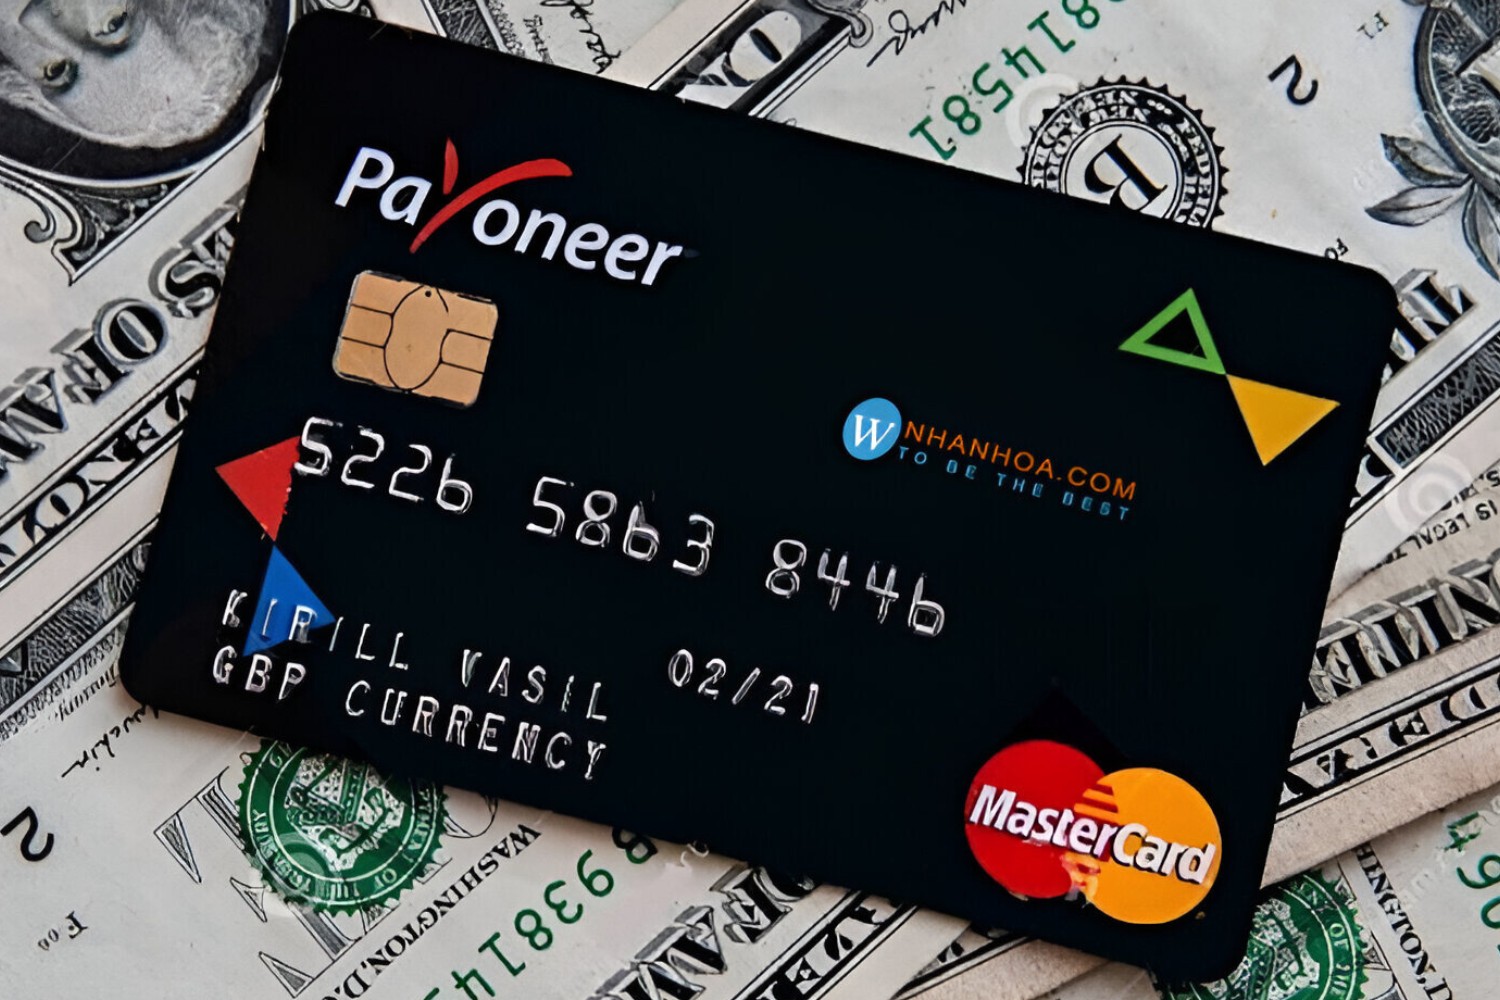
One of the standout features of Payoneer is its ability to provide users with a physical prepaid Mastercard®, also known as the Payoneer card. This card functions much like a regular debit card and is linked to your Payoneer account. It allows you to access your funds easily, whether you need to make online purchases or withdraw cash from ATMs worldwide.
The Payoneer card provides a cost-effective and time-saving solution for individuals and businesses that need to receive and transfer funds globally. With the Payoneer card in your pocket, you can avoid hefty transfer fees and cumbersome wire transfers, making it an ideal choice for those who work remotely or have clients and partners in different countries.
Now that you have a basic understanding of what Payoneer and the Payoneer card are, let’s dive into the step-by-step process of activating your Payoneer card and start enjoying the benefits it offers.
Step 1: Sign Up for a Payoneer Account
The first step to activating your Payoneer card is signing up for a Payoneer account. The sign-up process is simple and can be completed online. Here’s how to get started:
- Go to the Payoneer website and click on the “Sign Up” button. You will be directed to the registration page.
- Fill in the required information, including your name, email address, date of birth, and contact details. Make sure to provide accurate information as it will be used for verification purposes.
- Select your country and preferred language.
- Choose if you are signing up as an individual or a company. If you are signing up on behalf of a company, you will need to provide additional company information.
- Create a secure password for your Payoneer account. Make sure to choose a strong password that includes a combination of letters, numbers, and symbols.
- Read and accept the terms and conditions of Payoneer. It’s important to understand and agree to the terms before proceeding.
- Click on the “Next” button to proceed to the next step.
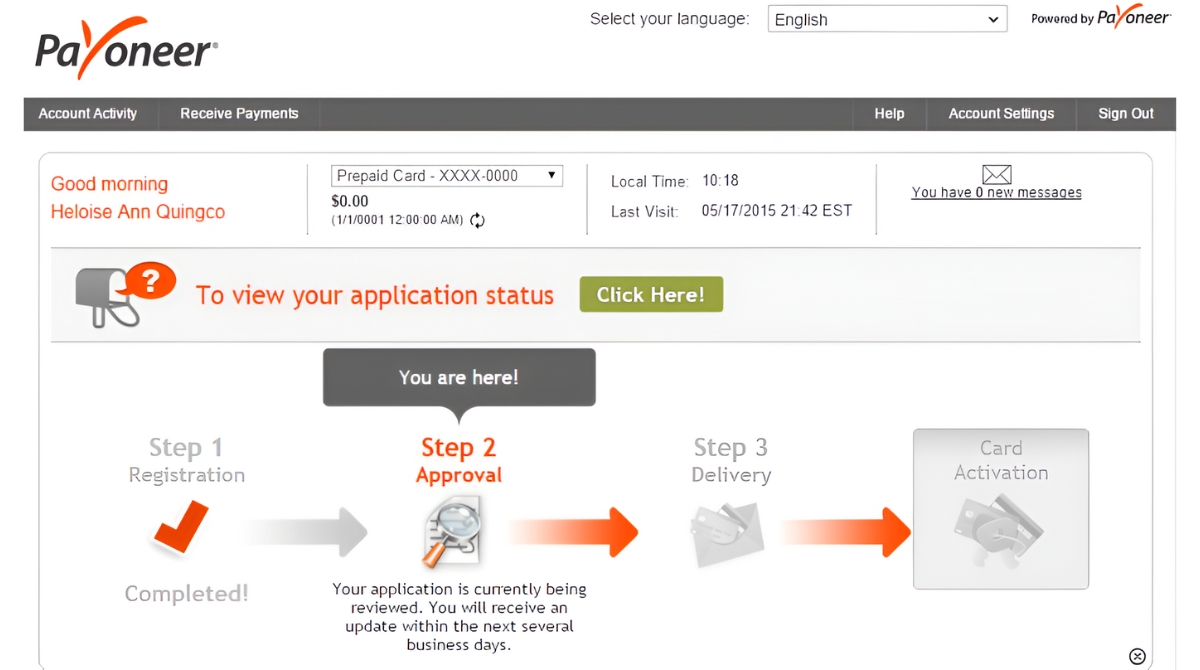
Once you have completed the registration process, Payoneer will review your application. This typically takes a few business days, but in some cases, it may take longer. You will receive an email notification once your application has been approved.
It’s important to note that Payoneer has certain eligibility requirements for opening an account. Make sure to review and meet these requirements before signing up. Additionally, Payoneer may require you to provide additional documents or information for verification purposes.
Signing up for a Payoneer account is the first step towards activating your Payoneer card. Once your account is approved, you can proceed to the next step of the activation process.
Step 2: Submit Your ID Documents
Once your Payoneer account is approved, the next step in activating your Payoneer card is to submit your ID documents for verification. Payoneer requires ID verification to ensure the security and legitimacy of its users. Here’s what you need to do:
- Log in to your Payoneer account using your registered email address and password.
- Navigate to the “Settings” or “Profile” section of your account. The specific location may vary depending on the version of Payoneer’s website or app you are using.
- Find the option to upload your ID documents. This is typically labeled as “Verification” or “Upload Documents”. Click on it to continue.
- Payoneer accepts various forms of ID documents, such as a valid passport, driver’s license, or national ID card. Choose the type of ID document you will be submitting.
- Take a clear and legible photo or scan of your ID document. Ensure that all the details are visible and there is no glare or distortion.
- Upload the ID document to your Payoneer account. Follow the instructions provided and make sure to submit all the required documents.
- Click on the “Submit” or “Upload” button to complete the process.
Payoneer will review the uploaded documents and verify your identity. This process may take a few business days. Once the verification is complete, you will receive a notification confirming the success of your ID verification.
It is important to ensure that the ID documents you submit are valid and up-to-date. Payoneer requires clear and unexpired documents for verification purposes. Any discrepancies or inconsistencies may result in a delay in the verification process.
By completing the ID verification step, you are one step closer to activating your Payoneer card. Once your identity is verified, you can proceed to order your Payoneer card and begin enjoying the benefits of this global payment solution.
Step 3: Receive Confirmation Email from Payoneer
After submitting your ID documents for verification, the next step in the Payoneer card activation process is to wait for a confirmation email from Payoneer. This email will contain important information and instructions regarding your Payoneer card. Here’s what you need to know:
1. Check your inbox: Once the verification of your ID documents is completed, Payoneer will send a confirmation email to the registered email address associated with your Payoneer account. Make sure to check your inbox, including the spam or junk folder, for this email.
2. Review the email: Open the email from Payoneer and carefully read through its contents. The email will provide you with essential information regarding the status of your Payoneer card activation and any further instructions you may need to follow.
3. Follow the instructions: Payoneer’s confirmation email may contain steps that you need to take to complete the activation process. These instructions could include anything from confirming your shipping address to providing additional details or documentation.
4. Contact support if needed: If you have any questions or concerns after receiving the confirmation email, you can reach out to Payoneer’s customer support team. They are available to assist you and provide guidance on any issues or queries you may have.
It’s important to note that the time it takes to receive the confirmation email may vary. In some cases, it may be sent within a few hours, while in others it may take a couple of business days. If you have not received the email within a reasonable time frame, double-check that you provided the correct email address during the sign-up process, and also ensure to check your spam or junk folder.
Once you have received the confirmation email, you can move on to the next step of ordering your Payoneer card and finalizing the activation process. So keep an eye on your inbox and follow the instructions from Payoneer to successfully activate your Payoneer card.
Step 4: Order Your Payoneer Card
Now that you have completed the necessary steps of signing up for a Payoneer account, submitting your ID documents, and receiving the confirmation email, it’s time to proceed with ordering your Payoneer card. By following these simple steps, you’ll be on your way to having your very own Payoneer card:
1. Log in to your Payoneer account using your registered email address and password.
2. Navigate to the “Settings” or “Profile” section of your account. Look for the option to order your Payoneer card.
3. Click on the option to order a new Payoneer card. You may be asked to verify your shipping address, so make sure the address displayed is accurate. If not, update it accordingly.
4. Choose the type of Payoneer card you would like to order. Payoneer offers different card options, including a standard card and a premium card with added features and benefits. Select the card type that best suits your needs.
5. Review the details of your order, including any fees associated with the card. Take note of any relevant terms and conditions provided by Payoneer.
6. Confirm your order by clicking the “Order” or “Submit” button. You may be prompted to enter your password or provide additional verification for security purposes.
Once your order is confirmed, Payoneer will process your request and prepare to ship your card to the provided address. The time it takes for your Payoneer card to arrive may vary depending on your location and the shipping method chosen. On average, it can take anywhere from a few days to a few weeks.
It’s important to note that some countries have restrictions on receiving international mail, which may affect the delivery of your Payoneer card. If you encounter any issues or delays, reach out to Payoneer’s customer support team for assistance.
While you wait for your Payoneer card to arrive, you can proceed with the next step of activating it, which involves setting your PIN number. This step is crucial for ensuring the security of your card and funds.
Now that you have ordered your Payoneer card, sit back, relax, and look forward to receiving it in the mail. Once it arrives, you’ll be ready for the final steps of activating and using your Payoneer card.
Step 5: Activate Your Payoneer Card
Once you receive your Payoneer card, the next step in the activation process is to activate it. Activating your card is a simple and straightforward process that can be completed using the following steps:
1. Sign in to your Payoneer account using your registered email address and password.
2. Navigate to the “Settings” or “Profile” section of your account. Look for the option to activate your Payoneer card.
3. Enter the 16-digit card number located on the front of your Payoneer card. Make sure to enter the number accurately without any spaces or hyphens.
4. Provide any additional information that may be requested for verification purposes. This could include personal details associated with your Payoneer account.
5. Review the terms and conditions of activating your Payoneer card. It’s crucial to understand the terms before proceeding with the activation process.
6. Click on the “Activate” or “Submit” button to initiate the activation process.
Once you have completed these steps, Payoneer will validate the card and activate it for use. The process usually takes just a few moments, and you will receive a confirmation message indicating that your Payoneer card has been successfully activated.
It’s important to note that activating your Payoneer card does not activate the PIN associated with the card. The PIN is a separate security feature that needs to be set up to ensure the safety of your transactions and funds.
Now that your Payoneer card is activated, you can proceed to the next step of setting your PIN number. This PIN will be required whenever you use your Payoneer card for transactions or ATM withdrawals.
Keep in mind that the activation process may vary slightly depending on the version of Payoneer’s website or app you are using. If you encounter any difficulties or have questions during the activation process, you can always reach out to Payoneer’s customer support team for assistance.
With your Payoneer card activated, you’re just one step away from fully utilizing all its features and benefits. Let’s move on to the next step of setting up your PIN number.
Step 6: Set Your PIN Number
Now that you have successfully activated your Payoneer card, the next important step is to set your PIN number. The PIN (Personal Identification Number) is a numeric code that you will use to validate your identity when making transactions or withdrawing cash from ATMs using your Payoneer card. Follow these steps to set your PIN number:
1. Locate a secure and private location where you can set your PIN number without any distractions or potential security risks.
2. Insert your Payoneer card into an ATM machine that supports PIN change functionality.
3. Follow the instructions displayed on the ATM screen to navigate to the PIN change option. This option is typically listed under the “More Options” or “PIN Management” section.
4. Enter your existing PIN number, which is usually a temporary PIN set by default when you received your Payoneer card. If you haven’t received a temporary PIN or need to reset it, please refer to your Payoneer account or contact Payoneer’s customer support for assistance.
5. Enter your desired new PIN number. Make sure to choose a PIN that is easy for you to remember but not easily guessable by others. Avoid using easily recognizable sequences like “1234” or your birthday.
6. Carefully re-enter your new PIN number to confirm it.
7. Follow any additional instructions provided by the ATM to complete the PIN change process.
Once your new PIN number is successfully set, you can start using your Payoneer card for transactions and ATM withdrawals. It’s important to keep your PIN number confidential and avoid sharing it with anyone to maintain the security of your Payoneer card and funds.
Keep in mind that the steps for setting your PIN number may slightly vary depending on the ATM you use. If you encounter any issues or need assistance during the process, contact the ATM operator or your bank’s customer support.
Congratulations! You have now successfully set your PIN number for your Payoneer card. With your PIN in place, you can confidently use your Payoneer card for online and offline transactions, making it a convenient and secure payment solution for your global financial needs.
Step 7: Start Using Your Payoneer Card
Now that you have activated your Payoneer card and set your PIN number, you are ready to start using it for your financial transactions. Here’s how you can begin making the most of your Payoneer card:
1. Online purchases: Your Payoneer card can be used to make online payments on various platforms that accept Mastercard®. Simply enter your card information, including the card number, expiration date, and CVV code, during the checkout process. Be sure to check the available balance on your Payoneer account to ensure seamless transactions.
2. In-store purchases: To use your Payoneer card for in-store purchases, swipe it or insert it into the card reader at the point of sale. Follow the instructions on the payment terminal and enter your PIN to complete the transaction. Always keep an eye on your card and the amount charged to ensure accuracy.
3. ATM withdrawals: You can withdraw cash from ATMs worldwide using your Payoneer card. Look for ATMs that display the Mastercard® logo and follow the prompts to withdraw cash. Remember to enter your PIN number accurately and ensure you are aware of any applicable withdrawal fees.
4. Contactless payments: Many merchants now support contactless payments, where you can simply tap your Payoneer card on the payment terminal to complete the transaction. Look for the contactless symbol on the terminal and follow the on-screen instructions. This eliminates the need to swipe or insert your card.
5. Currency conversions: If you receive payments in a different currency, Payoneer allows you to convert them into your preferred currency at competitive exchange rates. You can conveniently manage and convert currencies within your Payoneer account to avoid unnecessary fees and complications.
6. Account management: Make use of the Payoneer online portal or mobile app to keep track of your account balance, view transaction history, and manage your Payoneer card settings. Stay informed about your finances and ensure you have sufficient funds for your planned transactions.
Remember to keep your Payoneer card and personal information secure at all times. If you suspect any unauthorized activity or loss of your Payoneer card, promptly contact Payoneer’s customer support to report the issue and take necessary measures to protect your account.
Congratulations on successfully activating and using your Payoneer card! Enjoy the convenience and flexibility that it offers for managing your global finances. Whether you are a freelancer, business owner, or professional, Payoneer’s services can help you effectively manage and access your funds worldwide.
Conclusion
Congratulations on completing the activation process for your Payoneer card! You have taken the necessary steps to sign up for a Payoneer account, submit your ID documents, receive the confirmation email, order your card, activate it, set your PIN, and now you are ready to start using your Payoneer card for your financial transactions.
The Payoneer card provides a convenient and secure way to receive and manage your funds globally. Whether you are a freelancer, online seller, or a business owner, Payoneer offers a range of services that can simplify your payment processes and make international transactions seamless.
With your Payoneer card, you can make online purchases, pay for services, withdraw cash from ATMs, and even receive payments from companies around the world. The card is linked to your Payoneer account, allowing you to easily access and manage your funds.
Remember to keep your card and PIN number secure at all times. Be mindful of your account balance, fees, and currency conversions to ensure smooth financial management. If you encounter any issues or have questions along the way, Payoneer’s customer support team is available to assist you.
As you continue to use your Payoneer card, take advantage of the additional features and benefits it offers. Explore the Payoneer portal or mobile app to keep track of your transactions, monitor your account activity, and manage your finances efficiently.
We hope this guide has provided you with the guidance and information you need to successfully activate and start using your Payoneer card. Enjoy the convenience and flexibility that Payoneer brings to your financial journey, and make the most of your international business opportunities.
Remember, Payoneer is here to help you thrive in the global marketplace. Embrace the possibilities, and let your Payoneer card be your gateway to a world of seamless payments and financial growth.