Introduction
Welcome to our guide on how to activate a PayPal card! PayPal is a widely used online payment platform that allows individuals and businesses to send and receive money securely. With a PayPal card, you can access your PayPal funds instantly, make purchases online or in-store, and withdraw cash from ATMs.
Activating your PayPal card is a simple process that ensures you can start using your card efficiently and securely. In this article, we will walk you through the necessary steps to activate your PayPal card and provide you with valuable tips along the way.
Before we dive into the details, it’s important to note that activating a PayPal card requires you to have a PayPal account. If you don’t have an account yet, don’t worry! Signing up for a PayPal account is quick and easy. Simply visit the PayPal website or download the PayPal mobile app and follow the instructions to create your account.
Once you have your PayPal account ready, you can proceed with the activation process. Keep in mind that the exact steps may vary slightly depending on whether you have a physical card or a digital card. Physical cards are typically issued by PayPal and can be used at partner stores and ATMs, while digital cards are primarily used for online purchases.
Now, let’s get started with the activation process. Whether you have a physical or digital PayPal card, the steps outlined in this guide will help you activate your card quickly and easily, so you can start using it for all your payment needs.
Step 1: Gathering the necessary information
Before you can activate your PayPal card, it’s important to gather the necessary information to ensure a smooth and hassle-free process. Here’s what you need to do:
1. Obtain your PayPal card: If you have a physical PayPal card, make sure you have it in your possession. If you have a digital card, ensure that you have access to the card details, including the card number, expiration date, and CVV code. Having this information ready will make the activation process much faster.
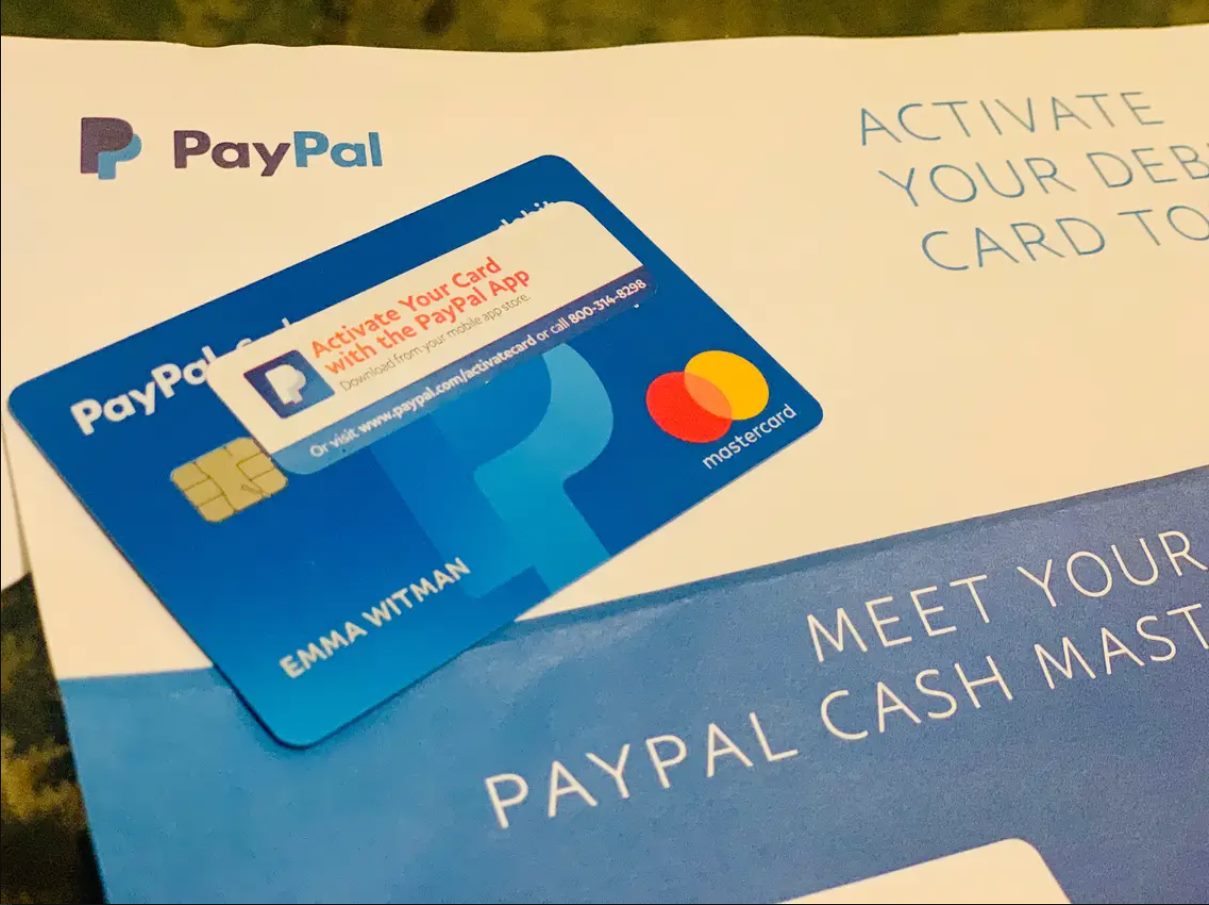
2. Check your email inbox: If you’ve recently received a PayPal card, PayPal may have sent you an email with instructions on how to activate it. Check your email inbox, including the spam folder, for any such communication from PayPal. If you find an email regarding your card activation, make sure to read it thoroughly as it may contain specific instructions or a link to activate your card.
3. Prepare your personal information: To activate your PayPal card, you may need to provide some personal information for verification purposes. This can include your full name, address, date of birth, and the last four digits of your Social Security number. Having this information readily available will save you time during the activation process.
4. Ensure a stable internet connection: The activation process will require you to access your PayPal account online or through the PayPal mobile app. To avoid any disruptions or delays, ensure that you have a stable internet connection. This will ensure a smooth activation process and minimize any potential errors or issues.
By gathering these necessary details and preparing ahead of time, you’ll be well-equipped to proceed with the activation process. Once you have all the information ready, you can move on to the next step: logging into your PayPal account.
Step 2: Logging into your PayPal account
To activate your PayPal card, you need to log into your PayPal account. Follow these steps to access your account:
1. Open the PayPal website or launch the PayPal mobile app: Depending on your preference, you can either visit the official PayPal website or open the PayPal mobile app on your smartphone or tablet. Ensure that you have a stable internet connection for a seamless login experience.
2. Enter your login credentials: On the PayPal homepage or app, you will find the login section. Enter the email address associated with your PayPal account and the corresponding password. Double-check your email and password to avoid any typos.
3. Click or tap “Log In”: Once you’ve entered your login credentials, click or tap the “Log In” button to proceed. PayPal will verify your information and grant you access to your account.
Note: If you have trouble logging in, double-check the accuracy of your email and password. You can also use the “Forgot Password” feature to reset your password if necessary. Follow the instructions provided by PayPal to regain access to your account.
4. Two-factor authentication (optional): For added security, PayPal may prompt you to enable two-factor authentication (2FA). This involves verifying your identity through an additional method, such as receiving a code via SMS or using a 2FA app. If prompted, follow the on-screen instructions to enable this feature.
Once you have successfully logged into your PayPal account, you are ready to proceed to the next step: navigating to the Wallet section to activate your PayPal card.
Step 3: Navigating to the Wallet section
Once you have logged into your PayPal account, the next step in activating your PayPal card is to navigate to the Wallet section. The Wallet section is where you can manage your payment methods and perform various financial transactions. Here’s what you need to do:
1. Locate the Wallet tab: Depending on whether you are using the PayPal website or the PayPal mobile app, find the Wallet tab or icon. It is usually located at the top of the page or in the navigation menu.
2. Click or tap on the Wallet tab: After locating the Wallet tab, click or tap on it to access the Wallet section. This will open up a page or screen that displays your current payment methods, including any cards linked to your PayPal account.
3. Review your payment methods: Once you are in the Wallet section, take a moment to review your current payment methods. If you already have a PayPal card linked to your account, it should appear alongside any other cards or payment options you have set up. Double-check the card details to ensure accuracy.
4. Look for the option to activate your PayPal card: Within the Wallet section, there should be an option or link specifically meant for activating your PayPal card. It may be labeled as “Activate Card,” “Add Card,” or something similar. Click or tap on this option to proceed with the activation process.
Note: If you are unable to find the option to activate your PayPal card, you can try searching for relevant keywords within the Wallet section or consult PayPal’s help resources for specific instructions.
5. Follow the on-screen instructions: Once you have clicked or tapped on the activation option, PayPal will guide you through the specific steps required to activate your card. These steps may include verifying your card details, providing additional information, or agreeing to terms and conditions. Read and follow the on-screen instructions carefully to complete the activation process.
Once you have successfully navigated to the Wallet section and followed the activation instructions, you are one step closer to using your PayPal card. The next step involves the actual activation of your card, which we will cover in Step 4.
Step 4: Activating your PayPal card
After navigating to the Wallet section, the next crucial step in the process of activating your PayPal card is to actually activate it. The activation process ensures that your card is ready to be used for online and offline transactions. Follow the steps below to activate your PayPal card:
1. Verify your card details: PayPal may ask you to verify the details of your card, such as the card number, expiration date, and the CVV code. Carefully enter these details to ensure accuracy. This step helps ensure that you are activating the correct card linked to your PayPal account.
2. Review and accept any terms or conditions: PayPal may present you with specific terms or conditions related to your card activation. These terms may include cardholder agreements, usage policies, or any additional fees associated with using your PayPal card. Take the time to read these terms carefully. If you agree with the terms, proceed to accept them through the provided option.
3. Confirm the activation: Once you have provided the necessary card details and accepted any terms or conditions, PayPal will give you the option to confirm the activation of your PayPal card. Click or tap on the confirmation button to proceed. This action signals to PayPal that you are ready to activate your card and begin using it for transactions.
4. Wait for confirmation: After confirming the activation of your PayPal card, you may need to wait for a short period while PayPal processes the activation request. During this time, PayPal will verify the information provided and ensure that your card is successfully activated.
Note: The activation process may vary depending on whether you have a physical card or a digital card. For physical cards, you may need to wait for the physical card to be mailed to you before it can be fully activated. Confirm any additional instructions or steps provided by PayPal to ensure a seamless activation process.
Once your PayPal card has been successfully activated, you can move on to the next step: verifying your identity. This verification process is an essential security measure put in place by PayPal to protect your account and ensure that you are the authorized user of the card.
Step 5: Verifying your identity
To maintain the security of your PayPal account and ensure that you are the authorized user of the activated PayPal card, PayPal may require you to go through a verification process. This step helps protect your account from unauthorized use and adds an extra layer of security. Follow the steps below to verify your identity:
1. Provide necessary identification documents: PayPal may request you to provide documentation to verify your identity. This can include a government-issued ID, such as a passport or driver’s license. Ensure that the identification documents are valid and not expired.
2. Take a clear photo or scan your documents: If you are required to provide identification documents, you will need to take a clear photo or scan of them. Find a well-lit area and ensure that the documents are fully visible and not obstructed. Follow the instructions provided by PayPal regarding the format and quality of the images.
3. Submit the identification documents: Once you have taken or scanned the necessary documents, you will typically have to submit them to PayPal. This can be done through the PayPal website or by following the specific instructions provided by PayPal. Take note of any specific file size limits or document format requirements.
4. Wait for verification: After submitting your identification documents, PayPal will review them to verify your identity. The verification process may take some time, so be patient. PayPal will notify you once the verification is complete.
Note: In some cases, PayPal may have alternative methods for identity verification, such as requesting a phone call to verify your account or sending a verification code to your linked email address or mobile number. Follow the instructions provided by PayPal if you are required to go through one of these alternative verification methods.
By verifying your identity, you are ensuring the safety and security of your PayPal account and the authorized use of your PayPal card. Once your identity has been verified, you can proceed to the next step: setting a PIN for your card.
Step 6: Setting a PIN for your card
Setting a Personal Identification Number (PIN) for your activated PayPal card is an important step in ensuring the security of your transactions. The PIN adds an extra layer of protection and prevents unauthorized use of your card. Follow the steps below to set a PIN for your PayPal card:
1. Access the PayPal website or app: Open your web browser and go to the PayPal website or launch the PayPal mobile app on your device. Make sure you are logged into your PayPal account.
2. Navigate to the Wallet section: Locate the Wallet tab or icon and click or tap on it to access the Wallet section. This is where you can manage your payment methods and make changes to your PayPal card settings.
3. Find the card settings option: Within the Wallet section, look for the option or link that allows you to manage your PayPal card settings. This may be labeled as “Card Settings,” “Manage Card,” or something similar. Click or tap on this option to proceed.
4. Locate the PIN settings: Once you are in the card settings, find the specific option that allows you to set or change your PIN. It may be under a section titled “PIN” or “Security.” Click or tap on this option to continue.
5. Enter a new PIN: In the PIN settings page, you will be prompted to enter a new PIN for your PayPal card. Choose a PIN that is unique and memorable to you, but avoid using easily guessable numbers like your birthdate or sequential digits. Remember, your PIN should be kept confidential and not shared with anyone.
6. Confirm your new PIN: After entering your new PIN, you will typically be asked to confirm it by entering it a second time. This step ensures that you have entered the desired PIN correctly and helps prevent any accidental mistakes.
7. Save your PIN: Once you have confirmed your new PIN, click or tap on the “Save” or “Submit” button to save the changes. PayPal will update your card settings and associate the new PIN with your PayPal card.
Note: Some physical PayPal cards may have a default PIN provided by PayPal. In such cases, you may be required to change the default PIN to your own personalized PIN. Follow the instructions provided by PayPal to complete this process.
By setting a PIN for your PayPal card, you are adding an extra layer of security to your transactions. With your PIN in place, you are now ready to start using your activated PayPal card for various purchases and transactions.
Step 7: Using your activated PayPal card
Now that you have successfully activated your PayPal card and set a PIN for it, you can begin using your card for various transactions. Here are some key points to keep in mind when using your activated PayPal card:
1. Online purchases: Use your PayPal card to make secure online purchases at websites that accept PayPal as a payment method. During the checkout process, select PayPal as your payment option and provide the necessary card details when prompted. Confirm the transaction, and the payment will be deducted from your linked PayPal account.
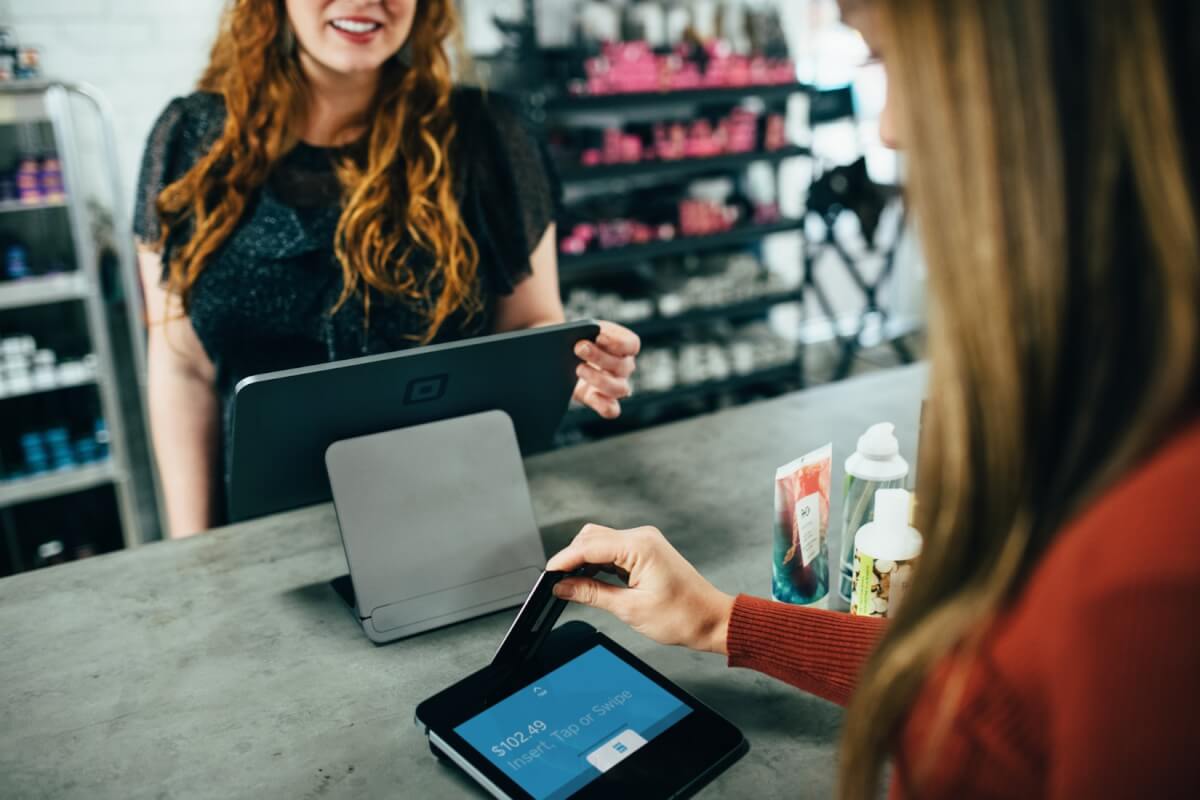
2. In-store payments: Some physical PayPal cards can be used for in-store payments at participating merchants. Look for the contactless payment symbol or inquire with the store if they accept PayPal. Simply tap or swipe your card at the payment terminal, and your purchase will be deducted from your PayPal account.
3. ATM withdrawals: If you have a physical PayPal card, it may allow you to withdraw cash from ATMs. Locate an ATM that displays the appropriate card acceptance symbols and insert your card. Follow the prompts on the screen to enter your PIN and select the amount you wish to withdraw. Keep in mind that ATM withdrawals may be subject to fees.
4. Monitor your transactions: Regularly review your PayPal account activity and statement to ensure all transactions are legitimate. If you notice any unauthorized or suspicious activity, contact PayPal immediately to report the issue and take necessary steps to secure your account.
5. Keep your card and PIN secure: Treat your PayPal card like any other payment card and keep it in a safe place. Protect your PIN by never sharing it with anyone and avoiding using easily guessable numbers. Additionally, beware of phishing attempts and only enter your card details on secure and trusted websites.
6. Link to digital wallets: Some digital wallet platforms, such as Apple Pay or Google Pay, allow you to add your PayPal card for easy and secure mobile payments. Check if your preferred digital wallet supports PayPal and follow the instructions provided to link and use your card within the wallet app.
Remember, your activated PayPal card provides you with convenient access to your PayPal funds for making purchases, both online and offline. By using your card responsibly and ensuring the security of your account, you can enjoy a seamless and secure payment experience.
Conclusion
Activating your PayPal card is a straightforward process that allows you to access and utilize your PayPal funds conveniently. By following the steps outlined in this guide, you can easily activate your PayPal card and start using it for online and offline purchases.
We began by gathering the necessary information and ensuring that you have your PayPal card details readily available. Then, we moved on to logging into your PayPal account and navigating to the Wallet section, where you can activate your card.
After activating your PayPal card, it’s important to verify your identity to maintain the security and integrity of your account. This step adds an extra layer of protection to ensure that you are the authorized user of the card.
Setting a PIN for your card further enhances security and prevents unauthorized transactions. By creating a unique and memorable PIN, you can confidently use your PayPal card for various transactions, both online and in-store.
Finally, we discussed how to effectively use your activated PayPal card for purchases, ATM withdrawals, and linking to digital wallets. It’s important to monitor your transactions regularly and keep your card and PIN secure to protect your account from potential fraud.
By following these steps and using your PayPal card responsibly, you can enjoy the convenience and security that PayPal offers in managing your finances. Whether you are shopping online, making in-store purchases, or accessing cash from ATMs, your activated PayPal card provides a simple and secure solution.
Remember to always stay vigilant and keep your account information safe. If you encounter any issues or have questions during the activation process or while using your card, don’t hesitate to reach out to PayPal’s customer support for assistance.
Now, armed with the knowledge and step-by-step instructions, you are ready to activate and utilize your PayPal card. Start experiencing the ease and flexibility of payments with your activated PayPal card today!