Introduction
With the growing popularity of e-wallet apps, it has become vital for users to ensure that their app is synchronized properly. Syncing an e-wallet app can provide a seamless experience across multiple devices and ensure that your transactions and account details are up to date.
What exactly is an e-wallet app? This digital wallet allows users to store, manage, and transact money digitally. It eliminates the need for carrying physical cash and provides a convenient and secure way to make payments, transfer funds, and even store loyalty cards and receipts.
Syncing an e-wallet app offers several advantages. Firstly, it allows you to access your account from different devices like smartphones, tablets, or computers. This means that you can make transactions or check your balances anywhere, anytime, without being limited to a single device. Additionally, syncing ensures that your account information, transaction history, and even loyalty points are consistent across all devices, providing a seamless user experience.
In this article, we will guide you through the process of syncing an e-wallet app. We will cover the necessary steps and precautions to ensure a successful sync. By the end of this article, you will have a clear understanding of how to sync your e-wallet app and enjoy all the benefits it offers.
What is an E-wallet App?
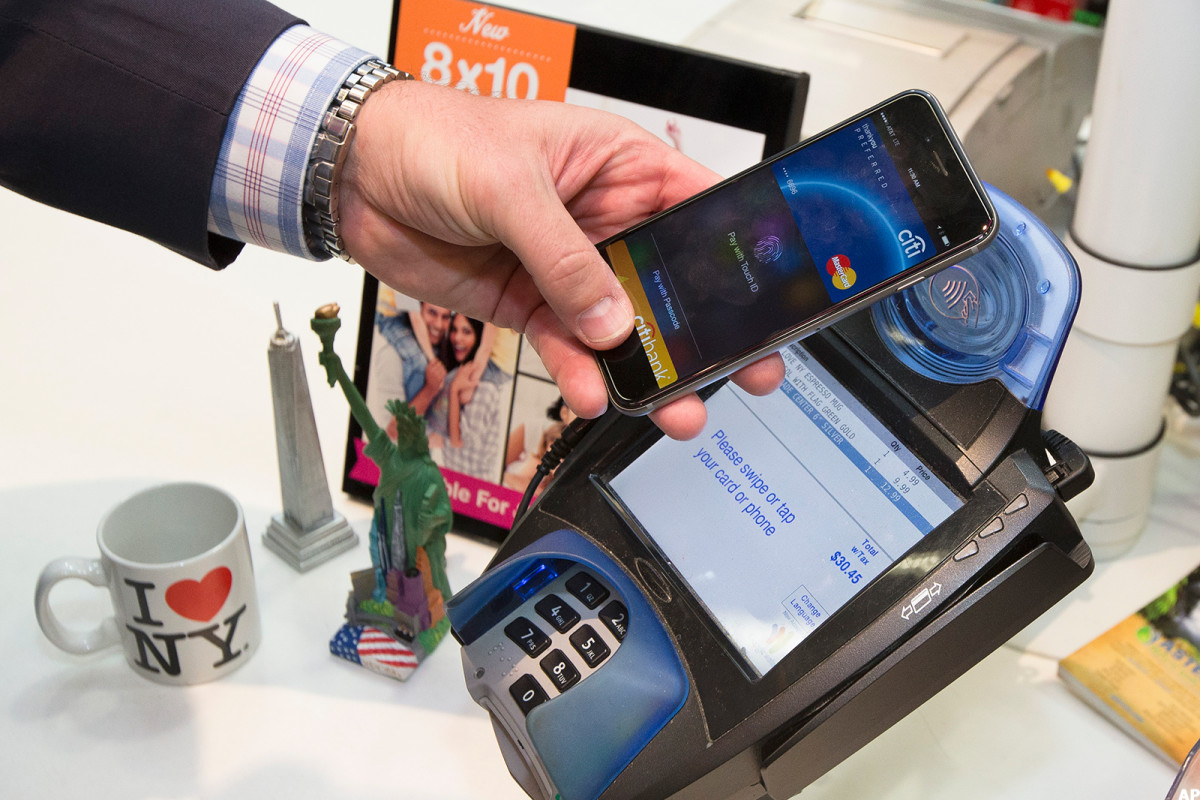
An e-wallet app, also known as a digital wallet app, is a mobile application that allows users to store, manage, and transact money digitally. It serves as a virtual wallet, eliminating the need to carry physical cash or cards. With an e-wallet app, users can securely make payments, transfer funds, and even store loyalty cards and receipts.
These apps act as a secure intermediary between your bank account or credit card and the merchant you wish to make a payment to. By linking your account or card to the e-wallet app, you can easily authorize payments with just a few taps on your smartphone or other mobile devices.
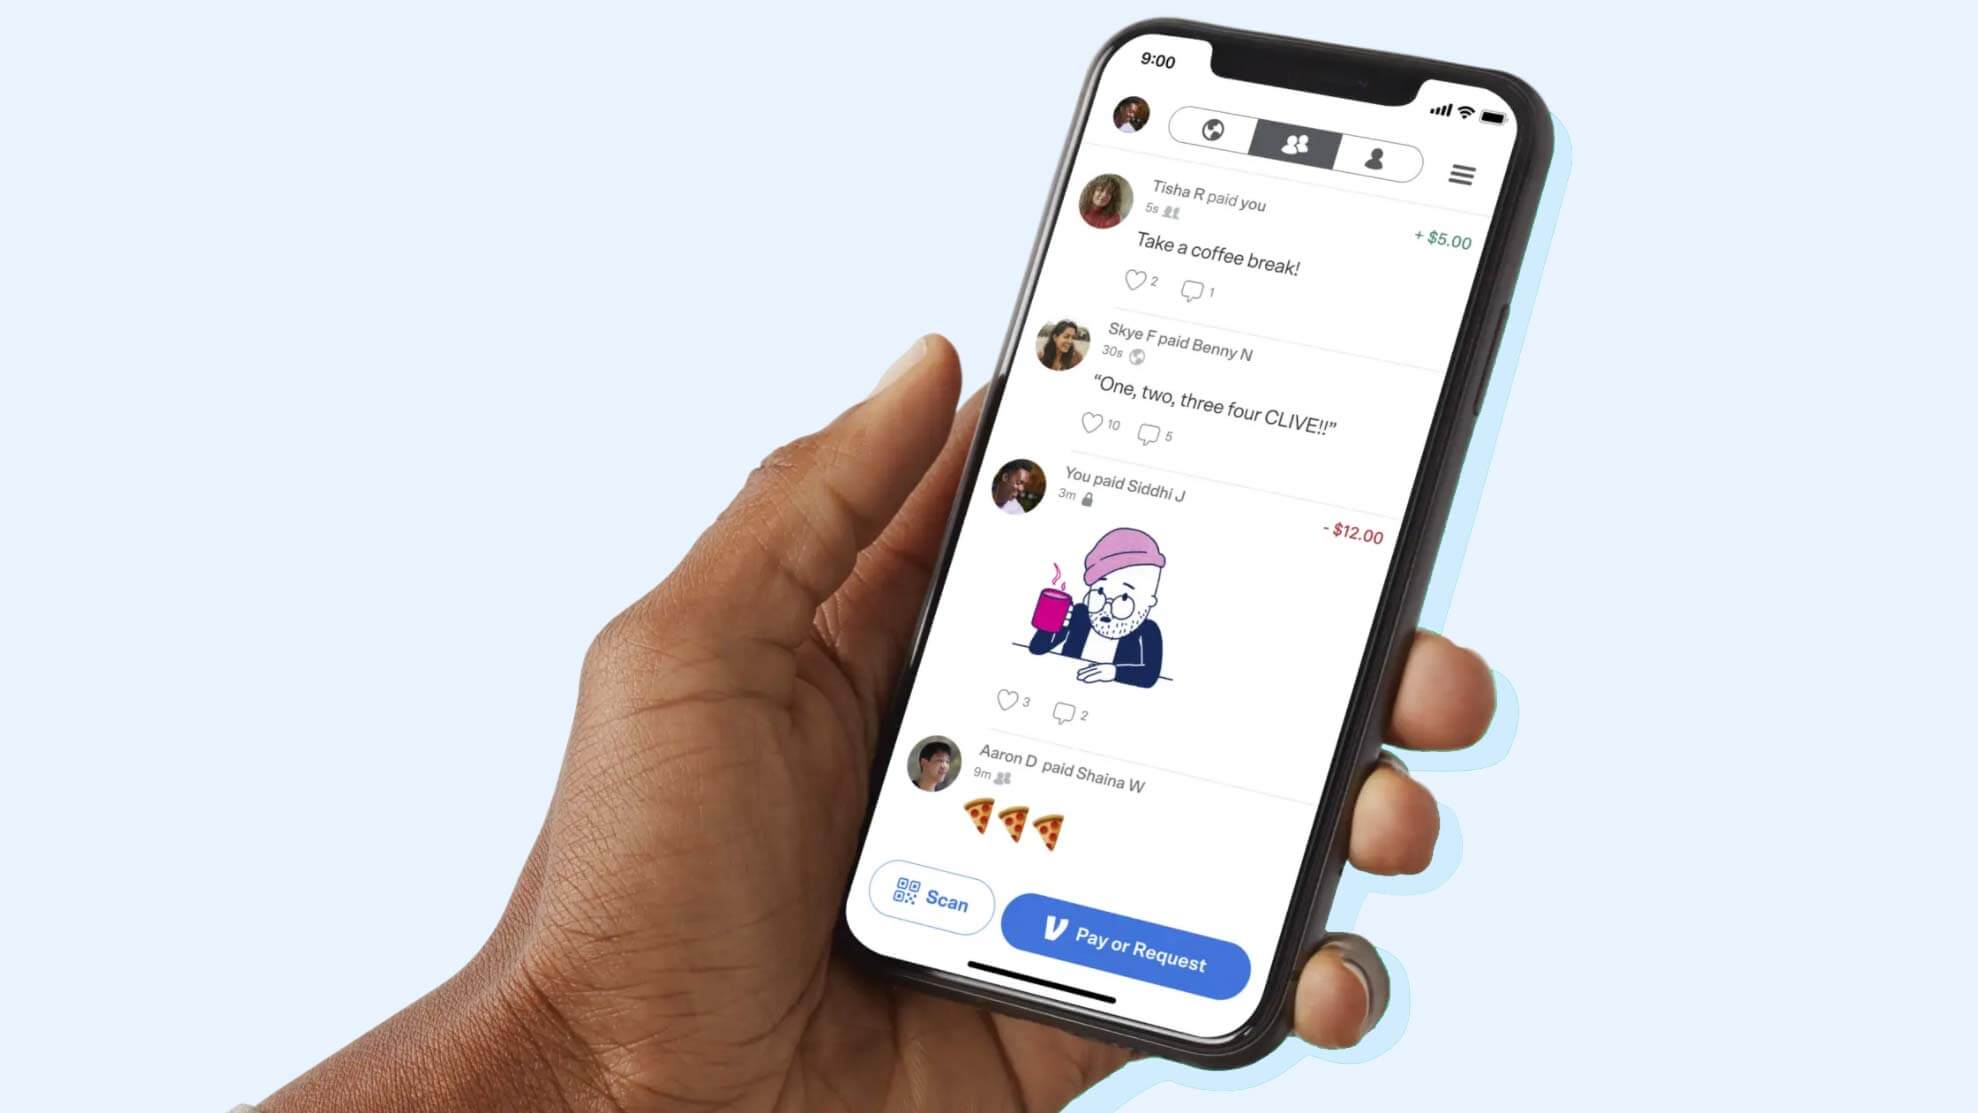
Most e-wallet apps offer a range of features to enhance convenience and accessibility. Apart from making payments, users can also use these apps to split bills, request money from friends, and even make online purchases. Some e-wallet apps also support peer-to-peer (P2P) transfers, allowing you to send money directly to other app users.
Security is a top priority for e-wallet apps, as they involve handling sensitive financial information. These apps incorporate various security measures to protect user data, such as robust encryption, multi-factor authentication, and biometric authentication methods like fingerprint or facial recognition.
Popular e-wallet apps include PayPal, Apple Pay, Google Pay, Venmo, and Samsung Pay. Each app may have its own unique features and compatibility with different devices or operating systems, so it’s important to choose an app that suits your needs and works well with your device.
Overall, e-wallet apps provide a convenient, secure, and efficient way to manage your finances and make digital payments. By using an e-wallet app, you can enjoy the benefits of a cashless society and streamline your financial transactions.
Why would you want to sync an E-wallet App?
Syncing an e-wallet app offers several benefits and advantages that make it worthwhile for users to consider. Here are some of the key reasons why you might want to sync your e-wallet app:
1. Seamless user experience: Syncing your e-wallet app allows you to access your account and carry out transactions seamlessly across multiple devices. Whether you’re using your smartphone, tablet, or computer, syncing ensures that your account information, transaction history, and even loyalty points are consistent and up to date, providing a seamless user experience.
2. Convenience and flexibility: Syncing your e-wallet app enables you to make payments and manage your finances from anywhere, anytime. You can easily switch between devices without any disruptions, giving you the flexibility to handle your financial transactions on the go.
3. Enhanced security: By syncing your e-wallet app, you can enable additional security features such as remote device locking and transaction alerts. This ensures that even if you lose your device, your financial information remains secure, and you can take immediate action to prevent unauthorized access or fraudulent activities.
4. Multiple device management: If you use more than one device regularly, syncing your e-wallet app allows you to manage your finances effortlessly. Whether you’re using a smartphone, tablet, or computer, you can access your e-wallet app and carry out transactions without the need for separate installations or configurations.
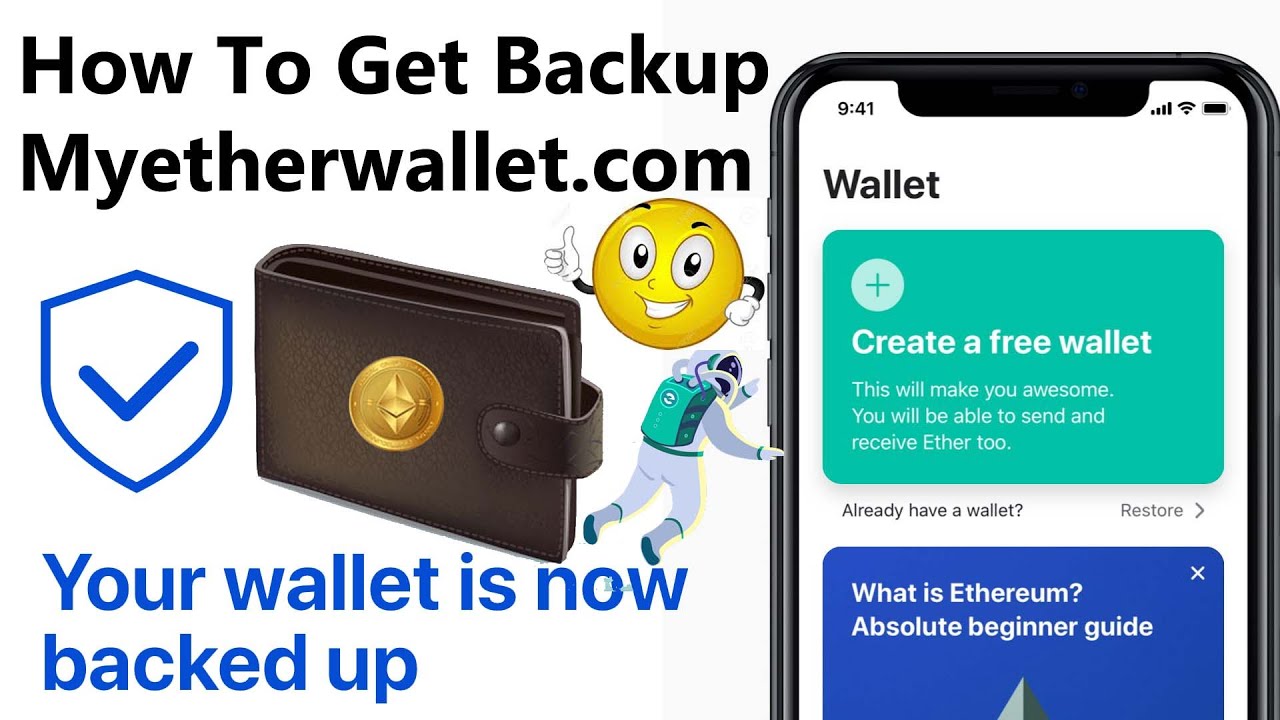
5. Backup and data synchronization: Syncing your e-wallet app provides a backup of your account information and transaction history. In the event of device loss or theft, you can easily restore your e-wallet app on a new device and retrieve your data, ensuring that you don’t lose any important financial information.
6. Loyalty program integration: Many e-wallet apps offer loyalty program integration, allowing you to earn and redeem points while making purchases. By syncing your e-wallet app, you can ensure that your loyalty points are accurately tracked and updated across all devices, making it easier for you to take advantage of rewards and benefits.
Overall, syncing your e-wallet app provides a range of advantages, including a seamless user experience, enhanced security, convenience, and the ability to access and manage your finances from multiple devices. By taking advantage of these benefits, you can make the most out of your e-wallet app and streamline your financial transactions.
Understanding the syncing process
Syncing an e-wallet app involves establishing a connection between your app and a centralized server or cloud storage. This connection ensures that your account information, transaction history, and other data are consistently updated and accessible across multiple devices. To understand the syncing process better, let’s break it down into the following steps:
1. Update the E-wallet App: Before initiating the syncing process, it’s recommended to ensure that you have the latest version of the e-wallet app installed on your device. Updates often include bug fixes, security enhancements, and improved syncing capabilities.
2. Connect the E-wallet App to the internet: To sync your e-wallet app, ensure that your device is connected to the internet via Wi-Fi or mobile data. A stable internet connection is essential for the syncing process to take place smoothly.
3. Enable syncing on the E-wallet App: Access the settings or account preferences within the e-wallet app to enable syncing. Look for options relating to synchronization, account syncing, or device management. Toggle the switch or button to activate syncing functionality.
4. Verify your identity: Some e-wallet apps may require you to verify your identity before enabling syncing. This can involve various methods such as providing your username and password, entering a verification code sent via email or SMS, or using biometric authentication like fingerprint or facial recognition.
5. Set up a PIN or password: To enhance the security of the synced e-wallet app, you may be prompted to set up a PIN or password. This additional layer of protection ensures that only authorized users can access and make transactions through the app.
6. Wait for the syncing process to complete: Once you’ve completed the necessary steps, the syncing process will begin. It may take a few minutes or longer depending on the amount of data being synced and the speed of your internet connection. During this time, avoid closing or interrupting the syncing process.
7. Resolve any syncing issues: In some cases, you may encounter syncing issues such as errors or discrepancies in account information. If this happens, refer to the app’s support documentation or contact customer support for assistance. They can guide you through troubleshooting steps to resolve any syncing issues.
By understanding and following these steps, you can successfully sync your e-wallet app and enjoy the benefits of seamless transactions and access to your financial information across multiple devices.
Step 1: Update the E-wallet App
Before you begin the syncing process for your e-wallet app, it’s important to ensure that you have the latest version installed on your device. Regular updates not only provide bug fixes and performance enhancements but also include improvements to syncing capabilities. To update your e-wallet app, follow these steps:
- Open the app store on your device. If you’re using an iPhone or iPad, go to the App Store. Android users can access the Google Play Store.
- In the app store, search for the e-wallet app by name. You can use the search bar at the top or explore the “Updates” section if the app is already installed on your device.
- If an update is available for the e-wallet app, you will see an “Update” button next to the app’s name. Tap on it to initiate the update process.
- Wait for the update to download and install. This may take a few moments, depending on the size of the update and your internet connection speed.
- Once the update is complete, you can launch the e-wallet app and proceed with the syncing process.
Regularly updating your e-wallet app is crucial for ensuring a seamless and secure experience. Updates often include important security patches and bug fixes that protect your financial information and improve the app’s performance. By keeping your e-wallet app up to date, you can ensure that you have the latest features and sync capabilities available.
Remember to check for updates periodically, as developers frequently release new versions of the app to add new features, enhance compatibility, and address any issues that may arise. By staying up to date with the latest version of the e-wallet app, you can make the most out of its syncing capabilities and enjoy a smoother user experience.
Step 2: Connect the E-wallet App to the internet
In order to sync your e-wallet app, you need to ensure that your device is connected to the internet. Whether you are using Wi-Fi or mobile data, a stable internet connection is essential for the syncing process to take place smoothly. To connect your e-wallet app to the internet, follow these steps:
- Make sure that your device is connected to a Wi-Fi network. Open the settings on your device and navigate to the Wi-Fi section. Select a network from the list and enter the password if required.
- If you prefer to use mobile data, go to the settings on your device and find the cellular data or mobile data section. Enable mobile data by toggling the switch.
- For devices that support both Wi-Fi and mobile data, it’s recommended to use a Wi-Fi connection while syncing your e-wallet app. Wi-Fi generally offers a more stable and faster connection, which can help ensure a smooth syncing process.
- Once you are connected to the internet, proceed to the next step of the syncing process.
Connecting your e-wallet app to the internet is a crucial step, as it allows the app to establish a connection with the central server or cloud storage. This connection enables the transfer of data, including account information, transaction history, and other relevant details, to ensure that your e-wallet app is synced and up to date.
It’s important to note that depending on your location and network coverage, the quality and speed of your internet connection may vary. If you’re experiencing connectivity issues, consider moving closer to the Wi-Fi router or finding a spot with better network reception.
By ensuring a stable and reliable internet connection, you can proceed with confidence to the next steps of syncing your e-wallet app and enjoying the seamless experience it offers.
Step 3: Enable syncing on the E-wallet App
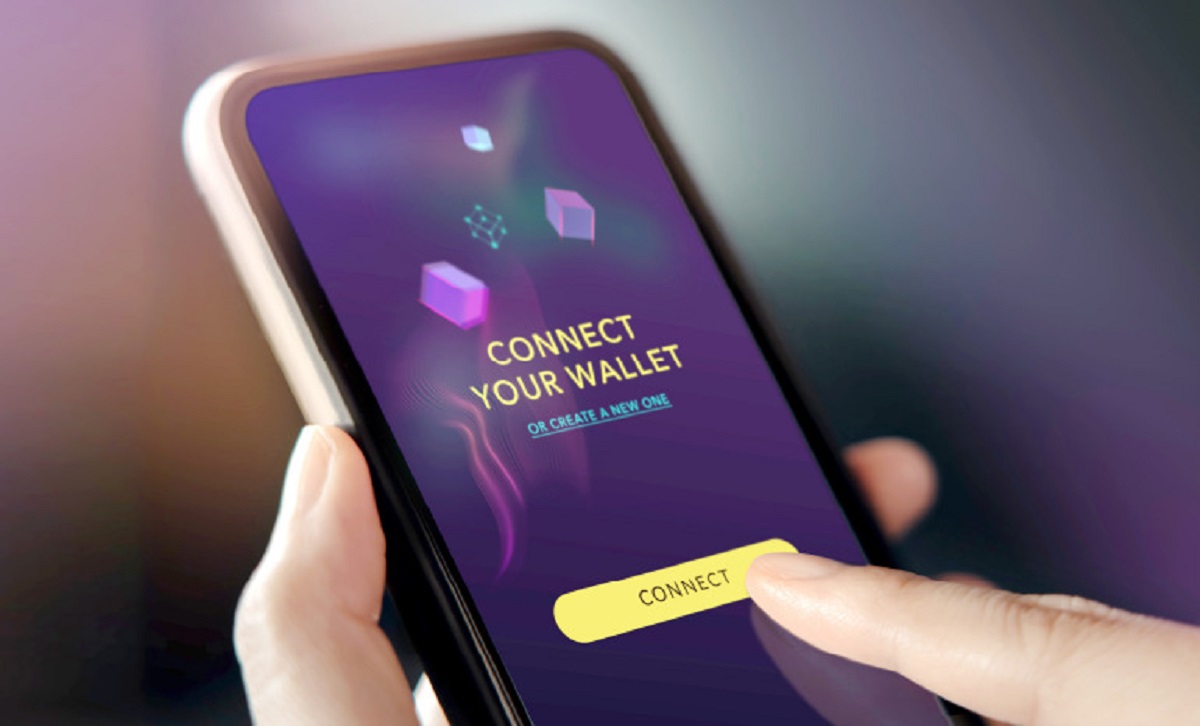
Once you have updated your e-wallet app and connected to the internet, the next step is to enable syncing within the app. Enabling syncing allows your e-wallet app to establish a connection with the central server or cloud storage and ensures that your account information and transaction data are consistently updated. To enable syncing on your e-wallet app, follow these steps:
- Open the e-wallet app on your device. The app icon should be visible on your home screen or in the app drawer.
- Once the app is open, navigate to the settings or account preferences section. This is usually represented by a gear icon or three dots in the top right corner of the app.
- In the settings or account preferences section, look for options related to synchronization, account syncing, or device management. The exact wording may vary depending on the e-wallet app you are using.
- Toggle the switch or button to enable syncing functionality. Some e-wallet apps may automatically enable syncing by default.
- Review any additional settings or options related to syncing. These may include frequency of syncing, data to be synced, or notification preferences. Customize these settings according to your preferences.
Enabling syncing within your e-wallet app is a crucial step as it establishes the connection between your app and the server or cloud storage. This connection allows for the seamless transfer of data, ensuring that your account information and transaction history are consistently updated across all your devices.
It’s worth noting that different e-wallet apps may have varying options and settings related to syncing. Some apps may offer additional features such as automatic syncing in real-time, while others may provide manual syncing options. Take some time to explore the settings and customize them to suit your needs.
By enabling syncing on your e-wallet app, you can benefit from a seamless user experience, access to up-to-date account information, and convenient management of your financial transactions across multiple devices.
Step 4: Verify your identity
Verifying your identity is an important step in the syncing process for your e-wallet app. It helps ensure the security of your financial information and protects against unauthorized access. The exact method of identity verification may vary depending on the e-wallet app you are using. Here are some common ways to verify your identity:
- Username and password: The most basic form of identity verification is entering your username and password associated with your e-wallet app account. This ensures that only authorized users can access your account.
- Verification code: Some e-wallet apps may utilize a two-factor authentication (2FA) method. In this case, you might receive a verification code via email, SMS, or through an authenticator app. Enter this code within the e-wallet app to validate your identity.
- Biometric authentication: Many modern devices support biometric authentication methods like fingerprint scanning or facial recognition. If your device has these capabilities, you may be prompted to use them to verify your identity within the e-wallet app.
- Document verification: In some cases, e-wallet apps may require additional verification, such as scanning or uploading a copy of your identification document, like a driver’s license or passport. This ensures that you are the rightful owner of the account.
Verifying your identity adds an extra layer of security to your e-wallet app and helps prevent unauthorized access. Follow the instructions provided by the e-wallet app to complete the identity verification process. Make sure to follow the necessary guidelines and input accurate information to ensure a successful verification.
It’s important to note that identity verification is a standard practice in the financial industry and is in place to protect both you and the e-wallet app provider. By verifying your identity, you can have confidence that your financial transactions are secure and your personal information is protected.
Once your identity has been verified, you can proceed to the next steps of setting up additional security measures and completing the syncing process for your e-wallet app.
Step 5: Set up a PIN or password
Setting up a PIN or password is an essential step in securing your e-wallet app and protecting your financial information. This additional layer of security prevents unauthorized access to your account and ensures that only you can perform transactions. To set up a PIN or password for your e-wallet app, follow these steps:
- Open the e-wallet app on your device and navigate to the settings or account preferences section.
- Look for the option to set up a PIN or password. This option may be labeled as “Security,” “Passcode,” or “Biometrics & Security.”
- Select the appropriate option and follow the prompts to set up a PIN or password.
- Choose a strong and unique PIN or password. Avoid using easily guessable combinations like birthdates, sequential numbers, or common passwords.
- Confirm your PIN or password by entering it again.
By setting up a PIN or password, you add an extra layer of protection to your e-wallet app. This ensures that even if someone gains access to your device, they won’t be able to use your e-wallet app without the PIN or password.
In addition to a PIN or password, you may have the option to use biometric authentication methods such as fingerprint scanning or facial recognition if your device supports them. Biometric authentication adds an extra level of convenience and security, as it relies on unique physical characteristics to verify your identity.
Remember to keep your PIN or password confidential and avoid sharing it with anyone. It’s also a good practice to periodically change your PIN or password to enhance security. By implementing these measures, you can have peace of mind knowing that your e-wallet app is secure and your financial transactions are protected.
After setting up a PIN or password, proceed to the next steps to complete the syncing process for your e-wallet app and enjoy the convenience and security it provides.
Step 6: Wait for the syncing process to complete
After completing the previous steps, you are now ready to initiate the syncing process for your e-wallet app. This step requires some patience as the app establishes a connection with the central server or cloud storage and synchronizes your account information and transaction data. Here’s what you need to do:
- Once you have enabled syncing, the e-wallet app will start the syncing process automatically. Depending on the size of your account data and the speed of your internet connection, syncing may take a few minutes or longer.
- During the syncing process, it’s important to avoid closing or interrupting the e-wallet app. Doing so may result in incomplete syncing or data discrepancies between devices.
- Keep an eye on the progress indicator or any notifications provided by the app. These may give you an estimated time remaining or inform you when the syncing process is complete.
- If permitted, you can continue using the e-wallet app for basic functions such as checking your transaction history or making payments while the syncing process is ongoing.
While waiting for the syncing process to complete, it’s important to remain patient. The duration of the syncing process can vary depending on various factors, including the amount of data being synced, internet connection speed, and the efficiency of the e-wallet app’s syncing algorithm.
If you encounter any issues or errors during the syncing process, refer to the app’s documentation or contact customer support for assistance. They can provide guidance and troubleshooting steps to address any syncing-related concerns.
Once the syncing process is complete, you can enjoy the benefits of seamless access to your account information and transaction history across all your devices. Your e-wallet app is now synced and ready for use.
It’s worth noting that syncing is an ongoing process, and your e-wallet app will continue to update and sync data in the background as new transactions or changes occur. This ensures that you have the latest information and provides a consistent user experience across all your devices.
Step 7: Resolve any syncing issues
While the syncing process for your e-wallet app is usually straightforward, there may be instances where you encounter syncing issues. These issues can range from syncing errors to discrepancies in your account information or transaction history. If you come across any syncing issues, follow these steps to resolve them:
- Check your internet connection: Ensure that you have a stable internet connection by connecting to Wi-Fi or enabling mobile data on your device. A weak or intermittent connection can cause syncing problems.
- Restart your device: Sometimes, a simple restart can solve minor syncing issues. Turn off your device, wait for a few seconds, and then turn it back on. Launch the e-wallet app and check if the syncing issues persist.
- Update the app: Ensure that you have the latest version of the e-wallet app installed on your device. Developers often release updates to fix bugs and improve syncing capabilities. Check the app store for any available updates and install them if necessary.
- Clear app cache (Android): If you’re using an Android device, you can try clearing the cache of the e-wallet app. Go to the device settings, navigate to the app settings, find the e-wallet app, and clear its cache. Relaunch the app and check if the syncing issues are resolved.
- Contact customer support: If you’ve tried the above steps and the syncing issues persist, it’s recommended to reach out to the customer support team of the e-wallet app. Provide them with details about the syncing issues you’re experiencing and any error messages you’ve encountered. They can provide further assistance and guide you through additional troubleshooting steps.
Resolving syncing issues may require a combination of troubleshooting steps specific to your device and the e-wallet app you’re using. It’s important to follow the instructions provided by the app developer or consult their support documentation for more tailored resolution methods.
Remember to be patient and persistent when resolving syncing issues. In most cases, these issues can be resolved with some basic troubleshooting steps. By ensuring a smooth syncing process, you can enjoy the benefits of a seamlessly synced e-wallet app and hassle-free access to your financial information.
Conclusion
Syncing an e-wallet app is a crucial step to ensure a seamless and convenient user experience across multiple devices. By following the steps outlined in this guide, you can successfully sync your e-wallet app and enjoy the benefits it offers.
We first explored what an e-wallet app is and the reasons why syncing is important. E-wallet apps provide a secure and convenient way to manage and transact money digitally, and syncing allows you to access your account information and transaction history from various devices.
We then walked through the syncing process, which includes updating the app, connecting to the internet, enabling syncing, verifying your identity, setting up a PIN or password, and waiting for the syncing process to complete. We also discussed how to resolve any syncing issues that may arise during the process.
Remember, regularly updating your e-wallet app, maintaining a stable internet connection, and following security practices such as setting up strong PINs or passwords are essential for a smooth syncing experience. It’s also important to reach out to customer support if you encounter any syncing issues that you can’t resolve on your own.
By syncing your e-wallet app, you can enjoy the benefits of convenient access to your financial information, consistent transaction history across devices, enhanced security, and the flexibility to manage your finances on the go.
Now that you have a clear understanding of how to sync an e-wallet app, you can take the necessary steps and make the most out of this digital tool. Embrace the convenience, security, and flexibility that e-wallet apps offer as you navigate the digital landscape of financial transactions.