Introduction
Understanding Graininess in Camcorder Pictures
Have you ever captured a special moment with your camcorder only to find that the picture turned out grainy and unclear? It can be frustrating and disappointing, especially when you want to preserve precious memories. Understanding why your camcorder pictures appear grainy is the first step towards resolving this issue and capturing clear, high-quality footage.
Graininess in camcorder pictures refers to the presence of visual noise or a sandy texture in the image. Instead of smooth and clear visuals, the footage may appear speckled or pixelated, diminishing the overall quality of the recording. This issue can detract from the viewing experience and make it challenging to appreciate the details within the footage.
To address graininess effectively, it's essential to comprehend the potential causes behind this phenomenon. By identifying the factors contributing to grainy camcorder pictures, you can implement targeted solutions to enhance the quality of your recordings. From technical settings to environmental conditions, several elements can influence the clarity and sharpness of your camcorder pictures. Let's delve into the common culprits behind grainy footage and explore practical strategies for rectifying this issue.
Understanding Graininess in Camcorder Pictures
Graininess in camcorder pictures can stem from various sources, leading to a subpar visual experience for viewers. Understanding the underlying causes of this issue is crucial for achieving clear and high-quality footage. The following insights shed light on the complexities of graininess in camcorder pictures:
- Technical Limitations: The technical specifications of your camcorder, such as sensor size, resolution, and low-light performance, significantly impact the quality of the footage. Lower-end camcorders with smaller sensors and limited low-light capabilities are more prone to producing grainy pictures, especially in challenging lighting conditions.
- Environmental Factors: The environment in which you’re filming plays a pivotal role in picture quality. Dimly lit settings or high-contrast scenes can exacerbate graininess, as the camcorder struggles to capture details accurately. Additionally, extreme temperatures and humidity levels can affect the performance of the camera, potentially leading to grainy footage.
- Compression Artifacts: When videos are compressed to reduce file size, compression artifacts can manifest as graininess or pixelation in the footage. This is particularly noticeable when capturing fast-moving subjects or intricate details, as the compression process may compromise the clarity of the video.
- ISO Sensitivity: The ISO setting on your camcorder determines its sensitivity to light. Higher ISO values are useful in low-light conditions but can introduce digital noise, resulting in grainy pictures. Finding the optimal ISO setting for different filming scenarios is essential for minimizing graininess.
By recognizing these contributing factors, you can gain a deeper understanding of why graininess occurs in camcorder pictures. Armed with this knowledge, you’ll be better equipped to address these issues effectively and elevate the overall quality of your video recordings.
Common Causes of Grainy Camcorder Pictures
Grainy camcorder pictures can result from a multitude of factors, spanning technical limitations, environmental conditions, and user settings. Identifying the common causes of graininess is pivotal in troubleshooting this issue and enhancing the visual clarity of your recordings. Let’s explore the prevalent culprits behind grainy camcorder pictures:
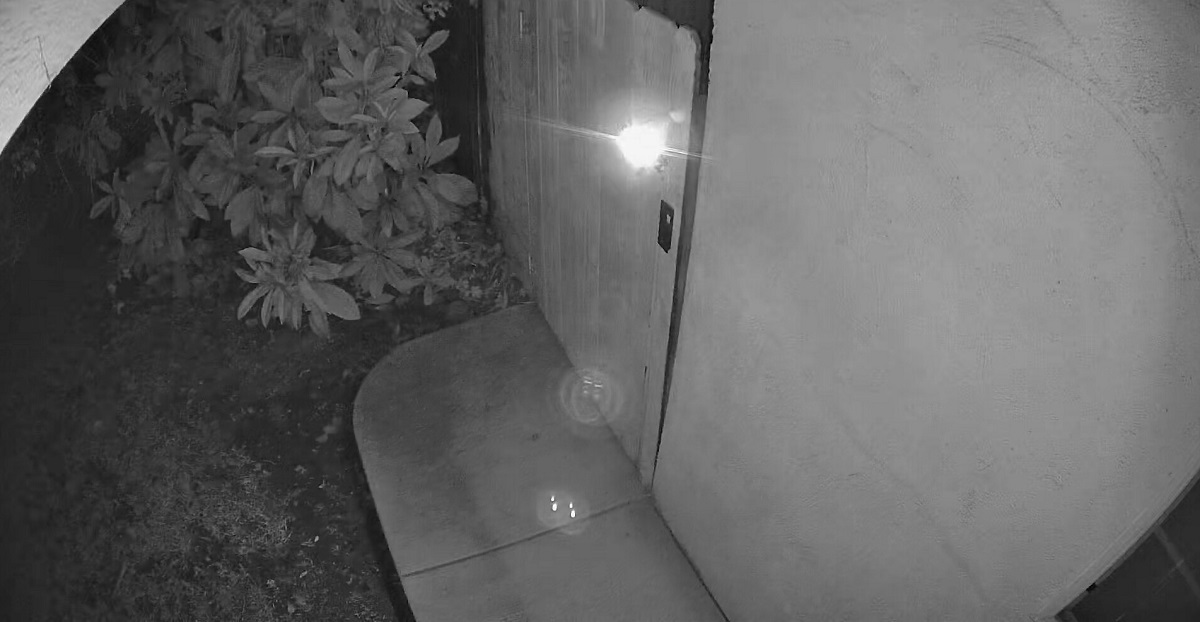
- Low Light Conditions: Filming in low-light environments can lead to grainy pictures, as the camcorder’s sensor struggles to capture details accurately. This is especially prevalent in consumer-grade camcorders with limited low-light performance, resulting in visual noise and reduced sharpness.
- High ISO Settings: Utilizing excessively high ISO settings to compensate for low light can introduce digital noise, manifesting as graininess in the footage. Balancing ISO sensitivity with lighting conditions is crucial for minimizing graininess while maintaining adequate exposure.
- Suboptimal Compression: When videos are compressed to reduce file size, the compression process may introduce artifacts, leading to grainy and pixelated images. Understanding the optimal compression settings for your camcorder can mitigate this issue and preserve visual fidelity.
- Small Sensor Size: Camcorders with smaller sensor sizes are more susceptible to producing grainy pictures, particularly in challenging lighting scenarios. Investing in a camcorder with a larger sensor can significantly improve picture quality, especially in low-light conditions.
- Inadequate Focus: Poor focus accuracy can contribute to graininess in camcorder pictures, as the footage lacks the necessary clarity and definition. Ensuring precise focus and utilizing manual focus options when necessary can mitigate this issue and enhance visual sharpness.
- Environmental Interference: Factors such as extreme temperatures, high humidity, and rapidly changing lighting conditions can impact the performance of the camcorder, potentially leading to grainy footage. Maintaining stable environmental conditions during filming can mitigate these interferences.
By recognizing these common causes of grainy camcorder pictures, you can proactively address these issues and optimize the visual quality of your recordings. Implementing targeted solutions tailored to these specific factors can significantly enhance the clarity and sharpness of your camcorder pictures.
How to Fix Grainy Camcorder Pictures
Resolving grainy camcorder pictures involves a combination of technical adjustments, environmental considerations, and strategic filming practices. By implementing the following corrective measures, you can effectively mitigate graininess and elevate the visual quality of your recordings:
- Optimize Lighting: Prioritize well-lit environments to minimize graininess. When filming indoors, utilize additional lighting sources to enhance visibility and reduce the reliance on high ISO settings, which can introduce digital noise.
- Adjust ISO Sensitivity: Fine-tune the ISO settings based on the available light. Aim to strike a balance between adequate exposure and minimal graininess, adjusting the ISO sensitivity to suit the specific lighting conditions of each filming scenario.
- Utilize Larger Sensor Camcorders: Consider upgrading to a camcorder with a larger sensor size, as this can significantly improve low-light performance and reduce graininess, resulting in clearer and more detailed footage.
- Optimize Compression Settings: Explore the compression options available on your camcorder to minimize artifacts and preserve visual fidelity. Balancing file size with image quality is essential for mitigating graininess caused by suboptimal compression.
- Ensure Precise Focus: Prioritize accurate focus to maintain visual clarity and minimize graininess. Utilize manual focus when necessary, especially in challenging lighting conditions or when capturing intricate details.
- Stabilize Environmental Conditions: Minimize environmental interferences by controlling temperature, humidity, and lighting fluctuations. Stable filming environments contribute to consistent picture quality and reduce the risk of graininess.
By implementing these proactive strategies, you can effectively address grainy camcorder pictures and enhance the overall visual appeal of your recordings. These corrective measures empower you to optimize picture quality, ensuring that your captured moments are preserved with clarity and precision.
Conclusion
Graininess in camcorder pictures can detract from the visual appeal and overall quality of your recordings, potentially diminishing the impact of captured moments. By delving into the intricacies of graininess and its underlying causes, you’ve gained valuable insights into the multifaceted nature of this issue. Understanding the technical, environmental, and user-related factors contributing to grainy camcorder pictures equips you with the knowledge to proactively address and mitigate this common challenge.
From optimizing lighting and adjusting ISO sensitivity to considering camcorders with larger sensor sizes, the corrective measures outlined provide a comprehensive approach to rectifying graininess and elevating the visual clarity of your recordings. These actionable strategies empower you to take control of picture quality, ensuring that your captured moments are preserved with precision and detail.
As you navigate the realm of camcorder videography, applying these insights and corrective measures will enable you to capture and preserve moments with enhanced visual fidelity. By leveraging technical adjustments, environmental considerations, and strategic filming practices, you can transcend the limitations of graininess and deliver captivating, high-quality footage that truly resonates with viewers.
Ultimately, the journey to overcoming grainy camcorder pictures is a testament to your dedication to visual excellence and your commitment to preserving cherished memories with unparalleled clarity. Embracing these corrective measures positions you to harness the full potential of your camcorder, ensuring that every recording reflects the beauty and authenticity of the moments you capture.


