Introduction
So, you're ready to take your astrophotography to the next level by using a DSLR camera on your telescope. This exciting endeavor opens up a world of possibilities for capturing stunning images of celestial objects and phenomena. With the right equipment and techniques, you can delve into the awe-inspiring realm of deep sky imaging, planetary photography, and time-lapse videos of astronomical events.
Whether you're a seasoned astronomer or a passionate hobbyist, the combination of a DSLR camera and a telescope offers a powerful tool for exploring the cosmos through photography. This guide will walk you through the essential steps to successfully use your DSLR camera on a telescope, from selecting the right camera to capturing breathtaking images of the night sky.
By understanding the fundamentals of astrophotography and mastering the art of using a DSLR camera on a telescope, you'll be well-equipped to embark on a captivating journey of celestial discovery. Let's delve into the intricacies of this fascinating process and unlock the potential of your DSLR camera for capturing the wonders of the universe.
Choosing the Right DSLR Camera
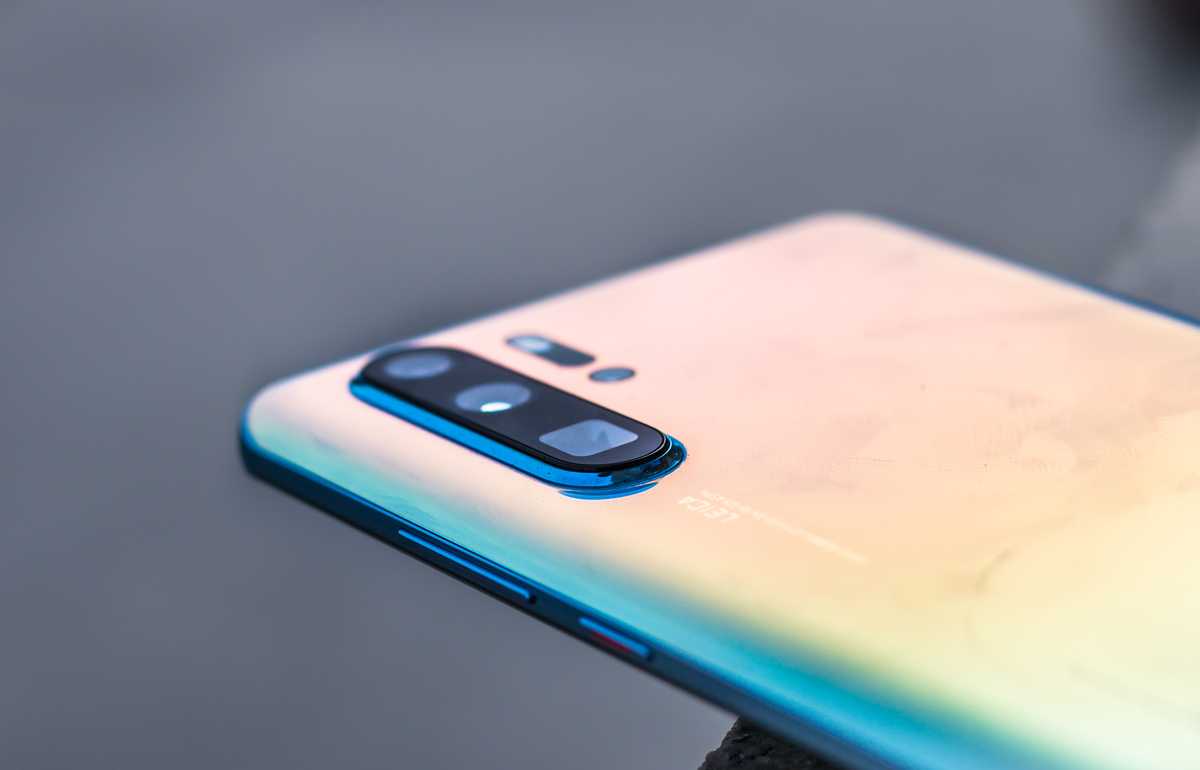
When venturing into astrophotography with a telescope, selecting the right DSLR camera is crucial for achieving exceptional results. The camera you choose should align with your specific astrophotography goals, budget, and compatibility with your telescope. Here are some key factors to consider when choosing a DSLR camera for astrophotography:
- Sensor Size: Opt for a camera with a larger sensor size, as this can enhance the camera’s sensitivity to light and improve image quality, especially when capturing faint celestial objects.
- Low Light Performance: Look for a DSLR camera known for its excellent low light performance, as this is essential for capturing clear and detailed images of stars, galaxies, and nebulae.
- Resolution: Consider the camera’s resolution, keeping in mind that higher resolution can provide finer details in your astrophotography images, but it may also result in larger file sizes.
- ISO Range: A wide ISO range is advantageous for astrophotography, enabling you to adjust the camera’s sensitivity to light and capture celestial objects in varying lighting conditions.
- Tethering Capabilities: Some DSLR cameras offer tethering capabilities, allowing you to control the camera remotely from a computer, which can be advantageous for long exposure astrophotography.
Furthermore, compatibility with your telescope is essential. Ensure that the DSLR camera you choose can be easily attached to your telescope using the appropriate adapters and T-rings. Additionally, consider the camera’s weight and balance when mounted on the telescope, as this can affect stability and tracking during long exposure photography.
Ultimately, the ideal DSLR camera for astrophotography is one that meets your specific imaging needs while offering the versatility and performance required to capture the splendors of the cosmos. By carefully evaluating these factors, you can make an informed decision and select a DSLR camera that will elevate your astrophotography pursuits to new heights.
Attaching the Camera to the Telescope
Once you have chosen the right DSLR camera for your astrophotography endeavors, the next step is to securely attach it to your telescope. Properly mounting the camera is essential for achieving stable and precise imaging, especially during long exposure photography. Here’s a step-by-step guide to attaching your DSLR camera to the telescope:
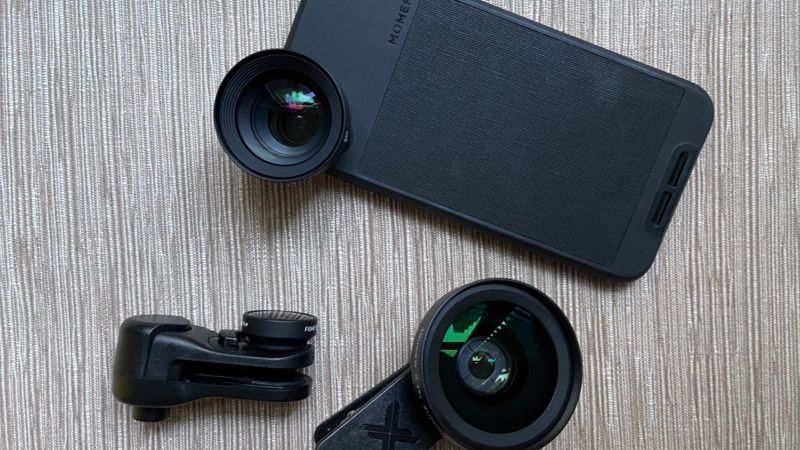
- Acquire the Necessary Adapters: Depending on your specific telescope and camera models, you may need to obtain T-adapters, T-rings, and other mounting accessories to connect the camera to the telescope’s focuser or eyepiece holder.
- Remove the Camera Lens: If you are using a DSLR camera with a detachable lens, remove the lens to expose the camera’s T-ring mount. This step is essential for attaching the camera directly to the telescope.
- Attach the T-Ring: Securely attach the T-ring to the camera’s T-ring mount, ensuring a snug fit. The T-ring serves as the interface between the camera and the telescope’s adapters.
- Connect the T-Adapter: Depending on the telescope’s design, connect the T-adapter to the T-ring, providing the necessary interface for attaching the camera to the telescope.
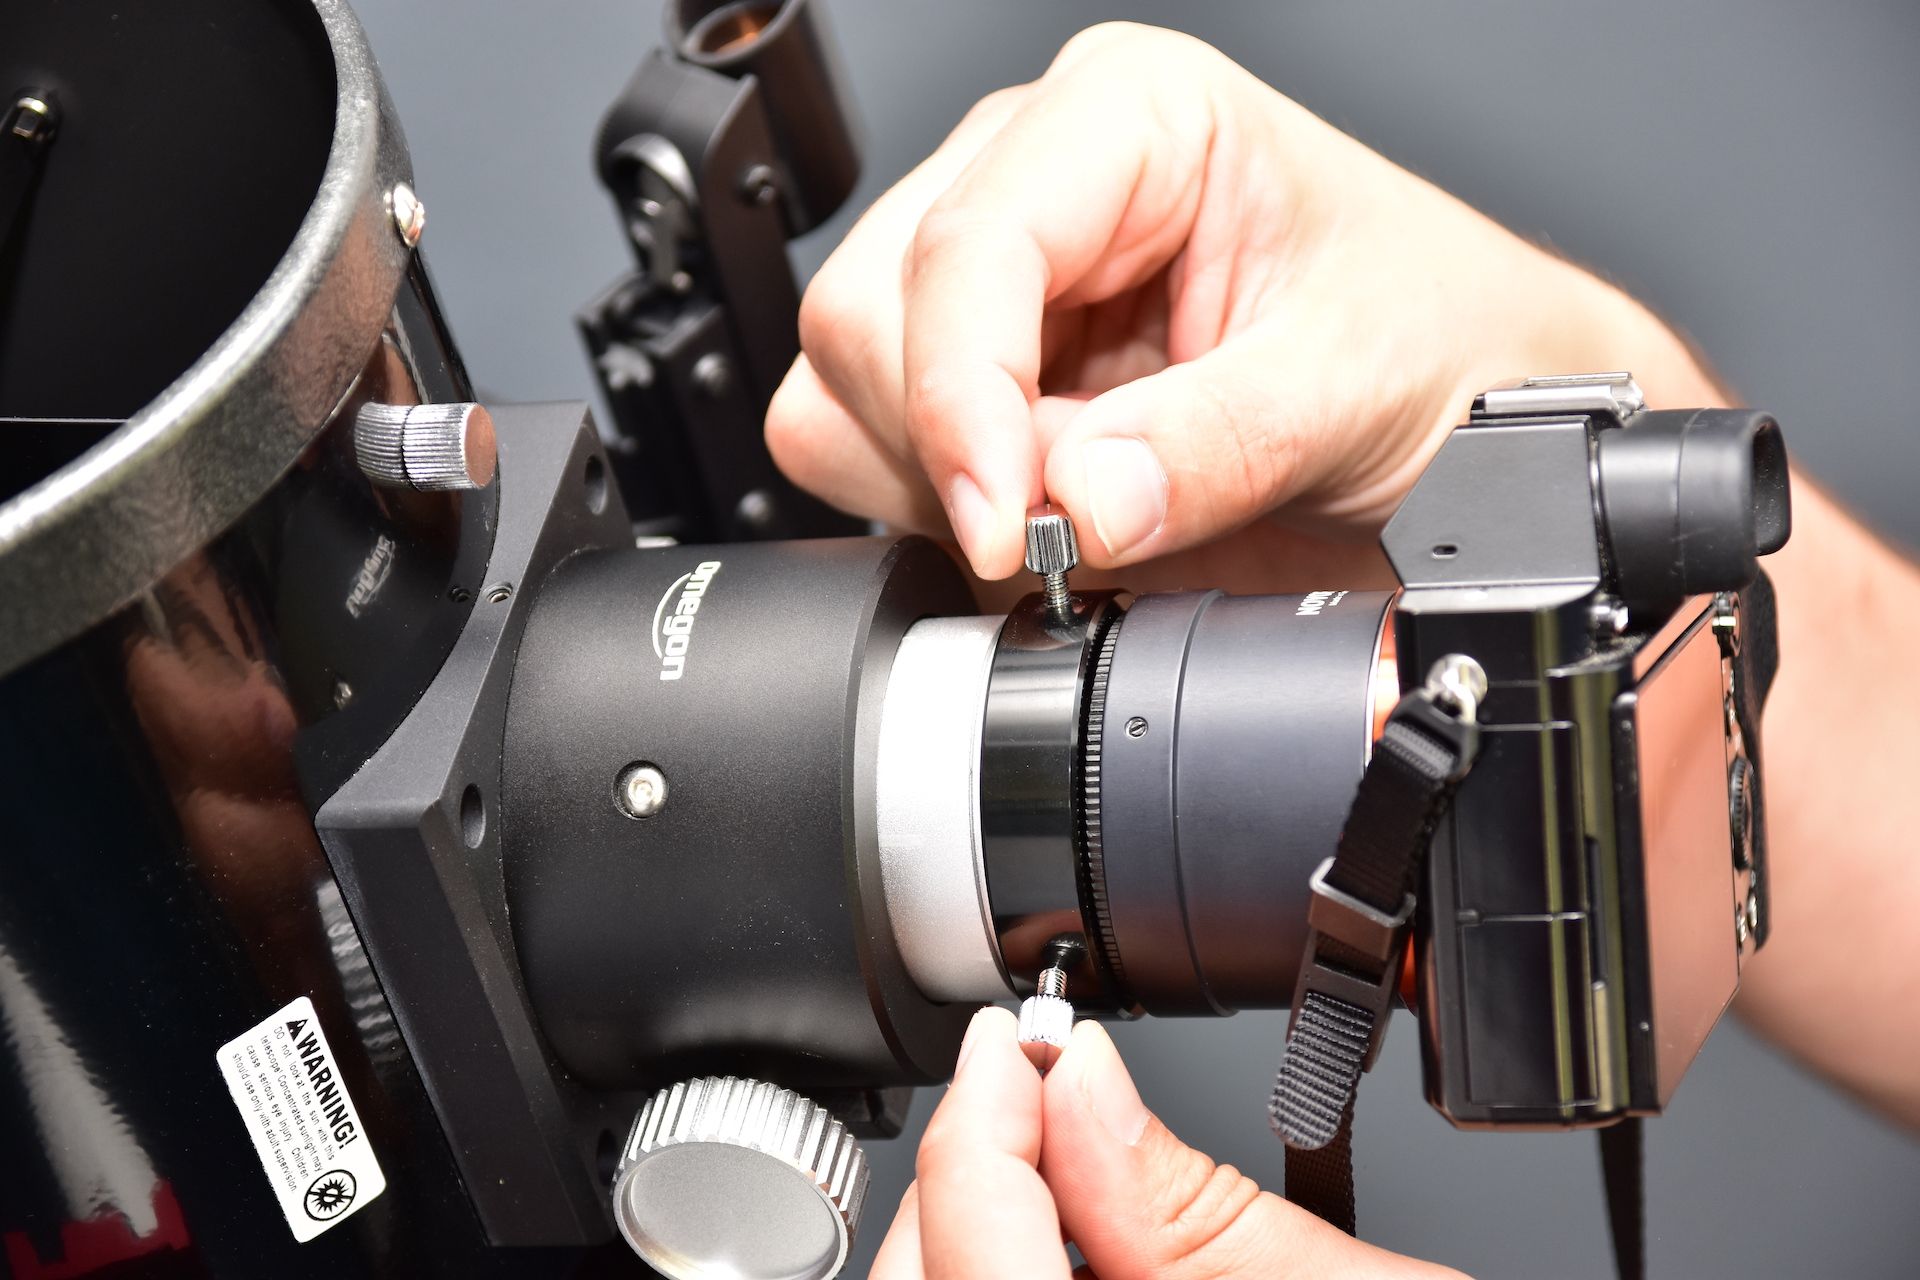
- Mount the Camera: Carefully mount the camera onto the telescope, aligning the T-adapter with the telescope’s focuser or eyepiece holder. Ensure that the connection is secure to prevent any movement or slippage during imaging sessions.
- Balance and Stability: Once the camera is attached, ensure that the telescope remains balanced and stable. Adjust any counterweights or mounting configurations to maintain stability during imaging and tracking.
It’s essential to follow the specific instructions provided by the telescope and camera manufacturers when attaching the DSLR camera to the telescope. Additionally, take care to avoid over-tightening the connections, as this can potentially damage the equipment. By securely and precisely attaching the camera to the telescope, you’ll be ready to embark on your astrophotography journey with confidence and precision.
Focusing and Framing
Once your DSLR camera is securely attached to the telescope, the next critical steps involve achieving proper focus and framing to capture stunning images of celestial objects. Precise focusing and thoughtful framing are essential for producing clear, detailed, and visually appealing astrophotography. Here’s how to master the art of focusing and framing when using a DSLR camera on a telescope:
- Live View Focusing: Many modern DSLR cameras offer a live view mode, allowing you to see a real-time image on the camera’s LCD screen. Utilize this feature to achieve precise manual focus on a bright star or celestial object. Adjust the telescope’s focus until the star appears as a sharp point of light, indicating optimal focus.
- Use a Bahtinov Mask: A Bahtinov mask is a valuable focusing aid for astrophotography. By placing the mask over the telescope’s objective or dew shield, you can create diffraction spikes around bright stars, making it easier to achieve precise focus by adjusting the telescope’s focus until the central spike is perfectly aligned.
- Framing the Shot: Consider the composition and framing of your astrophotography subjects. Use your camera’s live view or a dedicated framing tool to position and center celestial objects within the frame. Pay attention to the orientation and alignment of the objects to capture visually appealing and balanced images.
- Focus Stacking: For capturing intricate details of celestial objects, consider utilizing focus stacking techniques. This involves capturing multiple images at slightly different focus points and combining them in post-processing to create a final image with enhanced depth and sharpness.
It’s important to exercise patience and precision when focusing and framing your astrophotography subjects. Take the time to achieve optimal focus and carefully compose your shots to capture the beauty and intricacies of the cosmos. By mastering these essential steps, you’ll be well-prepared to capture breathtaking images of celestial wonders with your DSLR camera and telescope.
Adjusting Camera Settings
Optimizing your DSLR camera’s settings is crucial for achieving stunning astrophotography results when using it with a telescope. By carefully adjusting the camera’s parameters, you can capture the intricate details and nuances of celestial objects while minimizing noise and maximizing image quality. Here are the key camera settings to consider for astrophotography:
- ISO Sensitivity: In low-light conditions, such as astrophotography, using a higher ISO setting can enhance the camera’s sensitivity to light, allowing you to capture faint celestial objects. Experiment with different ISO values to find the optimal balance between sensitivity and noise levels.
- Exposure Time: For capturing dim celestial objects, longer exposure times are often necessary. Utilize the camera’s manual exposure mode to set longer shutter speeds, enabling the camera to collect more light during the exposure.
- Aperture Setting: Adjust the camera’s aperture to control the amount of light entering the lens. In astrophotography, using a wide aperture (low f-number) can help gather more light, especially when imaging faint deep-sky objects.
- White Balance: Consider setting a custom white balance to accurately capture the colors of celestial objects. Alternatively, shooting in RAW format allows for flexible white balance adjustments during post-processing.
- Noise Reduction: Enable long exposure noise reduction if available on your camera. This feature helps minimize digital noise in images captured during long exposures, enhancing overall image quality.
- File Format: Shooting in RAW format provides greater flexibility for post-processing and preserving image details. Alternatively, consider using RAW+JPEG for simultaneous capture of RAW files and JPEG previews.
Additionally, familiarize yourself with your camera’s specific astrophotography features, such as bulb mode for extended exposures, mirror lock-up to reduce vibrations, and interval shooting for time-lapse sequences. Experimenting with different camera settings and techniques will help you refine your astrophotography skills and adapt to varying celestial imaging scenarios.
By carefully adjusting your DSLR camera’s settings and leveraging its capabilities, you can capture the awe-inspiring beauty of the night sky with remarkable clarity and detail. These optimized settings, combined with the capabilities of your telescope, will empower you to embark on a captivating journey of astrophotography exploration.
Taking Photos and Videos
With your DSLR camera successfully attached to the telescope and the settings optimized for astrophotography, you are now ready to capture stunning images and videos of celestial wonders. Whether you’re aiming to photograph distant galaxies, intricate nebulae, or the mesmerizing dance of planets, understanding the techniques for capturing astrophotography is essential. Here’s how to effectively take photos and videos using your DSLR camera on a telescope:
- Remote Shutter Release: Utilize a remote shutter release or intervalometer to trigger the camera’s shutter without introducing vibrations. This is especially important for long exposure photography, where even the slightest movement can impact image sharpness.
- Long Exposure Imaging: Experiment with long exposure times to capture faint celestial objects and reveal intricate details. Utilize the camera’s bulb mode or manual exposure settings to control exposure durations, allowing for extended capture of light from distant astronomical subjects.
- Stacking and Processing: Consider employing image stacking techniques to enhance the quality of your astrophotography. This involves combining multiple exposures of the same subject to reduce noise and reveal finer details during post-processing.
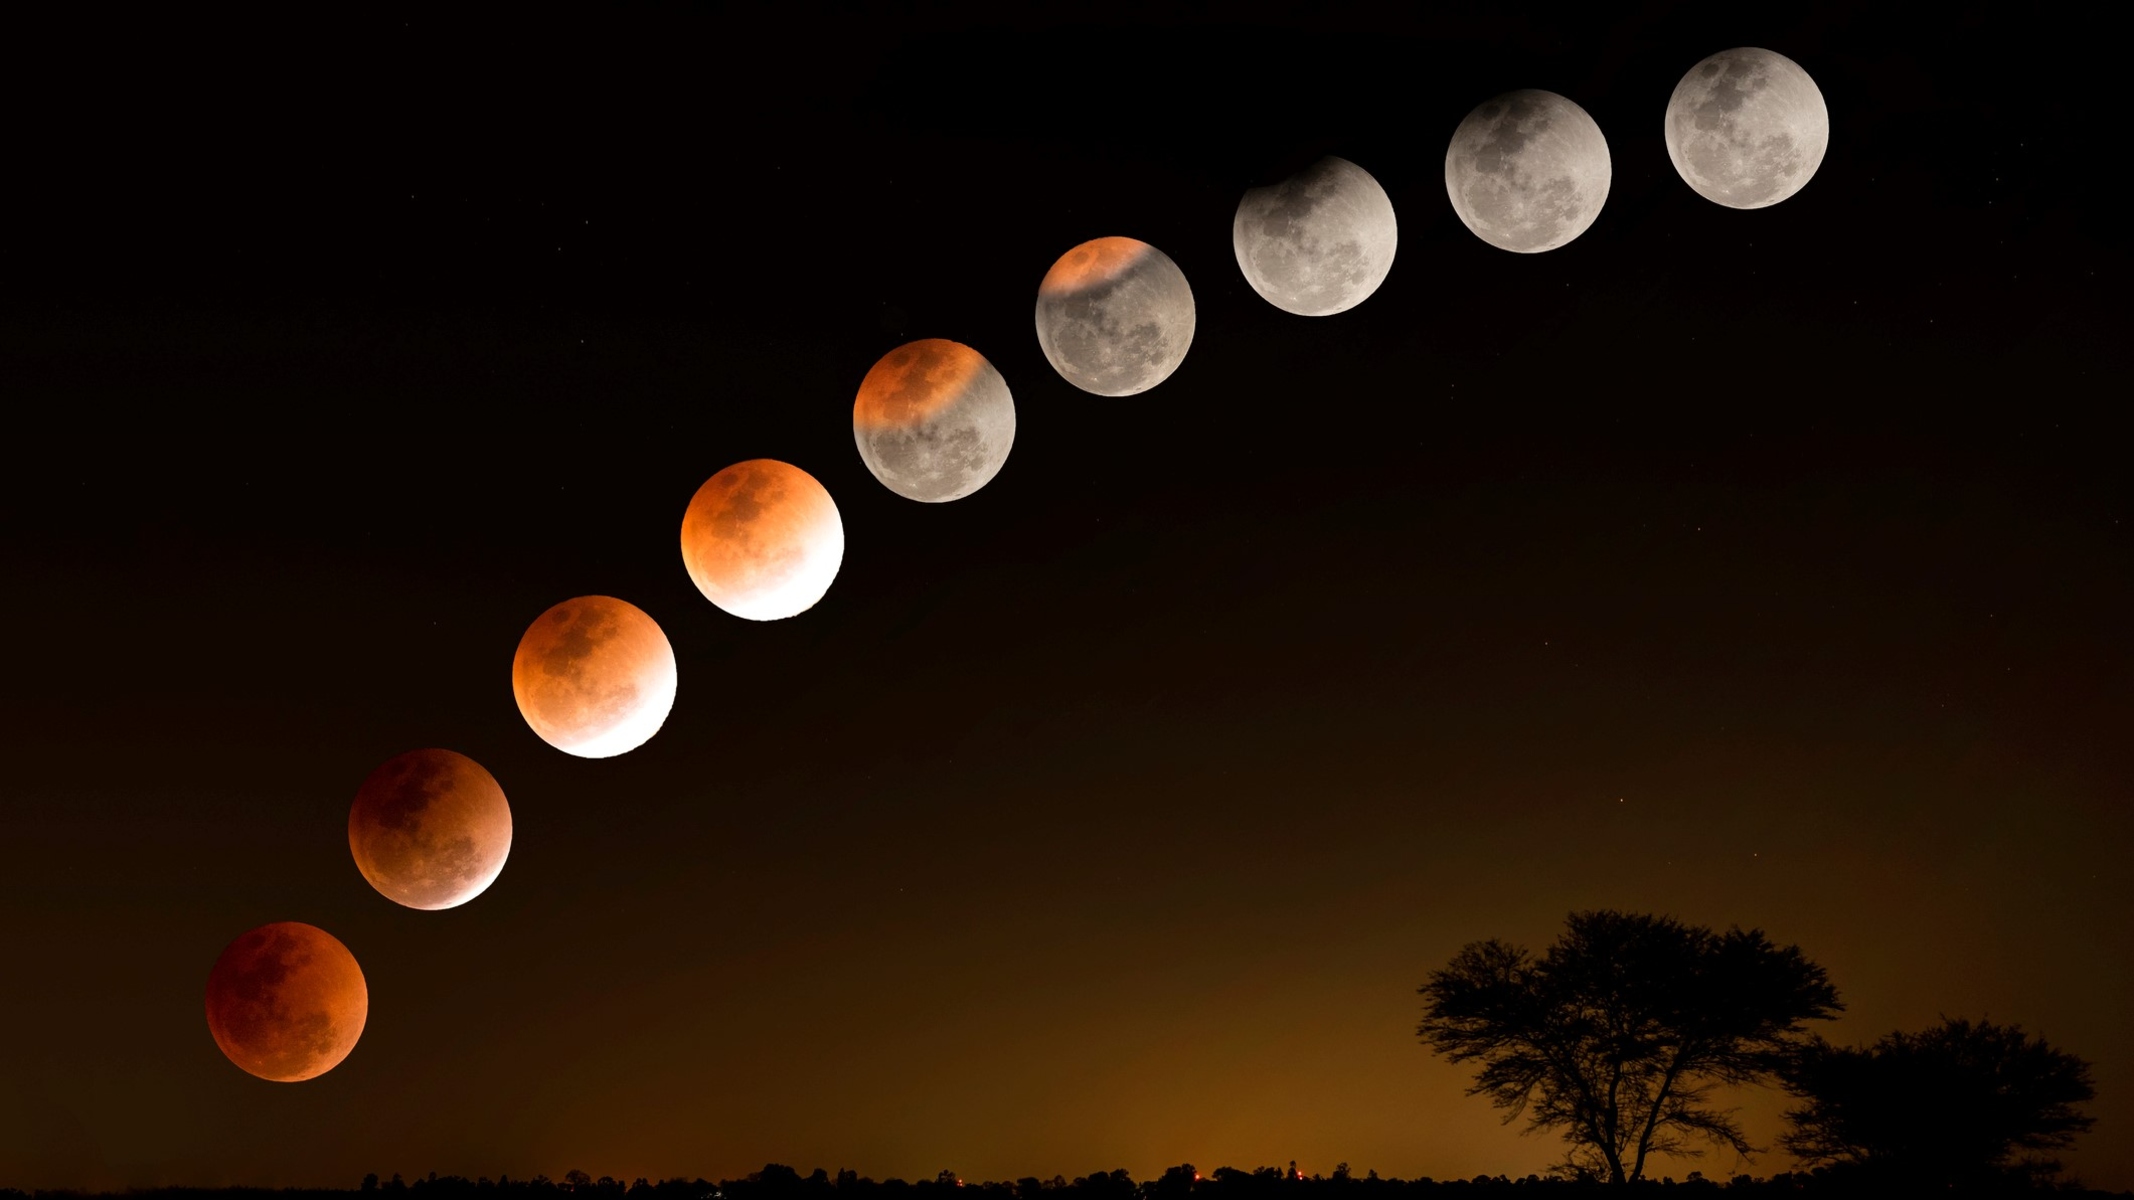
- Time-Lapse Photography: Capture the mesmerizing motion of celestial objects by utilizing your camera’s time-lapse capabilities. Create captivating sequences of astronomical events, such as the movement of stars across the night sky or the phases of the moon.
- Video Recording: Many DSLR cameras offer the ability to capture high-quality video footage. Explore the realm of astrophotography videography by recording celestial phenomena, planetary transits, or lunar phases with your camera attached to the telescope.
As you embark on your astrophotography journey, remember to exercise patience and persistence. The process of capturing awe-inspiring images of the cosmos often requires dedication and a willingness to adapt and refine your techniques. Embrace the art of astrophotography as a continuous learning experience, and allow yourself the opportunity to experiment with different imaging approaches and subjects.
By leveraging the capabilities of your DSLR camera and telescope, you can immerse yourself in the captivating realm of astrophotography, capturing the timeless beauty and wonder of the universe through the lens of your camera.
Tips for Better Astrophotography Results
Embarking on the journey of astrophotography with a DSLR camera and telescope opens the door to capturing the breathtaking beauty of the cosmos. To enhance your astrophotography results and elevate your imaging endeavors, consider the following tips and techniques:
- Dark Sky Locations: Seek out dark sky locations away from light pollution to capture clearer and more detailed astrophotography images. Remote areas with minimal light pollution offer optimal conditions for observing and photographing celestial objects.
- Polar Alignment: Ensure accurate polar alignment of your telescope mount to facilitate precise tracking of celestial objects. Proper alignment minimizes star trailing during long exposure imaging, resulting in sharper and more detailed photos.
- Guiding Systems: Consider utilizing autoguiding systems to enhance the tracking accuracy of your telescope mount. Autoguiders can help maintain precise alignment with celestial targets, especially during extended imaging sessions.
- Image Calibration: Implement image calibration techniques, including dark frame subtraction, flat fielding, and bias frames, to reduce noise and correct for optical imperfections in your astrophotography images.
- Planetary Imaging: When capturing images of planets, take advantage of moments of steady atmospheric conditions, often referred to as “seeing,” to achieve sharper and more detailed planetary photographs. Consider using planetary imaging cameras for dedicated planetary photography.
- Weather Monitoring: Stay informed about weather patterns and atmospheric conditions to plan astrophotography sessions during periods of clear, stable skies. Monitoring weather forecasts and astronomical seeing conditions can enhance the quality of your imaging sessions.
- Post-Processing: Explore the art of post-processing to refine and enhance your astrophotography images. Utilize specialized software for stacking, aligning, and adjusting images to reveal finer details and optimize the visual impact of your astronomical photographs.
Additionally, immerse yourself in the astrophotography community to exchange insights, learn from experienced practitioners, and stay updated on the latest advancements in imaging techniques and equipment. Embrace the continuous learning journey of astrophotography, and allow your passion for capturing the wonders of the universe to drive your exploration and experimentation.
By incorporating these tips and techniques into your astrophotography pursuits, you can elevate the quality of your images, expand your creative horizons, and immerse yourself in the awe-inspiring art of capturing the celestial wonders that grace the night sky.