Introduction
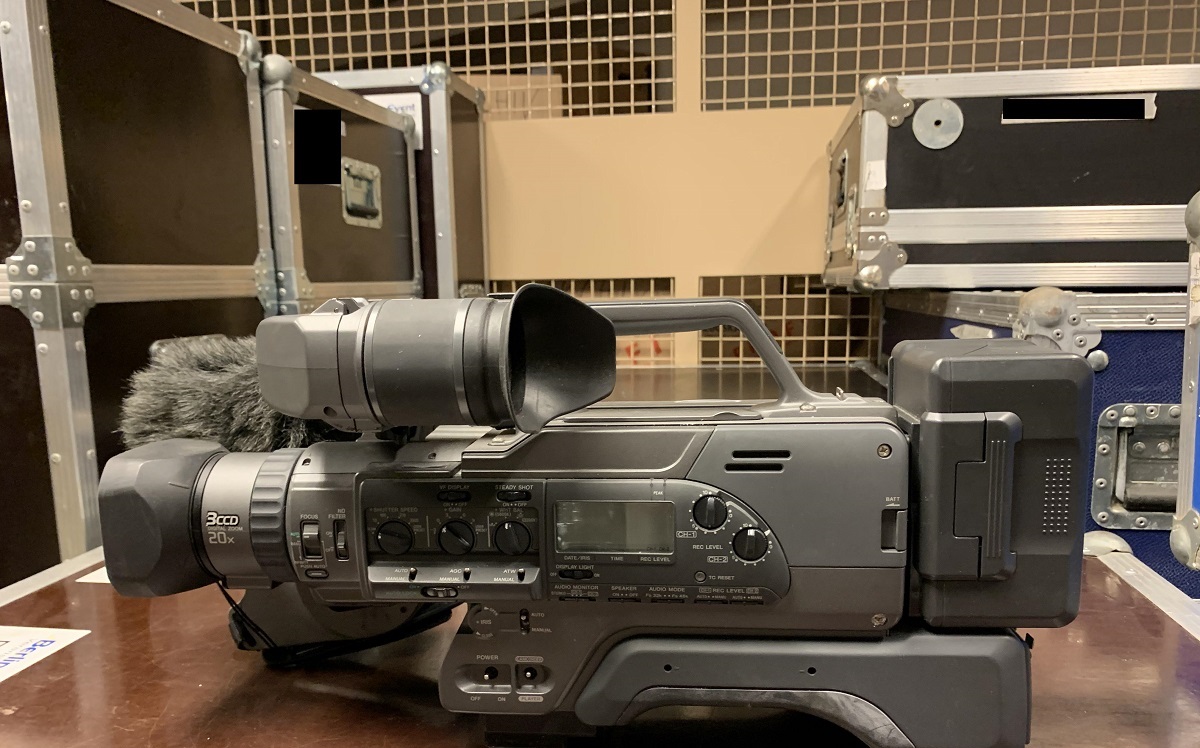
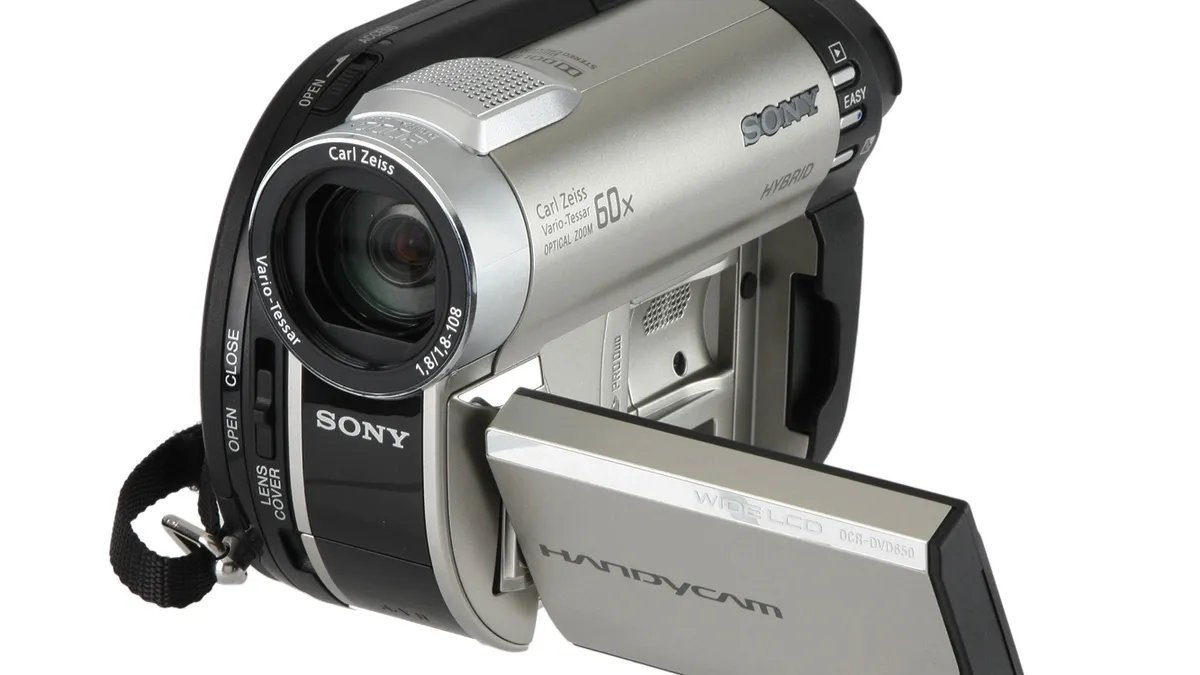
Are you eager to transfer your precious videos from your Sony camcorder to your PC? Whether you want to free up space on your camcorder, edit your videos, or simply store them on your computer, this step-by-step guide will walk you through the process with ease. By following these simple instructions, you can seamlessly transfer your videos and unleash your creativity through editing and sharing.
Transferring videos from your Sony camcorder to your PC opens up a world of possibilities. You can edit your footage using professional software, create captivating montages, and easily share your memories with friends and family. Additionally, storing your videos on your PC ensures that they are safely backed up, providing peace of mind in case anything happens to your camcorder.
In this comprehensive guide, you will learn how to connect your Sony camcorder to your PC, transfer your videos, and organize and edit your footage. Whether you are a novice or a seasoned videographer, this guide will equip you with the knowledge and skills needed to effortlessly manage your video files. Let's dive in and discover the straightforward steps to upload videos from your Sony camcorder to your PC.
Step 1: Connect Your Sony Camcorder to Your PC
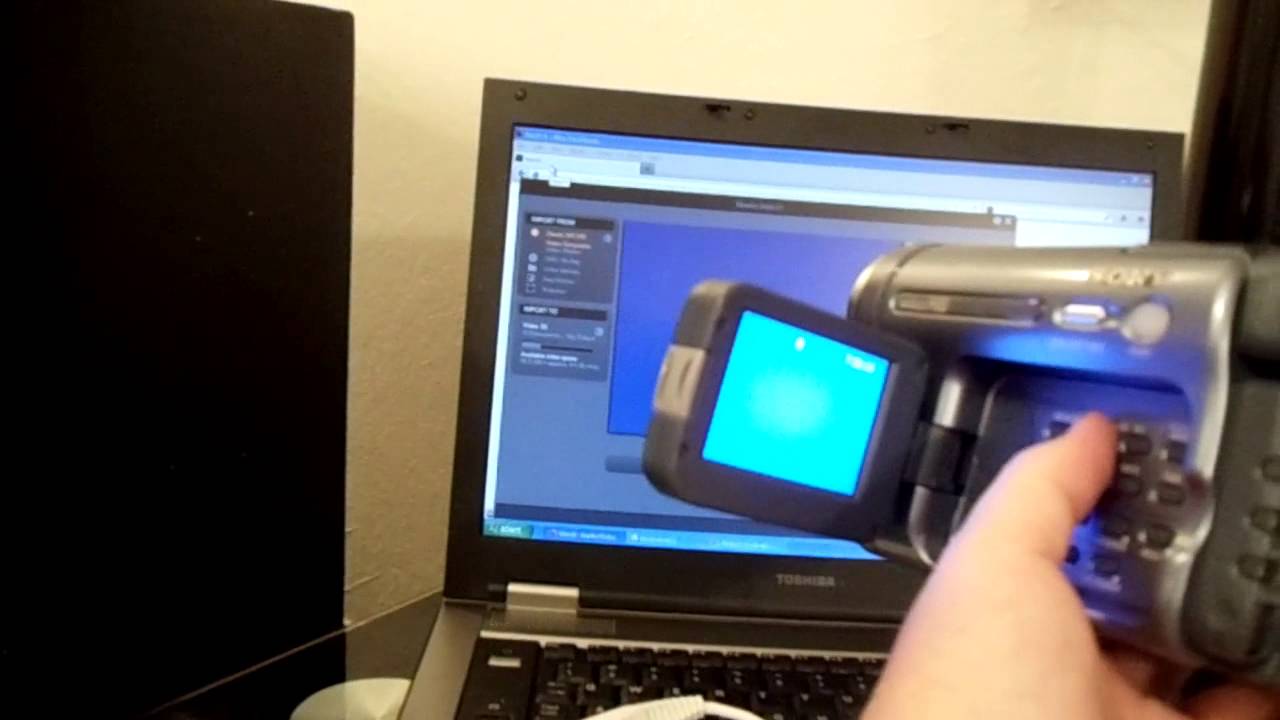
Before you can begin transferring videos from your Sony camcorder to your PC, you need to establish a physical connection between the two devices. Here’s how to do it:
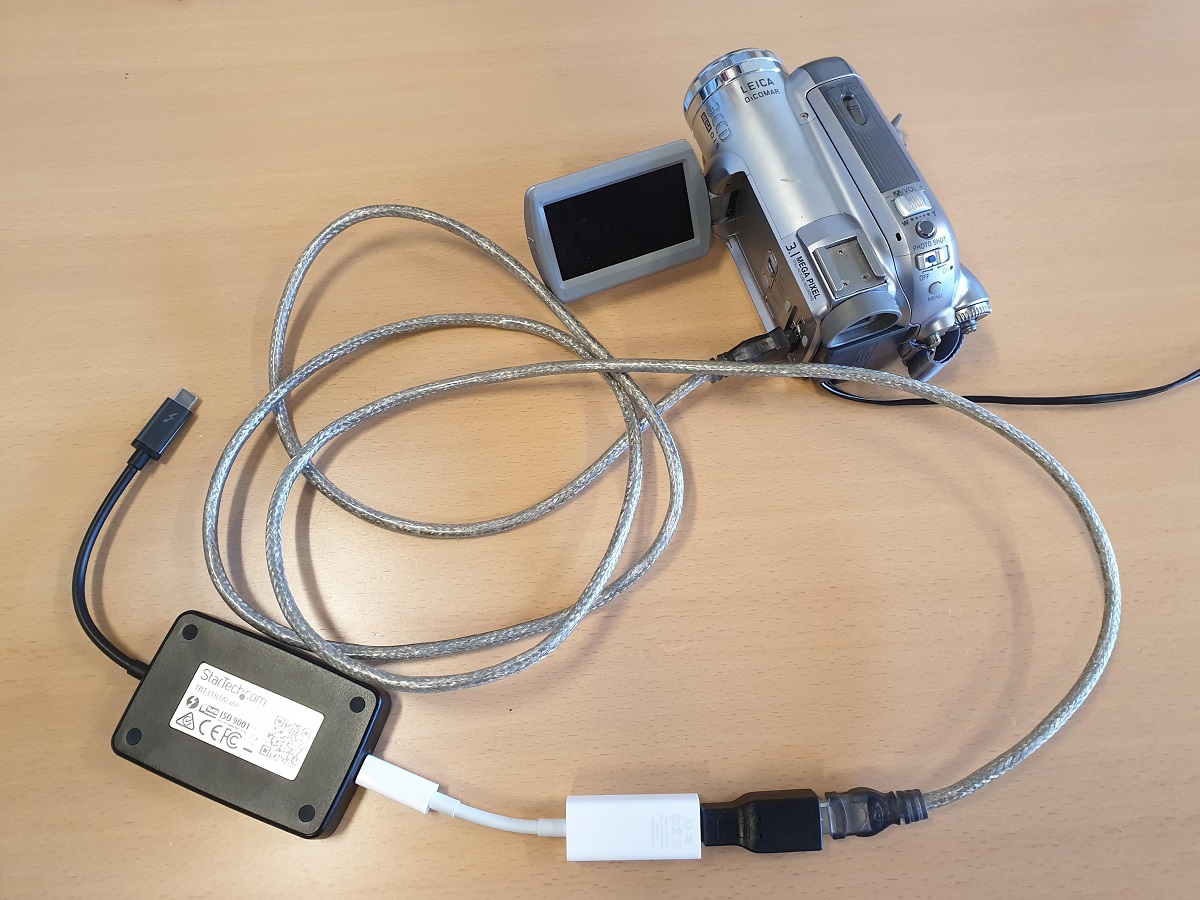
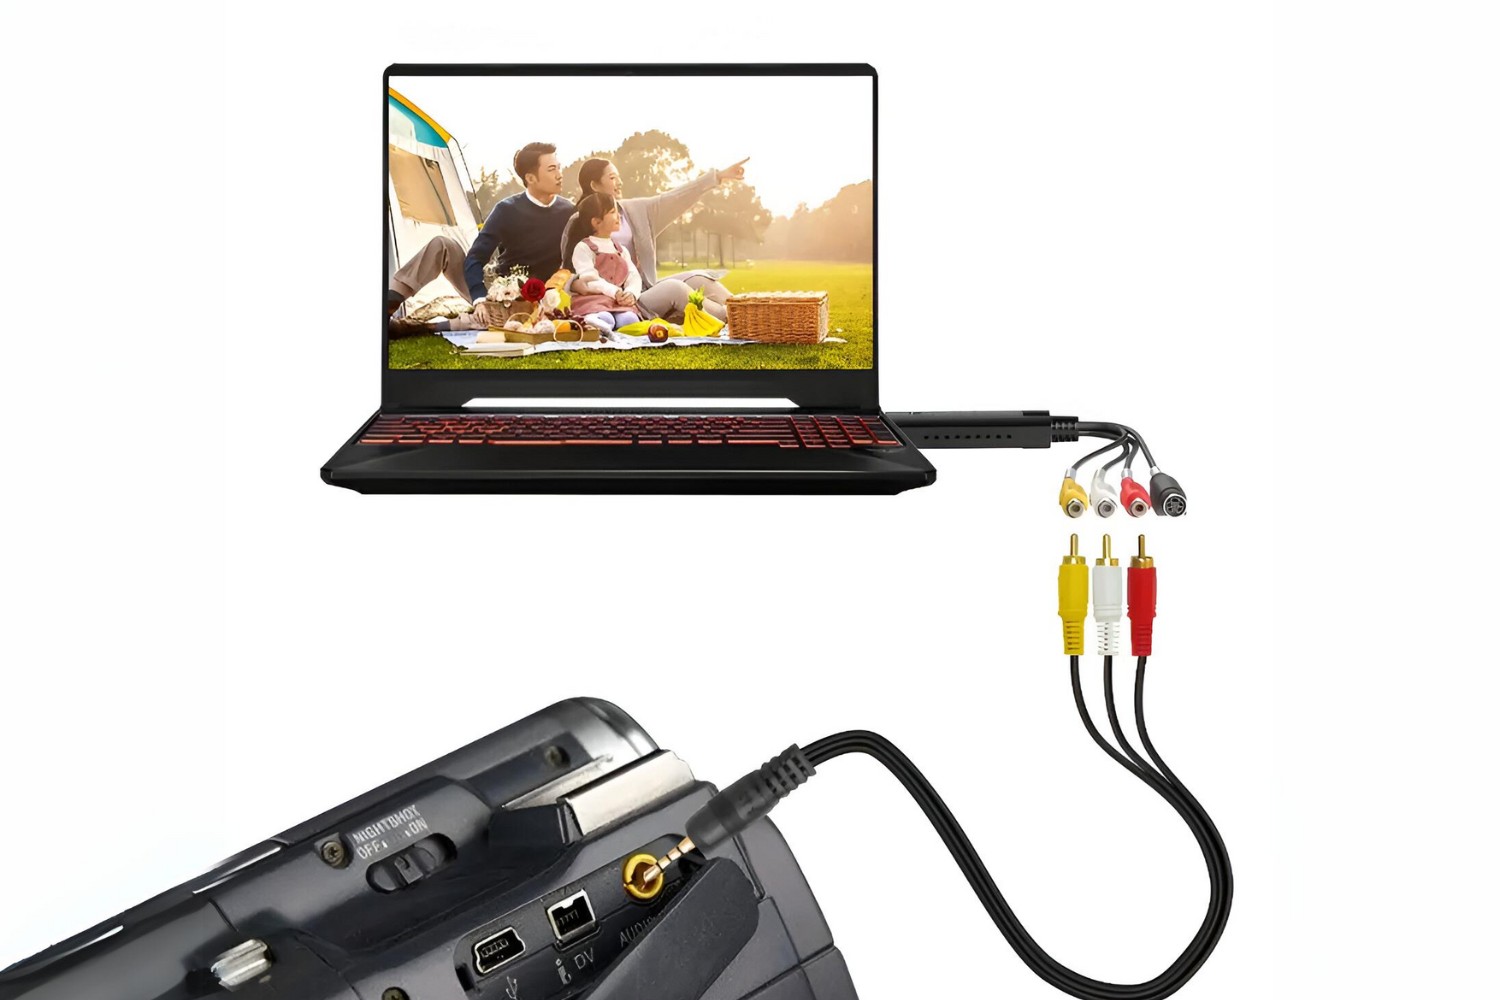
- Locate the USB Cable: Retrieve the USB cable that came with your Sony camcorder. This cable is essential for establishing a connection between your camcorder and your PC.
- Connect the Cable: With your camcorder powered off, connect one end of the USB cable to the appropriate port on your camcorder. The location of the port may vary depending on the model of your camcorder, so consult your user manual for specific instructions.
- Connect to Your PC: Once the USB cable is securely attached to your camcorder, connect the other end to an available USB port on your PC. Ensure that the connection is firm and secure to prevent any interruptions during the transfer process.
- Power On Your Camcorder: After the USB cable is connected, power on your Sony camcorder. Some camcorders may prompt you to select a USB transfer mode. Follow the on-screen instructions to proceed.
- Recognize the Connection: Your PC should recognize the connected camcorder and may prompt you with options for how to handle the device. If prompted, select the appropriate action to access the files on your camcorder.
By following these straightforward steps, you can establish a direct connection between your Sony camcorder and your PC, laying the groundwork for the seamless transfer of your valuable videos. With the physical connection in place, you are now ready to move on to the next step in the process: transferring your videos to your PC.
Step 2: Transfer Videos to Your PC
Now that you have successfully connected your Sony camcorder to your PC, it’s time to transfer your videos to your computer. Follow these steps to initiate the transfer process:
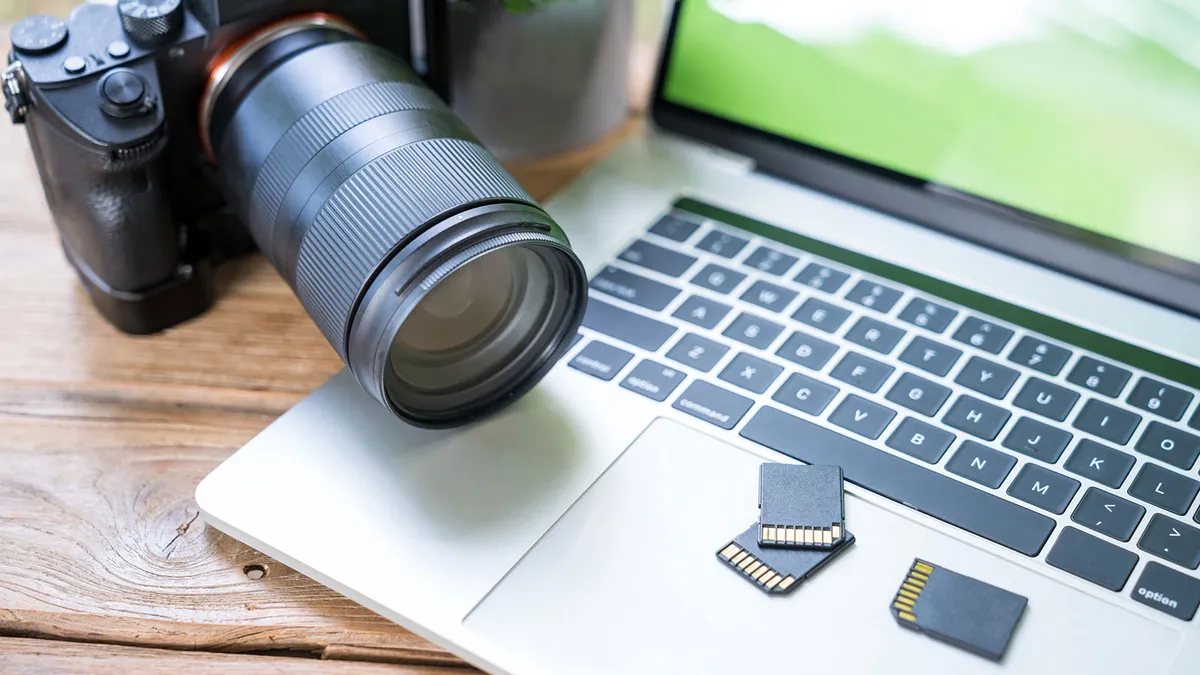
- Access Your Camcorder’s Storage: Once your camcorder is connected to your PC, navigate to the storage of your camcorder using the file explorer on your computer. You should be able to locate your camcorder as a removable storage device.
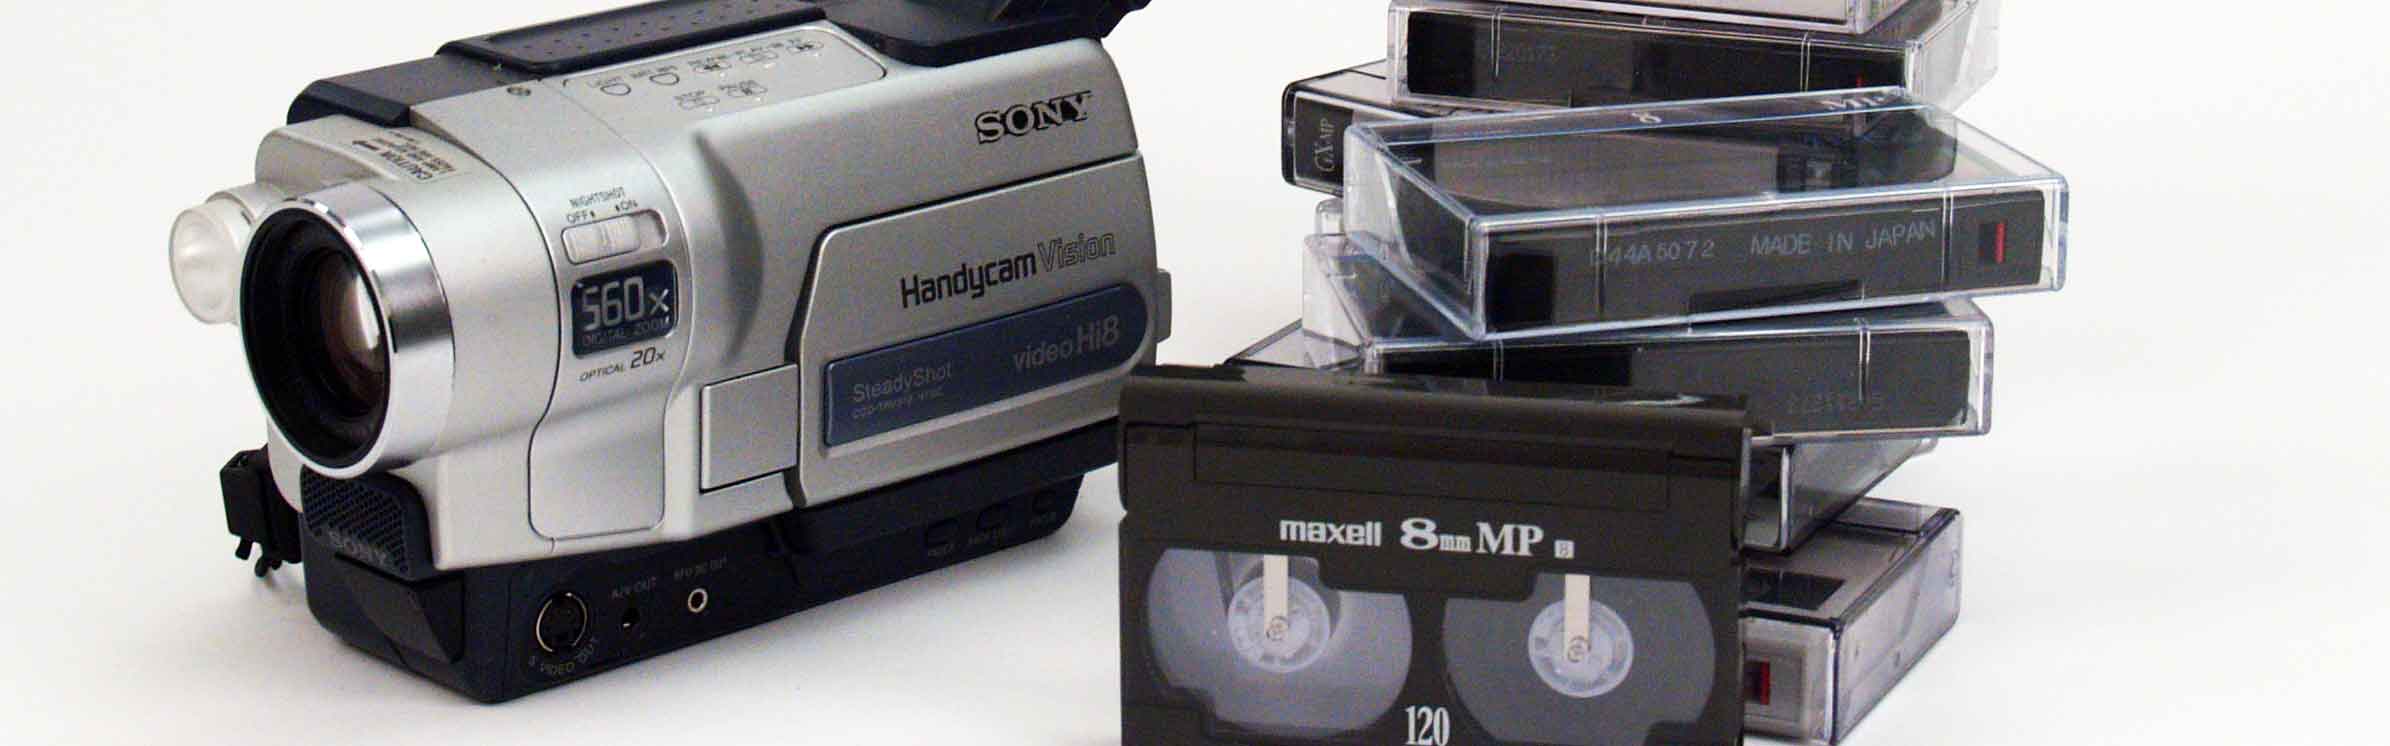
- Select the Videos: Within your camcorder’s storage, locate the folder or directory where your videos are stored. This may vary depending on how your camcorder organizes files. Once you have located your videos, select the ones you wish to transfer to your PC.
- Copy or Cut the Videos: After selecting your desired videos, you can either copy or cut them from your camcorder’s storage. If you choose to copy, the original videos will remain on your camcorder, while cutting will remove them after pasting on your PC.
- Paste the Videos on Your PC: Navigate to the destination folder on your PC where you want to store your videos. This could be a specific folder for your camcorder videos or any location of your choice. Once there, paste the videos into the desired location on your PC.
- Monitor the Transfer: Depending on the size of the videos and the speed of your USB connection, the transfer process may take some time. Monitor the progress to ensure that all selected videos are successfully transferred to your PC.
By following these steps, you can effortlessly transfer your videos from your Sony camcorder to your PC, allowing you to access, edit, and share your footage with ease. With the transfer process complete, you are now ready to organize and edit your videos on your PC, unlocking the full potential of your captured memories.
Step 3: Organize and Edit Your Videos
With your videos successfully transferred to your PC, it’s time to organize and edit your footage to bring your creative vision to life. Follow these essential steps to manage and enhance your videos:
- Create Folders for Organization: Start by creating dedicated folders on your PC to categorize and organize your videos. You may choose to create folders based on dates, events, or any other classification that suits your needs. This organizational step will make it easier to locate and work with your videos in the future.
- Choose Editing Software: Select a video editing software that suits your skill level and desired features. There are numerous options available, ranging from user-friendly programs for beginners to professional suites for advanced editing. Install the software on your PC and become familiar with its interface and tools.
- Import Your Videos: Open your chosen video editing software and import the videos you transferred from your Sony camcorder. This step may vary depending on the software, but it typically involves locating and selecting the videos from your PC’s storage.
- Explore Editing Tools: Familiarize yourself with the editing tools available in your software. These may include trimming, transitions, effects, and audio adjustments. Experiment with different tools to enhance the visual and auditory aspects of your videos.
- Arrange and Edit Footage: Arrange your video clips in the desired sequence to craft a compelling narrative. Utilize the editing tools to trim unnecessary footage, add transitions between scenes, and incorporate effects to elevate the visual appeal of your videos.
- Add Audio and Effects: Enhance your videos by adding background music, sound effects, or voiceovers to complement the visuals. Audio plays a crucial role in engaging the audience and setting the tone for your videos.
- Preview and Fine-Tune: Preview your edited videos to ensure that the pacing, visuals, and audio elements align with your creative vision. Make any necessary adjustments to achieve the desired impact.
- Save and Export: Once you are satisfied with the edits, save your project and export the final video file. Choose the appropriate settings for resolution, format, and quality based on your intended use, whether it’s sharing online, archiving, or further editing.
By following these steps, you can effectively organize and edit your videos on your PC, transforming raw footage into captivating visual stories. Whether you’re creating a family montage, a travel vlog, or a professional project, the ability to organize and edit your videos opens up a world of creative possibilities.