Introduction
Recording video with a DSLR camera connected to a laptop offers a versatile and high-quality solution for capturing professional footage. Whether you’re a vlogger, filmmaker, or content creator, this setup provides greater control over your video recording process and allows for real-time monitoring and adjustments. In this guide, we will explore the essential steps and considerations for successfully recording video with a DSLR camera connected to a laptop. By following these instructions, you can elevate the quality of your video content and unlock the full potential of your DSLR camera.
From choosing the right camera and laptop to configuring settings and using recording software, each step plays a crucial role in achieving optimal results. Additionally, we will provide valuable tips to ensure a seamless and successful video recording experience. So, whether you’re embarking on a new video project or looking to enhance your video production setup, this guide will equip you with the knowledge and skills to harness the power of your DSLR camera in conjunction with your laptop.
Let’s delve into the intricacies of this process, empowering you to unleash your creativity and produce captivating video content with confidence and precision.
Choosing the Right Camera and Laptop
Before embarking on the process of recording video with a DSLR camera connected to a laptop, it’s crucial to select the appropriate equipment to meet your specific needs. The compatibility and capabilities of your camera and laptop are pivotal factors that can significantly impact the quality and efficiency of your video recording setup.
Choosing the DSLR Camera:
- Consider the camera’s video recording capabilities, such as resolution, frame rate, and autofocus performance. Look for a DSLR camera with high-definition video recording capabilities, preferably with 1080p or 4K resolution, for crisp and detailed footage.
- Assess the camera’s connectivity options. Ensure that the DSLR camera has an HDMI or USB output, as these are essential for connecting the camera to your laptop for live video capture.
- Evaluate the compatibility of the camera with external accessories and lenses, as these can enhance the versatility and visual appeal of your video recordings.
Choosing the Laptop:
- Opt for a laptop with robust processing power and sufficient RAM to handle real-time video capture and processing. A multi-core processor and ample RAM are essential for seamless video streaming and recording.
- Check for the availability of high-speed ports, such as USB 3.0 or Thunderbolt, to ensure fast and reliable connections with your DSLR camera.
- Consider the display quality and size of the laptop, as a clear and sizable screen facilitates effective monitoring and adjustment of video settings during recording.
By carefully selecting a DSLR camera and laptop that complement each other in terms of performance, connectivity, and compatibility, you can lay a solid foundation for a successful video recording setup. These considerations will influence the overall quality and flexibility of your video production workflow, enabling you to unleash the full potential of your DSLR camera when connected to your laptop.
Setting Up Your DSLR Camera
Once you have chosen the right DSLR camera for your video recording needs, the next crucial step is to set up the camera for seamless integration with your laptop. Properly configuring your DSLR camera ensures that it can effectively communicate with your laptop and facilitates smooth video capture and monitoring. Here’s a step-by-step guide to setting up your DSLR camera for video recording:
Mounting the Camera:
- Securely mount the DSLR camera on a stable tripod or any suitable mounting apparatus to ensure steady and shake-free footage during recording.
- Position the camera at the desired angle and height to frame your subject or scene effectively, considering the composition and visual elements you aim to capture.
Power and Connectivity:
- Ensure that the camera is powered using a reliable power source, such as an AC adapter or fully charged battery, to avoid interruptions during recording sessions.
- Connect the camera to your laptop using the appropriate cable, whether it’s an HDMI cable for video output or a USB cable for data transmission, based on the camera’s connectivity options.
Adjusting Camera Settings:
- Access the camera’s menu and navigate to the video settings. Configure the video resolution, frame rate, and other parameters based on your recording preferences and the capabilities of your camera.
- Set the focus mode to suit your recording scenario, whether it’s manual focus for precise control or autofocus for dynamic subjects or movements.
- Adjust the exposure settings, white balance, and audio input levels to optimize the visual and audio quality of your recordings.
By meticulously setting up your DSLR camera in accordance with these guidelines, you can establish a solid foundation for seamless integration with your laptop and ensure that your video recording process is efficient and effective. With the camera primed for optimal performance, you are ready to proceed to the next crucial stage of connecting your DSLR camera to your laptop for live video capture and monitoring.
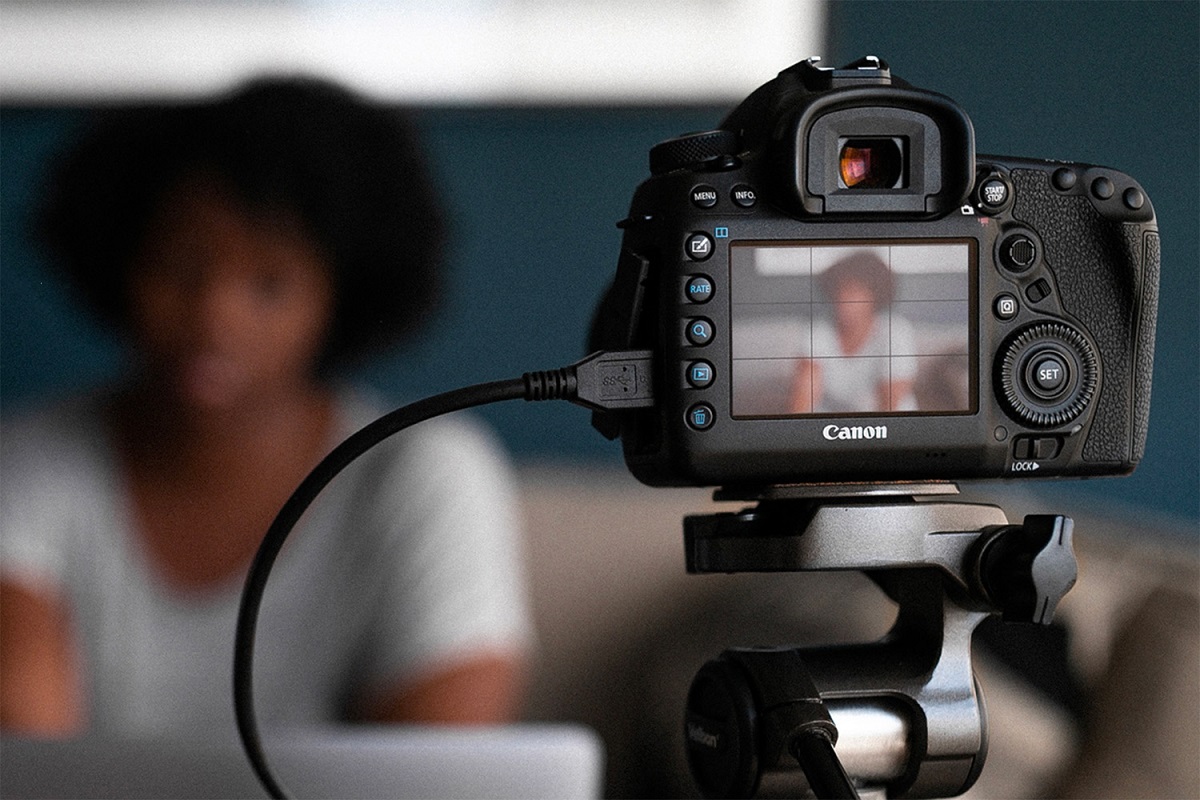
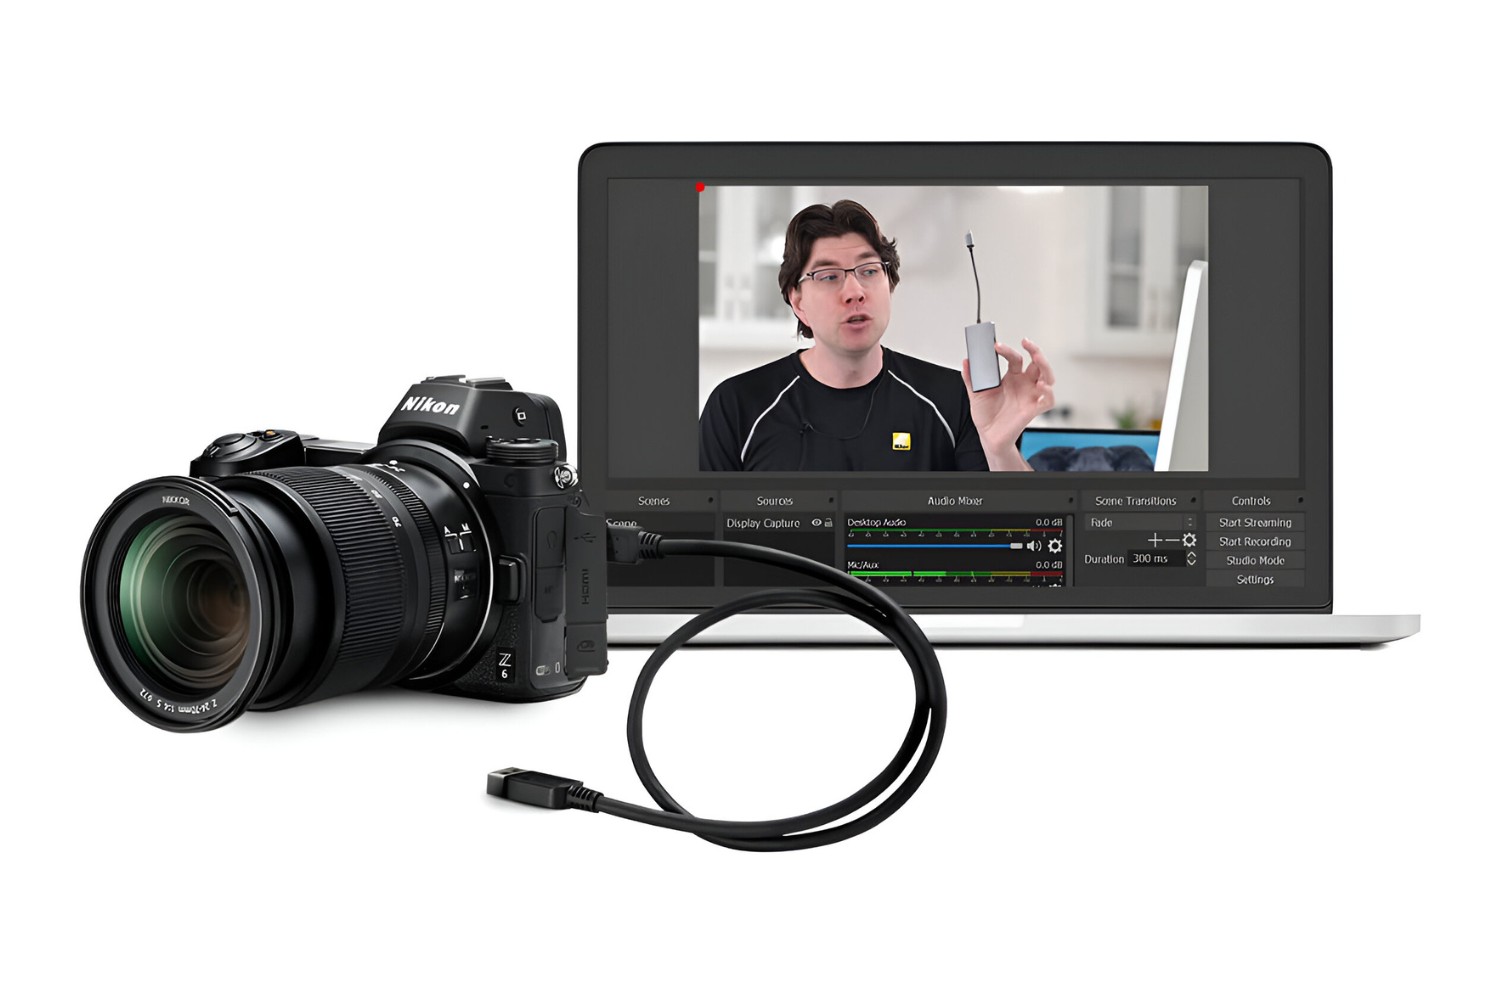
Connecting Your DSLR Camera to Your Laptop
Establishing a reliable connection between your DSLR camera and your laptop is a pivotal step in enabling live video capture and monitoring. This seamless connection allows you to harness the capabilities of your DSLR camera while leveraging the processing power and display of your laptop for real-time video recording. Here’s a comprehensive guide to connecting your DSLR camera to your laptop:
Identifying the Connection Port:
- Locate the appropriate output port on your DSLR camera, typically an HDMI or USB port, depending on the camera model and connectivity options available.
- Inspect your laptop for the corresponding input port, ensuring that it supports the connection type required by your DSLR camera, such as HDMI or USB.
Using an HDMI Connection:
- If your DSLR camera features an HDMI output, connect one end of the HDMI cable to the camera’s HDMI port and the other end to the HDMI input port on your laptop.
- Ensure that your laptop recognizes the connected camera as a video input source, and configure the display settings to extend or duplicate the screen to facilitate real-time video monitoring.
Utilizing a USB Connection:
- If your DSLR camera utilizes a USB output for video streaming, connect the camera to your laptop using a compatible USB cable, ensuring a secure and stable connection.
- Install any necessary drivers or software provided by the camera manufacturer to enable the laptop to recognize the connected DSLR camera as a video input device.
Configuring Audio and Video Settings:
- Adjust the audio input settings on your laptop to capture sound from the DSLR camera’s built-in microphone or an external audio source, if applicable.
- Verify that the video capture software on your laptop recognizes the connected DSLR camera and allows for real-time video monitoring and recording.
By establishing a secure and functional connection between your DSLR camera and your laptop, you create the foundation for a synchronized and efficient video recording setup. This integration enables you to leverage the advanced features of your DSLR camera while harnessing the processing power and display capabilities of your laptop, paving the way for a seamless and productive video recording experience.
Configuring Camera Settings
Configuring the settings of your DSLR camera is a critical aspect of preparing for a successful video recording session. By optimizing the camera settings, you can tailor the visual and technical parameters to align with your recording requirements and creative vision. Here’s a comprehensive overview of the essential camera settings to consider when recording video with a DSLR camera connected to a laptop:
Resolution and Frame Rate:
- Select the appropriate video resolution, such as 1080p or 4K, based on your desired level of detail and visual clarity. Higher resolutions offer greater sharpness and detail, but may require more processing power and storage space.
- Choose the optimal frame rate for your video, considering factors such as motion smoothness and compatibility with editing and playback systems. Common frame rates include 24fps for a cinematic look and 30fps for standard video playback.
Exposure and White Balance:
- Adjust the exposure settings to control the amount of light entering the camera, ensuring that your video is neither overexposed (too bright) nor underexposed (too dark).
- Set the white balance to accurately represent the true colors of your scene, compensating for different lighting conditions such as daylight, indoor lighting, or mixed lighting environments.
Focusing and Depth of Field:
- Determine the focusing mode based on your subject and scene, choosing between manual focus for precise control and autofocus for dynamic or rapidly changing subjects.
- Consider the depth of field, which determines the range of distance over which objects in your scene appear sharp and in focus, and adjust the aperture settings accordingly.
Audio Input and Levels:
- If your DSLR camera features built-in or external microphone options, configure the audio input settings to capture clear and balanced sound during video recording.
- Adjust the audio input levels to prevent distortion or low volume issues, ensuring that the audio quality complements the visual aspects of your video content.
By meticulously configuring these camera settings, you can optimize the visual and technical parameters to align with your recording requirements and creative vision. This meticulous preparation sets the stage for a seamless and productive video recording experience, empowering you to capture compelling footage with precision and artistry.
Using Recording Software
Utilizing dedicated recording software on your laptop is instrumental in facilitating live video capture, monitoring, and adjustment when using a DSLR camera for video recording. These software applications offer a range of features that enhance the recording process, providing real-time control over camera settings, visual monitoring, and audio management. Here’s a comprehensive guide to using recording software in conjunction with your DSLR camera:
Choosing the Right Software:
- Explore the available recording software options compatible with your operating system and DSLR camera model. Look for software that offers intuitive user interfaces, comprehensive camera control, and reliable performance for live video capture.
- Consider additional features such as live preview, histogram displays, audio level monitoring, and the ability to adjust exposure, focus, and white balance settings directly from the software interface.
Connecting and Configuring the Software:
- Install the selected recording software on your laptop, following the manufacturer’s instructions and system requirements to ensure smooth installation and functionality.
- Connect your DSLR camera to the laptop and launch the recording software, allowing the software to recognize and establish a connection with the connected camera for live video capture.
Camera Control and Monitoring:
- Utilize the recording software to adjust essential camera settings in real time, such as exposure, focus, white balance, and audio levels, enabling precise control over the visual and audio aspects of your video recordings.
- Monitor the live video feed from your DSLR camera within the software interface, ensuring that the composition, framing, and visual elements meet your recording objectives and creative vision.
Recording and File Management:
- Initiate the video recording process directly from the recording software, capturing high-quality footage with the flexibility to pause, resume, and stop recording as needed.
- Manage and organize recorded video files within the software, facilitating seamless post-production workflows and efficient file transfer for further editing and distribution.
By leveraging the capabilities of recording software in tandem with your DSLR camera and laptop, you gain the ability to manage and control the entire video recording process with precision and efficiency. These software tools empower you to capture, monitor, and adjust video content in real time, elevating the quality and professionalism of your video productions.
Tips for a Successful Video Recording
Embarking on a video recording endeavor with a DSLR camera connected to a laptop presents exciting opportunities to capture compelling visual content. To ensure a seamless and successful recording experience, consider implementing the following tips and best practices:
Plan Your Shots and Composition:
- Prioritize thoughtful shot planning and composition to effectively convey your narrative or message. Consider framing, camera angles, and visual elements that enhance the storytelling aspect of your video content.
- Utilize the rule of thirds and leading lines to create visually engaging compositions that draw the viewer’s attention to key elements within the frame.
Optimize Lighting and Audio:
- Pay careful attention to lighting conditions, aiming for well-lit and visually appealing environments. Use natural light or artificial lighting sources to enhance the clarity and visual impact of your video recordings.
- Ensure clear and balanced audio by minimizing background noise, utilizing external microphones when necessary, and monitoring audio levels throughout the recording process.
Practice Smooth Camera Movements:
- Employ smooth and controlled camera movements, such as panning and tilting, to add cinematic dynamism to your video footage. Avoid abrupt or shaky movements that can detract from the viewing experience.
- Consider the use of stabilizing equipment, such as gimbals or sliders, to achieve steady and fluid camera motions for professional-looking results.
Engage Your Audience:
- Establish a connection with your audience by maintaining engaging and dynamic content. Incorporate storytelling elements, captivating visuals, and compelling narratives to captivate and retain viewer interest.
- Encourage interaction and feedback from your audience, fostering a sense of community and participation in your video content.
Review and Refine Your Recording Setup:
- Conduct test recordings and monitor the output to fine-tune camera settings, audio levels, and visual composition before engaging in full-scale video production.
- Regularly assess and optimize your recording setup, incorporating feedback and lessons learned from previous recording sessions to enhance the overall quality of your video content.
By implementing these tips, you can elevate the quality and impact of your video recordings, creating visually stunning and engaging content that resonates with your audience. These best practices, combined with the capabilities of your DSLR camera and laptop setup, position you to achieve exceptional results in your video production endeavors.
Conclusion
Recording video with a DSLR camera connected to a laptop opens up a world of creative possibilities, empowering you to capture high-quality footage with precision and control. By carefully choosing compatible equipment, setting up your DSLR camera, establishing a seamless connection with your laptop, and leveraging recording software, you can embark on a journey of producing compelling visual content.
Configuring the camera settings to optimize resolution, frame rate, exposure, and audio input levels is pivotal in ensuring the quality and visual appeal of your video recordings. Additionally, implementing best practices such as thoughtful shot planning, effective lighting, smooth camera movements, and audience engagement contributes to the overall success of your video production endeavors.
As you refine your skills and familiarize yourself with the intricacies of recording video with a DSLR camera and a laptop, you’ll discover new techniques and creative approaches to enhance your video content. Regular practice, experimentation, and a commitment to continuous improvement will further elevate the professionalism and impact of your video productions.
Ultimately, the fusion of technical expertise, artistic vision, and innovative storytelling culminates in the creation of captivating video content that resonates with your audience. Embrace the capabilities of your DSLR camera and laptop setup, and embark on a journey of visual storytelling that captivates, informs, and inspires.