Introduction
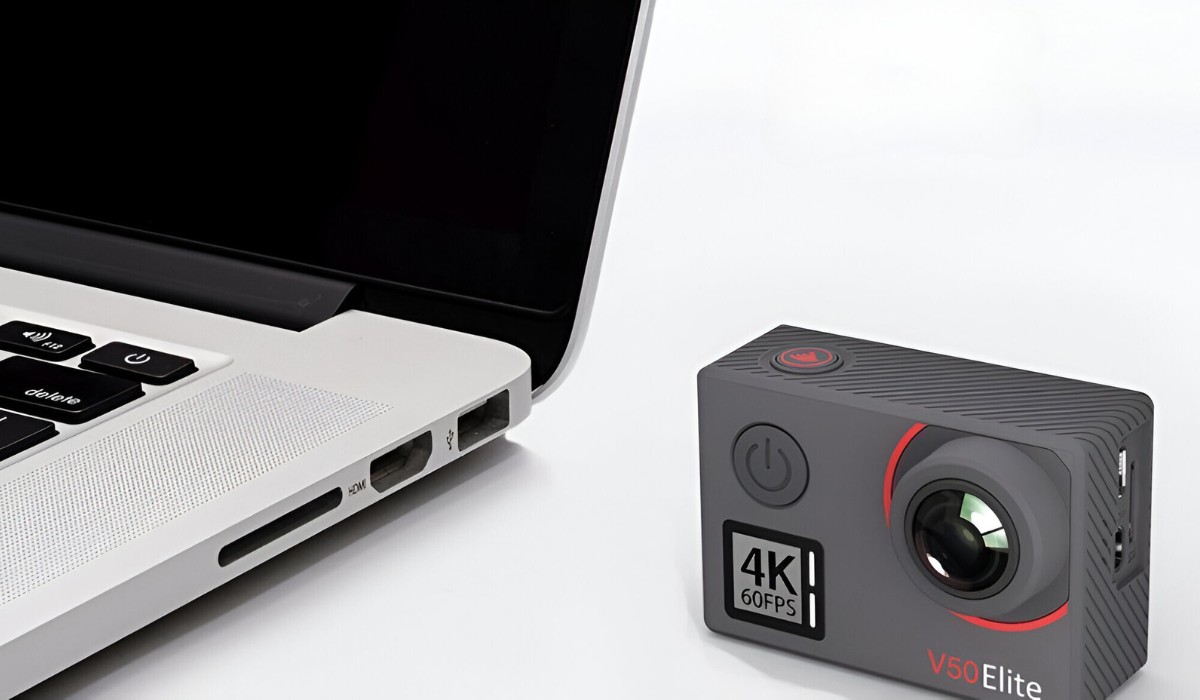
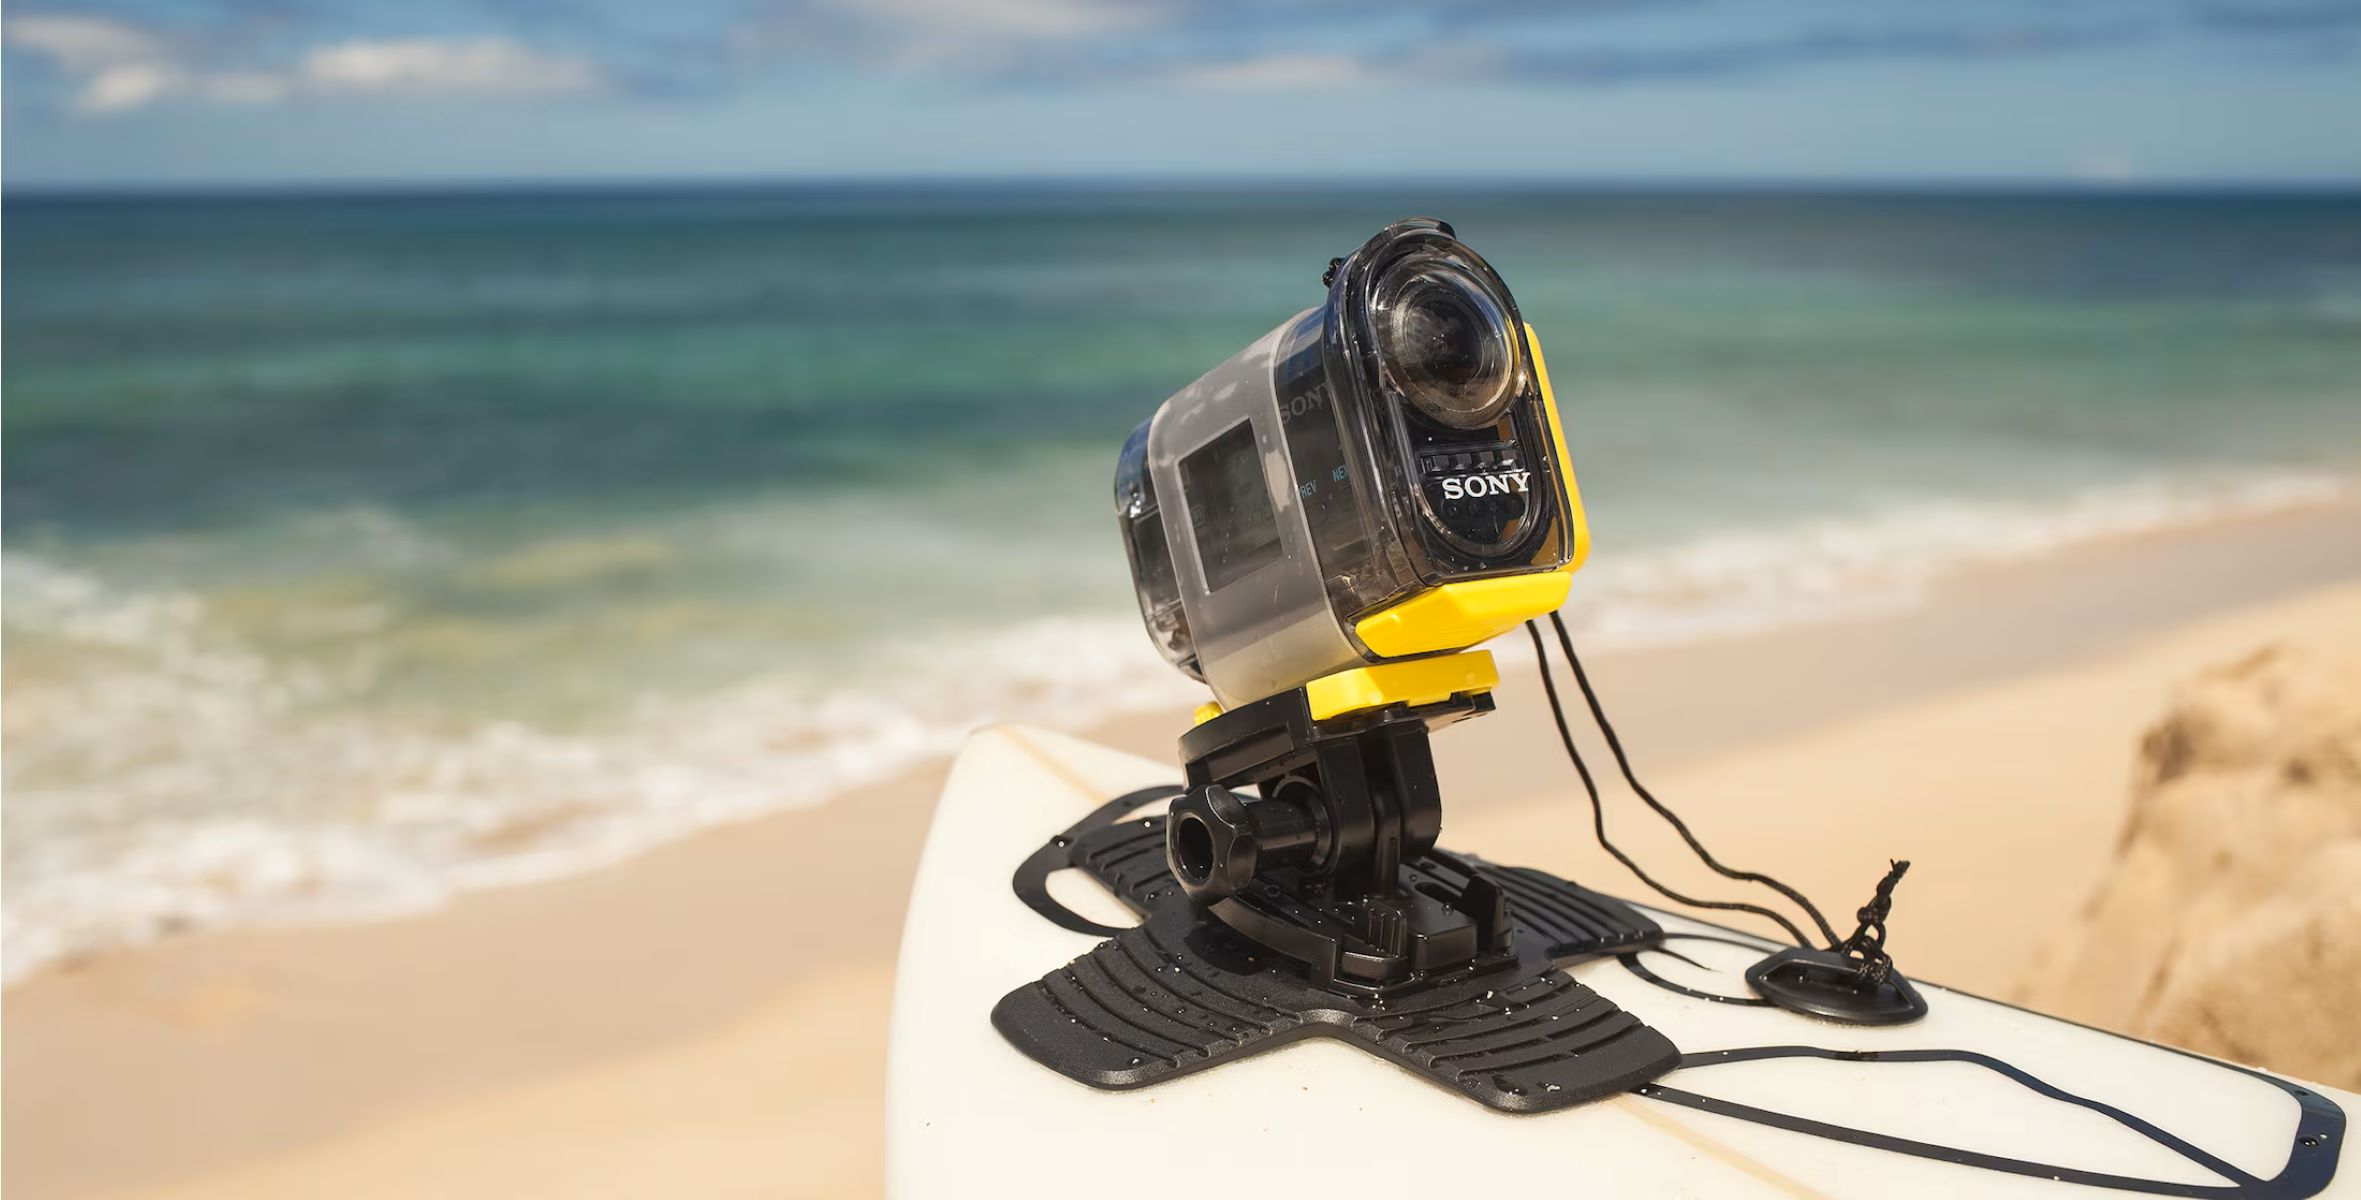
Action cameras have revolutionized the way we capture life's adventures, allowing us to record and share our experiences with stunning clarity and detail. These compact devices have become essential companions for outdoor enthusiasts, athletes, and anyone seeking to document their escapades. One of the most sought-after features of action cameras is their ability to connect to other devices, such as laptops, via Wi-Fi. This connectivity opens up a world of possibilities, from live streaming and remote control to seamless file transfers.
In this guide, we will walk you through the process of connecting your action camera to a Wi-Fi network on your laptop. Whether you're a seasoned tech enthusiast or a novice user, this step-by-step tutorial will equip you with the knowledge and confidence to establish a seamless connection between your action camera and laptop. By following these simple instructions, you'll be ready to harness the full potential of your action camera and unlock a myriad of exciting possibilities.
So, grab your action camera and laptop, and let's dive into the world of wireless connectivity. Whether you're preparing to live stream your next adventure or simply looking to transfer your latest footage, this guide will empower you to make the most of your action camera's Wi-Fi capabilities. Let's embark on this journey together and elevate your action camera experience to new heights.
Step 1: Turn on the Action Camera
Before diving into the process of connecting your action camera to your laptop via Wi-Fi, the first step is to ensure that your action camera is powered on and ready for setup. This fundamental step sets the stage for establishing a seamless wireless connection between your action camera and laptop.
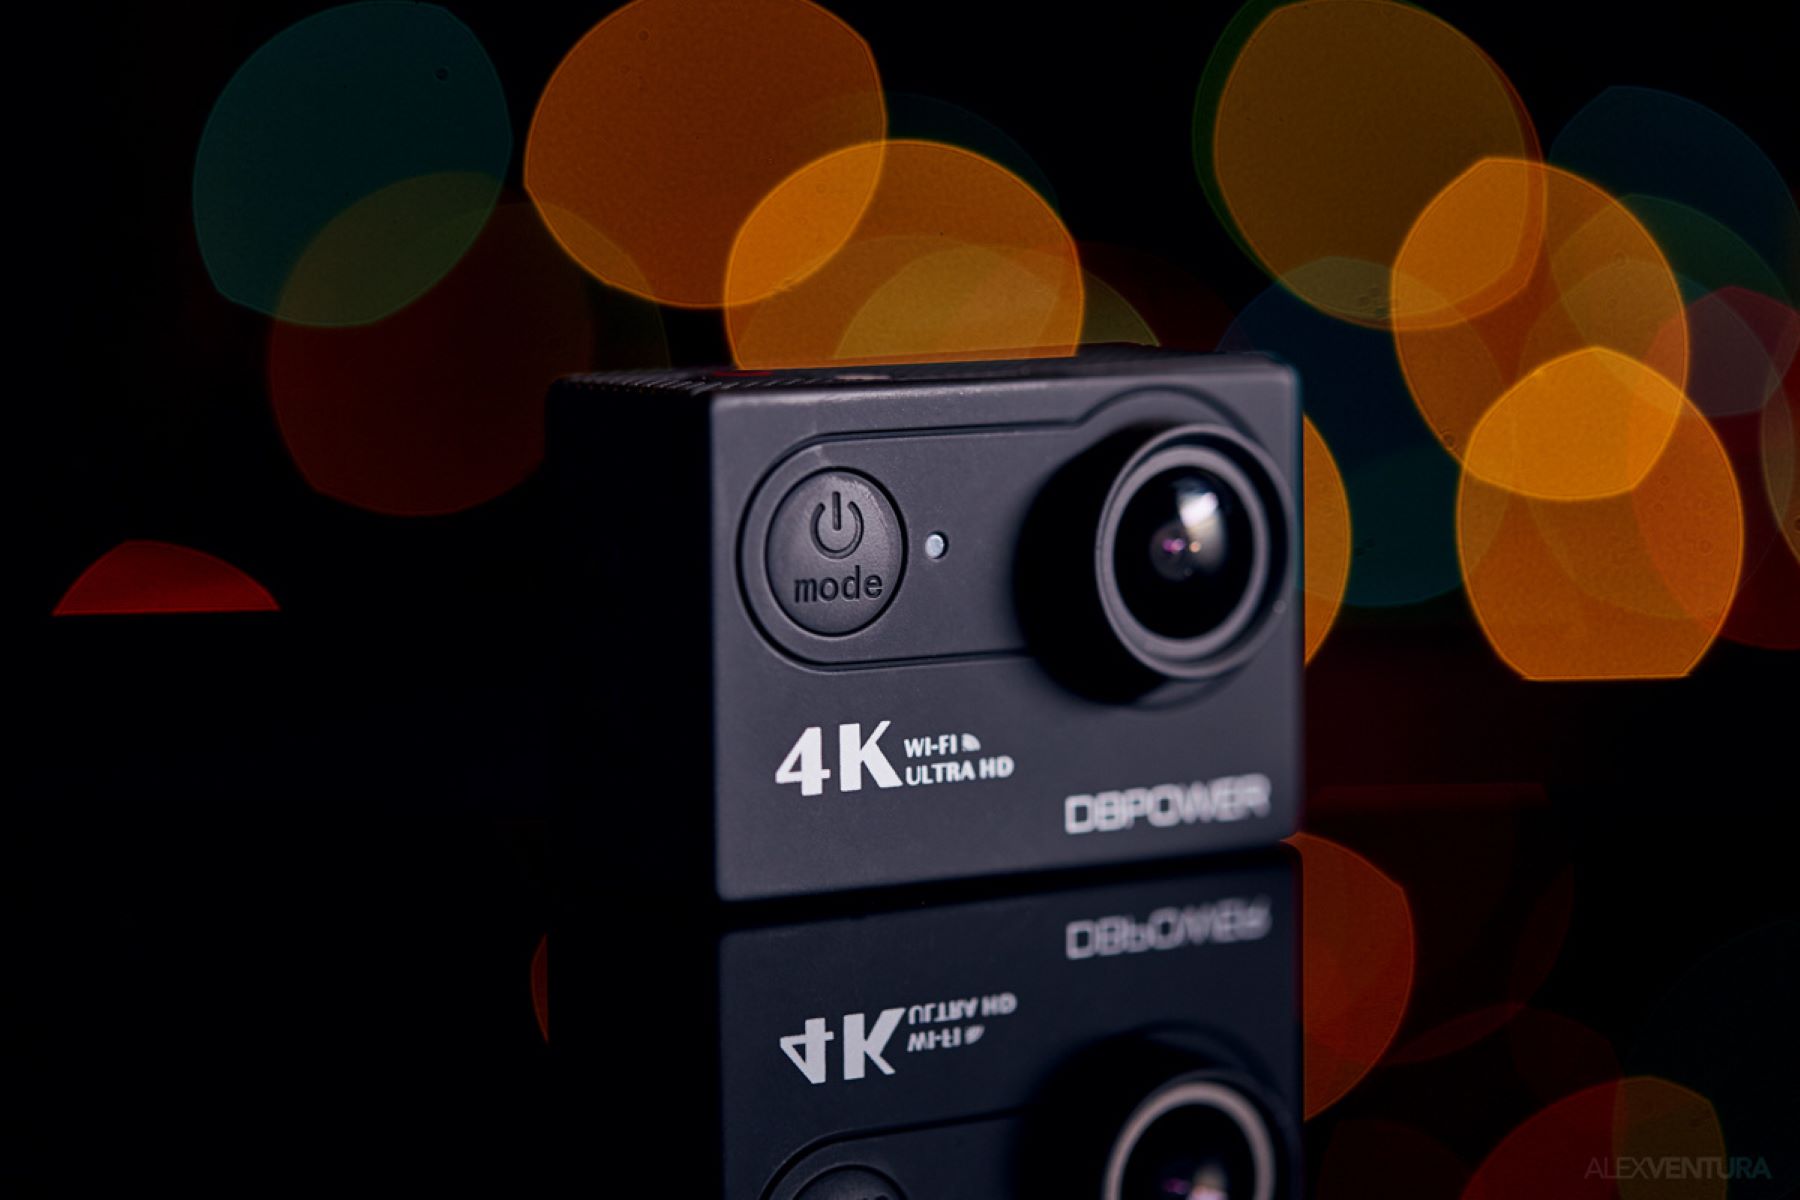
To begin, locate the power button on your action camera. This button is typically situated on the top, front, or side of the device, depending on the model. Press and hold the power button until the indicator lights illuminate, signaling that the action camera is powering up. Allow the device to boot up fully, ensuring that it is in an operational state before proceeding to the next step.
It’s essential to verify that the action camera has sufficient battery life to avoid any interruptions during the Wi-Fi setup process. If the battery level is low, consider charging the action camera using the provided charging cable and power source. Ensuring that the device is adequately charged will facilitate a smooth and uninterrupted setup process.
Once the action camera is powered on and ready, you’ve successfully completed the first step in preparing for the Wi-Fi connection process. With the device powered up and ready for action, you’re now poised to delve into the subsequent steps that will culminate in a seamless Wi-Fi connection between your action camera and laptop.
Step 2: Enable Wi-Fi on the Action Camera
With your action camera powered on and ready, the next pivotal step in the process of connecting it to your laptop via Wi-Fi is to enable the Wi-Fi functionality on the action camera itself. This step is crucial as it activates the wireless communication capability of the action camera, allowing it to establish a connection with your laptop.
Begin by navigating to the settings menu on your action camera. Depending on the model and interface of your device, the settings menu may be accessed through a dedicated button, touchscreen controls, or a combination of button presses. Once in the settings menu, look for the Wi-Fi or connectivity options. Select the Wi-Fi option to initiate the activation process.
Upon selecting the Wi-Fi option, you may be prompted to enable or turn on the Wi-Fi functionality. This may involve confirming your selection through on-screen prompts or physically toggling a switch or button designated for Wi-Fi activation. Follow the on-screen instructions or device-specific procedures to activate the Wi-Fi feature on your action camera.
After enabling the Wi-Fi functionality, the action camera will typically display a Wi-Fi symbol or indicator to signify that the wireless capability is now active and ready to establish connections. At this stage, the action camera has been primed to initiate the Wi-Fi pairing process with your laptop, paving the way for seamless wireless communication between the two devices.
Once the Wi-Fi feature is successfully enabled on your action camera, you’re ready to proceed to the next step in the process of connecting your action camera to your laptop via Wi-Fi. With the wireless functionality activated, your action camera is now poised to engage in the pairing process, bringing you one step closer to harnessing the full potential of its wireless connectivity.
Step 3: Connect the Laptop to the Action Camera’s Wi-Fi Network
Now that the Wi-Fi functionality on your action camera is activated, the next crucial step is to establish a connection between your laptop and the action camera’s Wi-Fi network. This pivotal stage in the process sets the foundation for seamless communication between the two devices, enabling you to leverage the wireless capabilities of your action camera.
Begin by accessing the Wi-Fi settings on your laptop. Depending on your laptop’s operating system, this may involve navigating to the network settings or Wi-Fi menu. Once in the Wi-Fi settings, scan for available networks. Your action camera’s Wi-Fi network should appear in the list of available networks, typically identified by the camera’s model name or a custom network identifier specific to the action camera.
Select the action camera’s Wi-Fi network from the list of available networks on your laptop. If prompted, enter the password for the action camera’s Wi-Fi network. The password is typically provided in the action camera’s user manual or may be displayed on the action camera’s screen during the Wi-Fi activation process. Enter the password accurately to initiate the connection process.
Upon successful entry of the password, your laptop will proceed to establish a connection with the action camera’s Wi-Fi network. This connection facilitates a direct link between the two devices, enabling seamless data transfer and communication. Once the connection is established, your laptop will display a confirmation of the successful connection to the action camera’s Wi-Fi network.
With the laptop now connected to the action camera’s Wi-Fi network, you’ve achieved a critical milestone in the process of setting up wireless communication between the two devices. This connection paves the way for the next steps in configuring and utilizing the action camera’s Wi-Fi capabilities, empowering you to harness its full potential for a wide array of applications.
As the laptop successfully establishes a connection to the action camera’s Wi-Fi network, you’re now poised to delve into the subsequent steps that will empower you to leverage the wireless connectivity between your action camera and laptop, unlocking a myriad of exciting possibilities.
Step 4: Open the Web Browser on the Laptop
With your laptop successfully connected to the action camera’s Wi-Fi network, the next pivotal step is to open the web browser on your laptop. This step is essential as it enables you to access the action camera’s settings and configuration page, facilitating the customization of Wi-Fi settings and the seamless transfer of data between the devices.
Locate the web browser icon on your laptop’s desktop or in the application menu. Depending on your operating system, the web browser may be represented by icons such as Google Chrome, Mozilla Firefox, Microsoft Edge, Safari, or other popular browsers. Click or tap on the web browser icon to launch the browser.
Upon opening the web browser, ensure that the laptop remains connected to the action camera’s Wi-Fi network. This connection is crucial as it serves as the conduit for accessing the action camera’s settings page and initiating the configuration process. Verify the Wi-Fi connection status on your laptop to confirm that it remains linked to the action camera’s network.
Once the web browser is open and the laptop is connected to the action camera’s Wi-Fi network, proceed to the next step in the process of configuring the action camera’s Wi-Fi settings via the laptop. With the web browser serving as the gateway to the action camera’s settings page, you’re now poised to embark on the next phase of the setup process, bringing you closer to harnessing the full potential of the action camera’s wireless capabilities.
As the web browser on your laptop stands ready to facilitate the configuration of the action camera’s Wi-Fi settings, you’re now prepared to delve into the subsequent steps that will empower you to customize the wireless connectivity between your action camera and laptop, unlocking a myriad of exciting features and functionalities.
Step 5: Access the Action Camera’s Settings Page
Having opened the web browser on your laptop and ensured the connection to the action camera’s Wi-Fi network, the next crucial step is to access the settings page of the action camera. This pivotal stage in the process allows you to configure the action camera’s Wi-Fi settings, enabling seamless communication and control between the action camera and your laptop.
In the address bar of the web browser, enter the designated IP address or web address provided in the action camera’s user manual or documentation. This address serves as the gateway to the action camera’s settings page, allowing you to customize various parameters, including Wi-Fi settings, network preferences, and other configurable options specific to your action camera model.
Press Enter or click on the designated button to navigate to the entered web address. This action will initiate a connection between your laptop and the action camera, directing you to the settings page interface where you can begin customizing the action camera’s Wi-Fi settings to suit your preferences and requirements.
Upon accessing the action camera’s settings page, familiarize yourself with the available options and menus. Depending on the action camera model and firmware version, you may encounter sections dedicated to Wi-Fi settings, network configuration, security parameters, and other relevant options that govern the wireless functionality of the action camera.
With the action camera’s settings page now accessible through the web browser on your laptop, you’ve reached a critical juncture in the process of configuring the action camera’s Wi-Fi settings. This milestone empowers you to tailor the wireless capabilities of your action camera to align with your specific usage scenarios, unlocking a myriad of exciting features and functionalities.
As you gain access to the action camera’s settings page, you’re now poised to delve into the subsequent steps that will enable you to fine-tune the wireless connectivity between your action camera and laptop, paving the way for a seamless and enriched user experience.
Step 6: Configure the Action Camera’s Wi-Fi Settings on the Laptop
With access to the action camera’s settings page through the web browser on your laptop, the final pivotal step is to configure the action camera’s Wi-Fi settings. This crucial phase in the process empowers you to fine-tune the wireless connectivity parameters, security settings, and network preferences, ensuring a seamless and tailored integration between your action camera and laptop.
Within the action camera’s settings page, navigate to the section dedicated to Wi-Fi settings or wireless configuration. Depending on the interface and layout of the settings page, this section may be labeled as “Wireless,” “Wi-Fi Setup,” or a similar designation, providing access to a range of configurable options specific to the action camera’s wireless functionality.
Begin by reviewing the available Wi-Fi settings and options presented within the action camera’s settings page. These settings may include network name (SSID) customization, Wi-Fi password management, security protocols, and additional parameters that govern the wireless communication between the action camera and your laptop.
Customize the action camera’s Wi-Fi settings to align with your preferences and requirements. This may involve selecting a personalized network name (SSID) to distinguish the action camera’s Wi-Fi network, configuring a robust Wi-Fi password to enhance security, and choosing the appropriate security protocol to safeguard the wireless communication between the devices.
Upon configuring the action camera’s Wi-Fi settings to your satisfaction, proceed to save or apply the changes within the settings page interface. This action finalizes the customization process, ensuring that the action camera’s wireless parameters are tailored to meet your specific usage scenarios and security considerations.
With the action camera’s Wi-Fi settings successfully configured on your laptop, you’ve accomplished a pivotal milestone in the process of establishing seamless wireless connectivity between your action camera and laptop. This achievement empowers you to harness the full potential of the action camera’s wireless capabilities, enabling a myriad of exciting features and functionalities.
As you complete the configuration of the action camera’s Wi-Fi settings, you’ve embarked on a journey to optimize the wireless integration between your action camera and laptop, setting the stage for a seamless and enriched user experience that unlocks a world of possibilities.


