Introduction
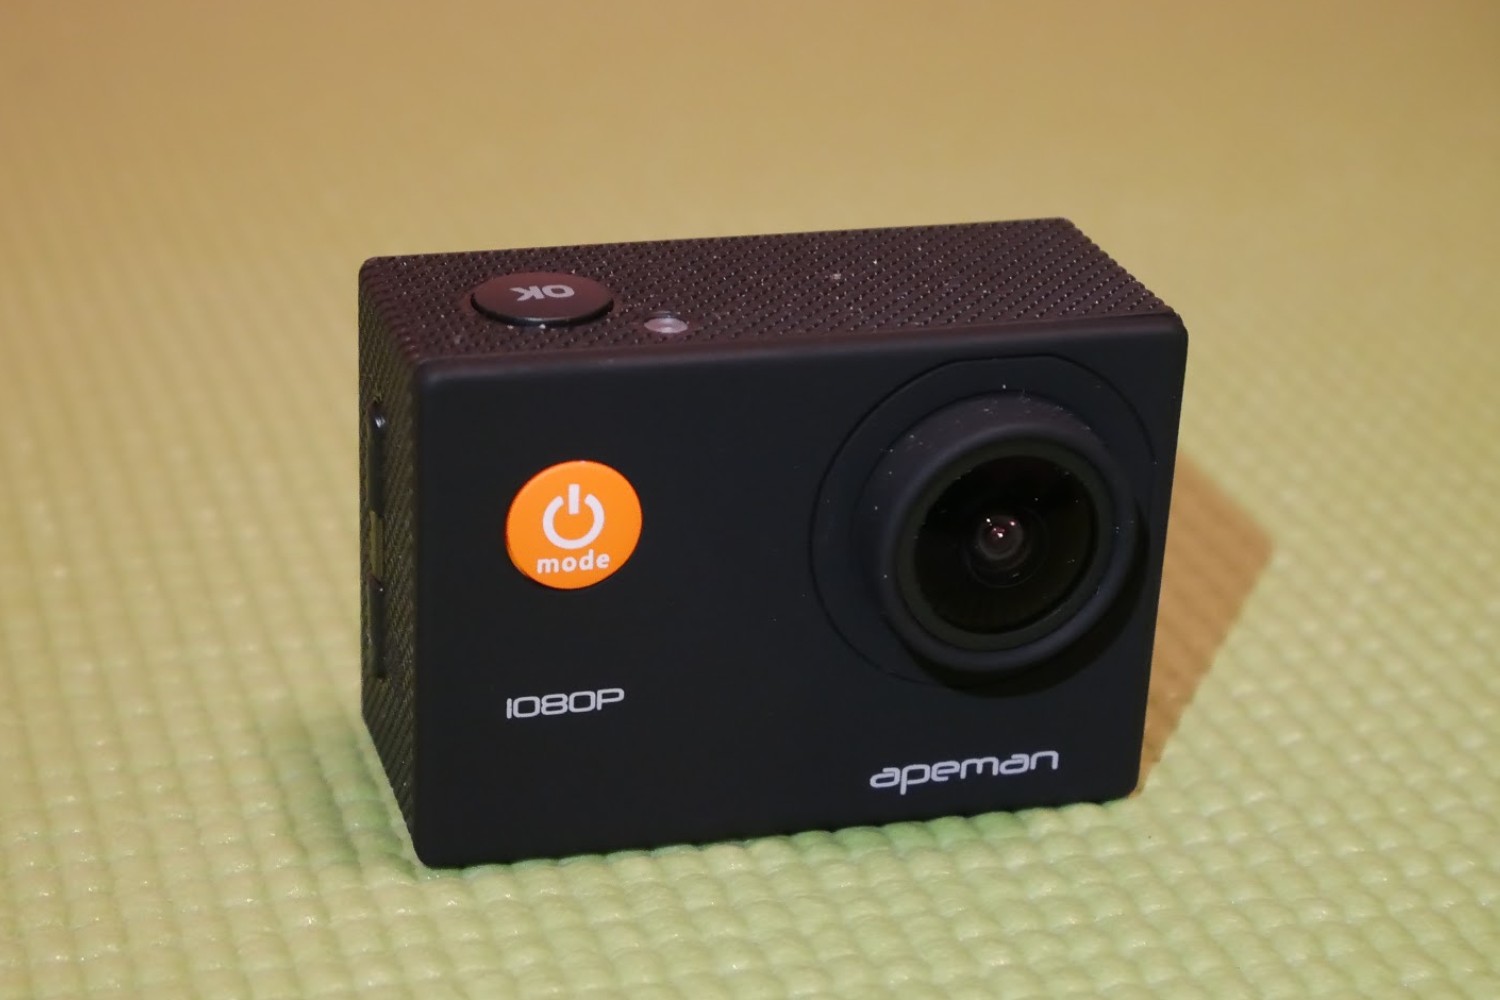
Are you an outdoor enthusiast who enjoys capturing thrilling moments while hunting, shooting sports, or engaging in tactical training? If so, mounting an action camera to your gun can provide a unique perspective and allow you to relive the adrenaline-pumping experiences. The A66 Apeman action camera, known for its compact design and exceptional video quality, is a popular choice for this purpose. In this guide, we will walk you through the steps to attach an A66 Apeman action camera to your gun securely and effectively.
Whether you're a seasoned marksman or a novice firearm enthusiast, having a mounted camera can offer valuable insights into your shooting technique, target acquisition, and overall performance. By following the steps outlined in this guide, you can ensure that your camera is safely and strategically attached to your firearm, allowing you to capture stunning footage without compromising safety or accuracy.
With the rise of social media and video-sharing platforms, sharing your shooting experiences with friends, family, or fellow enthusiasts has never been easier. The footage captured from your mounted action camera can be a powerful tool for analyzing your shooting skills, documenting memorable hunting trips, or simply sharing the thrill of the sport with others.
In the following sections, we will delve into the specifics of gathering the necessary equipment, choosing the optimal mounting location, preparing both the gun and the camera, and securely attaching the camera to the gun. Additionally, we will discuss how to test and adjust the camera position to ensure that you capture the perfect angle for your shooting adventures. Let's embark on this step-by-step journey to equip your gun with the A66 Apeman action camera and unleash the potential for extraordinary footage.
Step 1: Gather the Necessary Equipment
Before embarking on the process of attaching your A66 Apeman action camera to your gun, it is essential to gather the required equipment to ensure a seamless and secure mounting experience. Here’s a checklist of the essential items you will need:
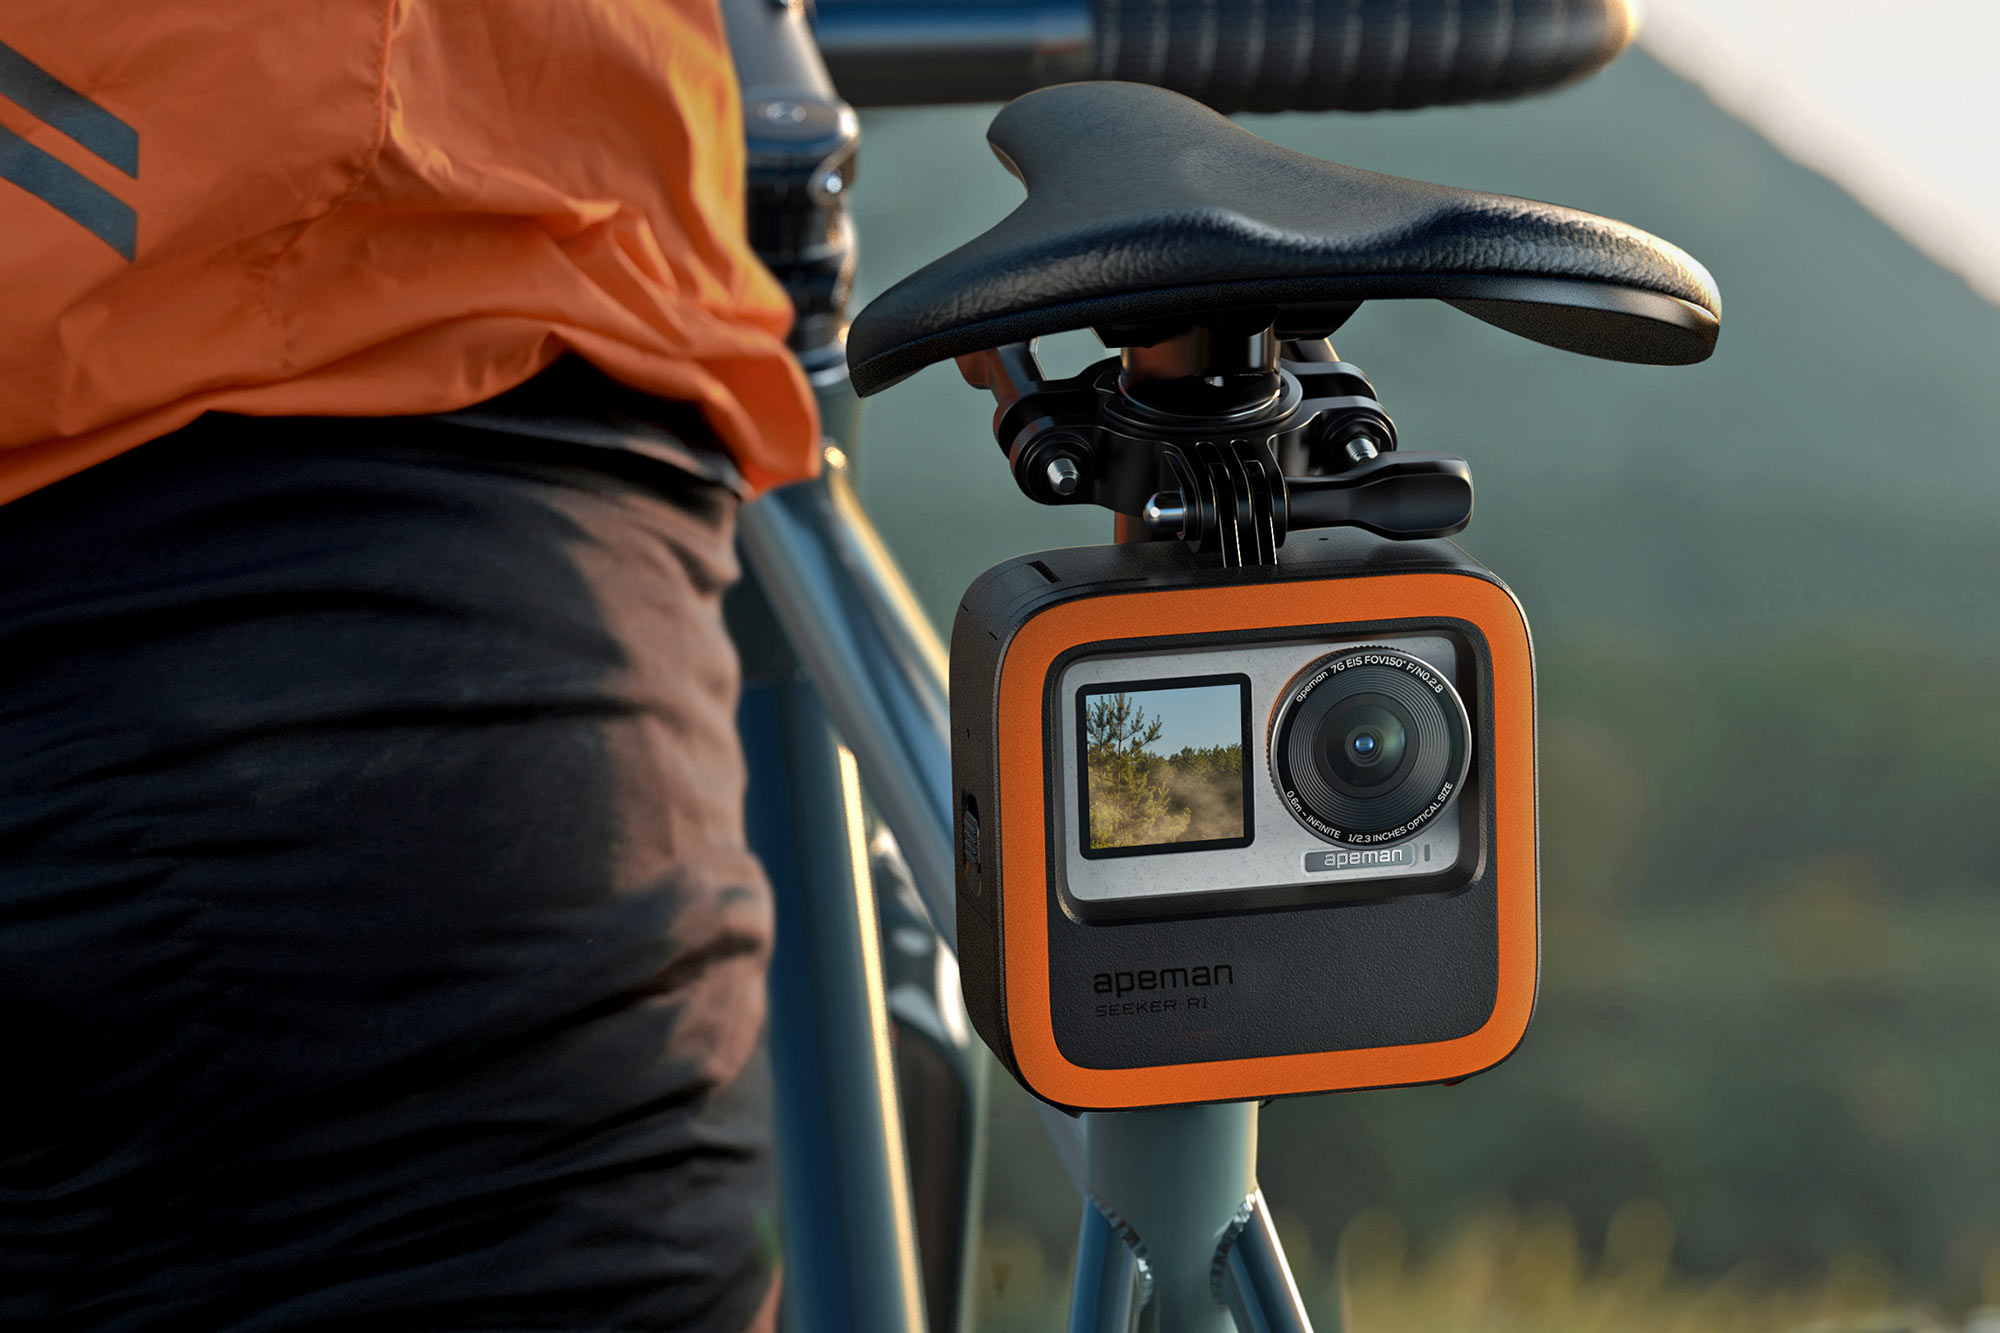
- A66 Apeman Action Camera: The star of the show, this compact and versatile camera is designed to capture high-quality video footage in various outdoor environments. Ensure that the camera is fully charged and equipped with a suitable memory card to store your recordings.
- Gun Mounting Bracket: Look for a sturdy and reliable mounting bracket specifically designed for attaching action cameras to firearms. The bracket should provide a stable platform for the camera without obstructing the operation or safety features of the gun.
- Mounting Tools: Depending on the specific requirements of the mounting bracket, you may need tools such as screwdrivers, hex keys, or other fastening devices to securely attach the bracket to your gun. Ensure that you have the necessary tools on hand to complete the installation.
- Cleaning Supplies: It’s important to maintain the cleanliness of both the gun and the camera to prevent any dirt or debris from interfering with the mounting process or affecting the performance of the equipment. Have cleaning cloths, brushes, and any recommended cleaning solutions readily available.
- Protective Gear: Prioritize safety by wearing appropriate protective gear, including safety glasses and gloves, especially if you will be handling the gun during the mounting process. Safety should always be a top priority when working with firearms and related equipment.
By ensuring that you have all the necessary equipment at your disposal, you can streamline the process of attaching your A66 Apeman action camera to your gun and minimize any potential delays or interruptions. Once you have gathered these essential items, you will be well-prepared to move on to the next step of choosing the mounting location for your camera.
Step 2: Choose the Mounting Location
When it comes to mounting an action camera such as the A66 Apeman on a gun, selecting the optimal mounting location is crucial for capturing clear and compelling footage while ensuring the safety and functionality of the firearm. Consider the following factors when choosing the mounting location for your camera:
- Stability and Vibration: Look for a location on the gun that offers stability and minimizes vibration. Excessive movement or vibration can result in shaky or distorted footage, compromising the quality of your recordings. Additionally, a stable mounting location can prevent the camera from loosening during use.
- Field of View: Assess the field of view offered by different mounting locations to determine the best vantage point for capturing your shooting experiences. Consider the angle and perspective that will provide the most comprehensive view of your surroundings and the intended targets.
- Accessibility and Comfort: Ensure that the chosen mounting location allows for easy access to camera controls and does not interfere with the handling or operation of the gun. Comfort and convenience are essential for adjusting camera settings and capturing footage without impeding your shooting experience.
- Safety and Legal Compliance: Verify that the selected mounting location complies with safety guidelines and legal regulations regarding firearm modifications and accessories. It is crucial to prioritize safety and adherence to applicable laws when modifying or accessorizing firearms.
- Interference and Balance: Consider any potential interference with the gun’s moving parts, accessories, or attachments when choosing the mounting location. Additionally, assess the impact of the camera’s weight on the overall balance and handling of the firearm.
By carefully evaluating these factors, you can identify the most suitable mounting location that meets the criteria of stability, field of view, accessibility, safety, and minimal interference. Once you have determined the ideal location for mounting your A66 Apeman action camera, you can proceed to the next step of preparing the gun and the camera for the attachment process.
Step 3: Prepare the Gun and Camera
Before attaching the A66 Apeman action camera to your gun, it is essential to properly prepare both the firearm and the camera to ensure a secure and effective mounting process. Here are the key steps to prepare the gun and the camera:
- Clean and Inspect the Gun: Thoroughly clean the surface of the gun where the mounting bracket will be attached. Remove any dirt, oil, or residue that may affect the adhesion of the bracket. Inspect the gun for any damage or irregularities that may impact the mounting process or the safe operation of the firearm.
- Check Compatibility: Ensure that the selected mounting bracket is compatible with your specific gun model. Verify the fit and alignment of the bracket to guarantee a secure and stable attachment. Refer to the manufacturer’s guidelines for any specific compatibility requirements.
- Charge and Test the Camera: Prior to the mounting process, ensure that the A66 Apeman action camera is fully charged and functioning properly. Test the camera’s recording and settings to confirm that it is ready to capture high-quality footage once attached to the gun.
- Adjust Camera Settings: Consider the shooting environment and your intended use of the camera when adjusting its settings. Configure the camera for the appropriate resolution, frame rate, and other relevant parameters to optimize the quality of the captured footage.
- Secure Additional Accessories: If the mounting bracket requires additional screws, fasteners, or adapters, ensure that you have the necessary accessories on hand. Double-check the completeness of the mounting hardware to avoid any delays during the attachment process.
By meticulously preparing both the gun and the camera, you can lay the groundwork for a successful and hassle-free attachment of the A66 Apeman action camera to your firearm. Taking the time to clean, inspect, and test the equipment will contribute to a smooth and secure mounting experience, ultimately enhancing the quality of the footage you capture during shooting activities.
Step 4: Attach the Camera to the Gun
With the gun and the A66 Apeman action camera adequately prepared, you are now ready to proceed with the process of attaching the camera to the firearm. Follow these step-by-step instructions to securely mount the camera to the gun:
- Position the Mounting Bracket: Identify the chosen mounting location on the gun and position the mounting bracket accordingly. Ensure that the bracket does not obstruct the gun’s operation and align it for optimal stability and field of view.
- Secure the Bracket: Using the appropriate tools, fasten the mounting bracket to the designated location on the gun. Tighten the screws or fasteners to firmly secure the bracket in place, taking care not to over-tighten and potentially damage the gun’s surface.
- Attach the Camera: With the mounting bracket in place, carefully attach the A66 Apeman action camera to the bracket according to the manufacturer’s instructions. Ensure that the camera is firmly and centrally positioned on the bracket to maintain balance and stability.
- Test the Attachment: Once the camera is attached, perform a gentle shake or vibration test to verify the stability of the mounting. Ensure that the camera remains securely in place and that the attachment is resistant to movement or loosening during handling.
- Verify Accessibility: Confirm that the camera controls and settings are easily accessible and that the mounting does not impede the operation or handling of the gun. Make any necessary adjustments to the camera’s position or the bracket for optimal accessibility.
By carefully following these steps, you can effectively attach the A66 Apeman action camera to your gun, creating a stable and reliable platform for capturing your shooting experiences. The secure attachment of the camera to the firearm is essential for ensuring the safety of the equipment and the quality of the footage, allowing you to focus on your shooting activities with confidence.
Step 5: Test and Adjust the Camera Position
After attaching the A66 Apeman action camera to your gun, it is crucial to test the camera’s position and make any necessary adjustments to ensure optimal framing and stability. Follow these steps to test and adjust the camera position:
- Visual Alignment: With the camera mounted, visually assess the alignment and framing of the captured view. Ensure that the camera’s field of view encompasses the intended shooting area and targets without any obstructions or misalignment.
- Functional Test: Activate the camera and record a brief test footage while simulating typical shooting movements. Pay attention to any shifts or vibrations in the camera’s position during movement, aiming, or recoil, and assess the impact on the recorded footage.
- Review the Footage: After recording the test footage, review the recordings to evaluate the stability and clarity of the captured images. Identify any instances of unwanted movement, blurring, or obstruction in the footage that may require adjustments to the camera’s position.
- Fine-Tune the Position: Based on the test results and footage review, make incremental adjustments to the camera’s position and angle to optimize the framing and stability of the captured view. Consider the impact of recoil and rapid movements on the camera’s stability.
- Re-test and Refine: After making adjustments, repeat the functional test and footage review to assess the effectiveness of the changes. Iterate the process of fine-tuning and testing until you achieve a stable and well-framed camera position that meets your recording requirements.
By diligently testing and adjusting the camera’s position, you can refine the mounting setup to deliver steady and clear footage of your shooting activities. The iterative process of testing, adjusting, and refining the camera position is essential for optimizing the quality of the captured footage and ensuring that the camera’s view aligns with your shooting objectives.
Conclusion
Equipping your gun with the A66 Apeman action camera opens up a world of possibilities for capturing and reliving your shooting experiences with unparalleled clarity and perspective. By following the step-by-step process outlined in this guide, you have learned how to seamlessly attach the action camera to your firearm, creating a stable and reliable platform for recording your shooting adventures.
From gathering the necessary equipment to carefully choosing the mounting location, preparing the gun and the camera, and fine-tuning the camera’s position, each step contributes to the overall success of the attachment process. By prioritizing stability, safety, and optimal field of view, you can ensure that the mounted camera enhances your shooting activities without compromising the functionality or safety of the gun.
With the A66 Apeman action camera in place, you are poised to capture stunning footage of your shooting endeavors, whether it’s hunting expeditions, target practice, or competitive shooting sports. The footage captured from the mounted camera not only serves as a personal memento of your experiences but can also be a valuable tool for analyzing and improving your shooting skills.
As you venture into the world of firearm-mounted photography and videography, continue to prioritize safety, compliance with regulations, and responsible firearm handling. Embrace the opportunities to share your captivating footage with fellow enthusiasts, friends, and family, and immerse yourself in the thrill of reliving your shooting adventures through the lens of the A66 Apeman action camera.