Introduction
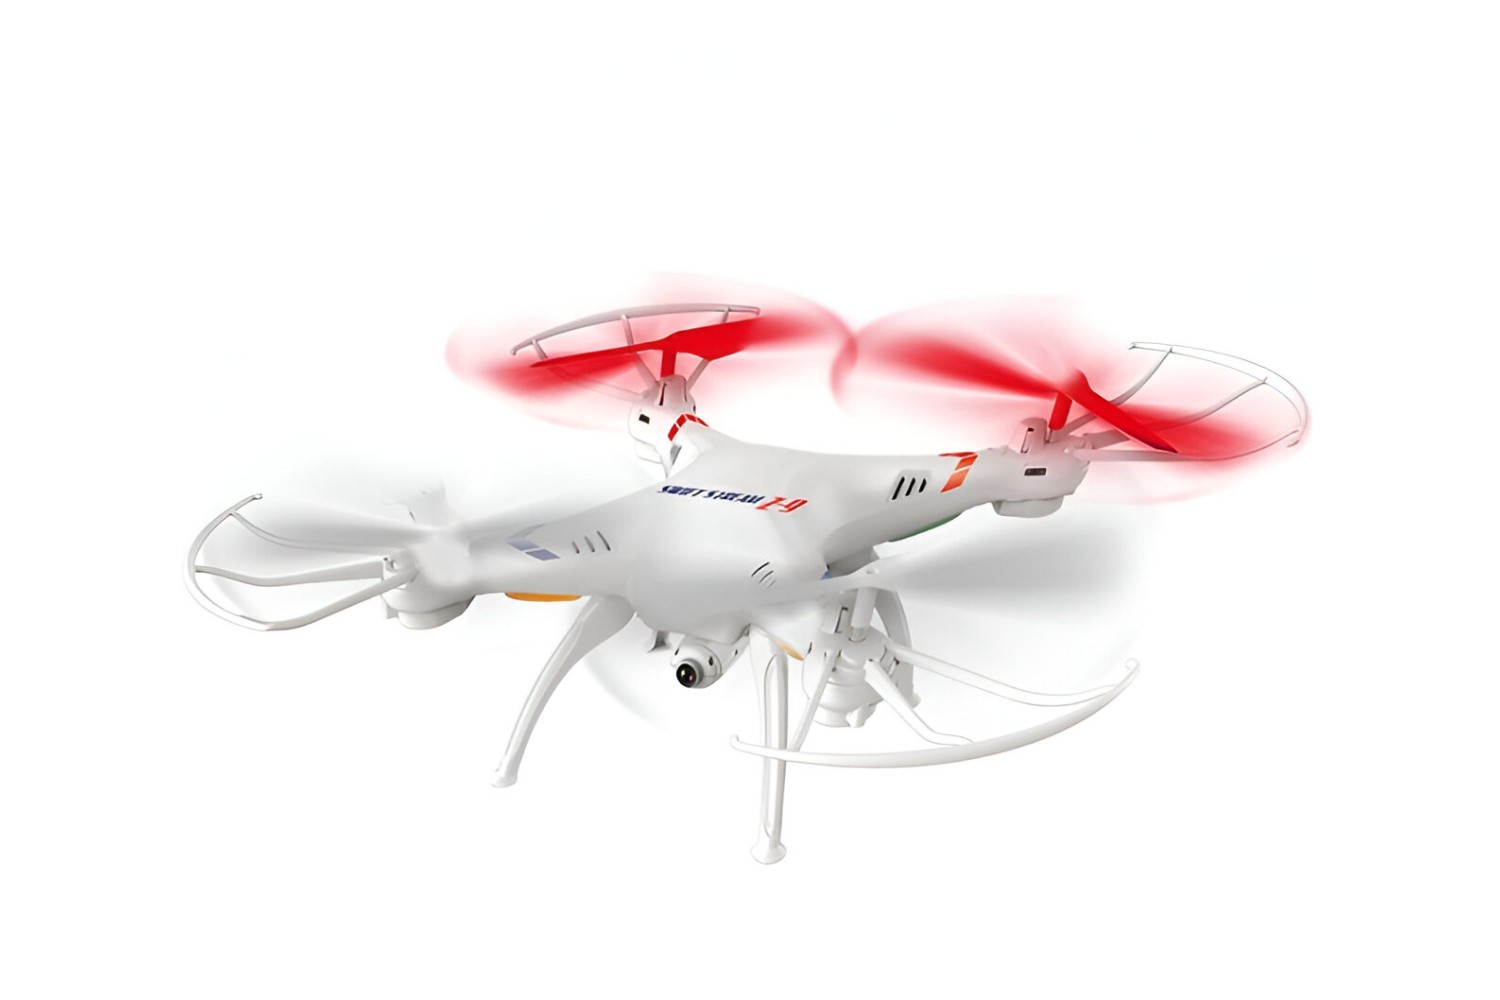
Are you ready to elevate your drone piloting experience with the Swift Stream Z-9 Camera Drone? This versatile and high-performance drone offers a range of modes that cater to different flying styles and photography needs. Whether you're a novice pilot looking to capture stunning aerial shots or an experienced enthusiast seeking advanced features, the Swift Stream Z-9 Camera Drone has you covered.
In this comprehensive guide, we'll delve into the intricacies of the Swift Stream Z-9 Camera Drone's various modes and provide step-by-step instructions on how to seamlessly transition between them. By understanding the unique capabilities of each mode and mastering the art of mode switching, you'll unlock the full potential of your drone and unleash your creativity in the skies.
Get ready to embark on a thrilling journey as we explore the dynamic world of drone modes and unveil the secrets to harnessing the full power of the Swift Stream Z-9 Camera Drone. Whether you're gearing up for a breathtaking aerial adventure or aiming to capture awe-inspiring footage, this guide will equip you with the knowledge and skills to make the most of your drone's capabilities. So, fasten your seatbelt, and let's soar into the captivating realm of drone modes and maneuverability.
Understanding the Modes
Before delving into the process of changing modes on the Swift Stream Z-9 Camera Drone, it’s essential to grasp the distinct functionalities and applications of each mode. These modes are designed to cater to diverse flying scenarios, photography preferences, and skill levels, providing you with a versatile toolkit to enhance your drone piloting experience.
1. Normal Mode: This mode is ideal for beginners and casual pilots, offering stable and straightforward flight controls. It provides a smooth and predictable flying experience, making it perfect for honing your piloting skills and familiarizing yourself with the drone’s handling.
2. Headless Mode: Headless mode eliminates the need to orient the drone’s direction before flying, simplifying the controls and making it easier for pilots to navigate the drone based on their perspective rather than the drone’s orientation. This mode is particularly beneficial for novice pilots who are still mastering spatial awareness and control.
3. Altitude Hold Mode: Altitude hold mode enables the drone to maintain a consistent altitude without manual input, allowing pilots to focus on capturing stunning aerial photos and videos without worrying about altitude management. This mode is indispensable for aerial photography enthusiasts seeking stable and precise shots from varying heights.
4. VR Mode: VR mode offers an immersive first-person view (FPV) experience, allowing pilots to connect their compatible VR headset to the drone’s camera for a captivating and immersive flying experience. This mode is perfect for enthusiasts who crave a more immersive and engaging piloting experience.
By familiarizing yourself with the unique characteristics and advantages of each mode, you’ll be better equipped to leverage the Swift Stream Z-9 Camera Drone’s capabilities to suit your specific flying and photography needs. Whether you’re aiming for a leisurely flight, honing your piloting skills, or capturing breathtaking aerial footage, understanding the nuances of each mode is the key to unlocking the full potential of your drone.
Changing Modes on the Swift Stream Z-9 Camera Drone
Now that you have a comprehensive understanding of the various modes available on the Swift Stream Z-9 Camera Drone, it’s time to master the art of seamlessly transitioning between these modes. Whether you’re preparing for an exhilarating flight or gearing up to capture stunning aerial footage, knowing how to change modes efficiently is essential for maximizing your drone’s potential.
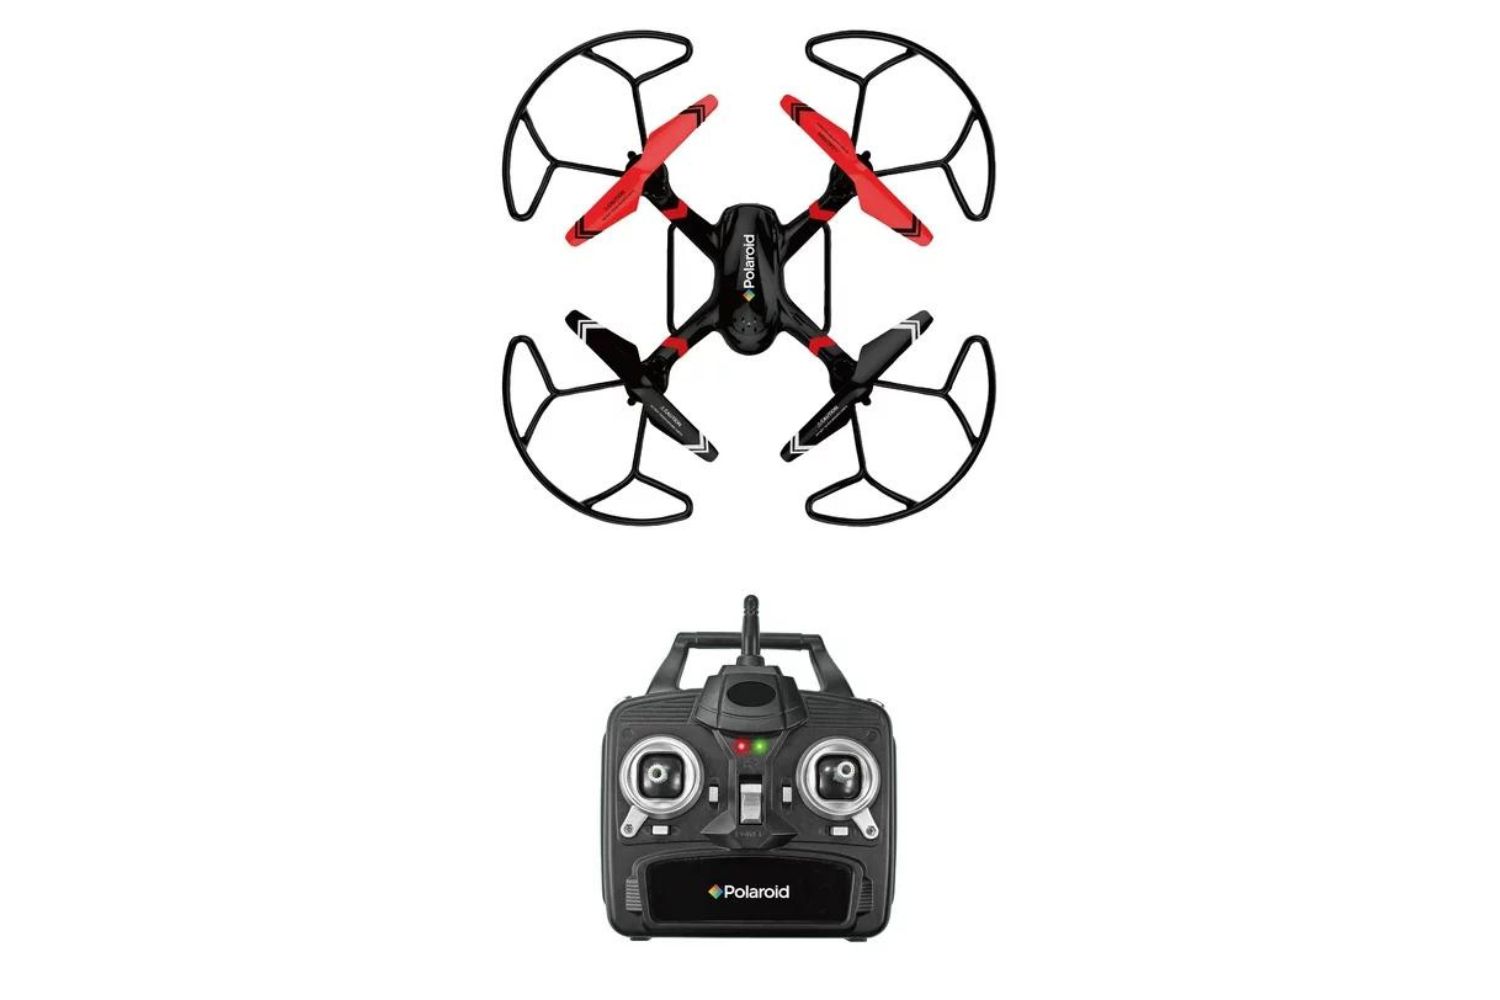
1. Accessing the Mode Selection: To begin, power on your Swift Stream Z-9 Camera Drone and ensure that the remote control is also powered and connected. Once the drone is ready for flight, locate the mode selection button on the remote control. This button is typically labeled or indicated by an icon representing mode selection.
2. Selecting the Desired Mode: With the mode selection button identified, press it to cycle through the available modes on the drone. As you press the button, pay attention to the indicator lights on the remote control or the drone itself, as they will provide visual cues to signify the active mode. Continue pressing the mode selection button until you reach the desired mode for your upcoming flight or photography session.
3. Confirming the Mode Switch: Once you’ve selected the desired mode, take a moment to confirm the mode switch by observing any changes in the drone’s behavior or the indicator lights. Some modes may trigger distinct responses from the drone, such as adjustments in flight characteristics or camera settings. By confirming the mode switch, you can ensure that the drone is ready to perform according to the selected mode’s specifications.
4. Calibrating as Needed: Depending on the selected mode, you may need to perform additional calibrations or adjustments to optimize the drone’s performance. For instance, in altitude hold mode, it’s essential to calibrate the altitude hold feature to ensure precise and stable flight at the desired height. Refer to the user manual for specific calibration instructions tailored to each mode.
By following these step-by-step guidelines, you can effortlessly change modes on the Swift Stream Z-9 Camera Drone, empowering you to adapt to varying flying conditions and photography requirements with ease. Whether you’re transitioning from a casual flight to an immersive VR experience or fine-tuning the drone’s altitude hold for impeccable aerial photography, mastering mode switching is the gateway to unlocking the full spectrum of possibilities offered by your drone.