Introduction
So, you've just purchased the InnoGear Studio Recording Condenser Microphone, and you're ready to elevate your audio recording game. This sleek and professional-grade microphone is designed to capture crisp, clear sound, making it an ideal choice for podcasting, voiceovers, music recording, and more. Whether you're a seasoned pro or a novice in the world of audio recording, setting up and optimizing your InnoGear microphone is essential to unleash its full potential.
In this guide, we'll walk you through the process of unboxing your new InnoGear microphone, connecting it to your computer, setting up the microphone stand, adjusting the microphone settings on your computer, and testing the microphone to ensure everything is working seamlessly. By the end of this tutorial, you'll be well-equipped to harness the power of your InnoGear Studio Recording Condenser Microphone and take your audio projects to the next level.
Let's dive in and get ready to unlock the true potential of your InnoGear microphone.
Unboxing the InnoGear Studio Recording Condenser Microphone
As you unbox your InnoGear Studio Recording Condenser Microphone, you’ll be greeted with a carefully packaged ensemble of essential components. The contents typically include the microphone itself, a sturdy and adjustable microphone stand, a shock mount to minimize vibrations, a foam windscreen to reduce plosives and sibilance, and a user manual to guide you through the setup process.
The microphone exudes a premium feel with its robust construction and sleek design, instilling confidence in its ability to deliver high-quality audio. The accompanying microphone stand is adjustable, allowing you to position the microphone precisely according to your preferences. The shock mount, designed to cradle the microphone, serves to isolate it from external vibrations, ensuring that unwanted noise doesn’t interfere with your recordings.
The foam windscreen, a small yet crucial accessory, helps to mitigate the impact of harsh breath sounds and wind noise, resulting in cleaner audio capture. Lastly, the user manual provides clear and concise instructions, making the setup process straightforward and accessible for users of all experience levels.
Unboxing the InnoGear Studio Recording Condenser Microphone is not just about revealing its components; it’s the first step in embarking on a journey toward professional-grade audio recording. With the carefully curated contents before you, you’re now ready to move on to the next steps in setting up your InnoGear microphone and immersing yourself in the world of captivating sound capture.
Connecting the Microphone to Your Computer
Once you’ve unboxed the InnoGear Studio Recording Condenser Microphone, the next crucial step is to connect it to your computer to start capturing pristine audio. The process is relatively straightforward, and with the right connections, you’ll be well on your way to unleashing the microphone’s full potential.
Begin by identifying the type of audio interface you’ll be using to connect the microphone to your computer. The InnoGear microphone typically utilizes an XLR connection, which is a standard in professional audio setups. If your computer or audio interface does not have an XLR input, you may need an XLR to USB adapter or an audio interface with XLR inputs to bridge the connection.
Once you have the necessary interface or adapter, connect the XLR cable to the microphone’s output and the other end to the input of your audio interface or adapter. Ensure that the connections are secure to prevent any signal loss or interference during recording.
If you’re using an audio interface, connect the interface to your computer using a USB cable or the appropriate connection method supported by your interface. This establishes the communication between the microphone and your recording software, allowing you to capture the audio signals seamlessly.
It’s important to note that some InnoGear microphone models come with a USB output, simplifying the connection process by allowing you to directly plug the microphone into a USB port on your computer. This streamlined approach eliminates the need for an audio interface or adapter, making it a convenient option for users seeking a hassle-free setup.
With the microphone successfully connected to your computer, you’re now poised to delve into the finer details of optimizing its performance and customizing the settings to suit your recording needs.
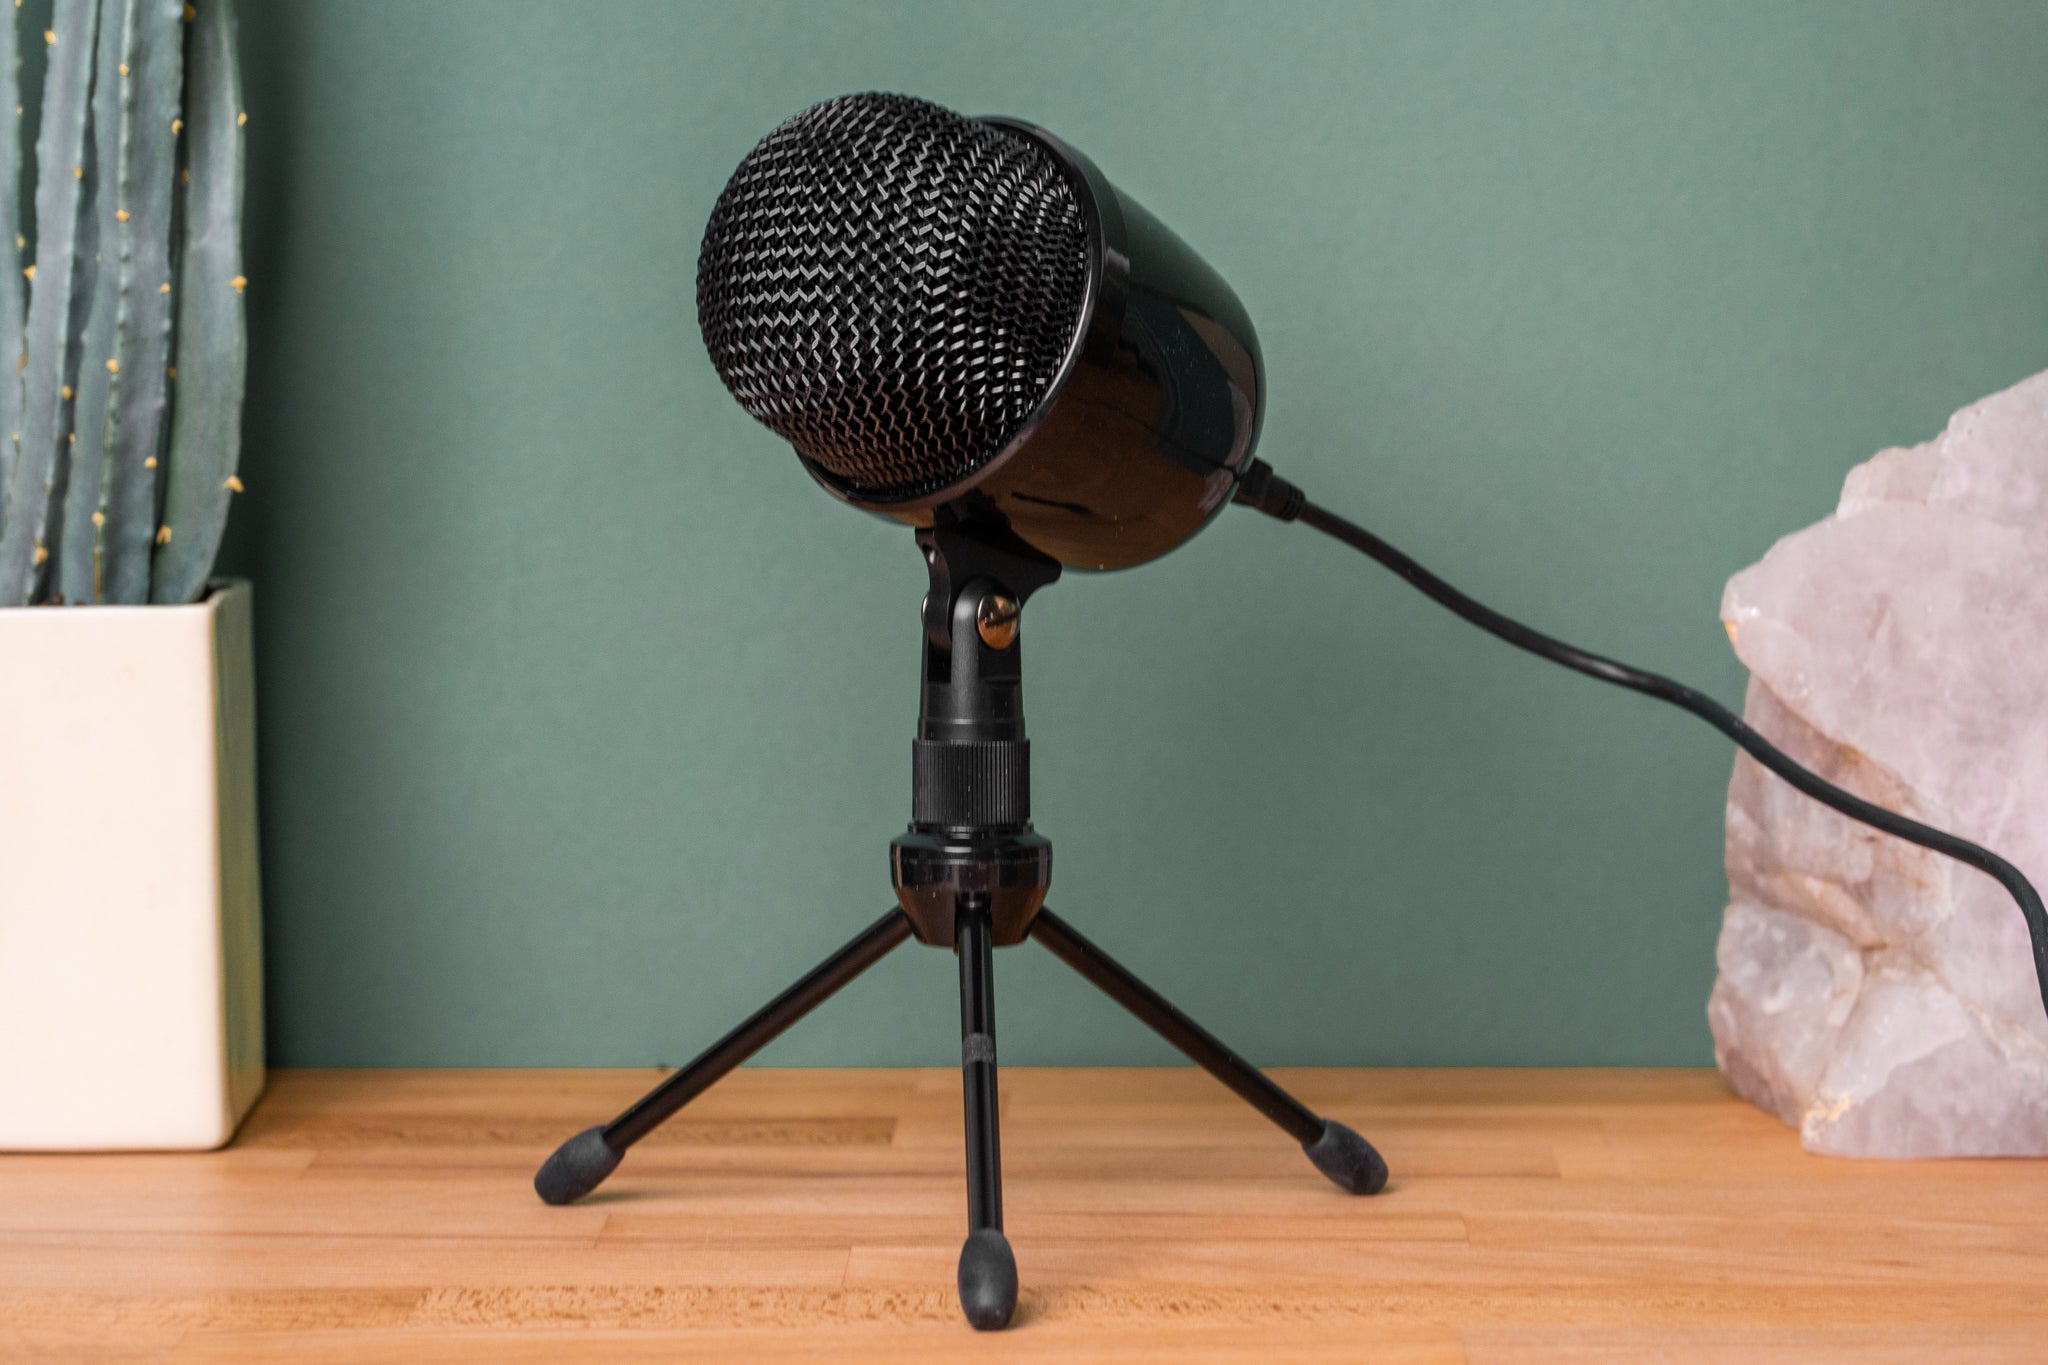
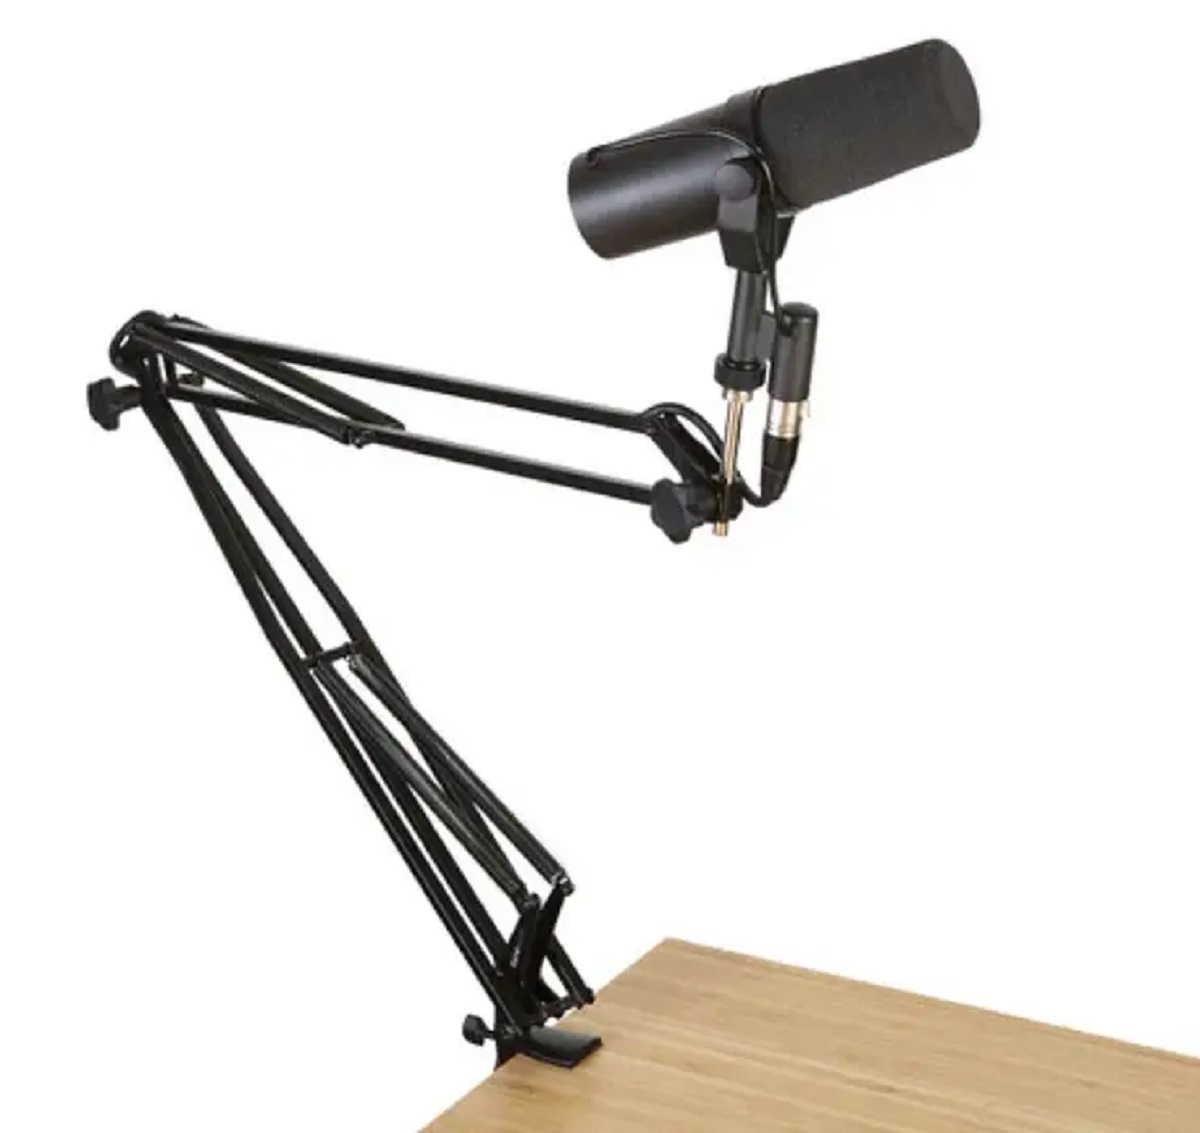
Setting Up the Microphone Stand
As you embark on the setup process for your InnoGear Studio Recording Condenser Microphone, ensuring that the microphone stand is properly configured is essential for achieving optimal positioning and stability during recording sessions. The adjustable microphone stand included with the InnoGear microphone provides versatility and convenience, allowing you to tailor its placement to suit your specific recording requirements.
Begin by assembling the microphone stand according to the manufacturer’s instructions. The stand typically consists of a base, an adjustable arm, and a microphone holder. Secure the base on a stable surface, ensuring that it is balanced and resistant to accidental tipping or movement during use.
Next, adjust the height and angle of the microphone stand to align with your preferred recording setup. Whether you’re recording vocals, instruments, or podcasts, positioning the microphone at the optimal height and angle is crucial for capturing the desired sound accurately. The adjustable arm of the microphone stand enables you to achieve precise placement, allowing you to experiment with different configurations until you find the perfect arrangement.
Once you’ve determined the ideal position for the microphone, tighten the stand’s adjustment mechanisms to secure the arm and microphone holder in place. This step is critical for maintaining stability and preventing the microphone from shifting during recording, which could compromise the quality of your audio capture.
It’s important to consider the acoustic environment in which you’ll be recording. Position the microphone stand away from reflective surfaces and potential sources of noise to minimize unwanted reverberations and disturbances. Additionally, using a shock mount in conjunction with the microphone stand can further reduce vibrations and handling noise, contributing to cleaner and more professional recordings.
By taking the time to set up the microphone stand with precision and attention to detail, you’ll create an optimal recording environment that empowers you to unleash the full potential of your InnoGear Studio Recording Condenser Microphone.
Adjusting the Microphone Settings on Your Computer
With your InnoGear Studio Recording Condenser Microphone connected to your computer, it’s time to fine-tune the microphone settings to ensure that it delivers the best possible audio performance. Whether you’re using Windows or macOS, adjusting the microphone settings involves accessing the system preferences or control panel to configure input levels, select the microphone as the default recording device, and potentially apply enhancements to optimize the audio capture.
Begin by accessing the sound settings on your computer. In Windows, right-click on the speaker icon in the taskbar, select “Open Sound settings,” and navigate to the “Sound control panel.” In macOS, go to “System Preferences,” select “Sound,” and navigate to the “Input” tab. Here, you’ll be able to view and adjust the settings related to your InnoGear microphone.
First, ensure that the InnoGear microphone is selected as the default recording device. This designation allows your computer to recognize and prioritize the microphone for capturing audio input. If you’re using an audio interface, verify that it is also recognized as the default input device to establish the connection between the microphone and your recording software.
Next, adjust the input levels to optimize the sensitivity of the microphone. Depending on your operating system, you may find a slider or input level controls that allow you to increase or decrease the input volume. It’s essential to find the right balance to prevent audio distortion while ensuring that the microphone adequately captures the nuances of the sound source.
Some operating systems offer additional settings to enhance the microphone’s performance, such as noise reduction, microphone boost, and equalization options. Experimenting with these settings can help tailor the microphone’s output to better suit your recording preferences and the characteristics of the audio you intend to capture.
If you’re using recording software, such as digital audio workstations (DAWs), be sure to configure the input settings within the software to align with the adjustments made at the system level. This synchronization ensures that the microphone’s settings are optimized across all platforms, providing a seamless and consistent recording experience.
By meticulously adjusting the microphone settings on your computer, you’ll be well-positioned to harness the full capabilities of your InnoGear Studio Recording Condenser Microphone and achieve professional-grade audio recordings with precision and clarity.
Testing the Microphone
Before diving into your recording projects, it’s crucial to conduct a comprehensive test of your InnoGear Studio Recording Condenser Microphone to ensure that it’s functioning optimally and capturing audio with the desired quality. Testing the microphone allows you to identify any potential issues, fine-tune the settings, and familiarize yourself with its performance characteristics.
Begin by launching your preferred recording software or digital audio workstation (DAW) on your computer. Ensure that the microphone is selected as the input device within the software’s settings to enable real-time monitoring and recording. With the software ready, speak or sing into the microphone at a comfortable distance to gauge its responsiveness and clarity.
Adjust the input levels on your computer and within the recording software to optimize the volume without introducing distortion. Monitoring the input levels while speaking or performing ensures that the microphone is capturing your voice or instrument at an appropriate volume, allowing for a balanced and undistorted recording.
Experiment with different microphone positions and angles to assess how the microphone captures sound from various orientations. This exploration can provide valuable insights into the microphone’s directional characteristics, helping you determine the best placement for different recording scenarios, such as solo vocals, instrument ensembles, or podcast interviews.
Test the microphone’s ability to capture nuanced sound details by conducting a sound source comparison. Record a variety of sound sources, such as spoken dialogue, musical instruments, ambient room noise, and vocal performances, to evaluate how the microphone reproduces different sonic elements. This comprehensive evaluation enables you to understand the microphone’s versatility and its suitability for diverse recording applications.
Listen to the recorded audio playback critically, paying attention to the clarity, presence, and fidelity of the captured sound. Assess the absence of unwanted noise, such as background hum, handling noise, or plosives, to ensure that the microphone’s performance aligns with your expectations for professional-grade audio capture.
Finally, consider conducting a test recording in a controlled environment, simulating the conditions under which you’ll be using the microphone for your projects. This practical test allows you to experience the microphone’s performance in a real-world context, helping you identify any potential challenges and make necessary adjustments before embarking on your actual recording endeavors.
By thoroughly testing the InnoGear Studio Recording Condenser Microphone, you’ll gain valuable insights into its capabilities, allowing you to optimize its settings, familiarize yourself with its performance nuances, and ultimately unleash its full potential in your audio recording pursuits.
Conclusion
As you reach the culmination of this guide, you’ve embarked on a journey to unlock the full potential of your InnoGear Studio Recording Condenser Microphone. From unboxing the meticulously packaged components to fine-tuning the microphone settings and conducting comprehensive tests, you’ve gained valuable insights into the setup process and the capabilities of this professional-grade microphone.
By carefully unboxing the InnoGear microphone, you were introduced to its robust construction, versatile microphone stand, and essential accessories, setting the stage for a seamless and immersive recording experience. The process of connecting the microphone to your computer allowed you to establish a vital link between the microphone and your recording environment, ensuring that you’re poised to capture pristine audio with ease.
Setting up the microphone stand enabled you to create an optimal recording environment, offering stability and precise positioning to support your creative endeavors. Adjusting the microphone settings on your computer empowered you to tailor the microphone’s performance to your specific recording needs, optimizing its sensitivity and enhancing its capabilities to deliver professional-grade audio capture.
Through the comprehensive testing of the microphone, you delved into its performance characteristics, versatility, and sonic capabilities, equipping yourself with the knowledge and experience to harness its full potential in a variety of recording scenarios. This thorough exploration has provided you with a solid foundation for leveraging the InnoGear Studio Recording Condenser Microphone to elevate your audio projects and achieve captivating, high-fidelity recordings.
As you continue to integrate the InnoGear microphone into your creative endeavors, remember that experimentation, exploration, and ongoing refinement are key to maximizing its capabilities. Embrace the process of discovery and adaptation as you leverage the microphone’s strengths to capture the richness and nuance of the audio sources you’re passionate about recording.
With the insights and hands-on experience gained from this guide, you’re well-equipped to embark on a rewarding journey of audio creation and expression, empowered by the exceptional capabilities of the InnoGear Studio Recording Condenser Microphone. Your dedication to honing your recording skills and leveraging top-tier equipment sets the stage for captivating and professional audio productions that resonate with your audience and elevate your creative pursuits.