Introduction
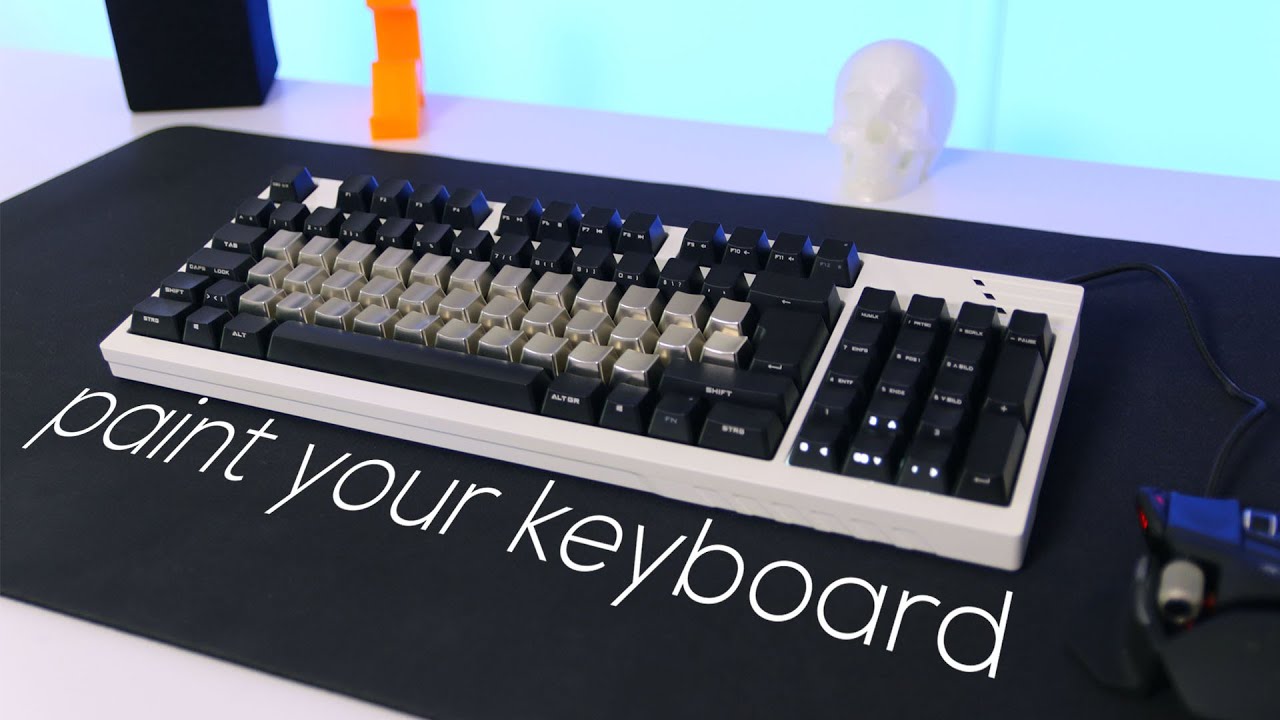
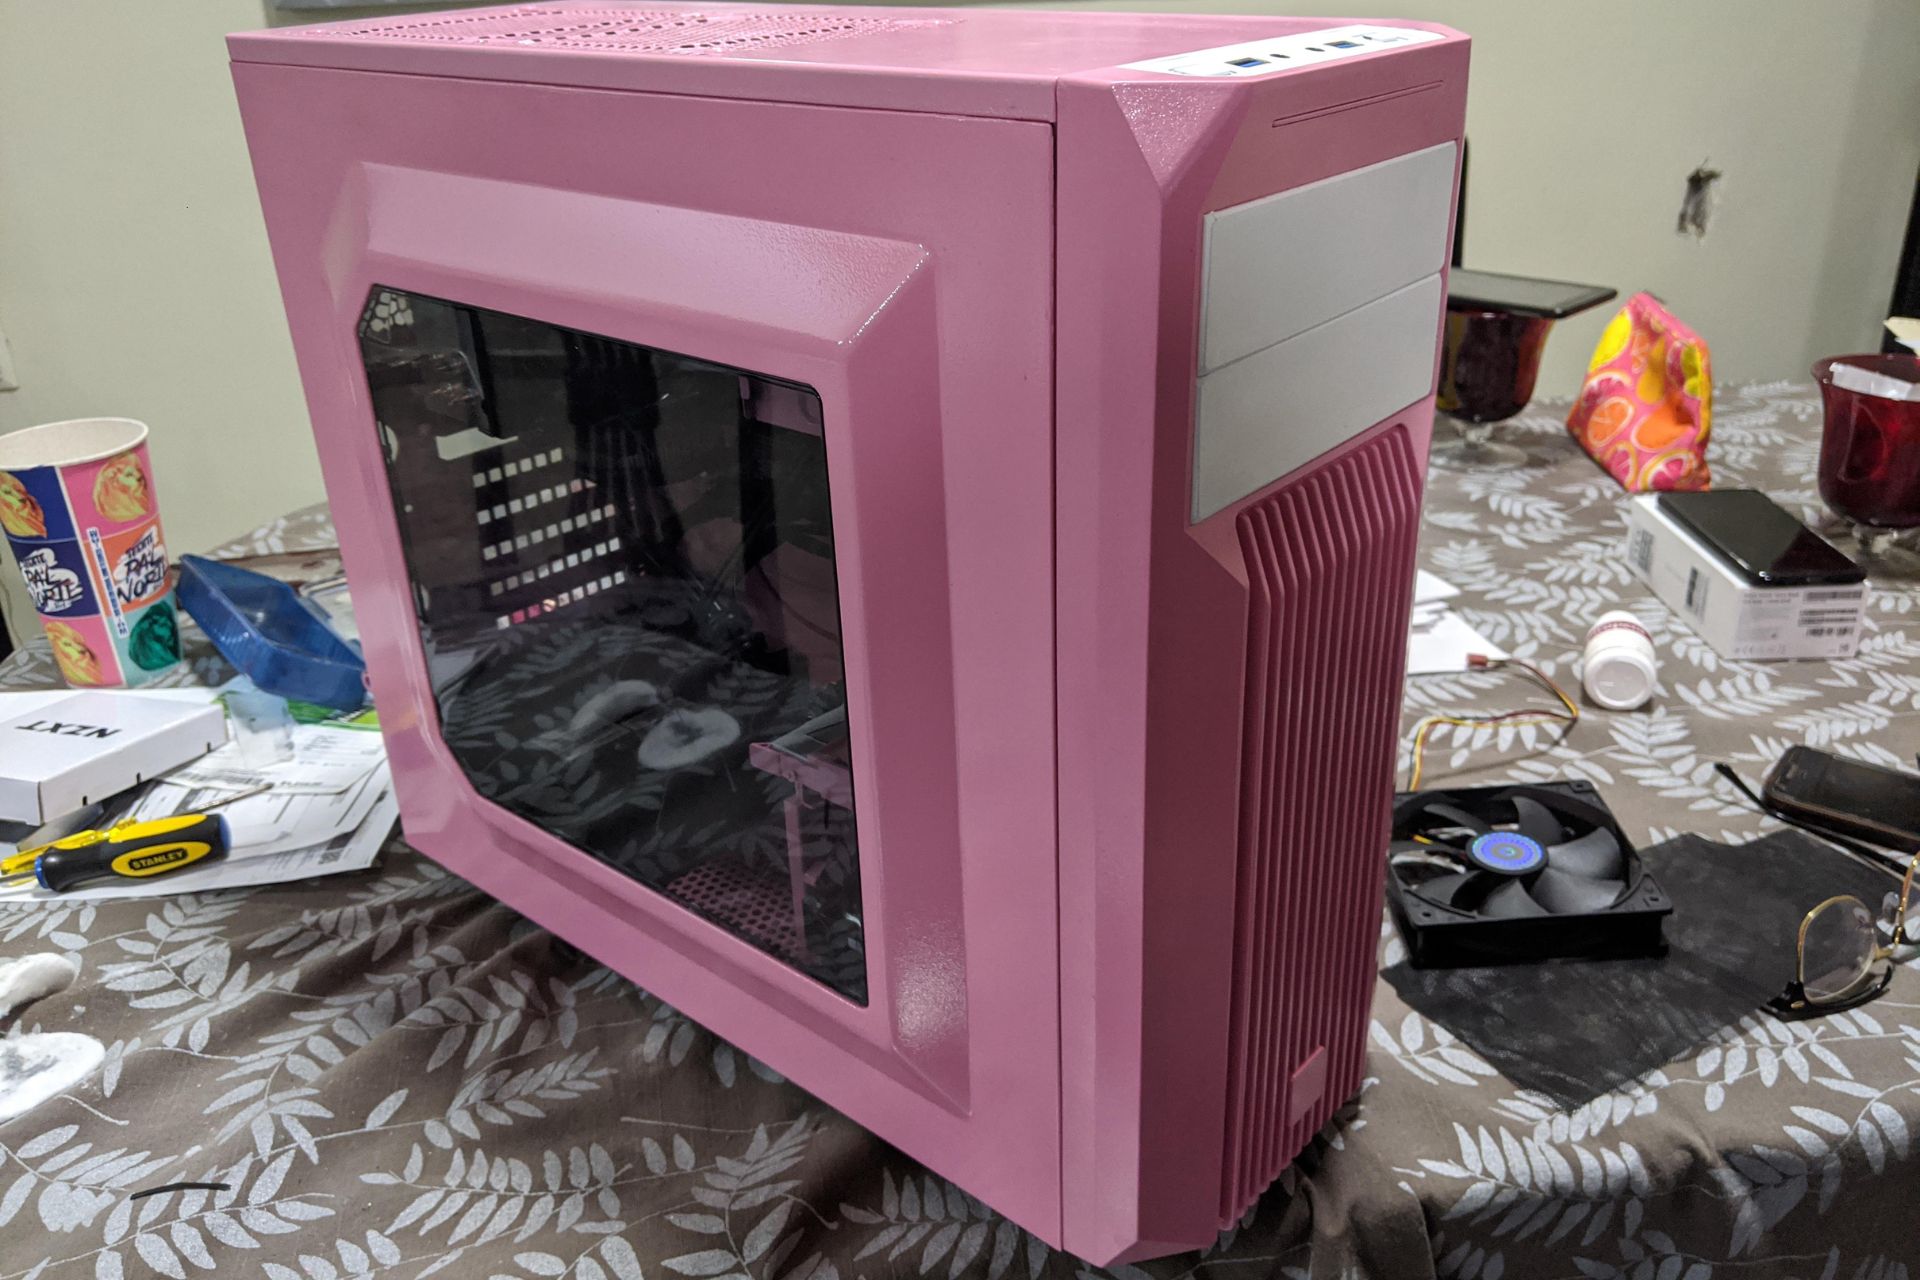
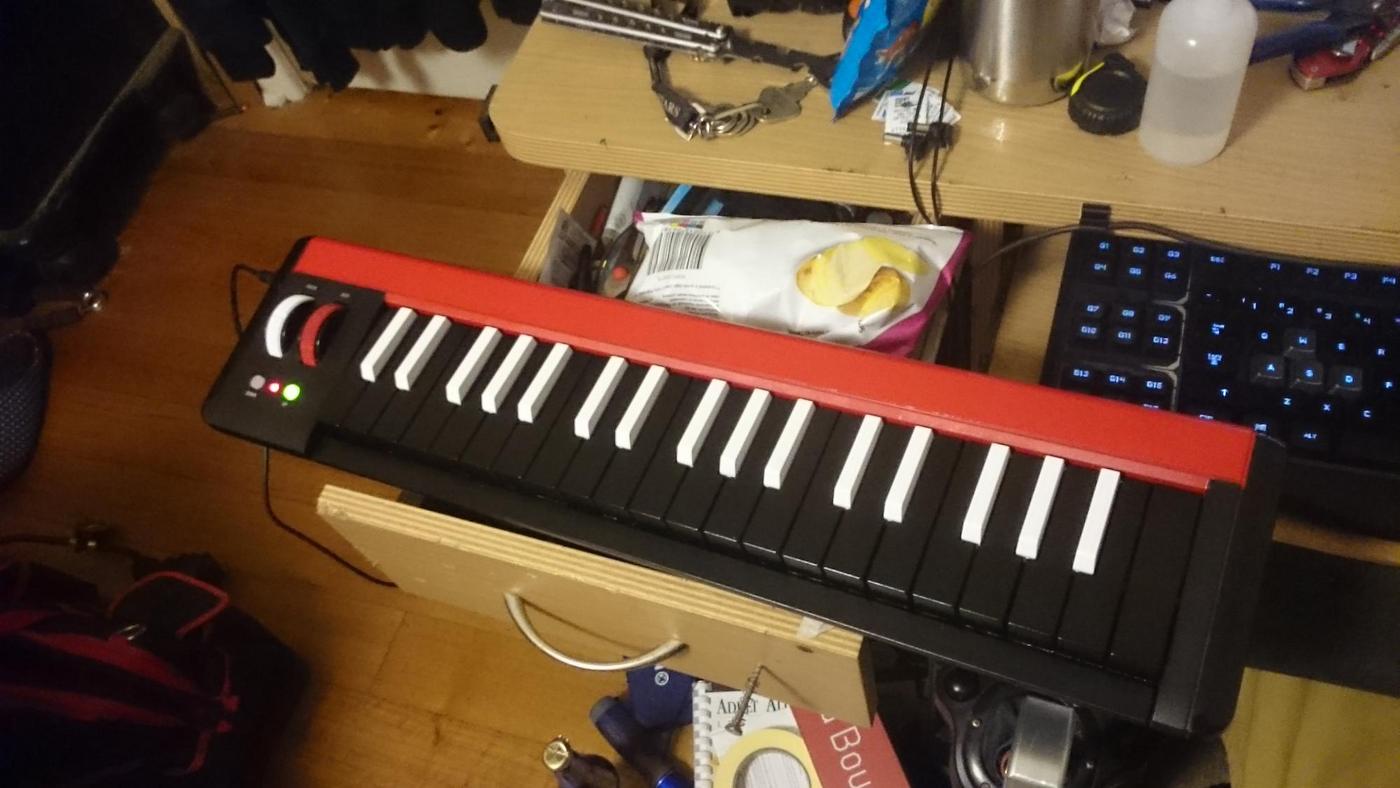
So, you've got a MIDI keyboard, but it doesn't quite match your style or studio decor? No worries! With a bit of creativity and some spray paint, you can give your MIDI keyboard a custom look that reflects your personality. Whether you want to add a pop of color, create a sleek metallic finish, or add intricate designs, spray painting your MIDI keyboard can transform it from a standard piece of equipment into a personalized work of art.
Spray painting a MIDI keyboard is a fun and rewarding project that allows you to express your individuality while breathing new life into your musical setup. Not only does it offer a cost-effective way to update the appearance of your keyboard, but it also provides an opportunity for creative expression. Before you begin, it's important to gather the necessary supplies and familiarize yourself with the process to ensure a successful and satisfying outcome.
In this guide, we'll walk you through the steps to spray paint your MIDI keyboard, from selecting the right spray paint to applying the finishing touches. By the end, you'll have the knowledge and confidence to embark on this DIY project and elevate the visual appeal of your MIDI keyboard. So, roll up your sleeves, unleash your creativity, and let's dive into the world of MIDI keyboard customization!
Choosing the Right Spray Paint
When it comes to spray painting your MIDI keyboard, selecting the right spray paint is crucial for achieving a professional and durable finish. With a wide array of options available, it’s essential to consider factors such as the type of material your keyboard is made of, the desired color or finish, and the level of durability required. Here are some key considerations to keep in mind when choosing spray paint for your MIDI keyboard:
- Compatibility: Ensure that the spray paint is suitable for the material of your MIDI keyboard. For example, if your keyboard has a plastic surface, look for spray paint specifically designed for plastic.
- Finish: Determine the finish you want to achieve, whether it’s matte, glossy, metallic, or textured. Different spray paints offer various finishes, so select one that aligns with your vision for the keyboard’s appearance.
- Durability: Consider the level of durability needed based on how frequently you use the keyboard. If it’s a heavily used performance tool, opt for spray paint that provides a tough, scratch-resistant finish to withstand wear and tear.
- Color Selection: Explore the wide range of colors available and choose one that complements your studio setup or reflects your personal style. Some spray paints also offer customization options, allowing you to create unique color blends.
- Brand and Quality: Select a reputable spray paint brand known for its quality and adherence to safety standards. High-quality spray paint not only ensures a better finish but also contributes to the longevity of the customization.
Before making a purchase, it’s advisable to read product reviews, seek recommendations from fellow musicians or DIY enthusiasts, and consult with professionals at hardware or art supply stores. Additionally, don’t forget to consider any additional supplies you may need, such as primer or clear coat, to enhance the adhesion and protect the painted surface.
By carefully considering these factors and making an informed choice, you’ll set the stage for a successful and visually stunning transformation of your MIDI keyboard. With the right spray paint in hand, you’ll be ready to proceed to the next steps of the customization process.
Preparing the MIDI Keyboard
Before diving into the spray painting process, it’s essential to prepare your MIDI keyboard properly to ensure optimal adhesion and a flawless finish. Proper preparation not only enhances the longevity of the paint job but also contributes to the overall professional look of the customization. Here’s a step-by-step guide to preparing your MIDI keyboard for the spray painting process:
- Clean the Surface: Begin by thoroughly cleaning the surface of the keyboard to remove any dust, dirt, or oils that could hinder paint adhesion. Use a mild detergent or a specialized plastic cleaner to wipe down the entire keyboard, ensuring a clean and smooth painting surface.
- Disassemble (If Possible): If your MIDI keyboard allows for disassembly, consider removing keys, knobs, sliders, and any other removable parts. This step facilitates easier and more thorough painting, ensuring that all areas are covered evenly.
- Masking: Use painter’s tape and masking paper to cover any areas that you don’t want to be painted, such as buttons, LED displays, or connectors. Precision in masking is crucial to achieve clean lines and prevent paint from reaching unintended areas.
- Sanding (Optional): Depending on the material and condition of the keyboard’s surface, you may choose to lightly sand it with fine-grit sandpaper. This step can promote better paint adhesion, especially on smooth or glossy surfaces.
- Priming (If Necessary): For certain materials like metal or glossy plastic, using a suitable primer can enhance paint adhesion and durability. Select a primer specifically formulated for the material of your MIDI keyboard and apply it according to the manufacturer’s instructions.
By meticulously preparing your MIDI keyboard, you lay the foundation for a successful and visually striking spray painting process. This attention to detail sets the stage for a professional-looking customization that reflects your creativity and style. With the keyboard now prepped and ready, it’s time to move on to the exciting phase of applying the spray paint.
Applying the Spray Paint
Now that your MIDI keyboard is meticulously prepared, it’s time to embark on the exciting phase of applying the spray paint. This step requires patience, precision, and attention to detail to achieve a flawless and professional-looking finish. Here’s a guide to effectively applying spray paint to your MIDI keyboard:
- Choose the Right Environment: Select a well-ventilated area with minimal dust and debris to avoid contamination of the paint. If possible, create a makeshift spray booth using plastic sheets to minimize overspray and ensure a controlled painting environment.
- Shake the Spray Paint Can: Thoroughly shake the spray paint can according to the manufacturer’s instructions to ensure proper mixing of the paint components. This step is crucial for achieving an even and consistent application.
- Test Spray: Before applying the paint to the keyboard, perform a test spray on a piece of cardboard or scrap material to check the nozzle’s spray pattern and the consistency of the paint flow.
- Even Spraying Technique: Hold the spray paint can approximately 6-8 inches away from the keyboard’s surface and apply the paint using smooth, overlapping strokes. Maintain a consistent distance and speed to achieve an even coat without causing drips or uneven coverage.
- Multiple Thin Coats: Rather than applying a thick coat of paint in one go, opt for multiple thin coats with adequate drying time between each application. This approach minimizes the risk of runs, bubbles, or uneven drying, resulting in a smoother and more professional finish.
- Allow for Proper Drying: After applying each coat, allow the paint to dry according to the manufacturer’s recommended drying time. Ensure that the keyboard is positioned in a dust-free area to prevent particles from settling on the wet paint.
- Inspect and Touch-Up: Once the final coat is applied and dried, carefully inspect the keyboard for any imperfections or areas that may require touch-ups. Address any uneven spots or blemishes with light sanding and additional coats as needed.
By following these steps and exercising patience throughout the painting process, you can achieve a professional-looking and visually captivating finish on your MIDI keyboard. The application of spray paint is a transformative stage that brings your creative vision to life, turning a standard keyboard into a personalized and visually striking piece of musical equipment.
Finishing Touches and Sealing
As you near the completion of the spray painting process for your MIDI keyboard, it’s essential to consider the finishing touches and sealing to ensure the longevity and durability of the custom paint job. These final steps contribute to the overall professional look of the customization and provide protection for the newly applied paint. Here’s a comprehensive guide to the finishing touches and sealing of your spray-painted MIDI keyboard:
- Clear Coat Application: Once the paint has fully dried, consider applying a clear coat to protect the finish and provide added durability. Select a clear coat designed for use over the specific type of spray paint you’ve used, whether it’s for plastic, metal, or other materials.
- Even Application: Apply the clear coat using the same even spraying technique employed during the painting process. Ensure that the clear coat is applied in thin, smooth layers to avoid drips or uneven coverage.
- Drying Time: Allow the clear coat to dry completely according to the manufacturer’s instructions. This step is crucial to ensure that the protective layer bonds effectively with the paint and provides the desired level of durability.
- Polishing and Buffing (Optional): For a glossy finish, consider lightly polishing and buffing the clear-coated surface using a fine automotive polishing compound. This step can enhance the shine and smoothness of the finish, providing a professional appearance.
- Reassembling (If Applicable): If you disassembled any parts of the keyboard before painting, carefully reassemble them once the clear coat has fully cured. Exercise caution to avoid scratching or damaging the freshly painted surface during reassembly.
- Final Inspection: After the clear coat has dried and any reassembly is complete, thoroughly inspect the keyboard for any imperfections, dust particles, or blemishes. Address any issues with light sanding and additional clear coat as necessary.
By attending to these finishing touches and sealing the spray-painted surface with a clear coat, you not only enhance the visual appeal of your MIDI keyboard but also safeguard the paint against scratches, fading, and general wear. These steps contribute to the overall professional quality of the customization, ensuring that your personalized keyboard remains a standout feature in your musical setup for years to come.
Conclusion
Congratulations on successfully completing the process of spray painting your MIDI keyboard! By embarking on this DIY project, you have not only personalized your musical equipment but also expressed your creativity and individuality through a visually striking customization. The transformation of your MIDI keyboard from a standard piece of gear to a personalized work of art is a testament to your dedication and artistic vision.
Throughout this guide, you’ve learned the essential steps involved in spray painting a MIDI keyboard, from selecting the right spray paint and preparing the surface to applying the paint and adding finishing touches. By meticulously following these steps and exercising patience and precision, you’ve achieved a professional-looking and durable finish that reflects your unique style and enhances your musical environment.
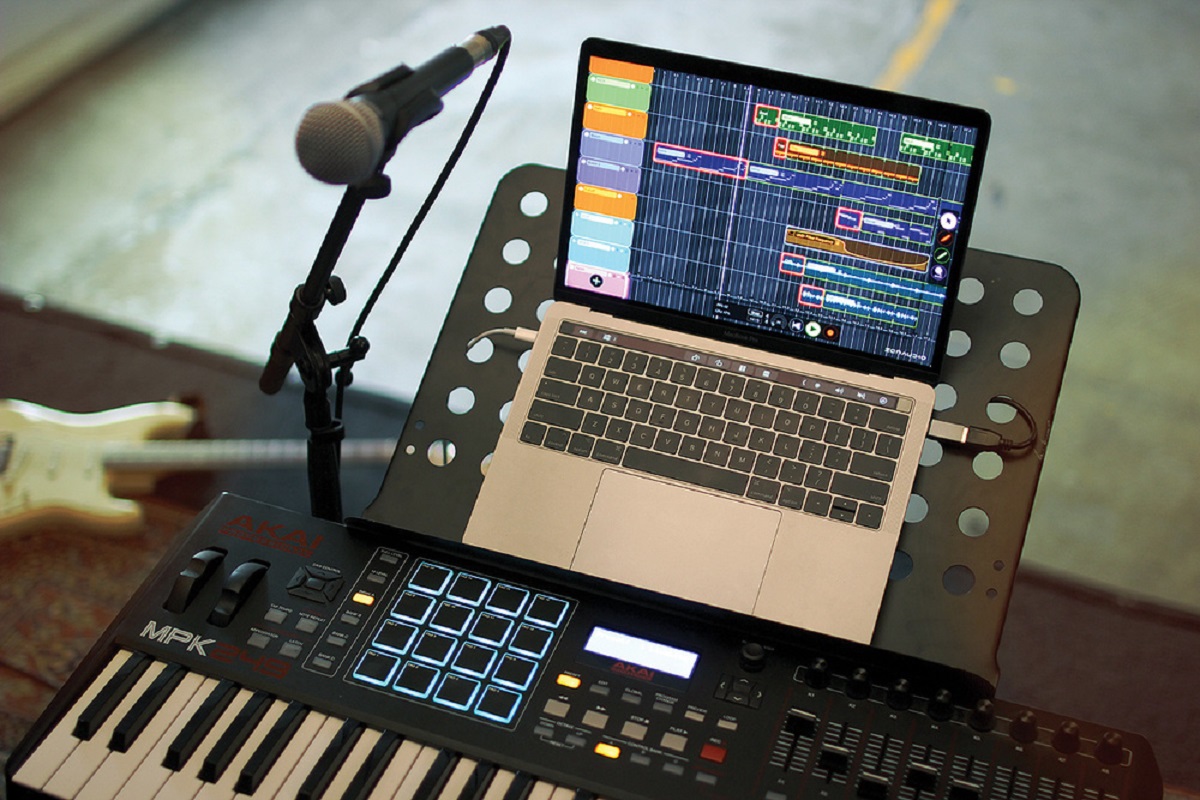
As you integrate your newly customized MIDI keyboard into your studio setup, take pride in the fact that you’ve transformed a functional piece of equipment into a visually captivating and personalized instrument. The custom paint job not only adds a touch of individuality to your musical workspace but also serves as a reflection of your passion for music and creativity.
Remember, the journey doesn’t end with the completion of this project. Embrace the opportunity to explore further customization ideas, experiment with different paint techniques, or share your experience with fellow musicians and DIY enthusiasts. Your spray-painted MIDI keyboard stands as a testament to your creativity and resourcefulness, inspiring others to embark on their own creative ventures.
So, as you admire your newly customized MIDI keyboard, take a moment to appreciate the artistry and personal expression that now graces this essential piece of your musical toolkit. Your creativity has breathed new life into your equipment, and your customized MIDI keyboard now stands as a unique and visually captivating extension of your musical identity.