Introduction
Introduction
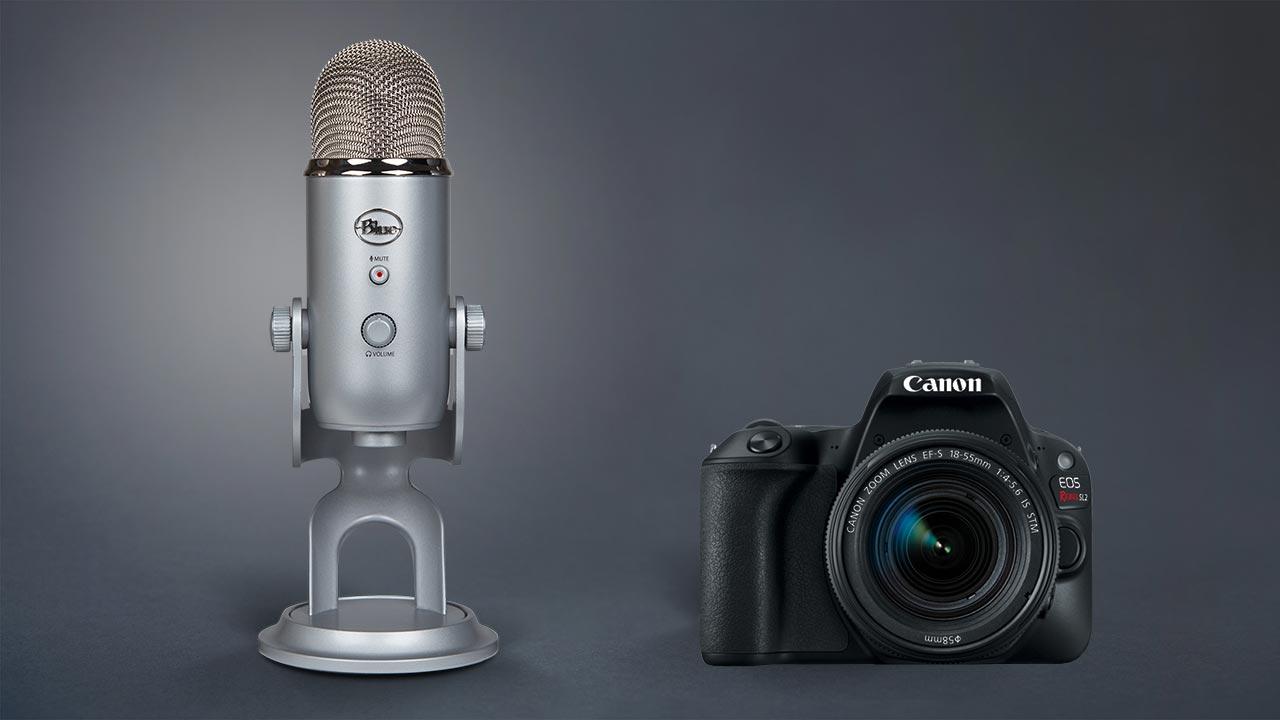
Welcome to the world of professional audio recording with DSLR cameras! If you're looking to elevate the audio quality of your DSLR videos, incorporating a condenser microphone into your setup can significantly enhance the overall production value. In this guide, we'll walk you through the process of connecting a condenser microphone to your DSLR, ensuring that you can capture crystal-clear audio alongside stunning visuals.
Whether you're a vlogger, filmmaker, or content creator, the ability to capture high-quality audio is paramount in engaging your audience and conveying your message effectively. While DSLR cameras excel in video recording, their built-in microphones often fall short in capturing clear and nuanced sound. By integrating a condenser microphone, you can achieve professional-grade audio that complements the visual excellence of your DSLR footage.
In the following sections, we'll delve into the intricacies of condenser microphones and DSLR cameras, providing a comprehensive understanding of both components. We'll then guide you through the process of connecting your condenser microphone to your DSLR, ensuring that you can harness the full potential of this audiovisual synergy.
Whether you're a novice or a seasoned videographer, this guide will equip you with the knowledge and practical skills to seamlessly integrate a condenser microphone into your DSLR setup. Let's embark on this journey to elevate your audio recording capabilities and unlock the full potential of your DSLR camera.
Understanding the Condenser Microphone
Understanding the Condenser Microphone
Before delving into the technicalities of connecting a condenser microphone to your DSLR, it’s essential to grasp the fundamental principles of this pivotal audio recording device. Unlike dynamic microphones, condenser microphones operate on the basis of capacitance, utilizing a diaphragm and a backplate to convert sound waves into electrical signals.
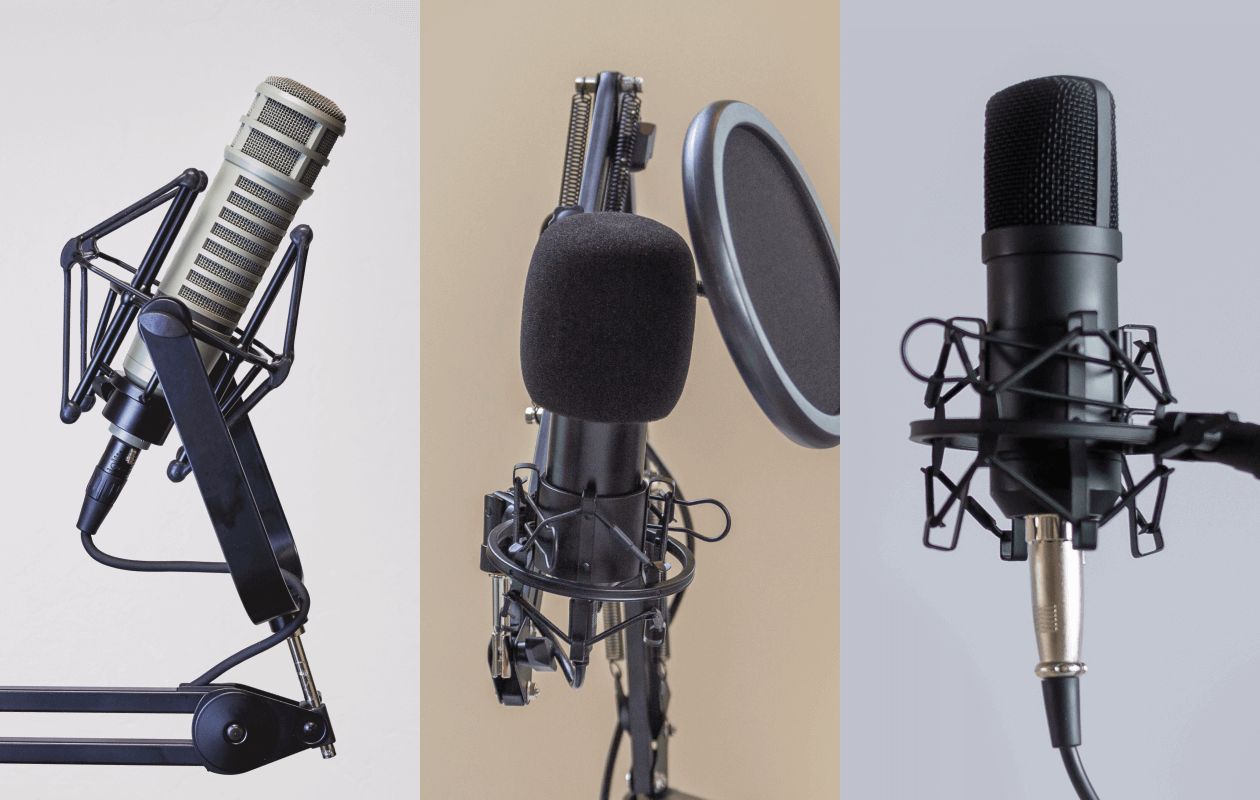
One of the distinctive features of condenser microphones is their sensitivity to high frequencies and transient sounds, making them ideal for capturing detailed and nuanced audio. This characteristic renders condenser microphones indispensable in recording vocals, acoustic instruments, and ambient sounds, enriching the overall auditory experience.
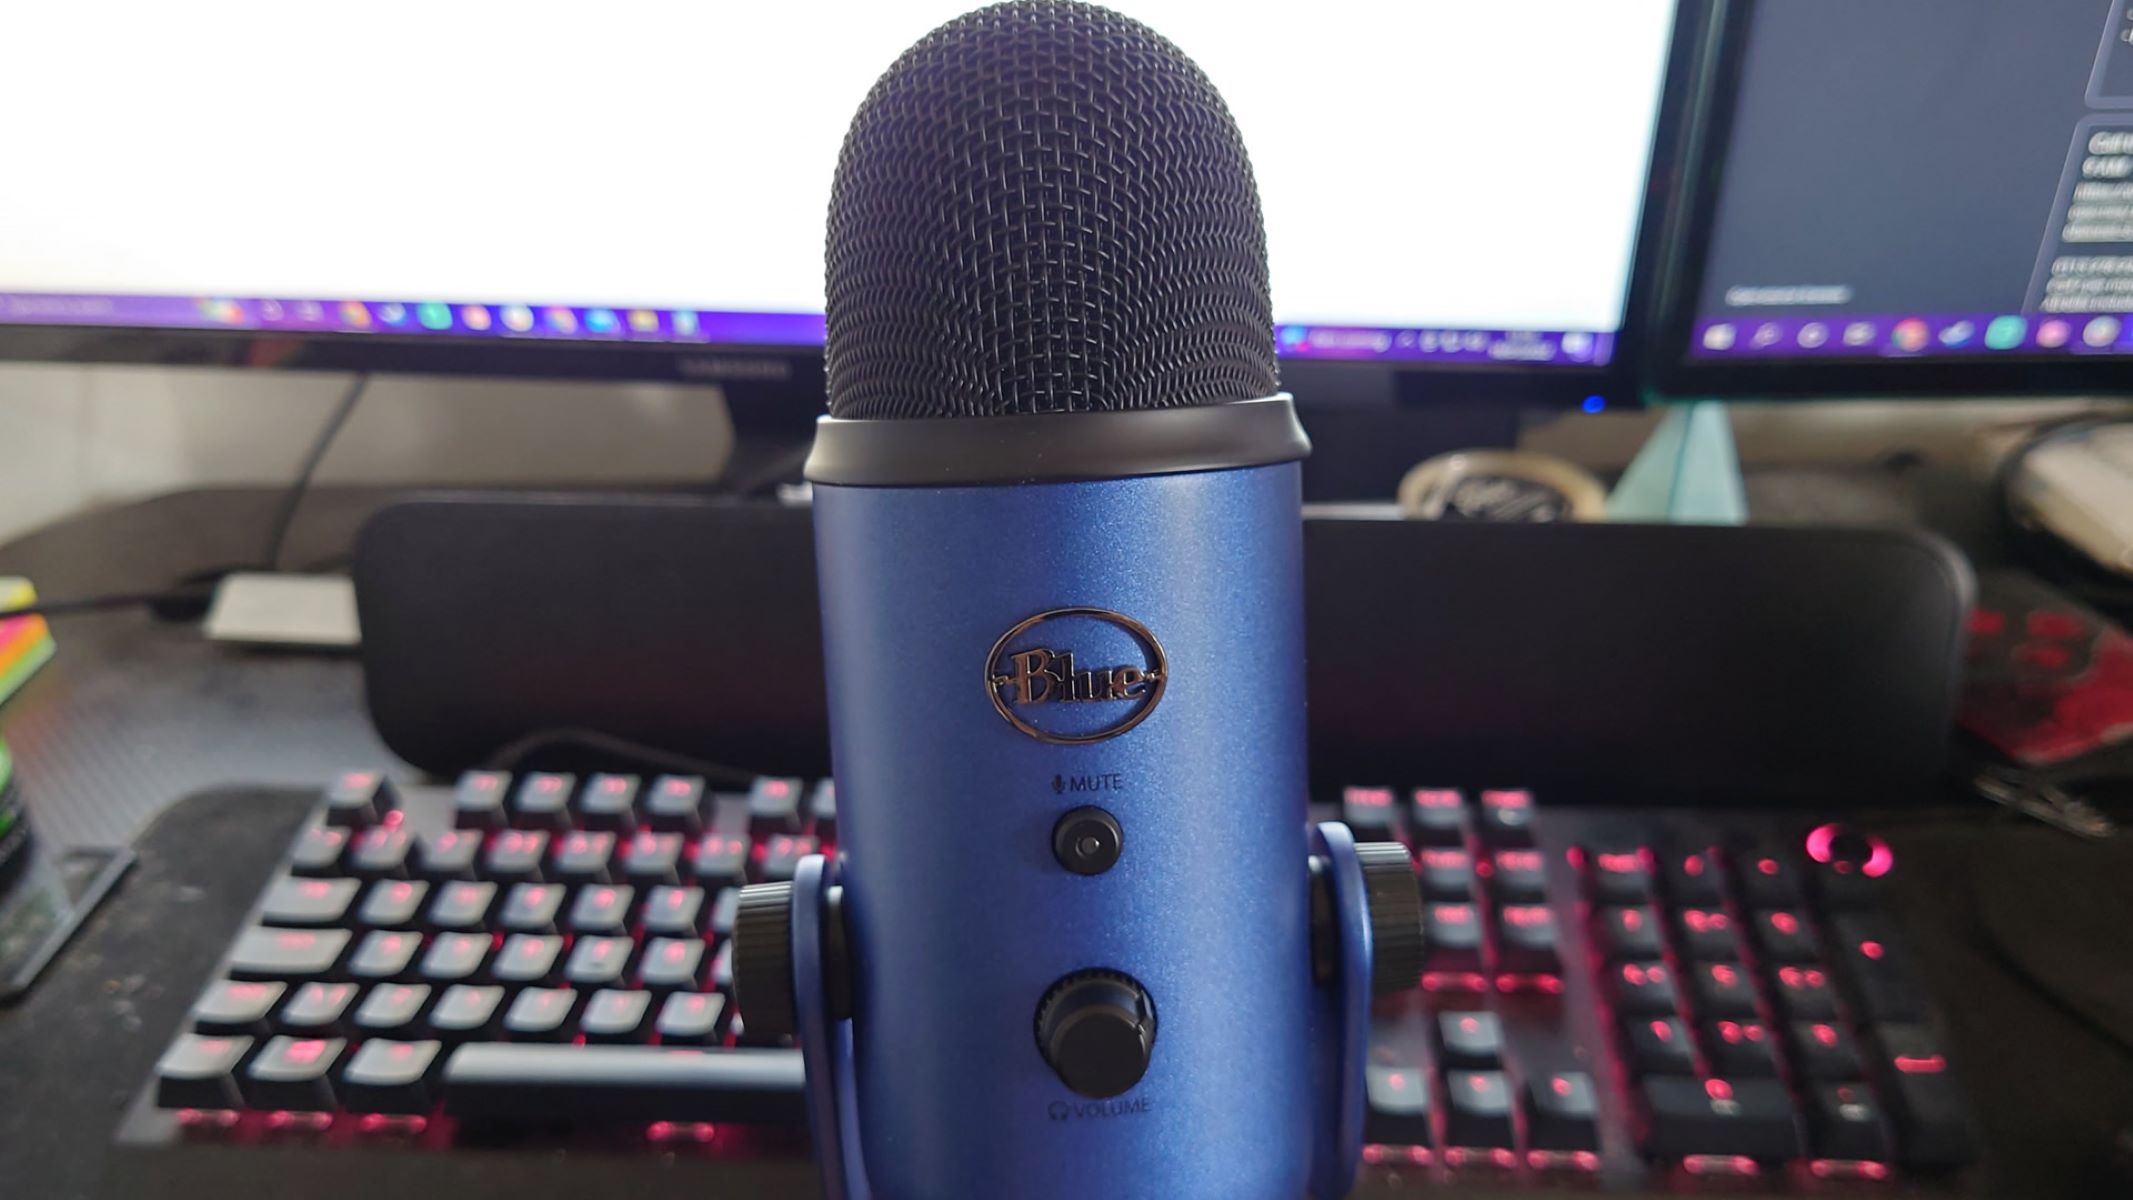
Furthermore, condenser microphones are available in both large-diaphragm and small-diaphragm variations, each offering unique sonic attributes. Large-diaphragm condenser microphones are renowned for their warmth and depth, making them a popular choice for vocal recording and studio environments. On the other hand, small-diaphragm condenser microphones excel in capturing intricate details and are favored for recording acoustic instruments and high-frequency sound sources.
It’s important to note that condenser microphones necessitate a power source, typically provided through phantom power or an internal battery. This power requirement is integral to the microphone’s operation and must be considered when integrating it into your recording setup.
Understanding the nuanced capabilities and power requirements of condenser microphones is crucial in harnessing their full potential when paired with a DSLR camera. By comprehending the intricacies of this essential audio recording tool, you’ll be well-equipped to optimize its performance within your DSLR setup.
Understanding the DSLR
Understanding the DSLR
Before integrating a condenser microphone into your DSLR setup, it’s paramount to familiarize yourself with the key features and functionalities of your DSLR camera. Digital Single-Lens Reflex (DSLR) cameras are renowned for their exceptional image quality, versatility, and manual control options, making them a popular choice for videographers and photographers alike.
DSLR cameras are equipped with large image sensors, enabling them to capture high-resolution videos with remarkable clarity and depth of field. The ability to interchange lenses provides unparalleled creative freedom, allowing you to adapt to diverse shooting scenarios and achieve varying perspectives.
Furthermore, DSLR cameras offer manual control over exposure settings, including aperture, shutter speed, and ISO, empowering you to fine-tune the visual aesthetics of your footage. This granular control is instrumental in achieving the desired cinematic look and maintaining consistency across different shooting environments.
In addition to their imaging capabilities, many modern DSLR cameras feature built-in audio recording functionality, allowing you to capture sound directly through an onboard microphone. However, the inherent limitations of built-in microphones often result in audio that lacks depth and clarity, underscoring the need for an external audio recording solution such as a condenser microphone.
Understanding the technical specifications and operational nuances of your DSLR camera is pivotal in optimizing its compatibility with external audio devices. By familiarizing yourself with the intricacies of your DSLR, you’ll be well-prepared to seamlessly integrate a condenser microphone, unlocking the full potential of your audiovisual productions.
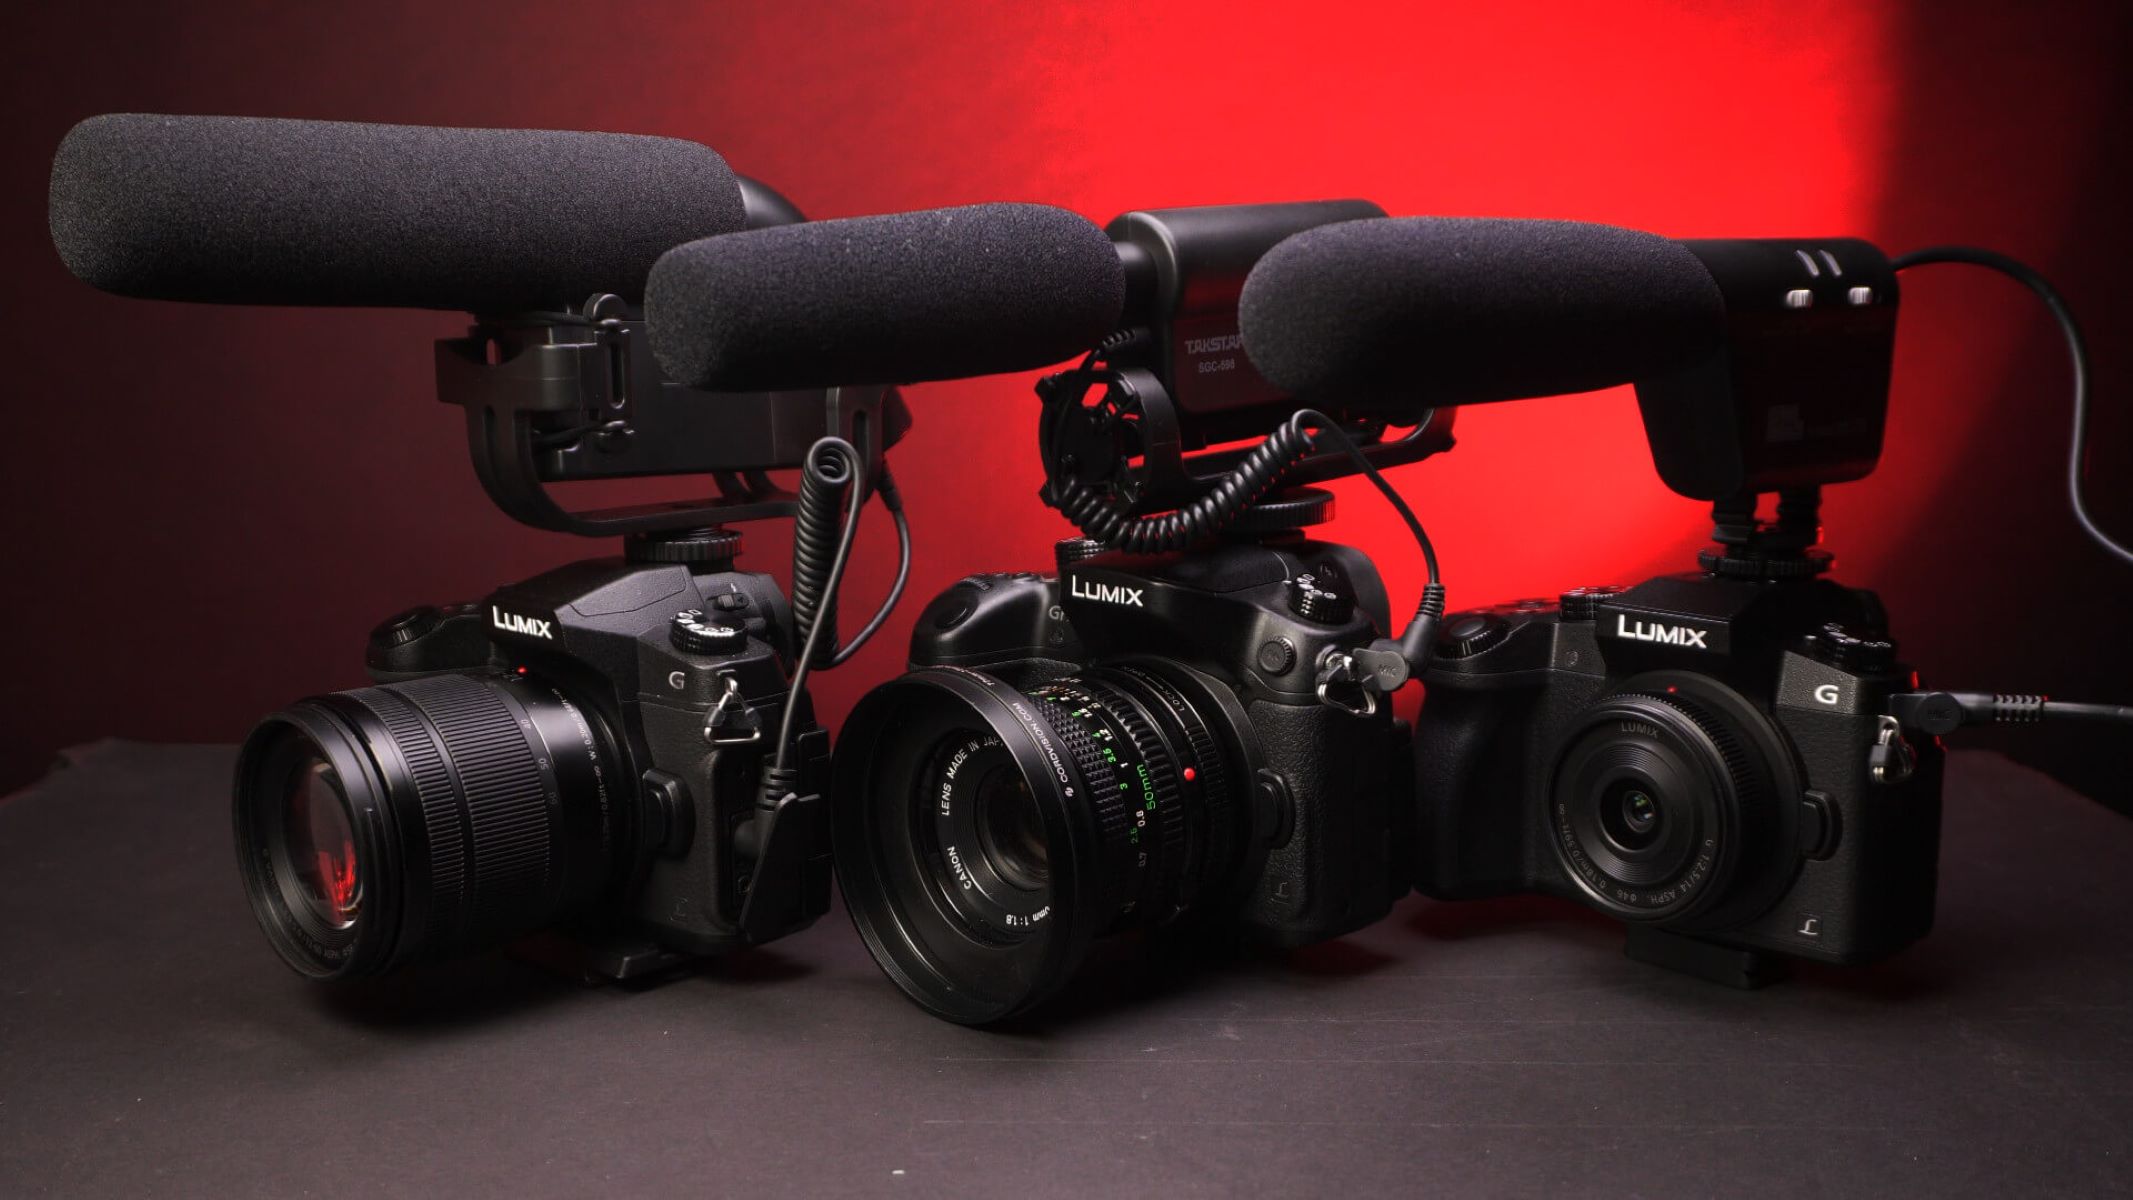
Connecting the Condenser Microphone to the DSLR
Connecting the Condenser Microphone to the DSLR
Now that we’ve gained a comprehensive understanding of condenser microphones and DSLR cameras, it’s time to explore the seamless process of integrating the two to elevate your audiovisual productions. The integration of a condenser microphone with your DSLR entails a few essential steps to ensure optimal audio capture and synchronization with your video footage.
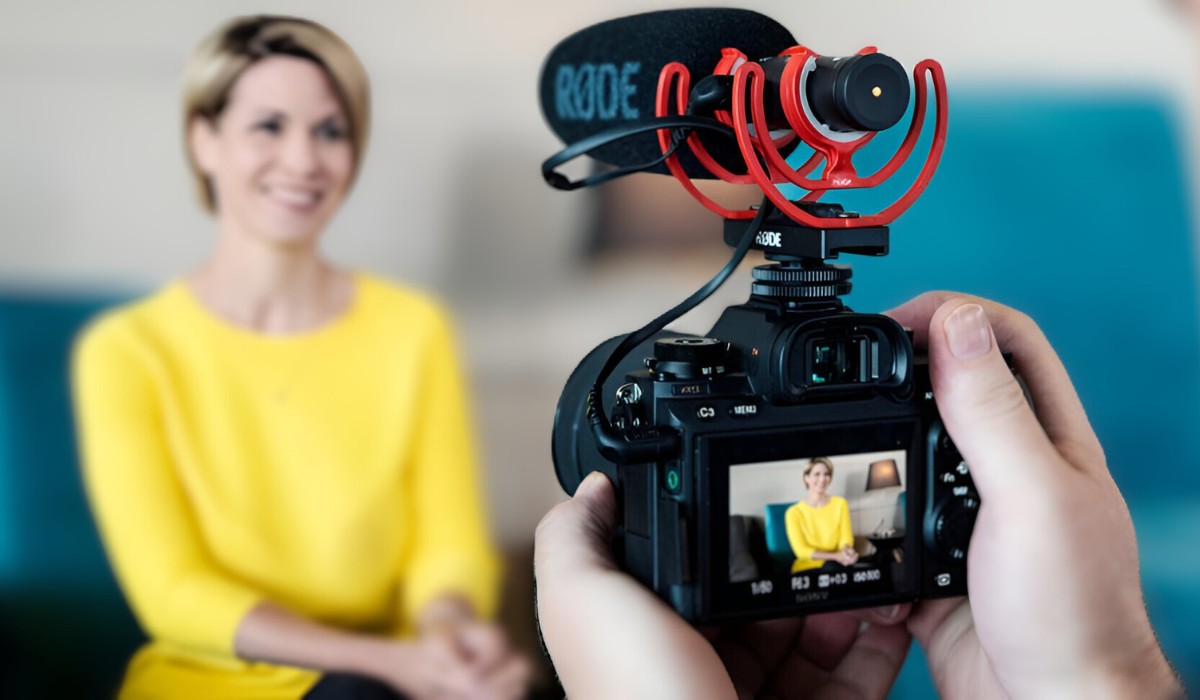
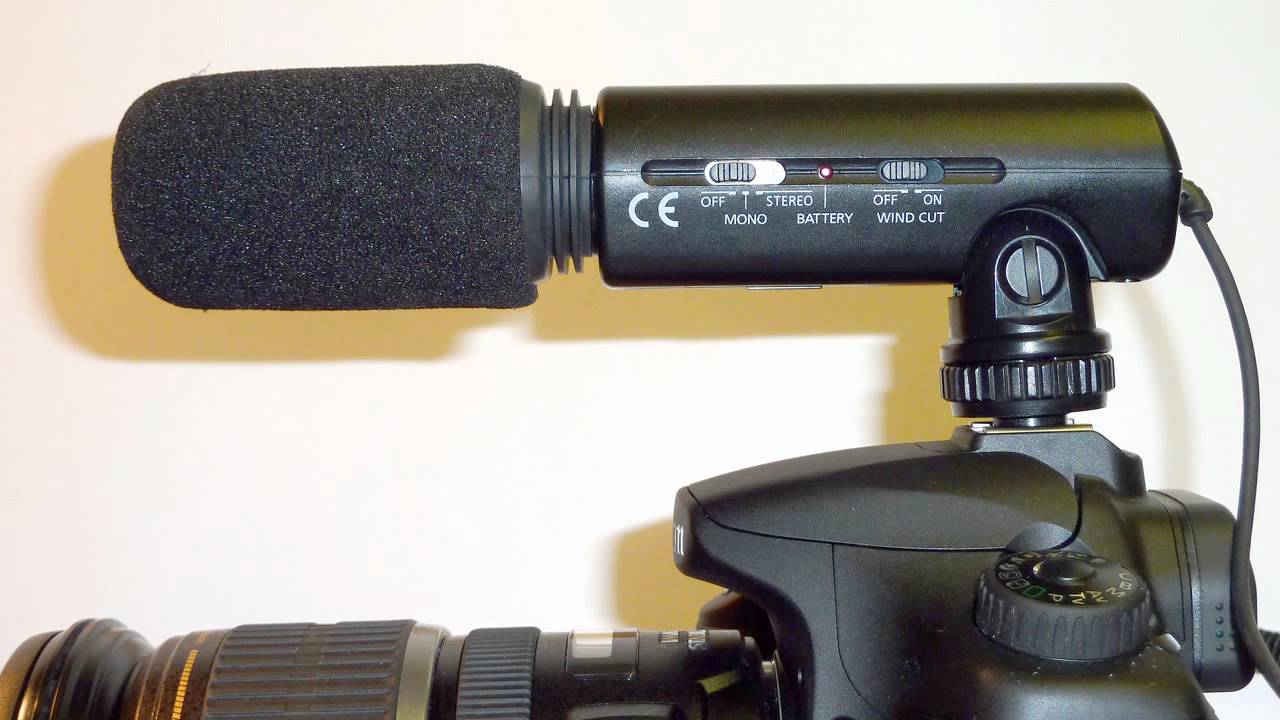
The primary method of connecting a condenser microphone to a DSLR involves utilizing the camera’s dedicated audio input, typically a 3.5mm microphone jack. This universal connection interface allows for direct audio input from an external microphone, enabling you to bypass the limitations of the camera’s built-in microphone and capture professional-grade audio.
Prior to connecting the condenser microphone, it’s imperative to verify the compatibility of the microphone’s output with the DSLR’s input requirements. Some condenser microphones feature XLR outputs, necessitating the use of an XLR to 3.5mm adapter or a dedicated audio interface to facilitate seamless connectivity with the DSLR.
Once the compatibility is confirmed, simply plug the condenser microphone’s output into the DSLR’s microphone input, ensuring a secure and snug connection to prevent audio interference or signal loss. Many DSLR cameras offer manual control over audio input levels, allowing you to adjust the microphone sensitivity to suit the recording environment and prevent audio clipping or distortion.
Furthermore, it’s advisable to monitor the audio levels through the DSLR’s built-in or external audio monitoring capabilities to ensure optimal sound quality during recording. This real-time monitoring enables you to make on-the-fly adjustments to the microphone placement and sensitivity, facilitating the capture of pristine audio that complements your visual storytelling.
By seamlessly connecting a condenser microphone to your DSLR, you’ll harness the combined power of exceptional visual and audio recording, elevating the overall quality of your productions and captivating your audience with immersive sensory experiences.
Testing the Setup
Testing the Setup
With the condenser microphone successfully connected to your DSLR, it’s time to put the integrated setup to the test and ensure that both the audio and video components harmonize seamlessly to deliver a captivating multimedia experience. Testing the setup encompasses various aspects, including audio monitoring, video recording, and post-production evaluation, allowing you to fine-tune the settings and optimize the performance of your audiovisual ensemble.
Commence the testing phase by conducting audio monitoring through the DSLR’s headphone output or an external monitoring device. This step enables you to assess the clarity, fidelity, and absence of unwanted noise in the recorded audio, ensuring that the condenser microphone captures the intended sound with precision and depth.
Simultaneously, initiate video recording with your DSLR, focusing on diverse scenes and audio environments to evaluate the synchronization of the captured audio with the corresponding visuals. Pay close attention to the coherence between the audio and video elements, verifying that the condenser microphone enhances the overall production value without overshadowing the visual narrative.
Upon completing the recording phase, transfer the audiovisual content to a computer or editing workstation for post-production evaluation. Scrutinize the recorded footage and audio tracks, identifying any discrepancies or areas for improvement in the integration of the condenser microphone with the DSLR. This critical review process allows you to refine the setup’s settings and optimize the audiovisual synergy for future productions.
Additionally, consider seeking feedback from peers or collaborators to gain diverse perspectives on the integrated setup’s performance. Constructive input from fellow creatives can provide valuable insights and recommendations for enhancing the audiovisual cohesion and maximizing the impact of your productions.
By meticulously testing the integrated condenser microphone and DSLR setup, you’ll not only validate the seamless connectivity and performance but also refine your technical proficiency in leveraging these tools to deliver compelling multimedia content. This iterative process of testing and refinement sets the stage for consistently elevating the quality of your audiovisual productions and captivating your audience with immersive sensory experiences.