Introduction
Playing bar chords on the acoustic guitar is a skill that every guitarist should aspire to master. Not only do bar chords allow you to play a wide range of chords and progressions, but they also add depth, versatility, and richness to your playing. Whether you’re a beginner or an intermediate player, learning how to play bar chords can be a game-changer for your guitar skills.
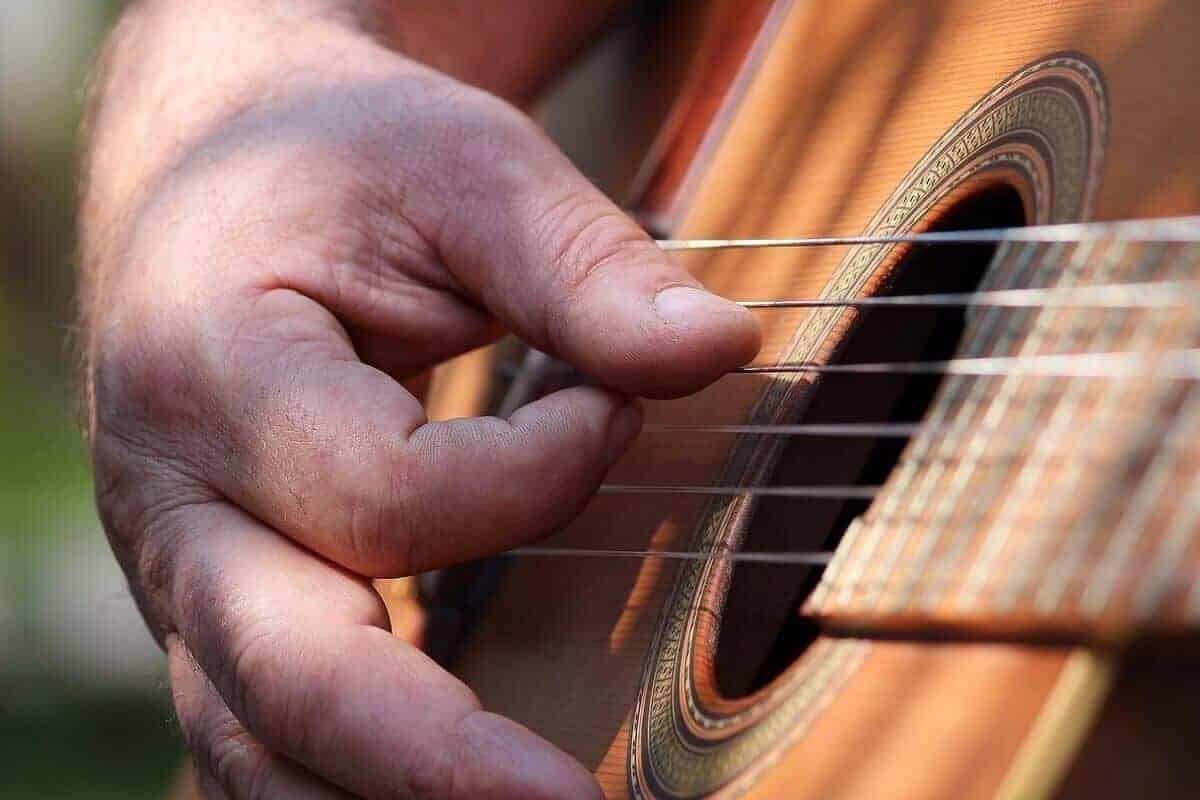
Bar chords, also known as barre chords, are formed by using one finger to press down multiple strings across the guitar neck. They serve as movable shapes that can be moved up and down the fretboard to play different chords. While they may seem intimidating at first, with practice and perseverance, you’ll be able to unlock a whole new world of guitar playing.
Not only are bar chords important for expanding your chord vocabulary, but they also improve your finger strength, dexterity, and overall technique. By developing the ability to play bar chords, you’ll be able to play complex chord progressions, transition smoothly between chords, and even play songs in different keys.
This article will guide you through the process of playing bar chords on the acoustic guitar. From understanding the anatomy of a bar chord to building strength and dexterity, we will cover everything you need to know to master this essential skill. We will also provide you with some valuable tips and techniques for practicing bar chords effectively and troubleshoot common problems that you may encounter.
So, if you’re ready to take your guitar playing to the next level, let’s dive into the world of bar chords and unlock the potential of the acoustic guitar.
Why Learn to Play Bar Chords?
Learning to play bar chords on the acoustic guitar offers numerous benefits that can elevate your playing to new heights. Here are some compelling reasons why it’s worth putting in the time and effort to master this essential skill:
- Expanded Chord Vocabulary: Bar chords allow you to play a wide variety of chords all over the fretboard. By mastering different bar chord shapes, you’ll have access to countless chord voicings and can easily play chords in any key.
- Mobility and Transposition: Bar chords are movable shapes, meaning you can easily move them up and down the neck to play chords in different keys. This ability to transpose songs on the fly gives you the freedom to play along with other musicians or adapt songs to suit your vocal range.
- Seamless Chord Progressions: With bar chords, you can create smooth and seamless chord progressions by sliding the same shape up and down the fretboard. This allows for more fluid transitions between chords and adds a professional touch to your playing.
- Enhanced Song Arrangements: Playing bar chords opens up new possibilities for arranging songs on the acoustic guitar. You can add intricate chord voicings, harmonies, and embellishments to make your performances more expressive and captivating.
- Improved Finger Strength and Dexterity: Bar chords require you to press down multiple strings with one finger, which helps develop strength and dexterity in your fretting hand. Regular practice with bar chords not only improves your ability to play them but also benefits your overall finger strength and guitar technique.
- Playing in Any Genre: Bar chords are widely used across different genres of music, including rock, pop, blues, folk, and more. By learning to play bar chords, you’ll have the versatility to tackle songs from various genres, expand your repertoire, and adapt to different musical styles.
As you can see, the advantages of learning bar chords extend far beyond simply expanding your chord knowledge. They offer practical benefits in terms of mobility, transposition, and creating dynamic chord progressions. Additionally, mastering bar chords enhances your technical skills and allows you to explore a wide range of musical genres.
Now that we understand the importance of bar chords, let’s dive into the anatomy of a bar chord and how to build the necessary strength and dexterity to play them proficiently.
The Anatomy of a Bar Chord
Understanding the anatomy of a bar chord is crucial for successfully playing these versatile and powerful chords on the acoustic guitar. At its core, a bar chord consists of two essential components: the barre and the chord shape.
The barre refers to the technique of using one finger, usually the index finger, to press down multiple strings across the fretboard. This creates a “bar” that acts as a movable nut, allowing you to form different chords at various positions on the neck. The key to a successful barre is to ensure that each string rings out clearly without any muted or buzzing notes.
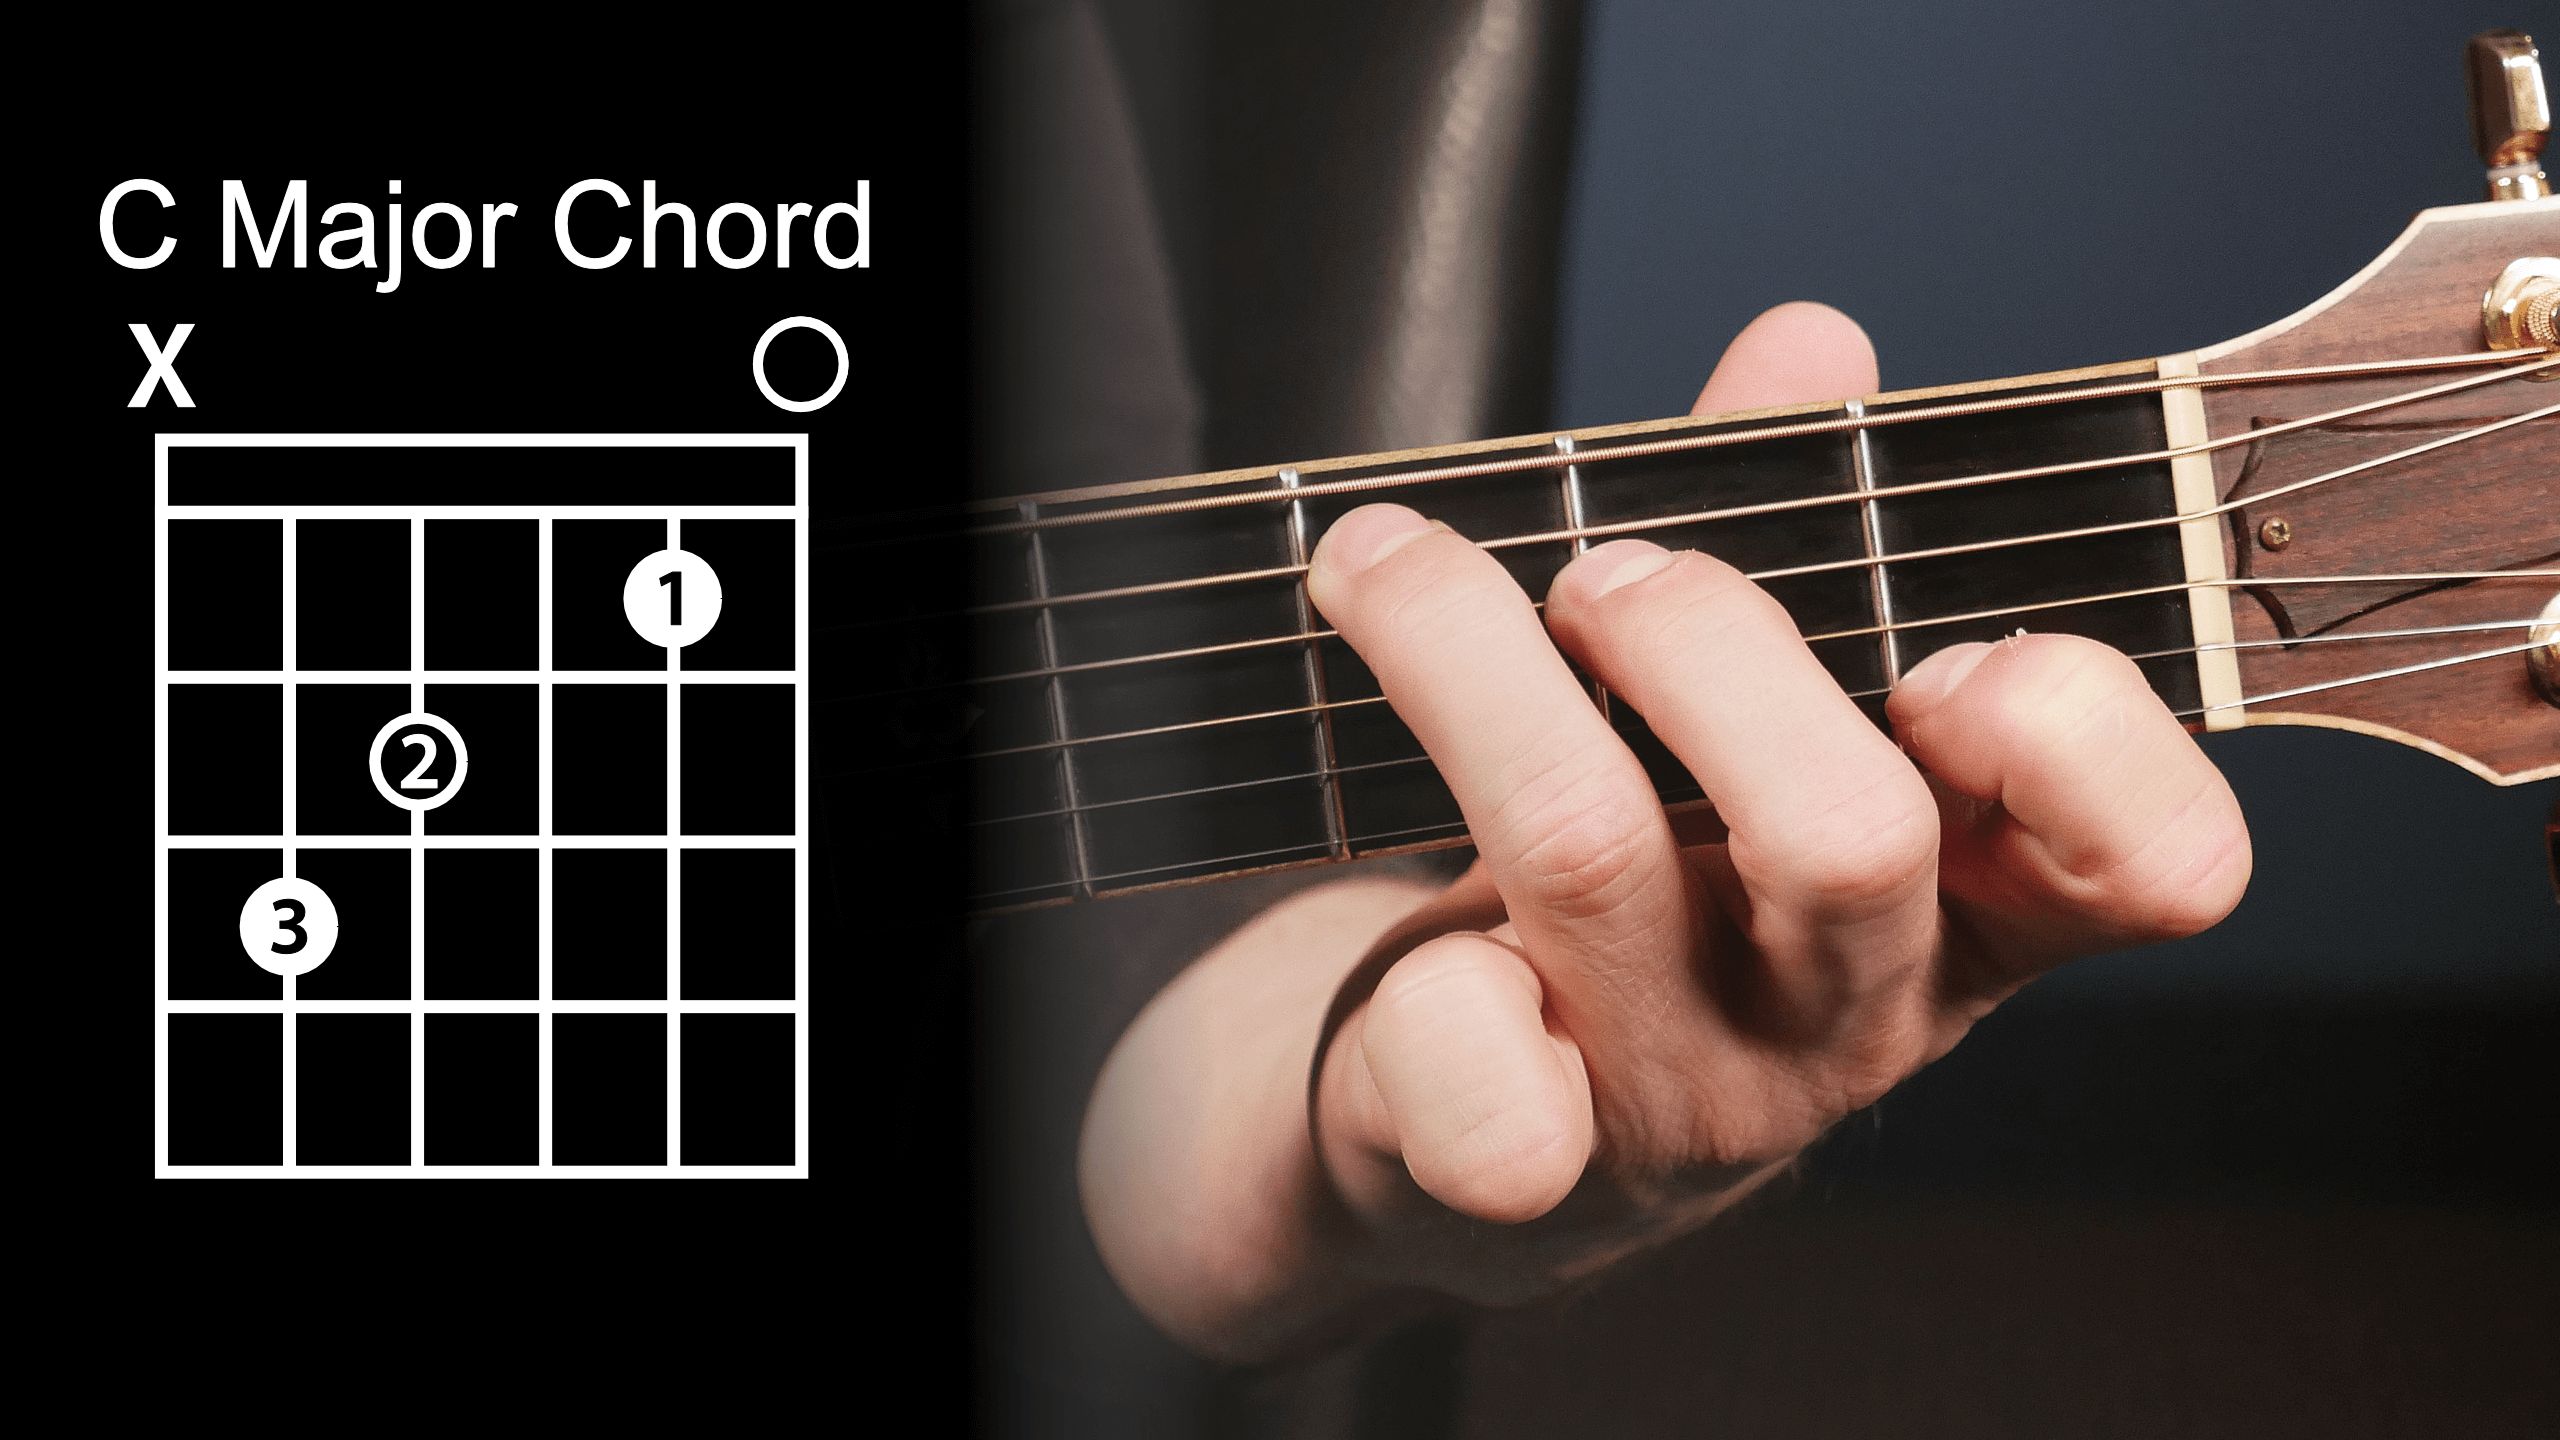
The chord shape refers to the finger positioning and placement on the fretboard. Bar chords are based on common open chord shapes, such as E, A, and D. With a barre, these shapes can be moved up and down the neck, creating different chords. For example, an open E major chord shape becomes an F major chord when played with a barre on the first fret.
When playing a bar chord, it’s important to note the root note, which determines the name and quality of the chord. The root note is located on the string being barred and typically indicated by a finger on the fretboard. By familiarizing yourself with the root notes, you’ll be able to transpose chords and navigate the fretboard more confidently.
To play a bar chord, follow these steps:
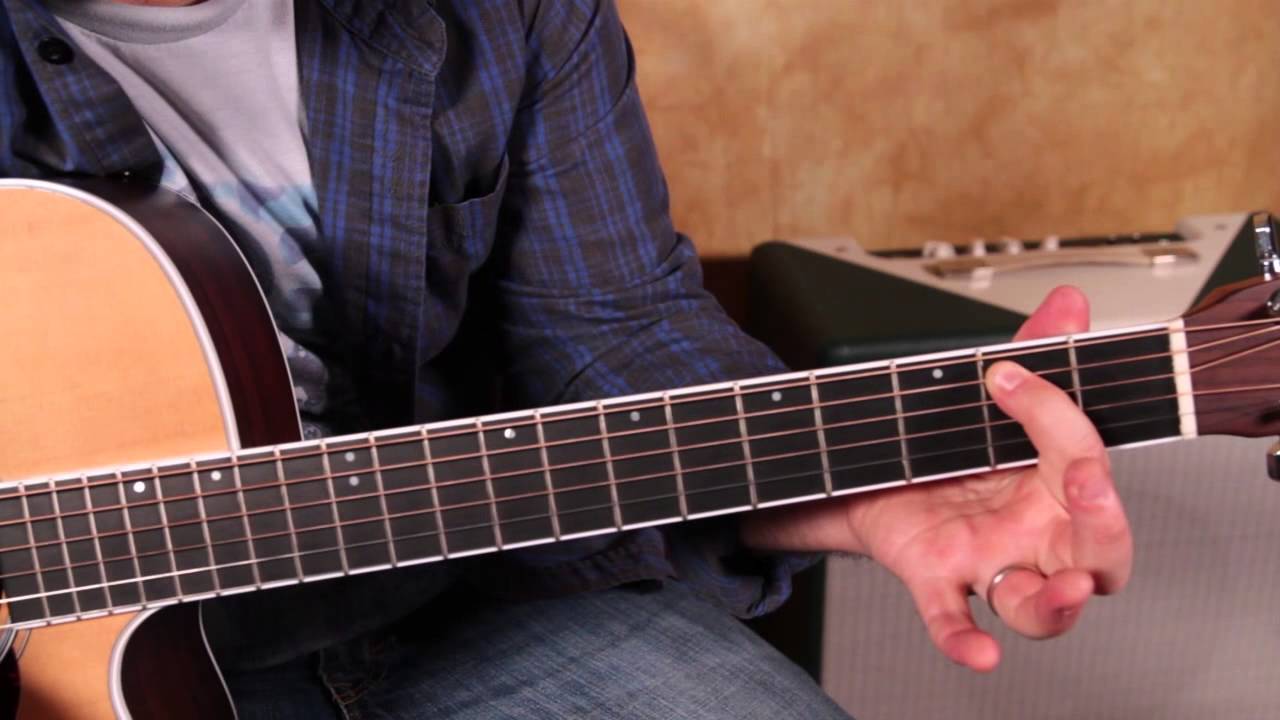
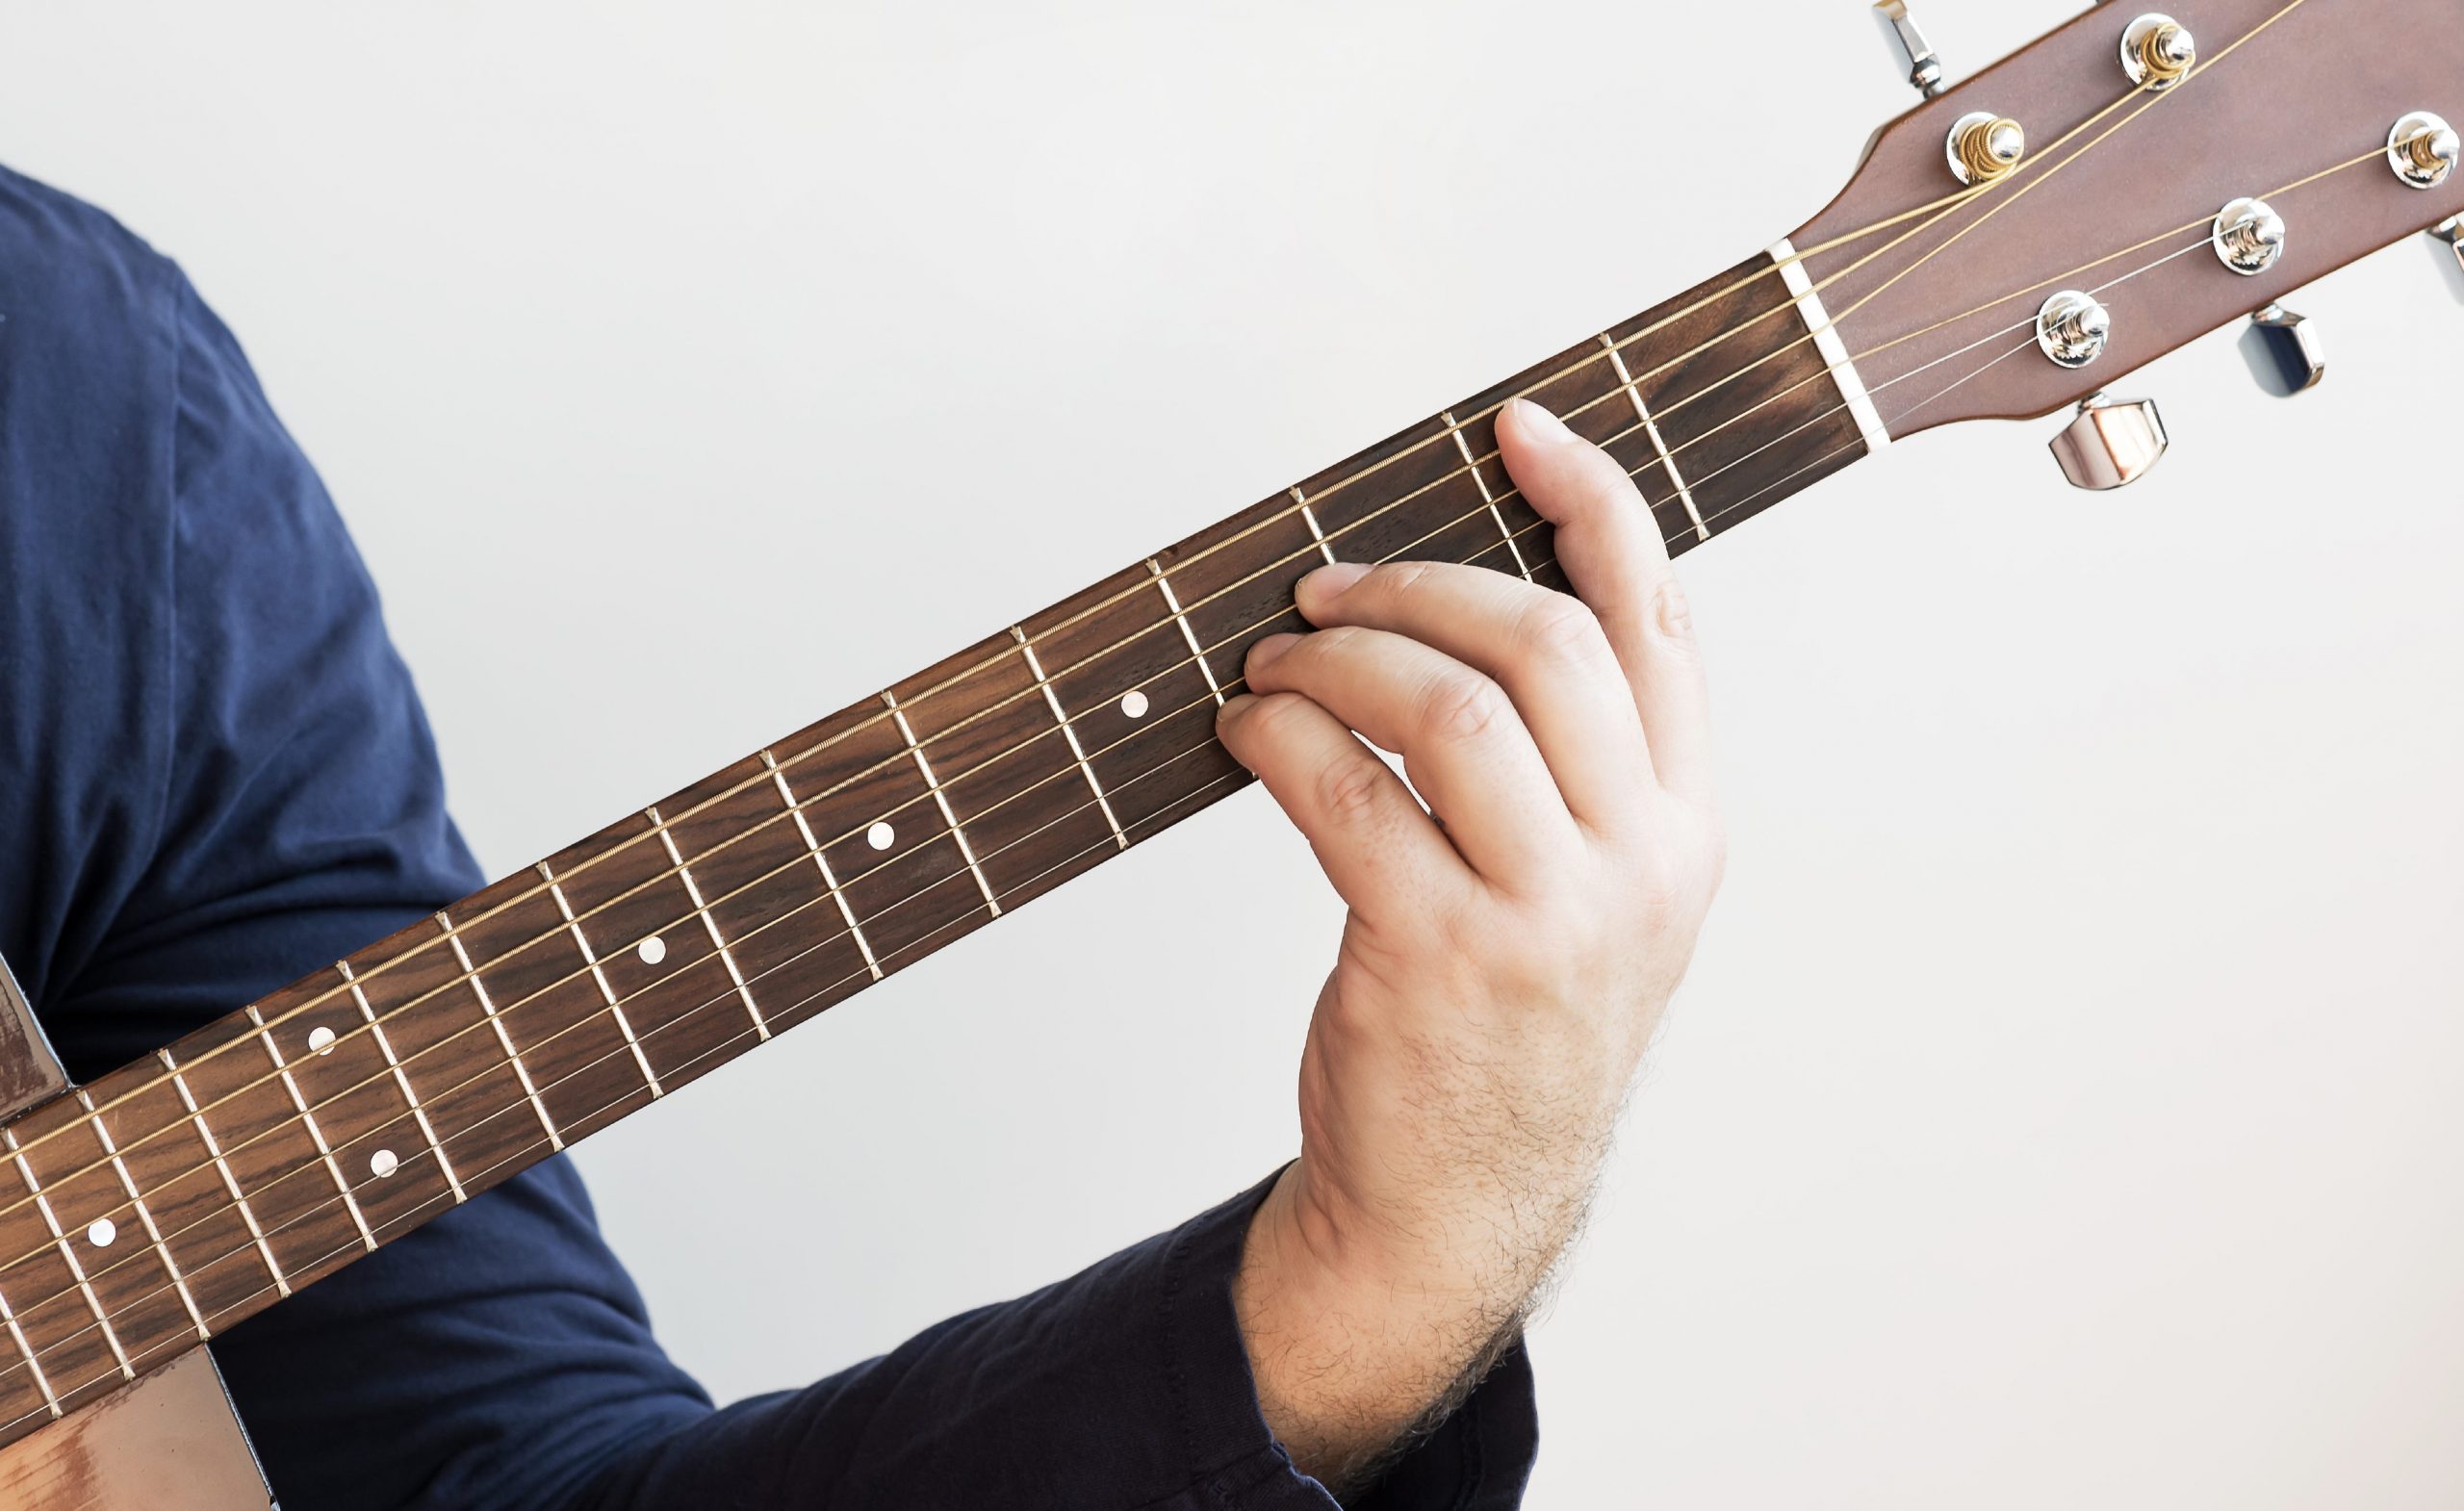
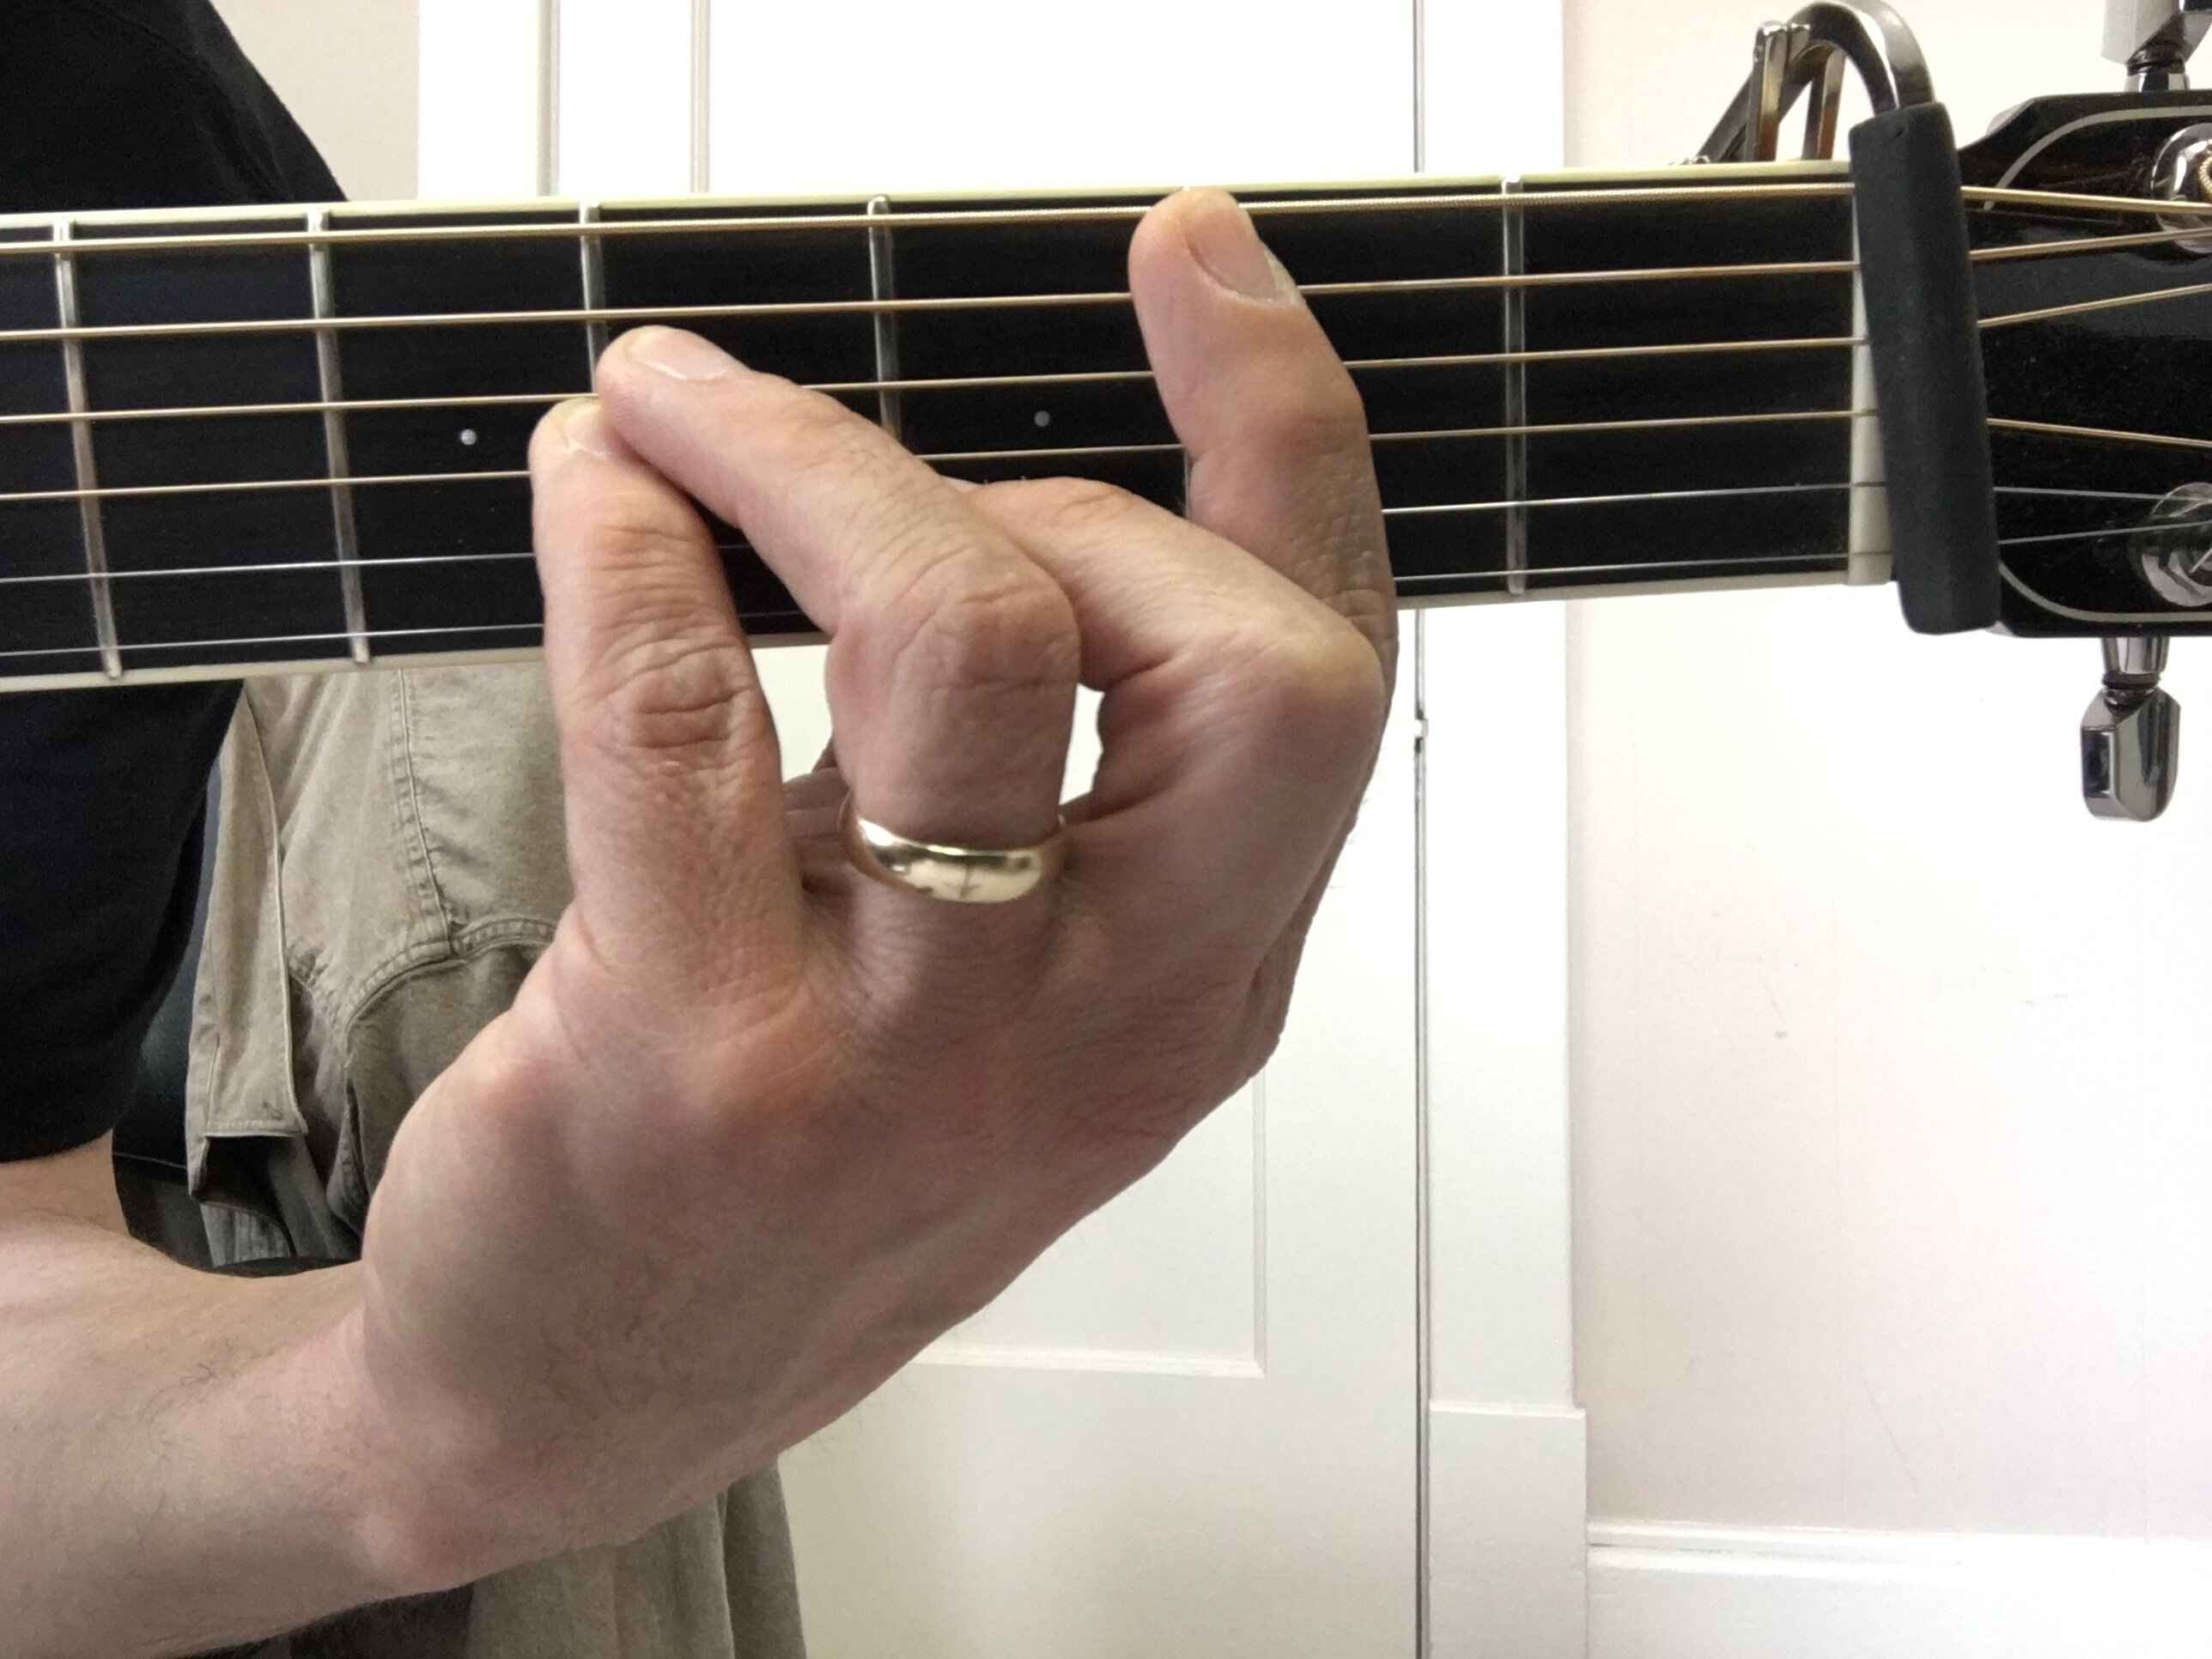
- Place your index finger flat across the fretboard, directly behind the desired fret. Make sure to apply even pressure on all strings, using the bony side of your finger to avoid muting any notes.
- Form the chord shape using your other fingers. Depending on the desired chord, you may need to use two, three, or four additional fingers to create the shape. Ensure that your fingers are pressing down on the appropriate strings and frets to create the desired chord voicing.
- Strum or pluck the strings starting from the barred position. Listen carefully and make any necessary adjustments to avoid any muted or buzzing notes.
Remember, playing bar chords takes practice, patience, and proper finger placement. Initially, it may be challenging to press down all the strings with enough pressure, but with time, your finger strength will develop, making it easier to play bar chords cleanly.
In the next section, we will explore exercises and techniques to help you build the necessary finger strength and dexterity required for playing bar chords effectively.
Building Strength and Dexterity
To play bar chords on the acoustic guitar with ease and precision, it’s important to develop the necessary finger strength and dexterity. Here are some exercises and techniques that will help you build a solid foundation:
1. Finger Strengthening Exercises
Regularly performing finger strengthening exercises will help you develop the strength needed to press down all the strings simultaneously when playing bar chords. You can try exercises like finger curls, squeezing a stress ball, or using finger resistance bands. These exercises specifically target the muscles in your fretting hand and promote overall finger strength.
2. Barre Technique Practice
Practicing the barre technique on its own is crucial to build the necessary finger strength and develop proper finger placement. Start by placing your index finger across the first fret and gradually move it up the neck while maintaining a clean sound on all the strings. Focus on maintaining an even pressure and lifting any fingers that might inadvertently dampen the strings. As you progress, increase the speed and accuracy of your barre technique.
3. Chord Transition Exercises
Working on chord transitions is essential for bar chord proficiency. Choose two or more bar chords and practice switching between them smoothly and quickly. Pay attention to lifting and placing your fingers precisely, without any unnecessary movement or loss of contact with the strings. Gradually increase the speed and complexity of the chord changes to challenge yourself and improve your dexterity.
4. Gradual Fretboard Progression
Instead of immediately attempting to play bar chords on the higher frets, begin by focusing on the lower frets where the strings require less pressure to produce clean sounds. As you become comfortable and confident, gradually move your chord shapes up the neck, challenging yourself to maintain clear notes and a proper barre technique.
5. Patience and Consistent Practice
Building strength and dexterity takes time and commitment. Incorporate regular practice sessions into your guitar routine, dedicating specific time to work on bar chords. The more consistently you practice, the faster you’ll progress. Be patient with yourself and celebrate small victories along the way.
By incorporating these exercises and techniques into your practice routine, you’ll steadily develop the finger strength and dexterity needed to play bar chords effortlessly. Remember, building these skills requires commitment, so don’t get discouraged if progress seems slow at times. With dedication and consistent effort, you’ll soon find yourself mastering bar chords and unlocking a world of guitar possibilities.
Common Bar Chord Shapes
There are several common bar chord shapes that every guitarist should become familiar with. These shapes serve as the foundation for playing a vast range of chords on the acoustic guitar. By mastering these shapes, you’ll gain the ability to play chords in different keys and positions on the fretboard.
Here are the three essential bar chord shapes:
1. E-shape Bar Chord
The E-shape bar chord is based on the open E major chord shape and can be moved up and down the neck to create different chords. To form an E-shape bar chord, place your index finger across all the strings on a specific fret, using it as a “bar” to fret the chord. Then, form the shape of a regular E major chord (or other chord variations) using your remaining three fingers.
2. A-shape Bar Chord
The A-shape bar chord is based on the open A major chord shape and functions similarly to the E-shape bar chord. To play an A-shape bar chord, place your index finger across all the strings on a specific fret and form the shape of a regular A major (or other chord variations) using your remaining three fingers.
3. D-shape Bar Chord
The D-shape bar chord is based on the open D major chord shape. Like the E and A shapes, the D-shape bar chord can be moved up and down the neck. To form a D-shape bar chord, place your index finger across all the strings on a specific fret, mimicking the open D major chord shape. Use your other fingers to complete the chord formation.
Once you’ve mastered these three fundamental bar chord shapes, you’ll be able to play a wide variety of chords by simply moving them up and down the neck. Additionally, you can customize these shapes by adding or omitting fingers to create more complex and interesting chord voicings.
It’s important to note that the root note of the bar chord determines its name and quality. By knowing the root note’s position, you can easily identify and play different chords using these shapes. Take the time to practice transitioning between different bar chord shapes to improve your overall proficiency and versatility on the guitar.
Now that we’ve covered the common bar chord shapes, let’s explore some tips and techniques for practicing bar chords effectively and overcoming common challenges.
Practicing Bar Chords: Tips and Techniques
Practicing bar chords is essential to build fluency, accuracy, and confidence in playing these versatile chords on the acoustic guitar. Here are some tips and techniques to help you effectively practice bar chords:
1. Start Slow and Gradually Increase Tempo
When practicing bar chords, it’s important to start slowly and focus on accuracy and clarity. Begin by placing your fingers on the fretboard and strumming the chord, ensuring that each string rings out cleanly. Once you can play the chord comfortably and cleanly at a slow tempo, gradually increase the speed while maintaining the quality of sound. This gradual increase in tempo will build muscle memory and improve your overall proficiency.
2. Use a Metronome
Practicing with a metronome is highly beneficial for bar chord development. Set the metronome to a slow and steady tempo and synchronize your chord changes with each click. This helps improve your timing, precision, and coordination. As you become more comfortable, gradually increase the metronome speed to challenge yourself and improve your dexterity.
3. Practice Chord Transitions
Focus on transitioning smoothly between different bar chord shapes. Start by selecting two chords and practice switching back and forth between them. As you gain proficiency, add more chords to the sequence. Pay attention to maintaining proper finger placement and keeping the barred strings ringing clearly. Practicing chord transitions will improve your muscle memory and facilitate seamless chord changes in songs.
4. Segment Practice
If you’re struggling with a specific bar chord shape, break it down into smaller segments. Rather than attempting the full chord all at once, start by barring only a few strings and gradually add more as you become comfortable. This segmented practice allows you to focus on the challenging elements of the chord and gradually build up to the complete shape.
5. Experiment with Variations
Once you have a solid foundation with the basic bar chord shapes, don’t be afraid to experiment with variations. Explore different finger placements, add or remove fingers, and explore different voicings within the same bar chord shape. This experimentation will expand your chord vocabulary and bring variety to your playing.
Remember, consistent practice and patience are key when it comes to mastering bar chords. Break down the chords into manageable segments, practice chord transitions with a metronome, and gradually increase the tempo. With time, dedication, and these effective practice techniques, you’ll develop the skills necessary to play bar chords confidently and seamlessly.
Troubleshooting Common Bar Chord Problems
Playing bar chords on the acoustic guitar can present some challenges, especially for beginners. However, by addressing common issues and implementing effective solutions, you can overcome these obstacles and improve your bar chord technique. Here are some common bar chord problems and troubleshooting techniques:
1. Muted or Buzzing Strings
If you’re experiencing muted or buzzing strings when playing bar chords, the most common culprit is insufficient finger pressure. Ensure that your index finger is pressing down firmly on all strings, using the bony side of your finger to create a solid bar. If the issue persists, check your finger positioning and adjustments to avoid inadvertently muting any strings.
2. Finger Fatigue
Bar chords can be physically demanding, especially for beginners. If you find yourself experiencing finger fatigue, take short breaks during practice sessions to rest your hand and fingers. Gradually increase practice durations as your finger strength and endurance improve over time. Regular finger-strengthening exercises and warm-up routines can also help reduce fatigue and improve stamina.
3. Difficulty with Fretting Hand Stretch
Some bar chords require a larger reach or finger stretch, which can be challenging for players with smaller hands. To overcome this, practice stretching exercises that gradually increase in difficulty. Begin by stretching between adjacent frets and gradually work your way up to more significant stretches. Also, experiment with alternate fingerings or variations of the same chord shape to find comfortable positions that work for your hand size.
4. Clean Transition Between Chords
Transitioning smoothly between bar chords can be a struggle, particularly when moving from one shape to another. The key to clean transitions is coordination and accuracy. Practice slowly and focus on lifting the necessary fingers and placing them accurately on the next chord shape. Gradually increase speed while maintaining precision. Breaking down the transitions into smaller segments and practicing them individually can also improve your overall transition proficiency.
5. Strumming Hand Control
The strumming hand has an essential role in producing clean, consistent sounds when playing bar chords. Ensure that your strumming hand is relaxed and uses an appropriate strumming pattern for the style of music you’re playing. Maintaining consistent rhythm and dynamics will enhance the clarity and impact of your chord voicings.
Remember, developing proficiency in playing bar chords takes time, patience, and consistent practice. Don’t get discouraged by initial difficulties. Identify the specific challenges you’re facing, implement targeted solutions, and celebrate your progress along the way. With perseverance, you will overcome common bar chord problems and unlock the full potential of these versatile chords on the acoustic guitar.
Transposing Songs with Bar Chords
One of the great advantages of learning bar chords on the acoustic guitar is the ability to easily transpose songs to different keys. Transposing songs allows you to adapt them to your vocal range or play along with other musicians. Here are some techniques and tips for transposing songs using bar chords:
1. Identify the Original Key
Begin by determining the key of the original song. This information can be found in the sheet music, chord charts, or by listening to the recording. Knowing the original key will serve as a reference point for transposing the song to a different key.
2. Choose a Desired Key
Select the key in which you want to play the song. Consider factors such as your vocal range, the mood you want to create, or the preferences of other musicians you are playing with. Keep in mind that bar chords allow you the flexibility to play in any key.
3. Determine the Chord Relationship
Understand the relationship between chords in the original key and the desired key. For example, if the original song uses an open E major chord, you’ll need to find the corresponding bar chord shape in the desired key. Use the movable shapes you’ve learned, such as the E-shape, A-shape, or D-shape bar chords, to create the same chord quality in the new key.
4. Apply Transposition Technique
To transpose a song using bar chords, simply move the entire chord progression up or down the fretboard using the same chord shapes. The root note of the bar chord determines the name and quality of the chord. By preserving the relationship between the chords in the original song, you’ll maintain the structure and musicality of the piece.
5. Practice and Refine
Once you have transposed the song to the desired key, practice playing the new chord progression using the appropriate bar chord shapes. Take note of any adjustments or modifications needed to ensure smooth transitions between chords and maintaining the overall feel of the song. Refine your playing through consistent practice and attentive listening to the original recording or reference material.
Transposing songs using bar chords opens up a world of possibilities for expressing your musicality and adapting songs to your playing style. As you become more comfortable with transposition, you’ll be able to confidently play songs in any key, expanding your repertoire and collaborating with other musicians more easily.
Now that we’ve explored transposition techniques, let’s conclude our journey through bar chords and their applications on the acoustic guitar.
Conclusion
Learning to play bar chords on the acoustic guitar is an essential skill that can greatly enhance your playing abilities and open up a world of musical possibilities. The ability to form bar chords allows you to play a wide variety of chords and progressions, transpose songs to different keys, and add depth and versatility to your guitar playing.
In this article, we explored the importance and benefits of learning bar chords, delved into the anatomy of a bar chord, and provided tips and techniques for building strength and dexterity. We also covered common problems that may arise when playing bar chords and offered troubleshooting solutions. Additionally, we discussed how to transpose songs using bar chords, empowering you to adapt music to your vocal range or collaborate with other musicians effortlessly.
Remember, mastering bar chords takes time, patience, and consistent practice. Start slow, focus on accuracy, and gradually increase speed and complexity. Take time to strengthen your fingers, develop proper finger placement, and work on smooth chord transitions. As you progress, experiment with variations and explore the wide range of musical possibilities that bar chords offer.
By incorporating bar chords into your practice routine, you’ll expand your chord vocabulary, improve your finger strength and dexterity, and increase your versatility as a guitarist. Whether you’re strumming along to your favorite songs, performing in a band, or composing your own music, the knowledge and proficiency in bar chords will elevate your playing to new heights.
So, take on the challenge, practice consistently, and enjoy the journey of mastering bar chords on the acoustic guitar. With time, dedication, and perseverance, you’ll unlock the full potential of this versatile technique and watch your guitar playing skills flourish.