Introduction
So, you've been rocking out on your electric guitar, but you're ready to take your playing to the next level. With the advancement of technology, you can now make your electric guitar Bluetooth-compatible, allowing you to play through wireless speakers or connect to your favorite music apps without the hassle of cables. This transformation will not only enhance your playing experience but also open up a world of possibilities for experimenting with different sounds and effects.
In this comprehensive guide, I'll walk you through the step-by-step process of turning your beloved electric guitar into a Bluetooth-enabled instrument. Whether you're a tech-savvy musician or a passionate DIY enthusiast, this project is well within your reach with the right tools and a bit of patience. By the end of this tutorial, you'll be ready to unleash the full potential of your electric guitar in a wireless, connected world.
So, grab your tools, get ready to dive into the inner workings of your electric guitar, and let's embark on this exciting journey to make your electric guitar Bluetooth-compatible.
Step 1: Gather Your Materials
Before you begin the process of making your electric guitar Bluetooth-compatible, it’s essential to gather all the necessary materials and tools. Here’s a comprehensive list of what you’ll need:
- Electric Guitar: The guitar on which you’ll be working. Choose a well-maintained instrument with a solid body and stable hardware.
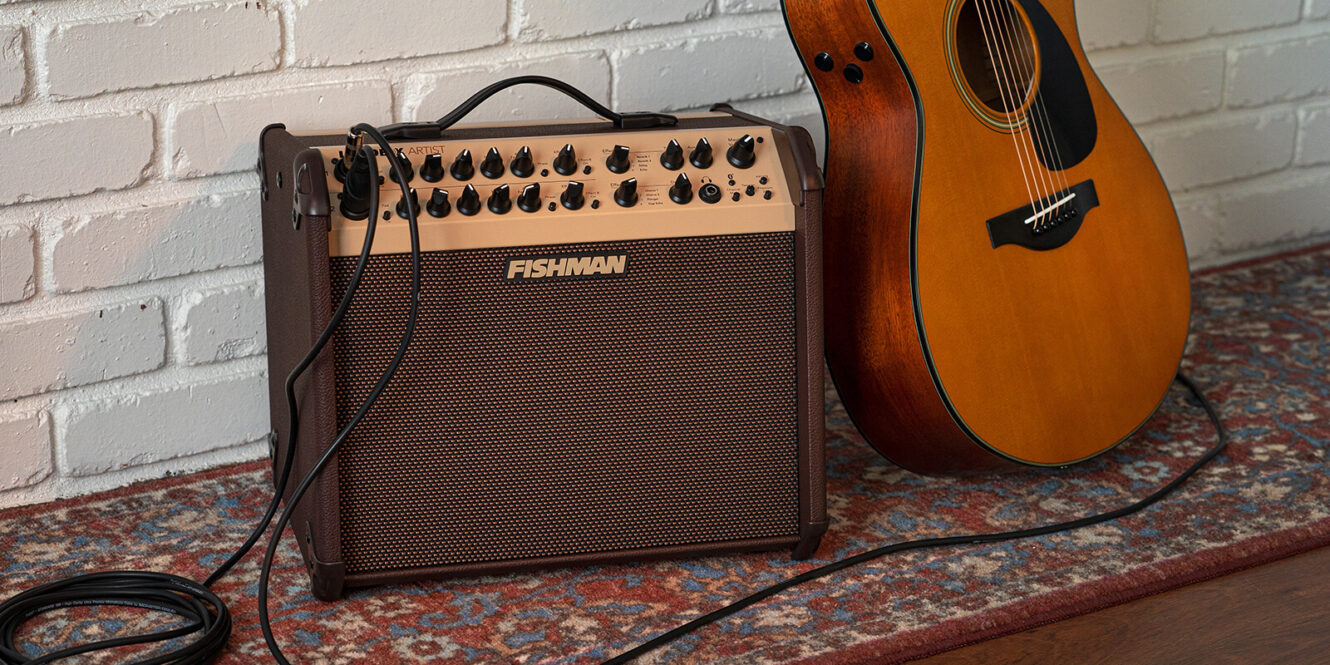
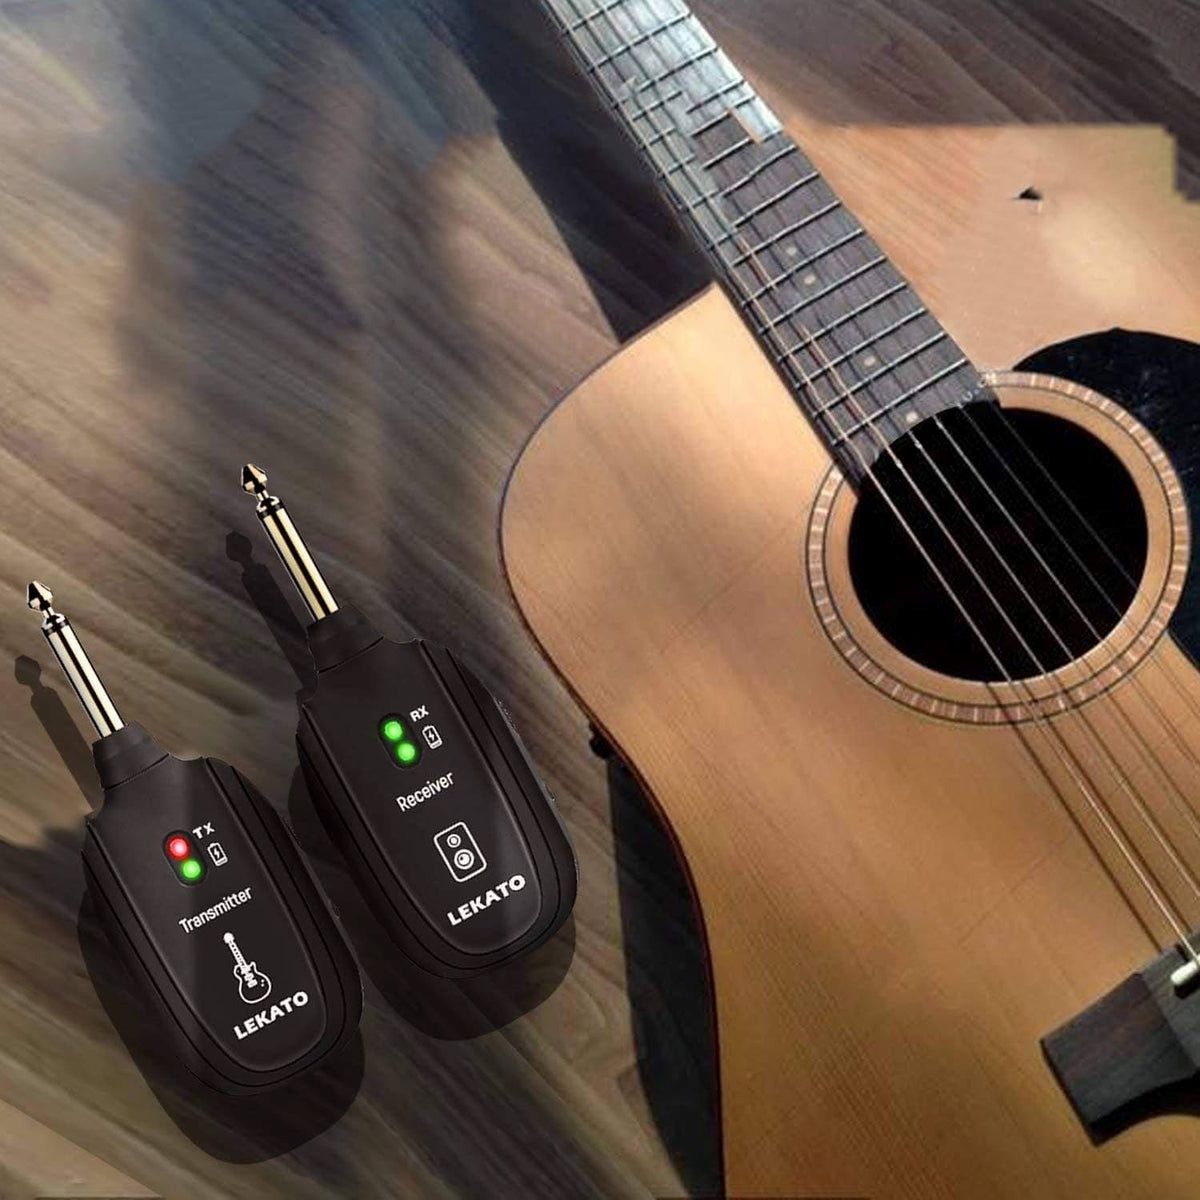
- Bluetooth Module: Select a high-quality Bluetooth module designed for audio transmission. Look for a module with reliable connectivity and low latency to ensure optimal performance.
- Soldering Iron and Solder: These tools are essential for connecting the Bluetooth module to the guitar’s electronics. Make sure your soldering iron is in good condition for precise and secure connections.
- Wire Cutters and Strippers: These tools will help you prepare the wires for connecting the Bluetooth module to the guitar’s circuitry.
- Screwdriver Set: You’ll need a set of screwdrivers to disassemble and reassemble the guitar’s components during the installation process.
- Electrical Tape: Use electrical tape to insulate and secure the wired connections, preventing any short circuits or unwanted interference.
- Wire and Connectors: Ensure you have the appropriate gauge of wire and compatible connectors to establish the necessary electrical connections.
- Protective Gear: Safety should always be a priority. Wear safety goggles and work in a well-ventilated area to avoid inhaling solder fumes.
- Reference Materials: Have the wiring diagram or schematic for your specific guitar model on hand. This will guide you in identifying the relevant components and connections.
With these materials assembled, you’re well-prepared to embark on the exciting journey of transforming your electric guitar into a Bluetooth-enabled marvel. The next steps will involve disassembling your guitar, installing the Bluetooth module, and meticulously reassembling the instrument to ensure seamless integration. Let’s dive into the intricacies of this process to bring your musical aspirations to life.
Step 2: Disassemble Your Electric Guitar
Before you can integrate the Bluetooth module into your electric guitar, you’ll need to carefully disassemble the instrument to access its internal electronics and components. This step requires precision and attention to detail to ensure that the disassembly process is conducted smoothly without causing any damage to the guitar. Here’s a systematic approach to disassembling your electric guitar:
- Prepare Your Workspace: Find a well-lit and spacious area where you can comfortably work on disassembling your guitar. Lay down a soft cloth or padded surface to protect the guitar’s finish during the process.
- Remove the Strings: Begin by loosening and removing the strings from the guitar. Carefully unwind them from the tuning pegs and bridge, taking care not to scratch the instrument’s body.
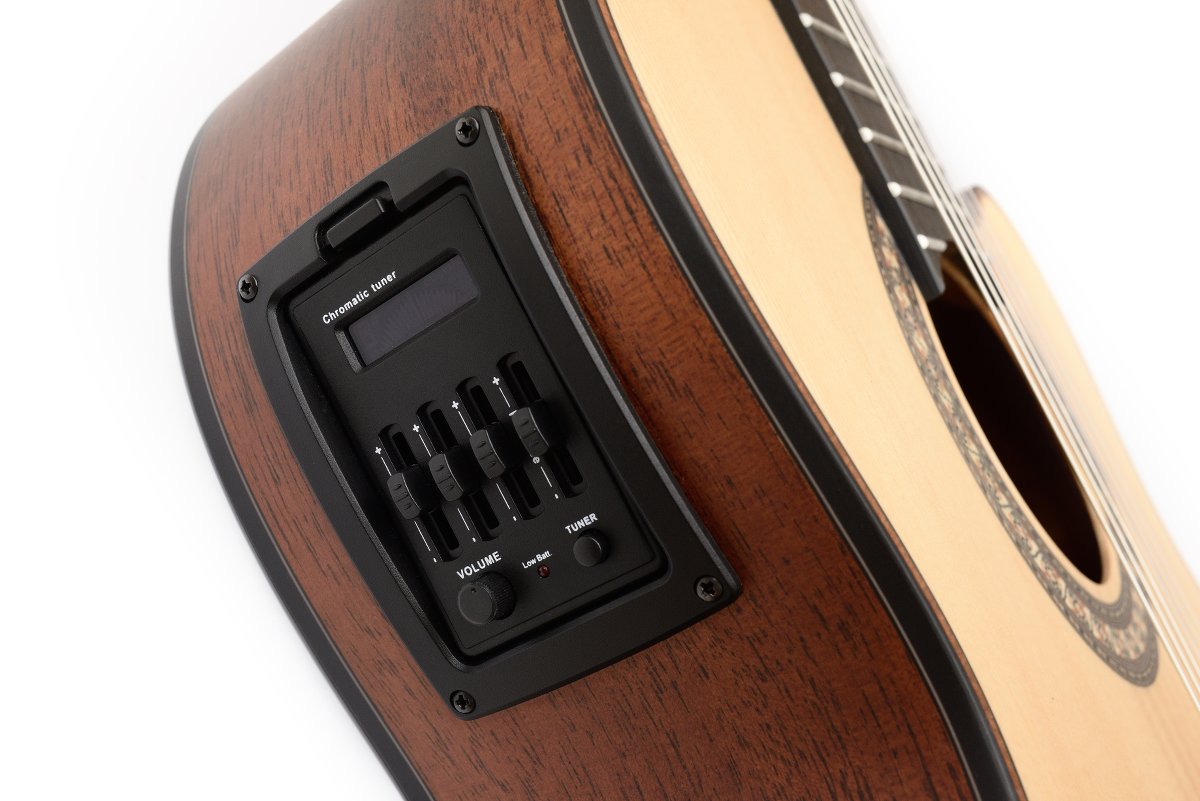
- Unscrew the Pickguard and Control Cavity Covers: Using an appropriate screwdriver, carefully remove the screws securing the pickguard and control cavity covers. Keep the screws organized to facilitate reassembly later.
- Disconnect the Electronics: Gently disconnect the wiring harness and any other electronic components from the guitar’s control cavity. Take note of the existing wiring configuration to ensure proper reconnection later.
- Remove the Pickups: If necessary, remove the pickups from the guitar’s body. This may require unscrewing mounting screws or springs, depending on the pickup type and configuration.
- Separate the Neck (If Required): For guitars with bolt-on necks, carefully loosen and remove the neck from the body, if needed for access to the internal electronics. Take care to support the neck and body to prevent any sudden movements or damage.
By methodically disassembling your electric guitar, you’ll gain access to the internal components and circuitry required for integrating the Bluetooth module. This meticulous approach sets the stage for the subsequent installation process, ensuring that each component is handled with care and precision. With the guitar disassembled and the internal electronics exposed, you’re ready to move on to the next crucial step: installing the Bluetooth module to enable wireless connectivity for your instrument.
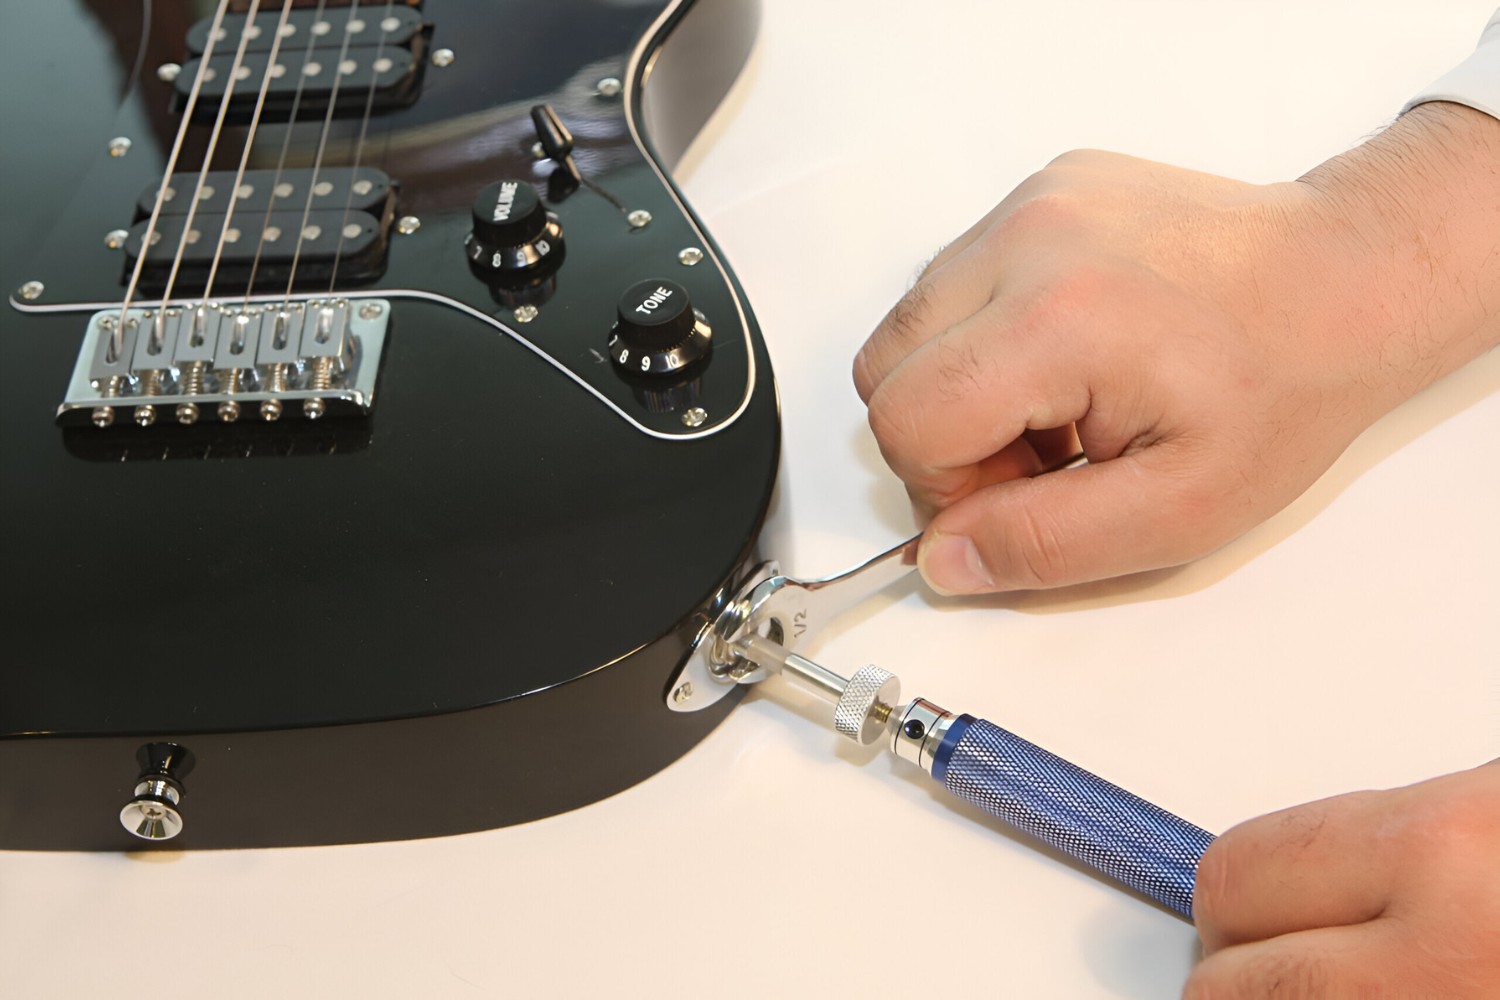
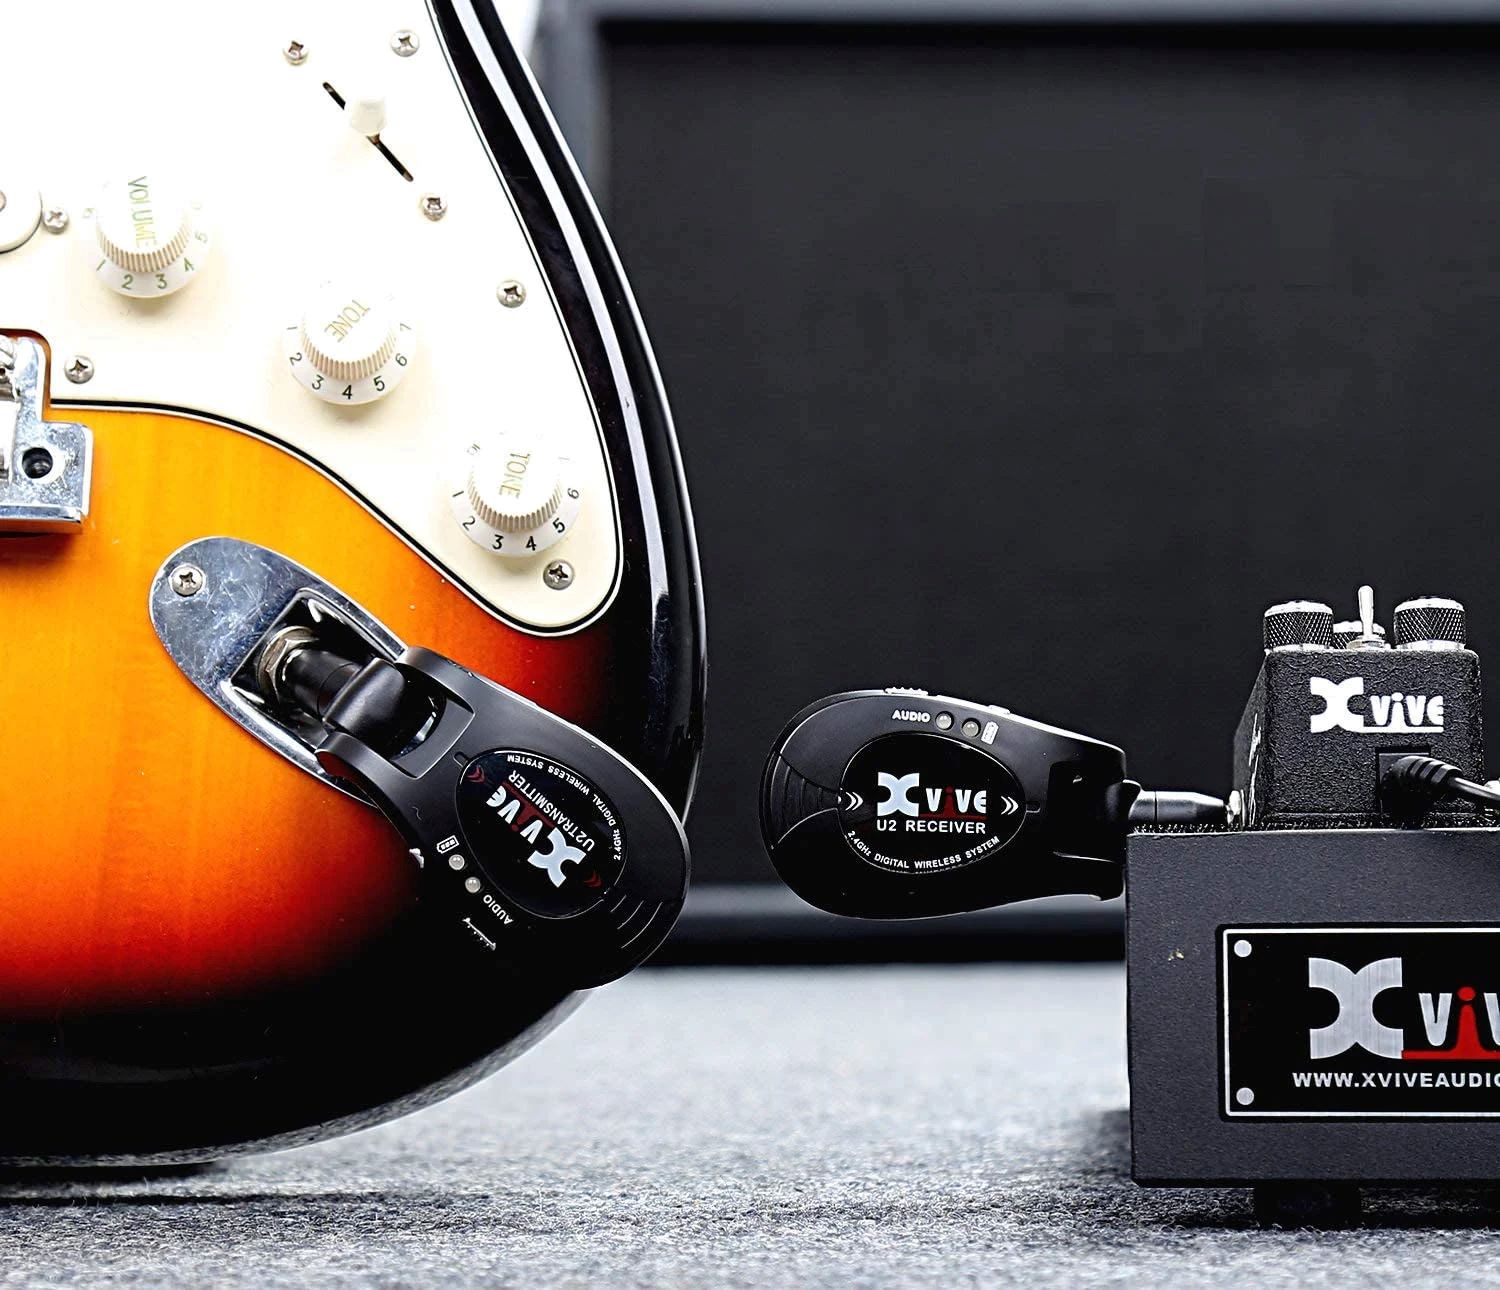
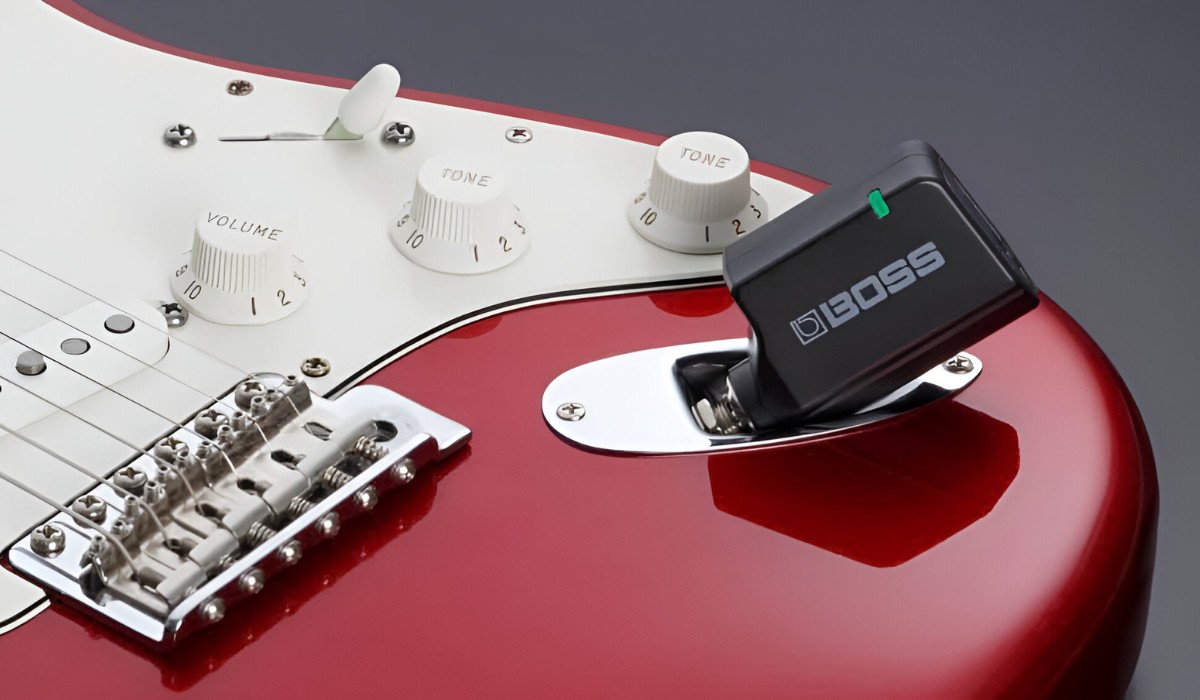
Step 3: Install the Bluetooth Module
With your electric guitar disassembled and its internal components accessible, it’s time to embark on the pivotal phase of installing the Bluetooth module. This transformative addition will enable wireless connectivity, allowing you to amplify your musical creativity and performance capabilities. Follow these essential steps to seamlessly integrate the Bluetooth module into your electric guitar:
- Identify an Optimal Location: Evaluate the available space within the guitar’s body to determine the best location for mounting the Bluetooth module. Consider factors such as accessibility, interference with other components, and the overall impact on the instrument’s balance and aesthetics.
- Prepare the Mounting Area: If necessary, create a secure and stable mounting area within the guitar’s body for the Bluetooth module. This may involve carefully routing out a recessed area or fabricating a mounting platform to accommodate the module.
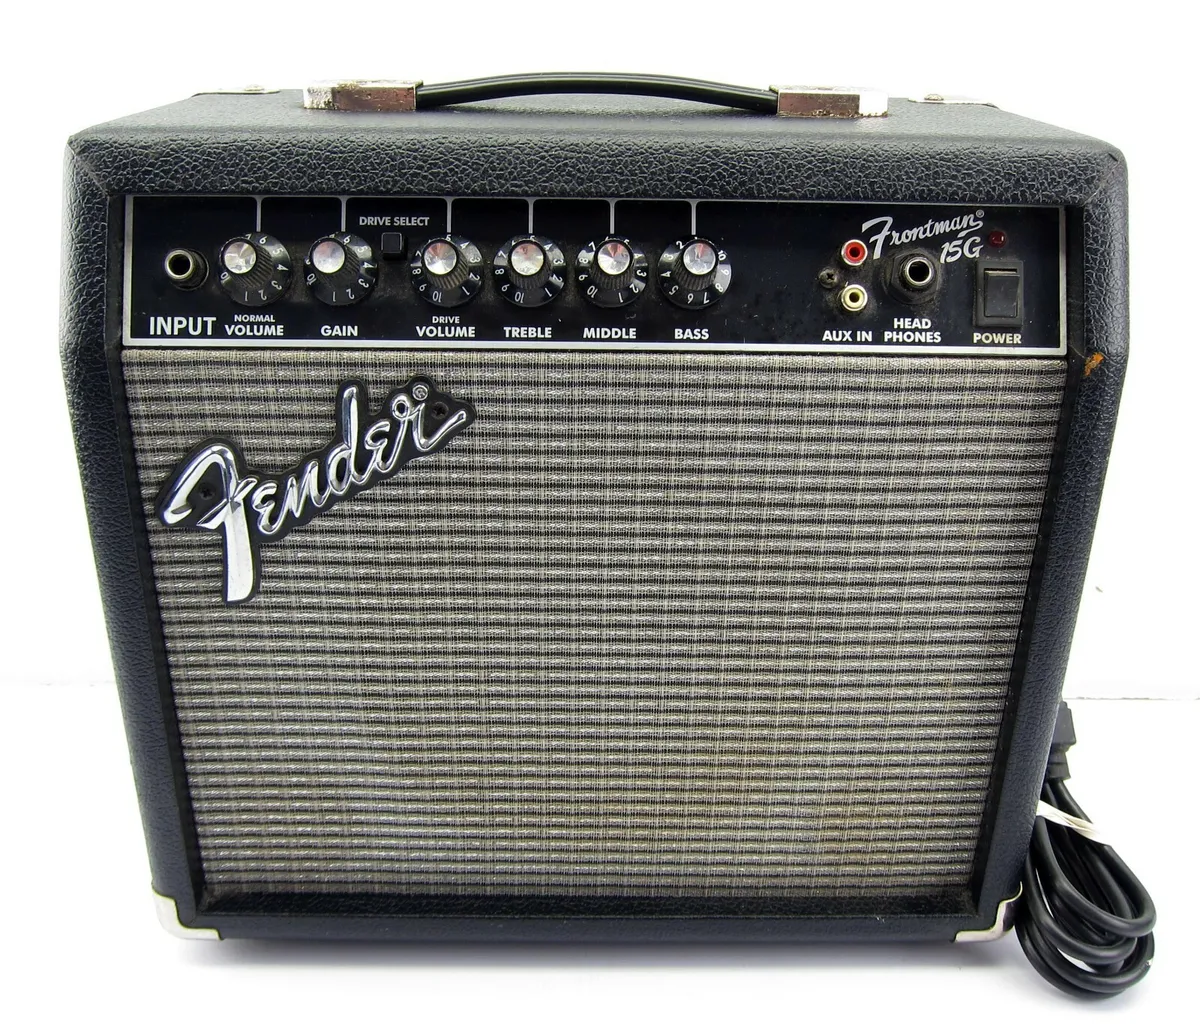
- Connect the Power Supply: Identify a suitable power source within the guitar’s circuitry to provide the necessary power to the Bluetooth module. Ensure that the power supply is compatible with the module’s requirements and can deliver a stable electrical connection.
- Integrate the Audio Connection: Establish the audio connection between the Bluetooth module and the guitar’s electronics. This may involve soldering the audio output from the module to a designated point in the guitar’s circuit or pickup selector.
- Secure the Module: Once the power and audio connections are established, securely mount the Bluetooth module in the designated location within the guitar’s body. Use appropriate fasteners or adhesive to ensure that the module remains firmly in place during use.
- Insulate and Protect the Connections: Use electrical tape or heat-shrink tubing to insulate and protect the wired connections, safeguarding them from potential interference or damage. This step is crucial for maintaining the integrity of the electrical connections within the guitar.
By meticulously following these steps, you’ll seamlessly integrate the Bluetooth module into your electric guitar, paving the way for a wireless and connected musical experience. The successful installation of the module represents a significant milestone in the transformation of your instrument, setting the stage for the subsequent reassembly process and the exciting prospects of playing your electric guitar with newfound wireless capabilities.
Step 4: Reassemble Your Electric Guitar
With the Bluetooth module successfully installed in your electric guitar, it’s time to meticulously reassemble the instrument, ensuring that all components are carefully restored to their original positions. This critical phase of the process demands attention to detail and precision to guarantee that the guitar functions seamlessly with its new Bluetooth capabilities. Follow these essential steps to methodically reassemble your electric guitar:
- Reconnect the Electronics: Begin by reconnecting the wiring harness and electronic components within the control cavity of the guitar. Ensure that each connection is secure and follows the original configuration to maintain the instrument’s functionality.
- Mount the Pickups: If the pickups were removed during the disassembly, carefully reinstall them in their respective positions. Secure the pickups using the appropriate mounting screws or springs, ensuring that they are properly aligned for optimal performance.
- Restore the Pickguard and Control Cavity Covers: Position the pickguard and control cavity covers back onto the guitar’s body, securing them in place with the previously removed screws. Verify that the components fit snugly and align properly with the guitar’s body contours.
- Reattach the Neck (If Applicable): If the guitar’s neck was removed for access during the disassembly, carefully reattach and secure it to the body using the appropriate fasteners. Take care to align the neck properly for optimal playability.
- String Installation: Install a fresh set of strings on the guitar, carefully winding and tuning them to the appropriate tension. Ensure that the strings are properly seated in the bridge and at the tuning pegs for stable tuning and intonation.
- Quality Control Check: Conduct a thorough inspection of the reassembled guitar, checking for any loose components, misaligned parts, or potential issues. Test the functionality of the Bluetooth module and ensure that all electronic connections are secure and operational.
By meticulously reassembling your electric guitar, you’ll restore its structural integrity and functionality while incorporating the transformative addition of Bluetooth connectivity. This phase marks the culmination of the installation process, bringing your instrument one step closer to delivering a wireless and immersive musical experience. With the guitar fully reassembled and ready for action, you’re primed to explore the exciting realm of playing and performing with a Bluetooth-enabled electric guitar.
Step 5: Test Your Bluetooth-Enabled Electric Guitar
After successfully reassembling your electric guitar with the integrated Bluetooth module, it’s time to put your newly enhanced instrument to the test. This crucial step involves verifying the functionality of the Bluetooth connectivity and ensuring that your guitar seamlessly interacts with wireless audio devices and amplification systems. Follow these essential guidelines to thoroughly test your Bluetooth-enabled electric guitar:
- Pairing with Bluetooth Devices: Initiate the pairing process between your guitar and compatible Bluetooth devices, such as wireless speakers, amplifiers, or mobile devices. Follow the manufacturer’s instructions for pairing to establish a reliable and stable connection.
- Audio Transmission Test: Play your guitar through the Bluetooth-connected audio device to assess the quality and reliability of the wireless audio transmission. Evaluate the signal strength, latency, and overall sound fidelity to ensure a seamless and responsive connection.
- Exploring Music Apps: Utilize music apps or software that support Bluetooth audio input to experiment with different sounds, effects, and recording capabilities. Explore the versatility of wireless connectivity by integrating your Bluetooth-enabled guitar with digital effects and recording platforms.
- Mobility and Range Assessment: Move around the testing environment while playing your Bluetooth-enabled guitar to evaluate the range and mobility offered by the wireless connectivity. Assess the signal stability and consistency across different locations within the wireless range.
- Performance Validation: Put your Bluetooth-enabled electric guitar through its paces by performing various musical pieces and styles, taking advantage of the newfound freedom and flexibility offered by wireless connectivity. Evaluate the instrument’s performance in diverse musical scenarios and playing environments.
- Feedback and Fine-Tuning: Gather feedback from your testing experience and identify any potential areas for improvement or optimization. Fine-tune the settings and configurations of the Bluetooth module to align with your specific musical preferences and performance requirements.
By thoroughly testing your Bluetooth-enabled electric guitar, you’ll gain valuable insights into the capabilities and performance of the wireless connectivity, allowing you to harness its potential for creative expression and musical exploration. This pivotal step represents the culmination of your efforts to transform your electric guitar into a versatile and connected instrument, opening up a world of possibilities for wireless performance and audio interaction.
Conclusion
Congratulations on successfully transforming your electric guitar into a Bluetooth-enabled marvel, unlocking a new realm of possibilities for wireless musical expression and connectivity. Through the meticulous process of integrating the Bluetooth module into your instrument, you’ve embraced innovation and technology to enhance your playing experience and expand your creative horizons.
By embarking on this transformative journey, you’ve not only personalized your electric guitar but also ventured into the realm of DIY innovation, demonstrating a passion for merging music and technology. Embracing the convergence of traditional craftsmanship and modern connectivity, you’ve paved the way for a seamless integration of wireless capabilities into the timeless art of guitar playing.
As you embark on your musical endeavors with a Bluetooth-enabled electric guitar, remember to explore the boundless opportunities for wireless performance, audio interaction, and creative experimentation. Whether you’re jamming with friends, recording in a studio, or performing on stage, the wireless connectivity of your guitar opens up a world of flexibility, mobility, and sonic exploration.
As you continue to refine your craft and explore the dynamic capabilities of your Bluetooth-enabled electric guitar, consider sharing your journey with fellow musicians and technology enthusiasts. Your experience and insights may inspire others to embark on their own innovative projects, fostering a community of creativity and ingenuity in the realm of musical instrument customization.
With your electric guitar now equipped with Bluetooth connectivity, you’re poised to embark on a musical odyssey that transcends the confines of traditional cables and amplification. Embrace the freedom, versatility, and immersive potential of wireless connectivity as you unleash the full sonic potential of your instrument in a connected world.
So, plug in, pair up, and let the music flow through the wireless realm as you embark on a harmonious journey with your Bluetooth-enabled electric guitar.