Introduction
Introduction
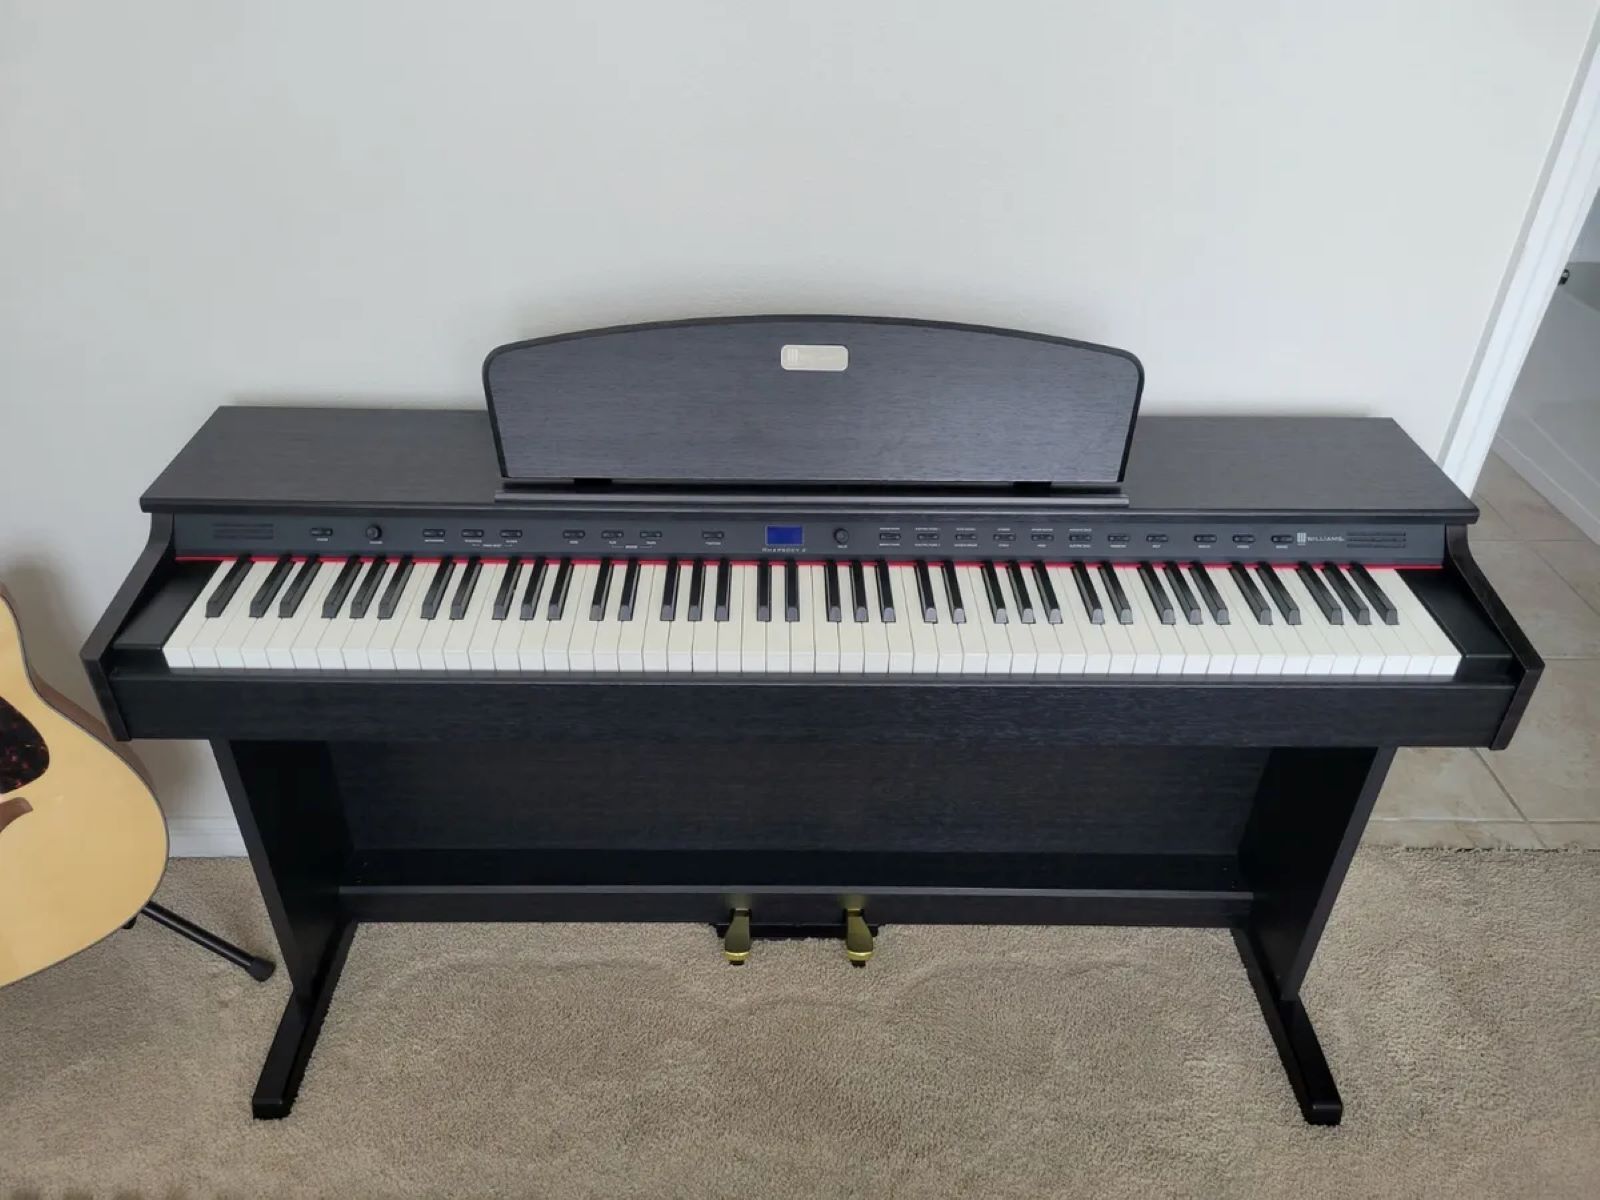
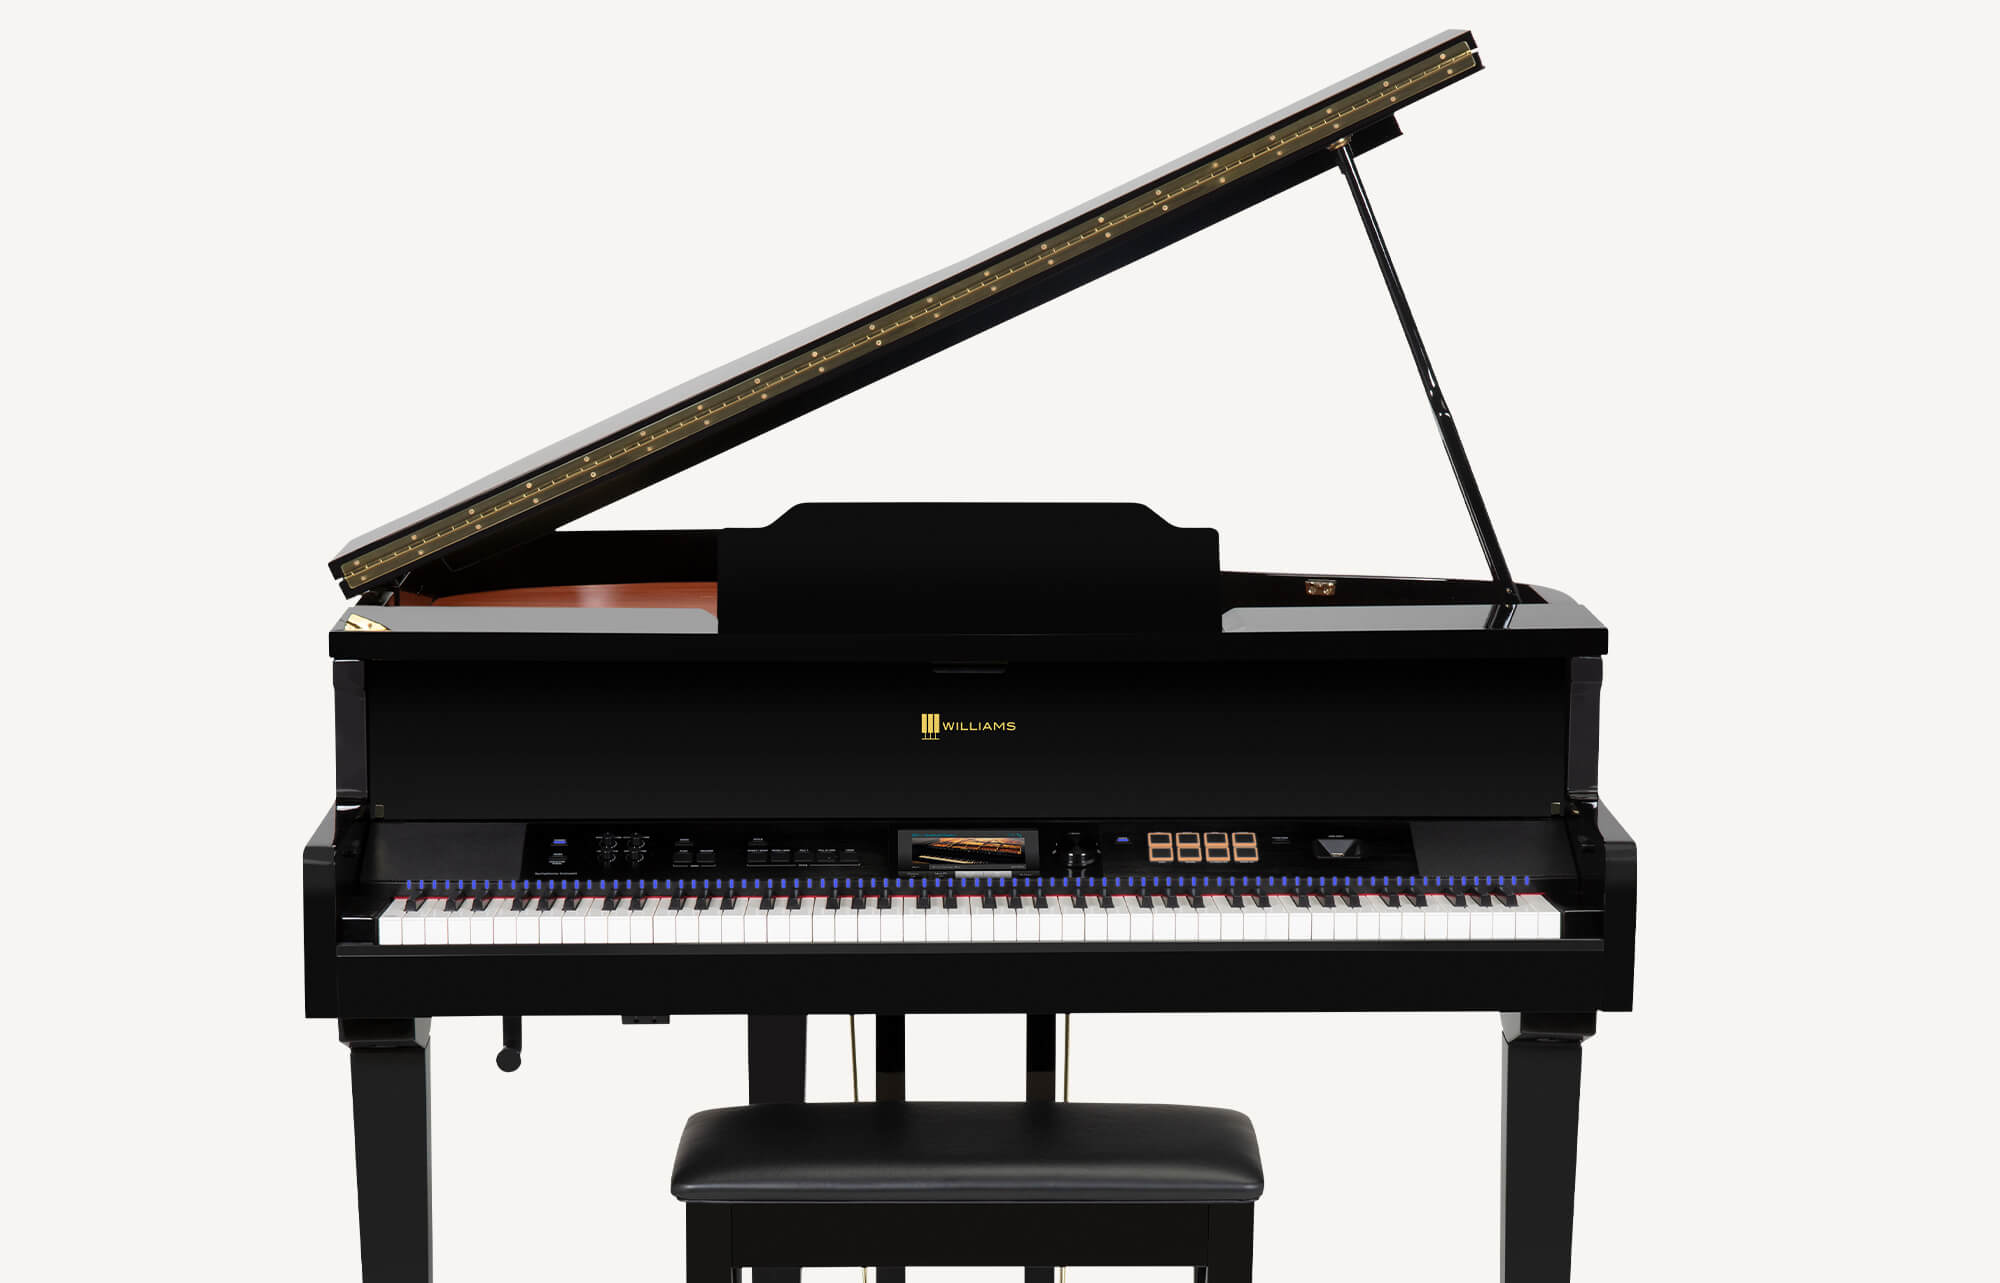
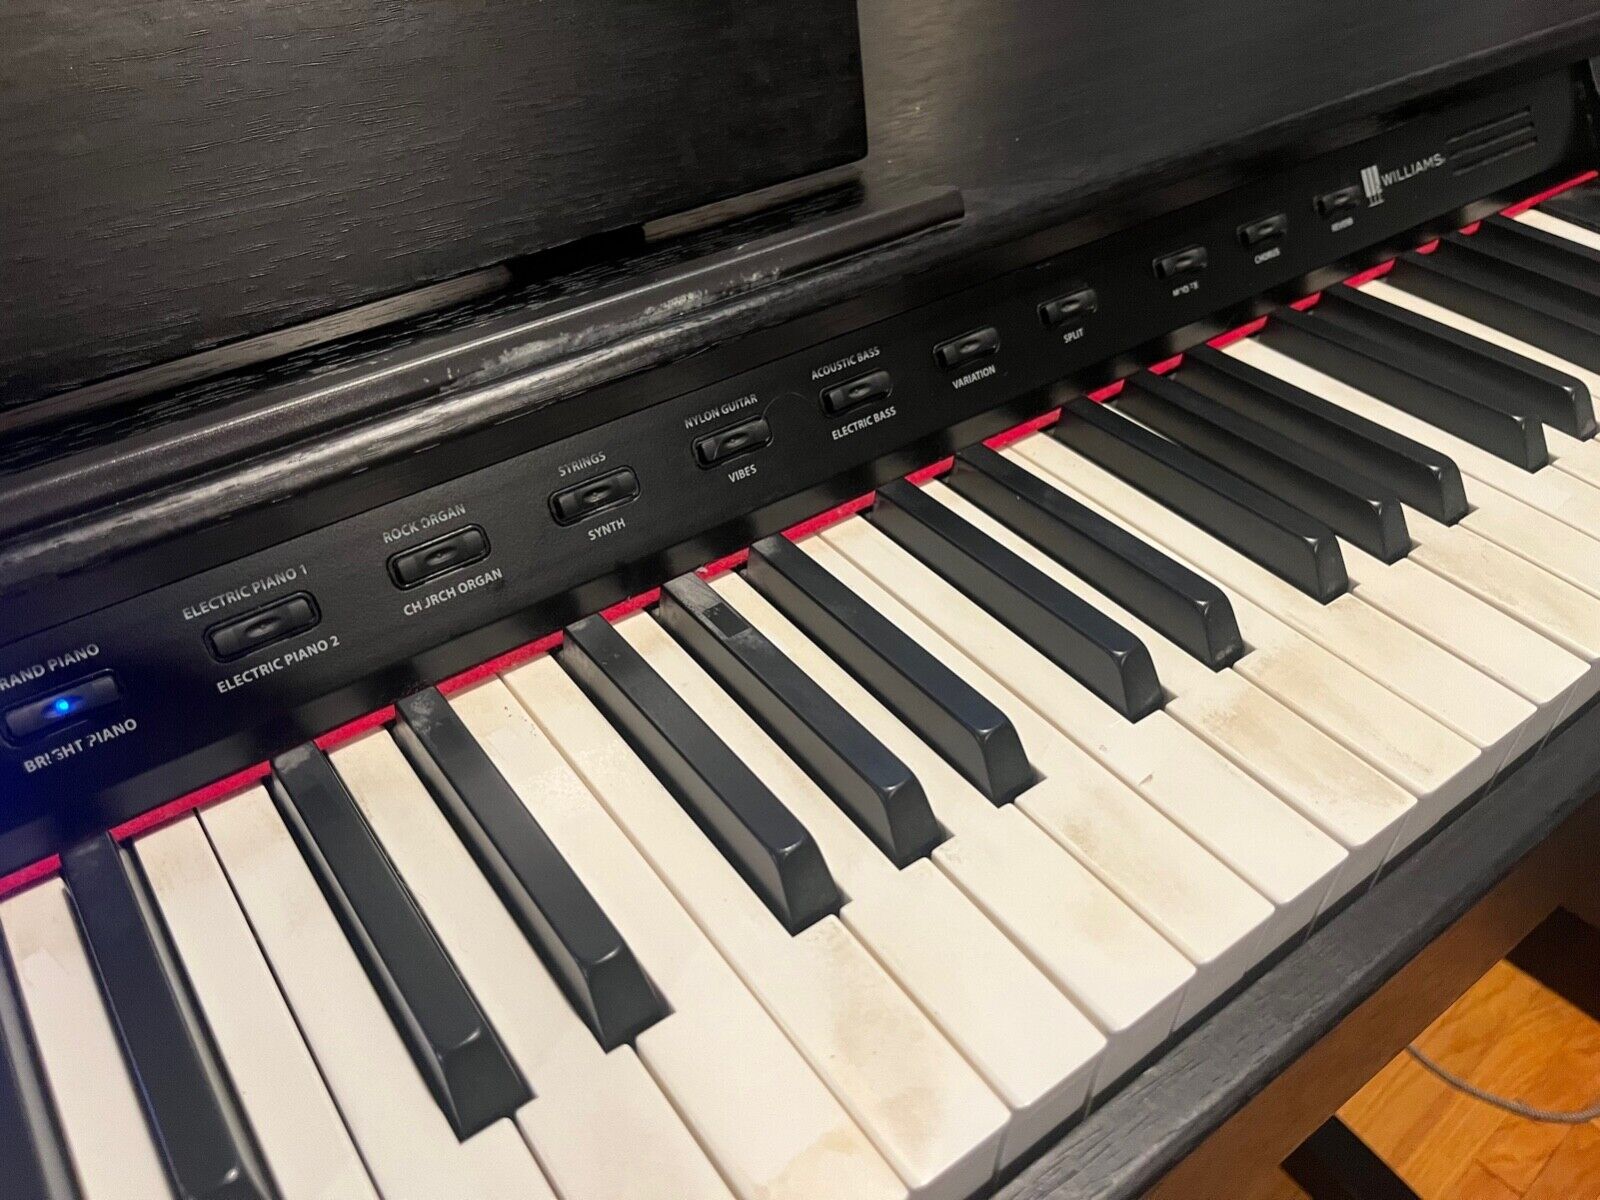
Welcome to the world of music and the joy of playing the piano! Assembling a Williams Rhapsody 2 88-Key Console Digital Piano in Ebony Polish is an exciting journey that will culminate in the creation of beautiful melodies in the comfort of your own home. This guide will walk you through the step-by-step process of setting up your new digital piano, allowing you to embark on a musical adventure in no time.
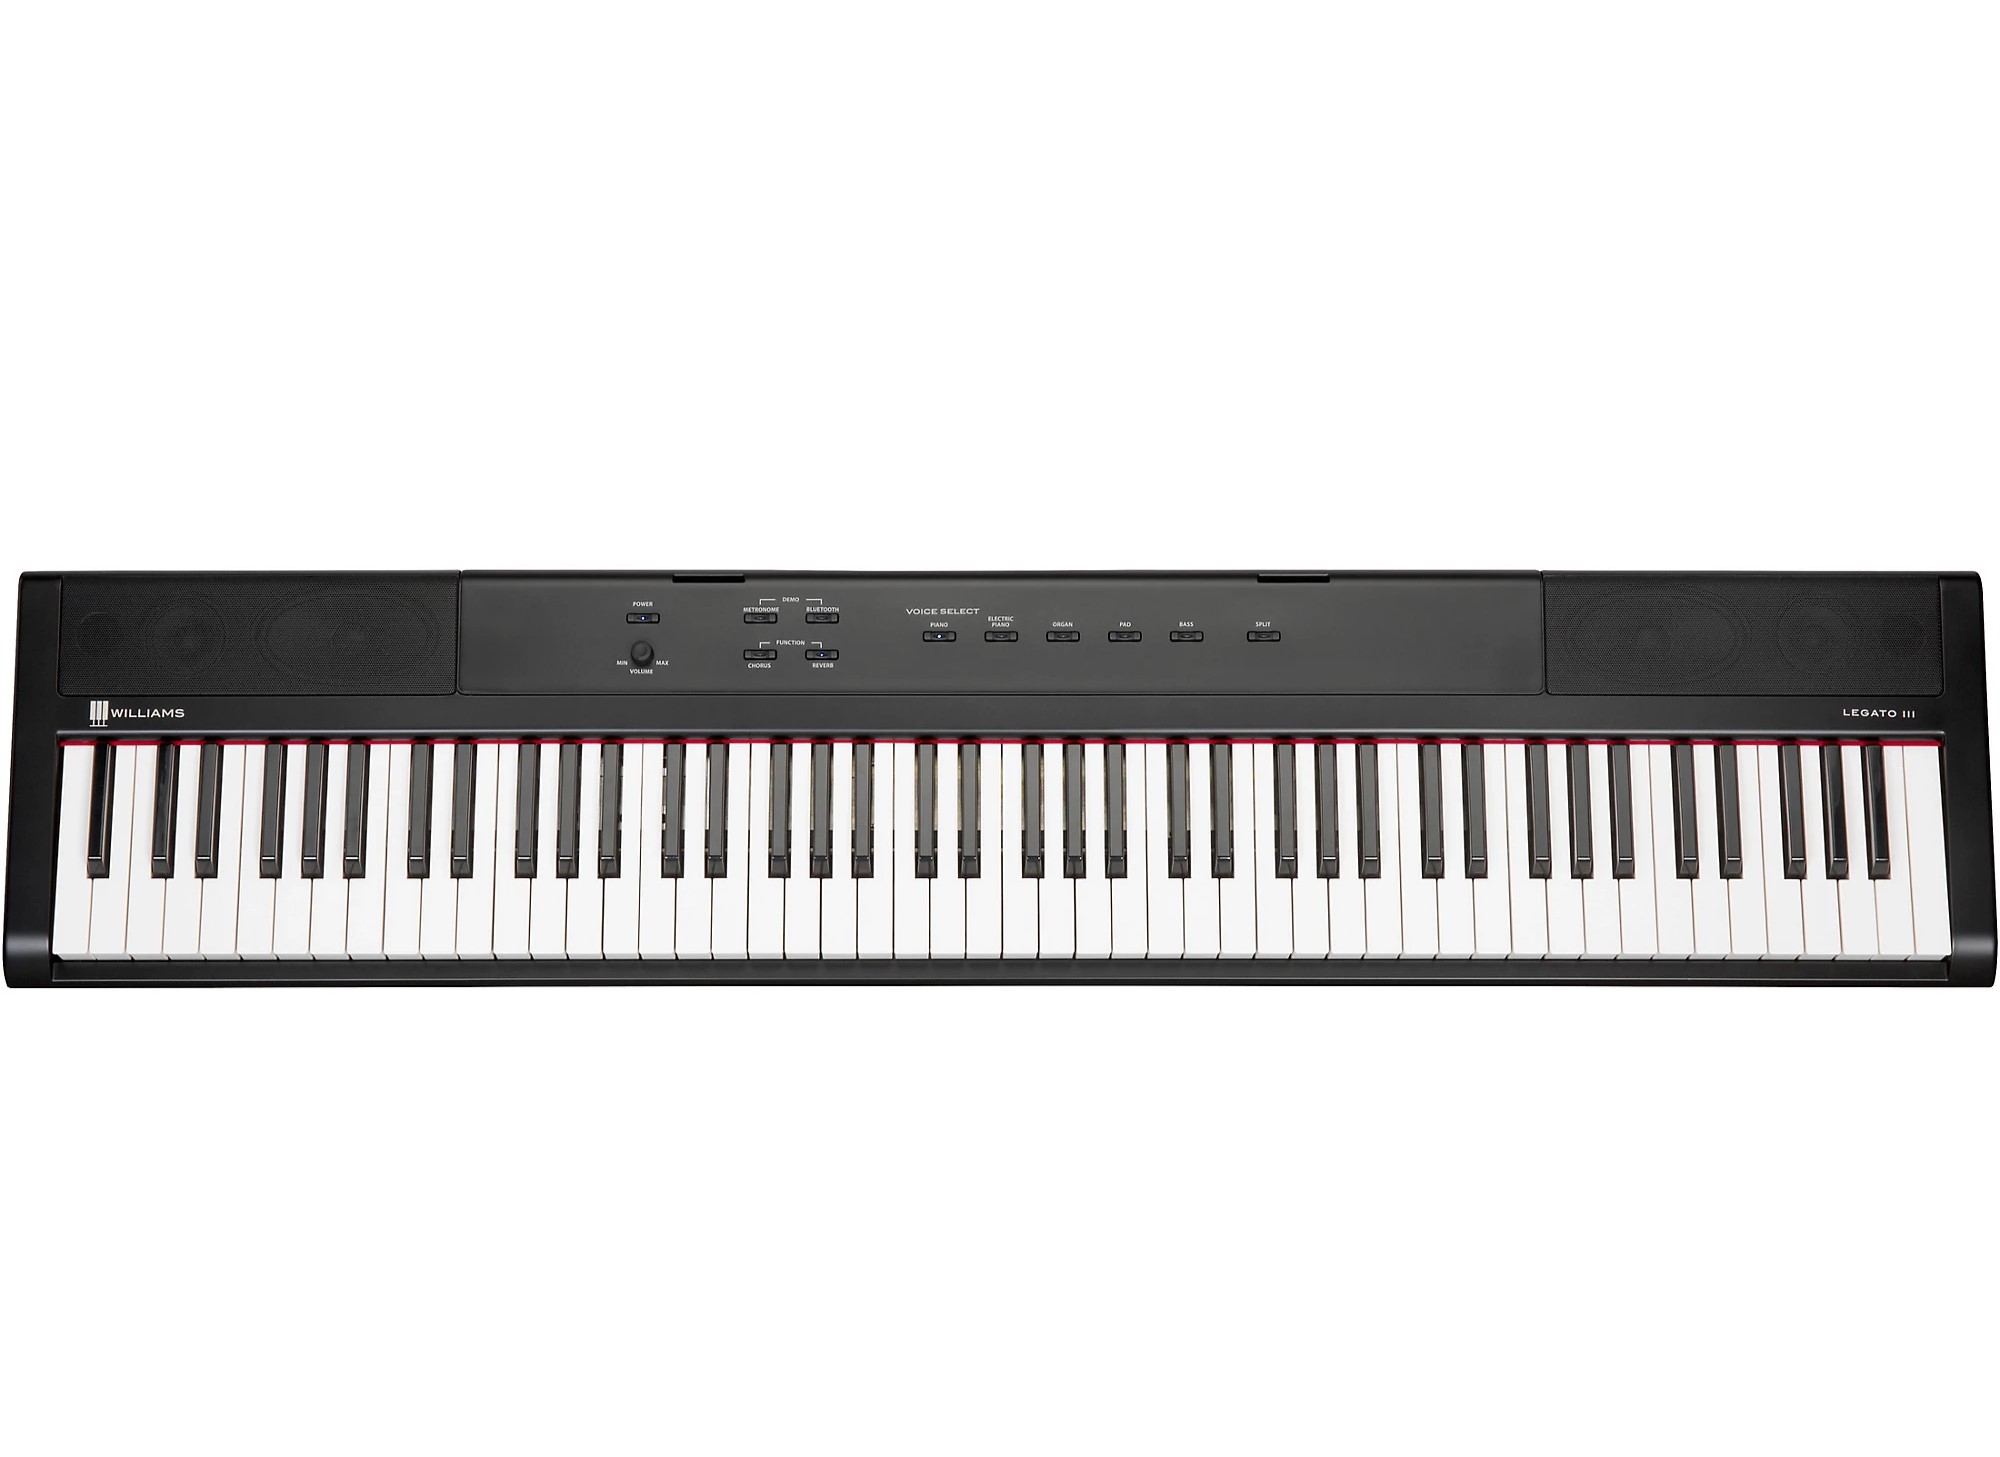
The Williams Rhapsody 2 is a remarkable instrument that offers an authentic piano experience with modern features. Its 88 weighted, hammer-action keys provide a realistic touch and response, while the rich sound selection and built-in educational features make it an ideal choice for both beginners and experienced pianists.
By following this comprehensive assembly guide, you will gain a deeper understanding of your instrument and feel confident in setting it up for optimal performance. Whether you are a seasoned musician or a beginner eager to explore the world of piano playing, this process will lay the foundation for countless hours of musical enjoyment.
Throughout this guide, we will cover the unboxing process, assembling the stand, attaching the keyboard, connecting the pedal unit, powering on the piano, and conducting a basic test to ensure everything is functioning as expected. Each step is designed to be straightforward and manageable, allowing you to focus on the excitement of bringing your new digital piano to life.
So, without further ado, let's dive into the assembly process and prepare to unleash the melodic potential of the Williams Rhapsody 2 88-Key Console Digital Piano in Ebony Polish. Get ready to embark on a harmonious journey that will resonate with the joy of music-making!
Unboxing the Williams Rhapsody 2
Unboxing the Williams Rhapsody 2
As you embark on the assembly of the Williams Rhapsody 2 88-Key Console Digital Piano in Ebony Polish, the first step involves unboxing the components with care and attention to detail. The packaging is designed to ensure the safe delivery of your digital piano, and by following these steps, you can efficiently unpack the contents and prepare for the assembly process.
Upon receiving your Williams Rhapsody 2, locate a spacious and clear area where you can lay out the components without obstruction. Carefully remove the packaging materials, ensuring that you have a clutter-free space to work in. It’s important to handle the box and its contents with caution to prevent any damage to the piano or its accessories.
Once the piano and its components are unboxed, take a moment to inspect each item for any signs of damage or missing parts. The package should include the Williams Rhapsody 2 88-Key Console Digital Piano, the stand, and the pedal unit. Additionally, you may find the power adapter, sustain pedal, and any instructional materials that accompany the piano.
As you lift the piano from its packaging, be mindful of the weight and dimensions to avoid strain or potential accidents. It’s advisable to have a second person assist with lifting the piano to ensure safe handling. With the piano positioned securely in its designated area, you can proceed to unpack the stand and pedal unit, taking care to keep all components organized and easily accessible.
By unboxing the Williams Rhapsody 2 and its accompanying components with precision and care, you set the stage for a smooth and efficient assembly process. With the components laid out and inspected, you are now ready to move on to the next step: assembling the stand to provide a stable and secure foundation for your digital piano.
Assembling the Stand
Assembling the Stand
With the Williams Rhapsody 2 88-Key Console Digital Piano unboxed and ready, the next crucial step in the assembly process is to assemble the stand. The stand provides a stable and secure foundation for the digital piano, ensuring optimal positioning and support for a comfortable playing experience. Follow these step-by-step instructions to assemble the stand with ease and precision.
Begin by identifying the components of the stand, which typically include the stand legs, support beams, and necessary hardware such as screws and bolts. Lay out the stand components in an organized manner, ensuring that all parts are easily accessible and free from any potential obstructions.
Assemble the stand legs by attaching the support beams to the designated connection points. Depending on the specific design of the stand, you may need to use provided screws or bolts to secure the connections. Ensure that the stand legs are aligned evenly and securely fastened to provide a stable base for the digital piano.
Once the stand legs and support beams are securely connected, position the stand in the desired location where you intend to set up the Williams Rhapsody 2. Take into consideration the ergonomics and aesthetics of the placement, ensuring that the piano is easily accessible and complements your living space.
With the stand in place, carefully lift the Williams Rhapsody 2 and position it on top of the stand. Ensure that the piano aligns with the stand’s dimensions and rests securely on the designated support points. Take a moment to adjust the position of the piano to achieve optimal alignment and stability on the stand.
By following these steps with attention to detail and precision, you can successfully assemble the stand for the Williams Rhapsody 2 88-Key Console Digital Piano. With the stand in place, you are now prepared to proceed to the next phase of the assembly process: attaching the keyboard to the stand for a seamless integration of components.
Attaching the Keyboard to the Stand
As you progress through the assembly of the Williams Rhapsody 2 88-Key Console Digital Piano, the next essential step is to attach the keyboard to the stand. This pivotal stage ensures the secure integration of the piano with its foundation, providing stability and functionality for your musical endeavors. Follow these detailed instructions to seamlessly connect the keyboard to the stand.
With the stand assembled and positioned, carefully lift the Williams Rhapsody 2 and place it on a stable surface adjacent to the stand. This positioning facilitates easy access to the underside of the piano, allowing for a smooth and controlled attachment process.
Locate the attachment points on the underside of the piano, typically situated at the rear of the instrument. Align these attachment points with the corresponding connectors on the stand, ensuring that the piano is positioned centrally and evenly on the stand’s support beams.
Gently lower the piano onto the stand, taking care to align the attachment points with the connectors on the stand. Apply even pressure to ensure a secure and snug fit, allowing the piano to rest firmly on the stand without any wobbling or instability.
Once the keyboard is aligned and resting securely on the stand, verify that the attachment points are firmly engaged with the connectors. This step is crucial in guaranteeing the stability and safety of the integrated setup, providing a reliable foundation for your musical performances.
With the keyboard successfully attached to the stand, take a moment to appreciate the seamless integration of these components, setting the stage for the next phase of the assembly process: connecting the pedal unit to enhance the expressive capabilities of the Williams Rhapsody 2.
Connecting the Pedal Unit
As you continue assembling the Williams Rhapsody 2 88-Key Console Digital Piano, the next significant step involves connecting the pedal unit to enhance the expressive capabilities of the instrument. The pedal unit adds depth and nuance to your playing, allowing for dynamic control over sustain and expression. Follow these detailed instructions to seamlessly integrate the pedal unit with the digital piano.
Locate the pedal input on the underside of the piano, typically positioned at the center or rear of the instrument. The pedal input is designed to accommodate the pedal unit, enabling it to function as an integral part of the piano’s expressive features.
Gently insert the connector of the pedal unit into the designated pedal input on the piano. Ensure that the connection is secure and aligned, allowing for seamless communication between the pedal unit and the piano’s internal mechanisms.
Once the pedal unit is connected, verify that the attachment is secure and free from any obstructions that may interfere with its functionality. This step is crucial in ensuring that the pedal unit operates smoothly and reliably, providing you with precise control over sustain and expression during your performances.
Position the pedal unit on the floor in a comfortable and ergonomic location, allowing easy access to its pedals while playing the piano. The placement of the pedal unit should complement your playing style and provide optimal support for expressive playing techniques.
With the pedal unit successfully connected and positioned, take a moment to appreciate the expanded expressive capabilities of the Williams Rhapsody 2. The integration of the pedal unit adds a new dimension to your playing, enriching your musical performances with enhanced control and emotive expression.
With the pedal unit seamlessly integrated, you are now prepared to power on the piano and conduct a basic test to ensure that all components are functioning as expected, bringing you one step closer to experiencing the full potential of the Williams Rhapsody 2 88-Key Console Digital Piano in Ebony Polish.
Powering On and Testing the Piano
As you approach the final phase of assembling the Williams Rhapsody 2 88-Key Console Digital Piano, the pivotal step of powering on and testing the instrument awaits. This stage marks the culmination of the assembly process, allowing you to verify the functionality of the piano and embark on your musical journey with confidence. Follow these essential guidelines to power on the piano and conduct a basic test to ensure optimal performance.
Locate the power adapter that accompanies the Williams Rhapsody 2, ensuring that it is easily accessible and ready for use. Connect the power adapter to the designated power input on the piano, ensuring a secure and snug fit to establish a reliable power supply for the instrument.
Once the power adapter is securely connected, locate the power switch typically positioned near the rear or side of the piano. Activate the power switch to initiate the startup sequence of the Williams Rhapsody 2, allowing the instrument to power on and initialize its internal systems.
As the piano powers on, take a moment to observe the display and indicator lights to verify that the instrument is receiving power and initializing as expected. This visual confirmation provides reassurance that the piano is responding to the power supply and preparing for operation.
Upon powering on the piano, test the functionality of the keys by playing a few notes across the keyboard. Listen for the sound output and observe the responsiveness of the keys to ensure that the piano’s key action and sound production are functioning as intended.
Engage the pedal unit to test its functionality, verifying that the sustain and expression pedals respond accurately to your playing. This step allows you to confirm that the pedal unit is seamlessly integrated with the piano and enhances your control over sustain and expression.
With the piano powered on and tested, take a moment to appreciate the culmination of the assembly process and the successful integration of its components. The completion of this phase marks the beginning of your musical exploration with the Williams Rhapsody 2, offering endless possibilities for creative expression and musical enjoyment.
Conclusion
Congratulations on successfully assembling the Williams Rhapsody 2 88-Key Console Digital Piano in Ebony Polish! The journey from unboxing the components to powering on and testing the piano has been a fulfilling and rewarding experience, laying the groundwork for countless musical adventures ahead.
By meticulously unboxing the piano, assembling the stand, attaching the keyboard, connecting the pedal unit, and powering on the instrument, you have gained valuable insight into the assembly process and developed a deeper understanding of your digital piano. Each step was designed to be approachable and manageable, allowing you to navigate the assembly process with confidence and precision.
As you power on the Williams Rhapsody 2 and test its functionality, you have unlocked the potential for musical creativity and expression. The seamless integration of the piano’s components, from the stand to the pedal unit, ensures a stable and reliable foundation for your musical performances, whether you are a seasoned pianist or a novice exploring the joys of playing the piano.
As you embark on your musical journey with the Williams Rhapsody 2, take the time to explore its rich sound selection, educational features, and expressive capabilities. Delve into the world of piano playing with confidence, knowing that your instrument has been assembled with care and attention to detail, setting the stage for inspiring and harmonious performances.
Whether you aspire to learn new musical pieces, compose original melodies, or simply immerse yourself in the joy of playing the piano, the Williams Rhapsody 2 is poised to accompany you on this melodic odyssey. Embrace the expressive touch of its weighted, hammer-action keys, unleash the emotive power of the pedal unit, and let your musical aspirations take flight.
As you continue to explore the possibilities of the Williams Rhapsody 2, remember that the assembly process is just the beginning of your musical voyage. With each keystroke and pedal movement, you have the opportunity to craft captivating melodies and immerse yourself in the timeless allure of piano music.
May your musical endeavors be filled with inspiration, creativity, and the sheer delight of bringing music to life. The Williams Rhapsody 2 88-Key Console Digital Piano in Ebony Polish stands as a testament to your passion for music, ready to accompany you on every step of your musical odyssey.