Introduction
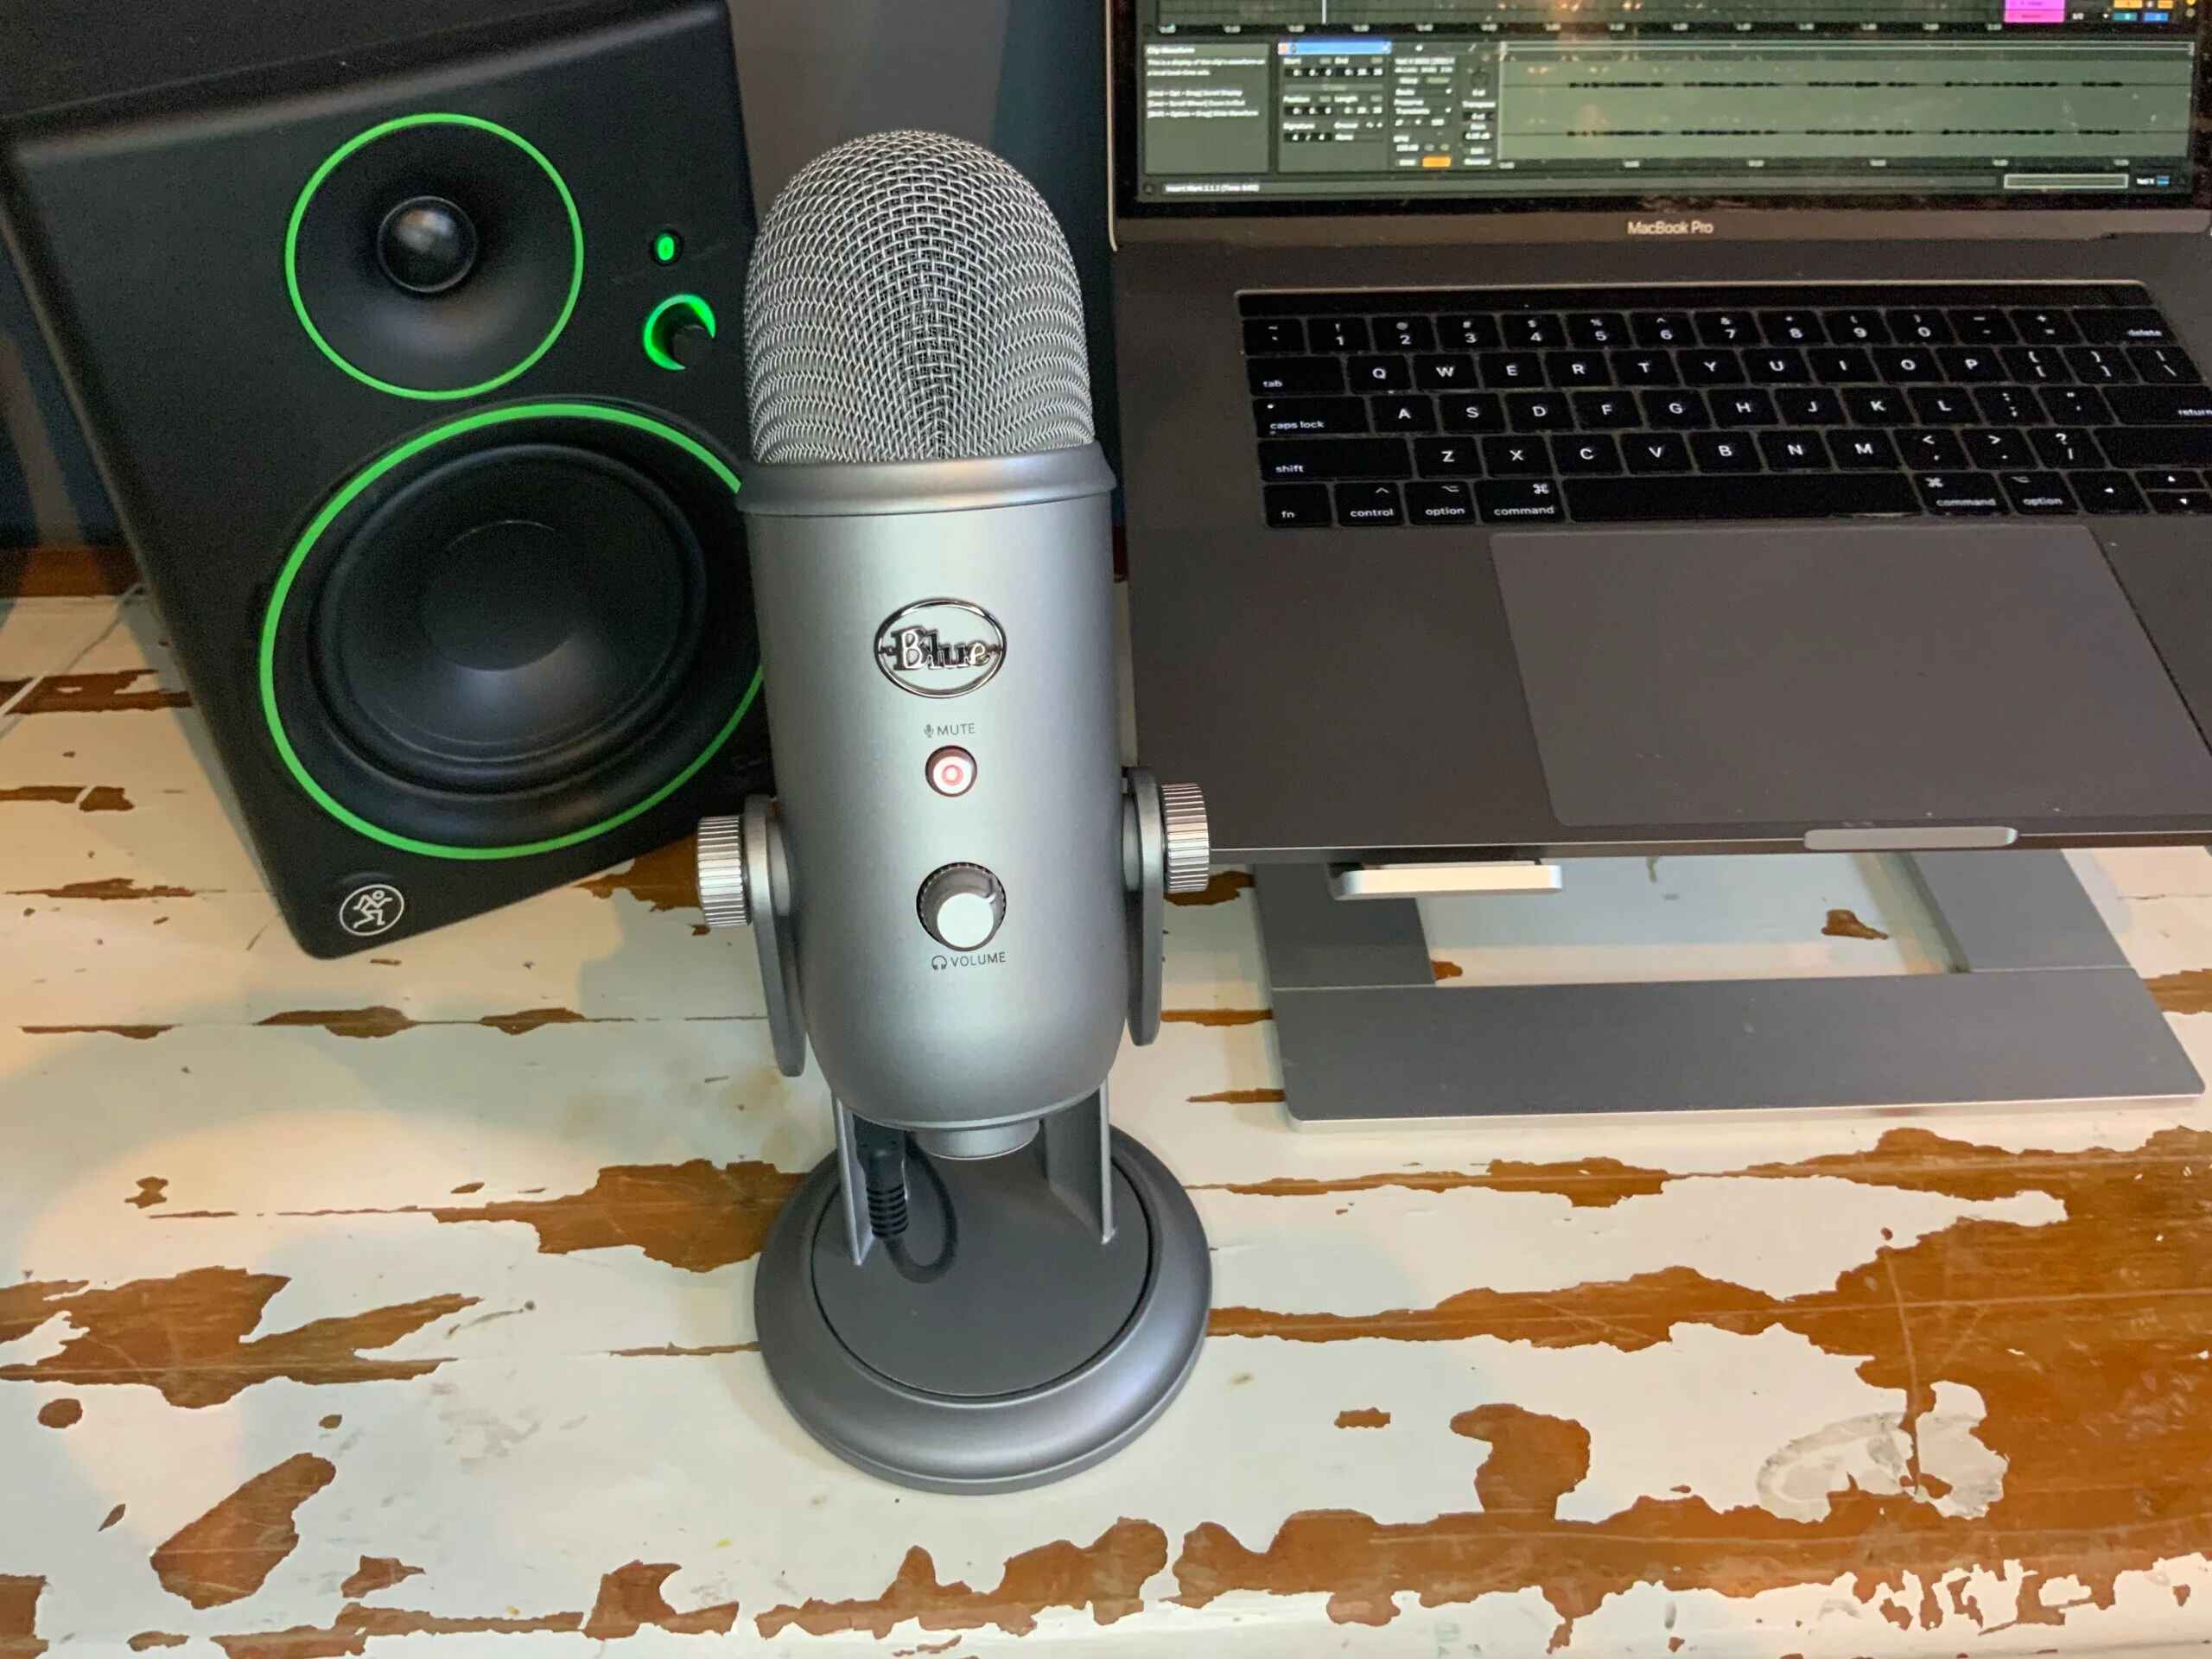
Adjusting the volume of your USB microphone is essential for achieving clear and balanced audio recordings. Whether you’re podcasting, live streaming, voice recording, or conducting online meetings, having the correct microphone volume ensures that your voice is heard with clarity and without distortion.
In this article, we will explore various methods to adjust the volume of your USB microphone. We’ll look at how to adjust the microphone volume in Windows, Mac, and within your recording software. Additionally, we’ll discuss the option of using an audio interface or external mixer to control the microphone volume. By following these steps, you’ll be able to optimize your microphone volume settings and elevate the quality of your audio recordings.
Before we dive into the specific methods, it’s important to note that the steps may vary slightly depending on your operating system version or the recording software you’re using. However, the general principles and concepts remain the same.
So, whether you’re a beginner or an experienced audio enthusiast, let’s explore the different ways to adjust the volume of your USB microphone and create professional-grade audio recordings.
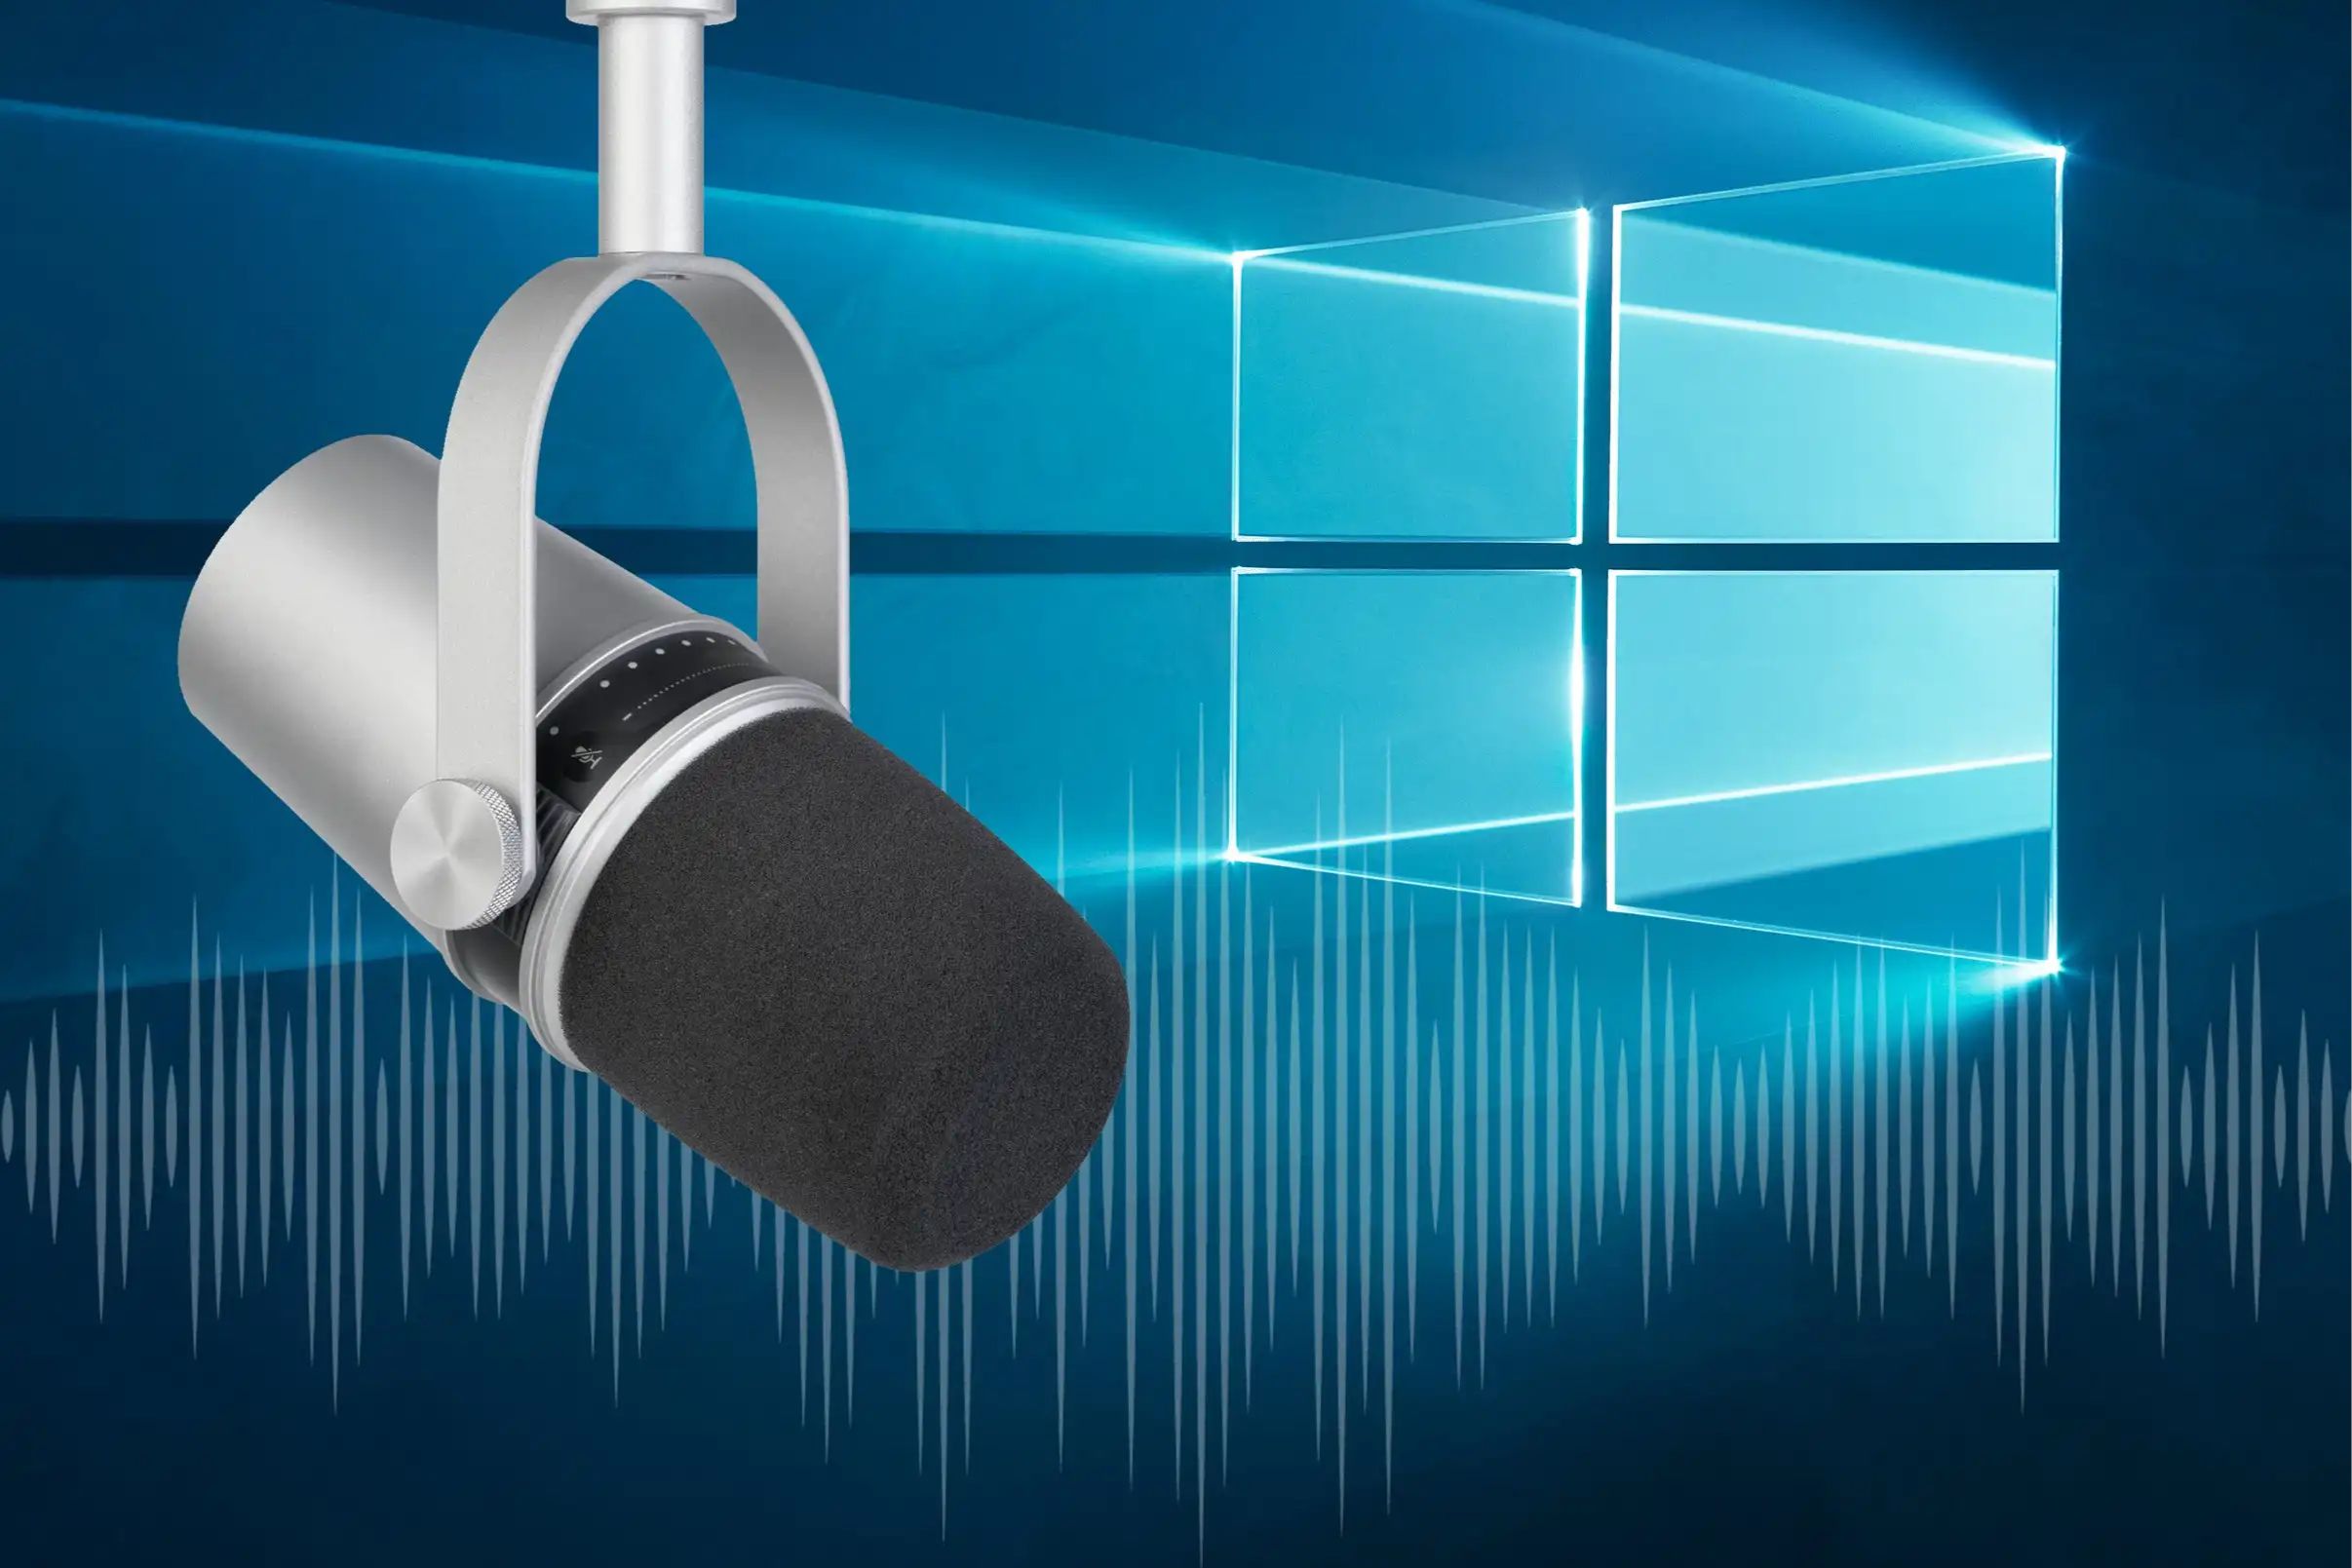
Method 1: Adjusting the Microphone Volume in Windows
If you are using a USB microphone on a Windows computer, you can easily adjust the microphone volume using the built-in Windows settings. Here’s how:
- Start by right-clicking on the speaker icon in the bottom right corner of your taskbar. From the context menu, select “Sounds” or “Sound settings.”
- In the Sound settings window, navigate to the “Recording” tab. Here, you’ll see a list of available recording devices.
- Find your USB microphone from the list and click on it to select it. Then click on the “Properties” button.
- In the Microphone Properties window, go to the “Levels” tab. Here, you will find the microphone volume slider.
- Move the slider up or down to increase or decrease the microphone volume, respectively. You can experiment with different levels to find the optimal volume for your recordings.
- Once you’ve set the desired volume, click “Apply” and then “OK” to save the changes.
That’s it! You’ve successfully adjusted the microphone volume in Windows. Now you can start recording or streaming with the optimized audio settings.
Keep in mind that different microphones may have different sensitivity levels, so you may need to adjust the volume accordingly. It’s also worth mentioning that you can use the microphone volume slider in conjunction with the gain or sensitivity settings on your microphone itself for further tweaking.
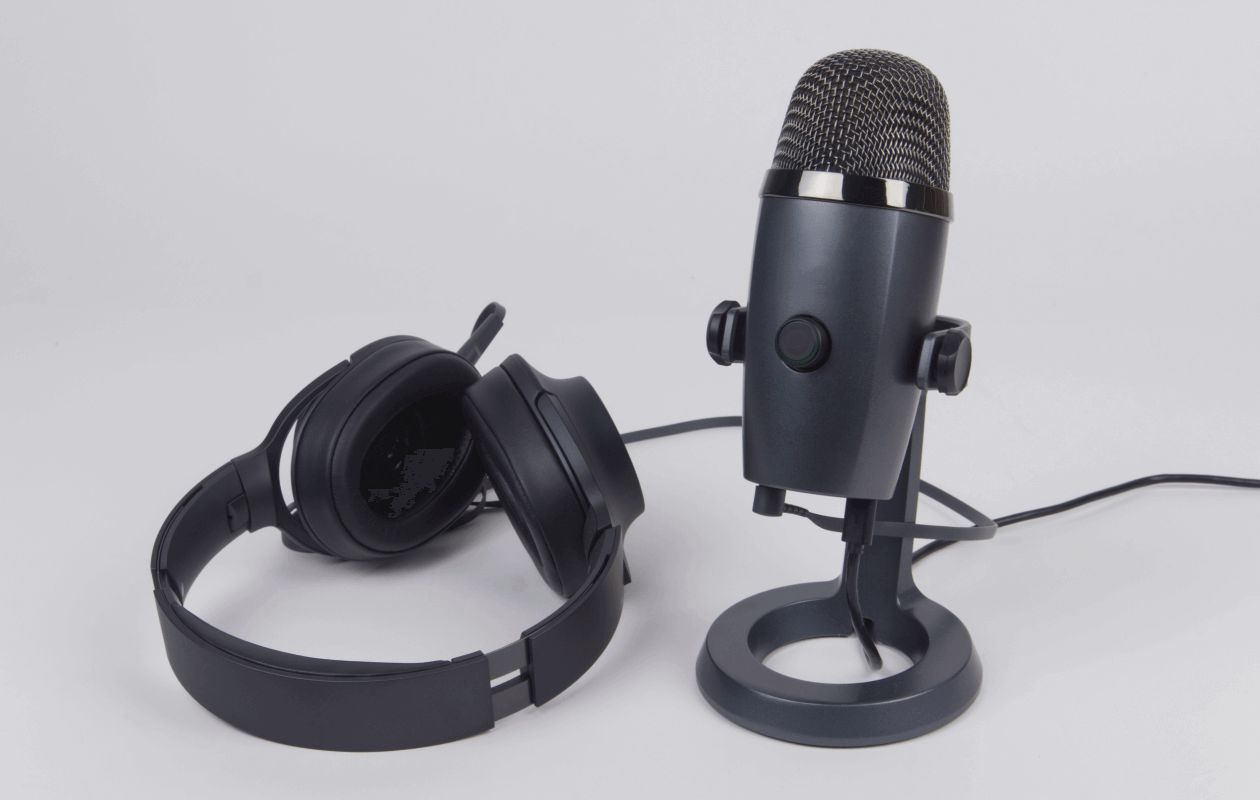
Additionally, if you are using a USB headset with a built-in microphone, the process is similar. Just make sure to select the correct microphone device in the Sound settings window and adjust the volume accordingly.
Now that you know how to adjust the microphone volume in Windows, let’s move on to the next method for adjusting the volume on Mac.
Method 2: Adjusting the Microphone Volume on Mac
If you are using a USB microphone on a Mac, you can easily adjust the microphone volume through the system preferences. Here’s how:
- Open the Apple menu and select “System Preferences.”
- In the System Preferences window, click on “Sound.”
- Navigate to the “Input” tab, which is represented by a microphone icon.
- From the list of available input devices, select your USB microphone.
- Adjust the input volume slider to increase or decrease the microphone volume. You can speak into the microphone and monitor the sound level meter to find the optimal volume.
- Once you’ve set the desired volume, close the System Preferences window. Your microphone volume settings will be saved.
That’s it! You’ve successfully adjusted the microphone volume on your Mac. You can now enjoy clear and balanced audio recordings with your USB microphone.
It’s important to note that some USB microphones may have additional volume controls or gain settings on the microphone itself. You can fine-tune the volume using these controls in combination with the system preferences to achieve the optimal level.
If you are using a USB headset with a built-in microphone, the process is similar. Just make sure to select the correct input device in the Sound preferences and adjust the volume accordingly.
Now that you know how to adjust the microphone volume on a Mac, let’s move on to the next method, which involves adjusting the volume within your recording software.
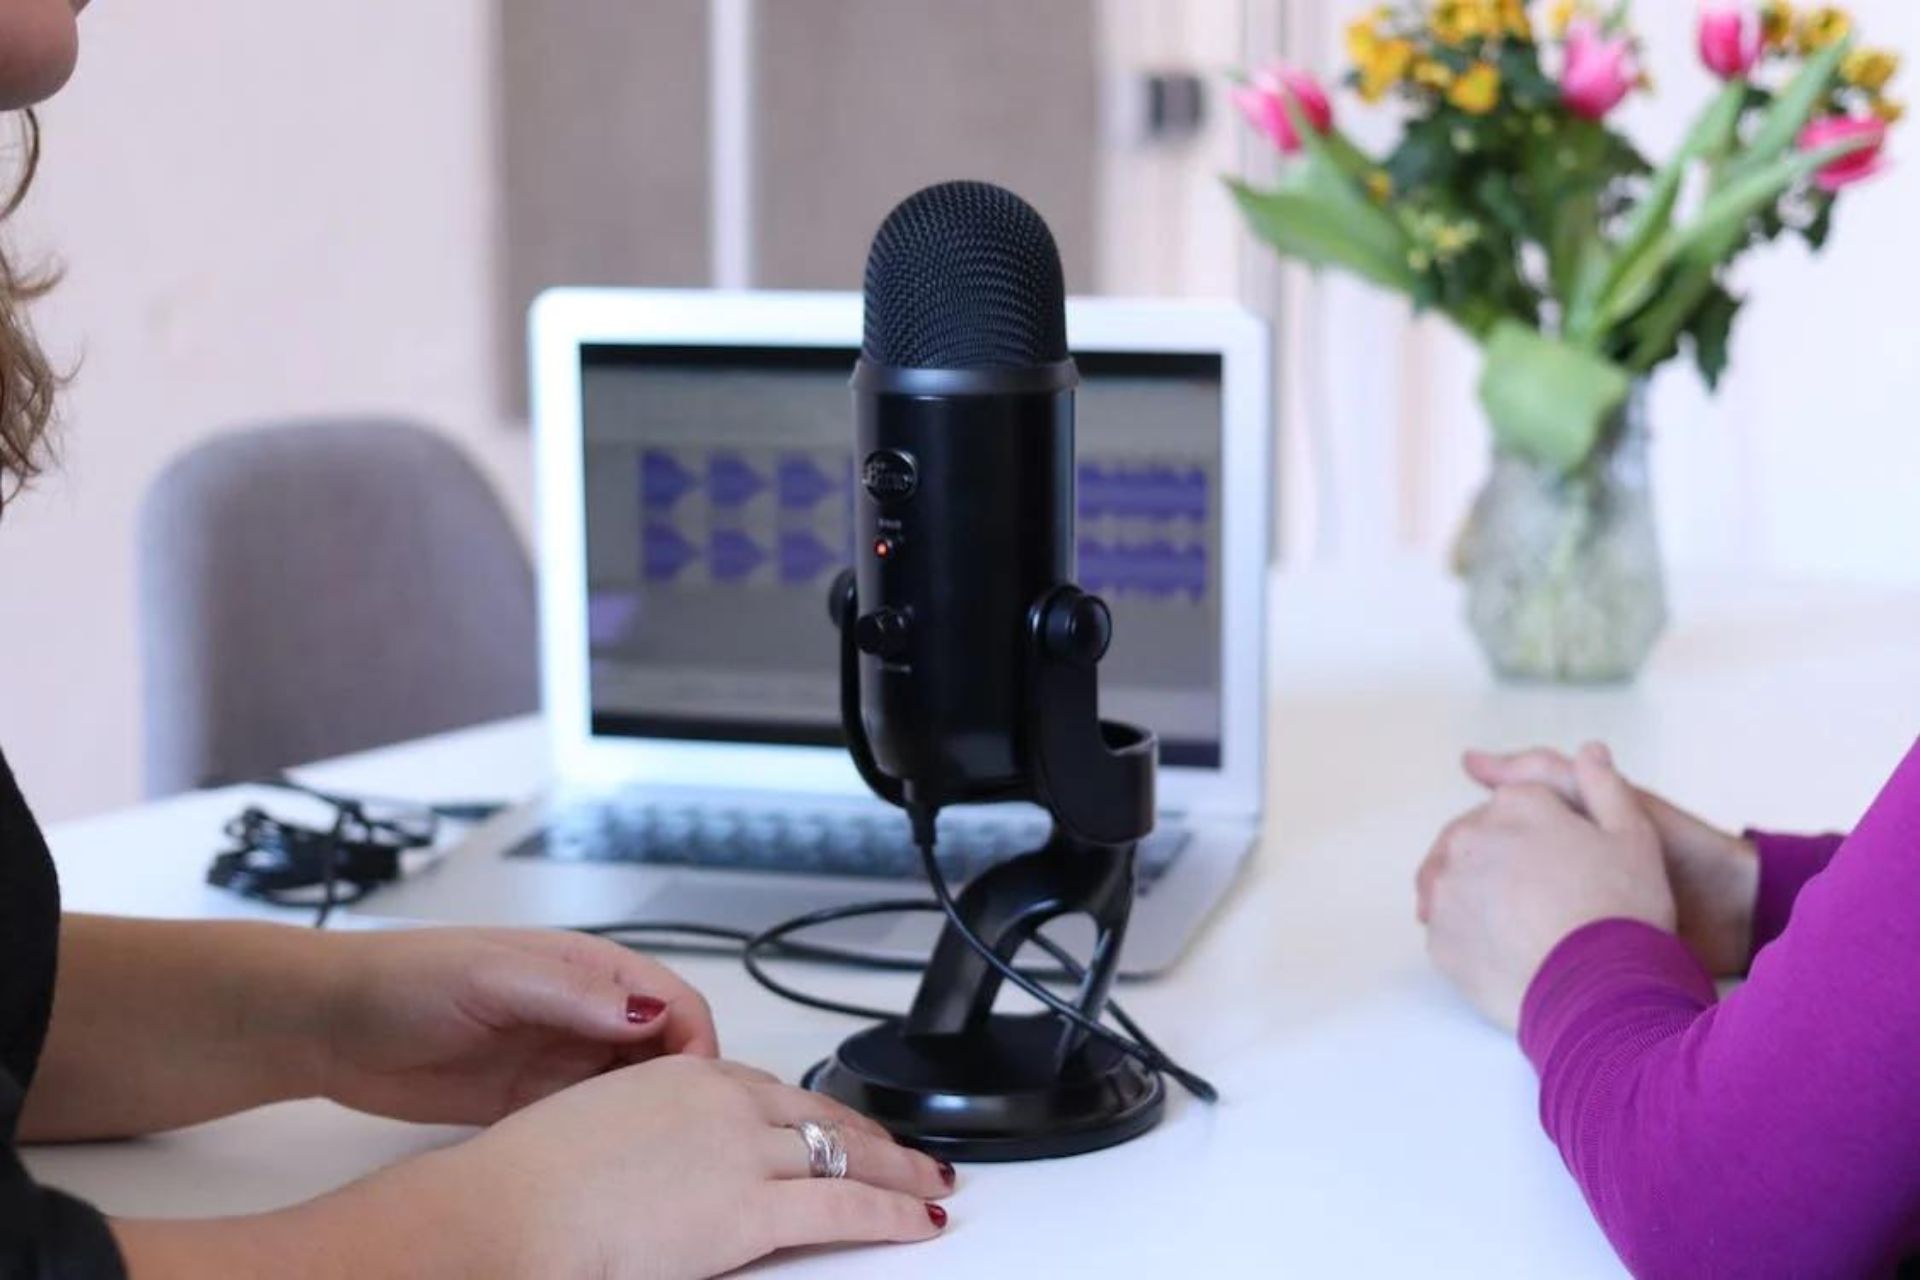
Method 3: Adjusting the Microphone Volume in Your Recording Software
In addition to adjusting the microphone volume through your operating system settings, many recording software programs also provide options to control the microphone volume directly within the application. Here’s how you can adjust the microphone volume in your recording software:
- Launch your preferred recording software program.
- Locate the settings or preferences menu within the software. This is usually represented by an icon or can be found in the “File” or “Edit” menu.
- Navigate to the audio settings or preferences section.
- Look for an option related to input or recording devices. Here, you should see a list of available audio devices, including your USB microphone.
- Select your USB microphone as the preferred input device.
- Within the input device settings, you’ll find options to adjust the microphone volume. This can be in the form of a slider, numeric input, or gain control.
- Experiment with different volume levels, speaking into the microphone, and monitoring the input level meters to find the optimal volume for your audio recordings.
- Once you’ve set the desired volume, save the settings and exit the preferences or settings menu.
By adjusting the microphone volume directly within your recording software, you have more precise control over the audio input levels. This allows you to customize the volume to best suit your recording needs and ensure clear and balanced audio.
Remember that the specific steps may vary between different recording software programs. It’s a good idea to consult the software’s documentation or support resources for detailed instructions tailored to your specific software.
Now that you know how to adjust the microphone volume within your recording software, let’s explore another method that involves using an audio interface or external mixer.
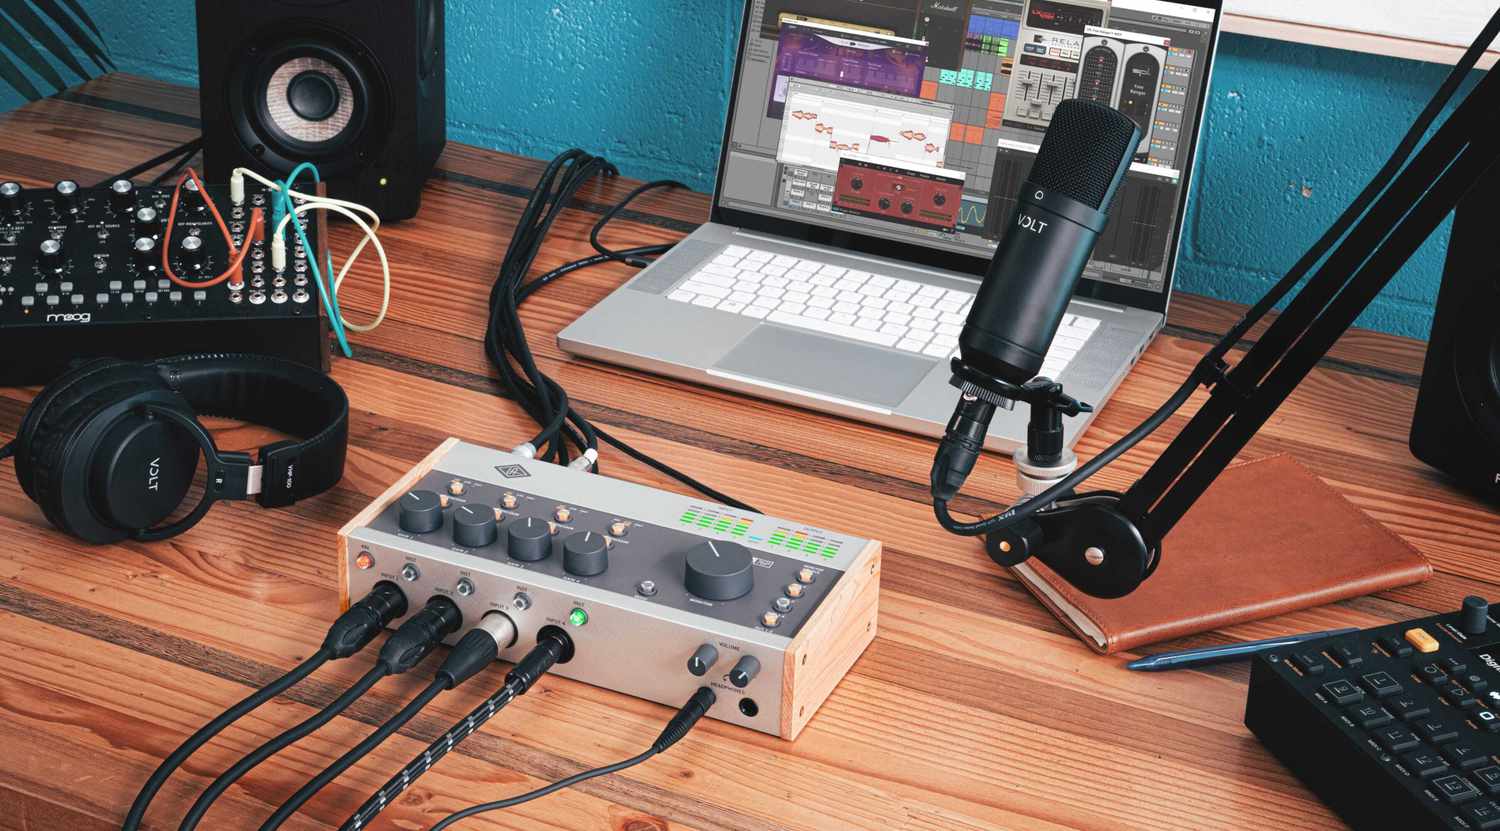
Method 4: Using an Audio Interface or External Mixer to Adjust Microphone Volume
If you’re looking for more advanced control over your microphone volume and audio settings, using an audio interface or an external mixer can offer additional flexibility. Here’s how you can use an audio interface or external mixer to adjust the microphone volume:
- Connect your USB microphone to the audio interface or external mixer using the appropriate cable.
- Connect the audio interface or external mixer to your computer via USB or other compatible connections.
- Set up the audio interface or external mixer by following the manufacturer’s instructions. This may include installing drivers or software specific to your device.
- Once the audio interface or external mixer is connected and set up, launch your recording software.
- In the preferences or settings menu of your recording software, select the audio interface or external mixer as the input device.
- Open the control panel or mixer software provided by your audio interface or external mixer. This software will vary depending on the brand and model of your device.
- Within the control panel or mixer software, locate the input channel or gain control that corresponds to your USB microphone. This will allow you to adjust the microphone volume.
- Adjust the input gain or volume control to increase or decrease the microphone volume. Monitor the input level meters and listen to the audio output to find the optimal volume.
- Once you’ve set the desired volume, save the settings within the control panel or mixer software.
Using an audio interface or external mixer provides you with more precise control over the microphone volume and additional options for adjusting audio settings. This can be particularly useful for professionals and those seeking to achieve the highest quality audio recordings.
It’s important to note that the specific steps and settings may differ between different audio interfaces and external mixers. Consult the user manual or online resources provided by the manufacturer for detailed instructions tailored to your equipment.
With this method, you can take advantage of the advanced features of audio interfaces and external mixers to fine-tune your microphone volume and create professional-grade recordings.
Conclusion
Adjusting the volume of your USB microphone is crucial for achieving high-quality audio recordings and ensuring your voice is clear and balanced. Throughout this article, we have explored various methods for adjusting the microphone volume on both Windows and Mac operating systems.
We started by adjusting the microphone volume in Windows through the system settings. By following the steps outlined, you can easily control the microphone volume and optimize it for your recordings or live streams.
Next, we looked at adjusting the microphone volume on Mac using the system preferences. By navigating to the input settings and selecting your USB microphone, you can fine-tune the volume level to suit your needs.
Furthermore, we discussed how to adjust the microphone volume within your recording software. Many recording programs offer dedicated options to control the microphone volume, allowing you to refine the audio input levels directly within the software.
Lastly, we explored using an audio interface or external mixer to adjust microphone volume. This method provides advanced control and flexibility for professionals and those seeking the highest quality audio recordings.
By using these methods, you can ensure that your USB microphone is set to an optimal volume level, resulting in clear and balanced audio for your podcasts, live streams, voice recordings, or online meetings.
Remember, different USB microphones and recording software may have slight variations in the process, so it’s always recommended to consult the documentation or support resources specific to your equipment.
Now that you have a comprehensive understanding of adjusting the microphone volume, you can confidently optimize your audio settings and enhance the quality of your recordings. Happy recording!