Introduction
A USB microphone is a popular choice for individuals who need a simple and convenient audio recording solution. Whether you’re a podcaster, vlogger, musician, or gamer, having the right sensitivity settings on your USB microphone is crucial to achieving optimal audio quality. The sensitivity of a microphone determines how it picks up sound, and adjusting it correctly can make a significant difference in the clarity and volume of your recordings.
In this article, we will explore the importance of adjusting the sensitivity on a USB microphone and provide you with various methods to do so. We will also share some tips and troubleshoot common issues that you may encounter along the way.
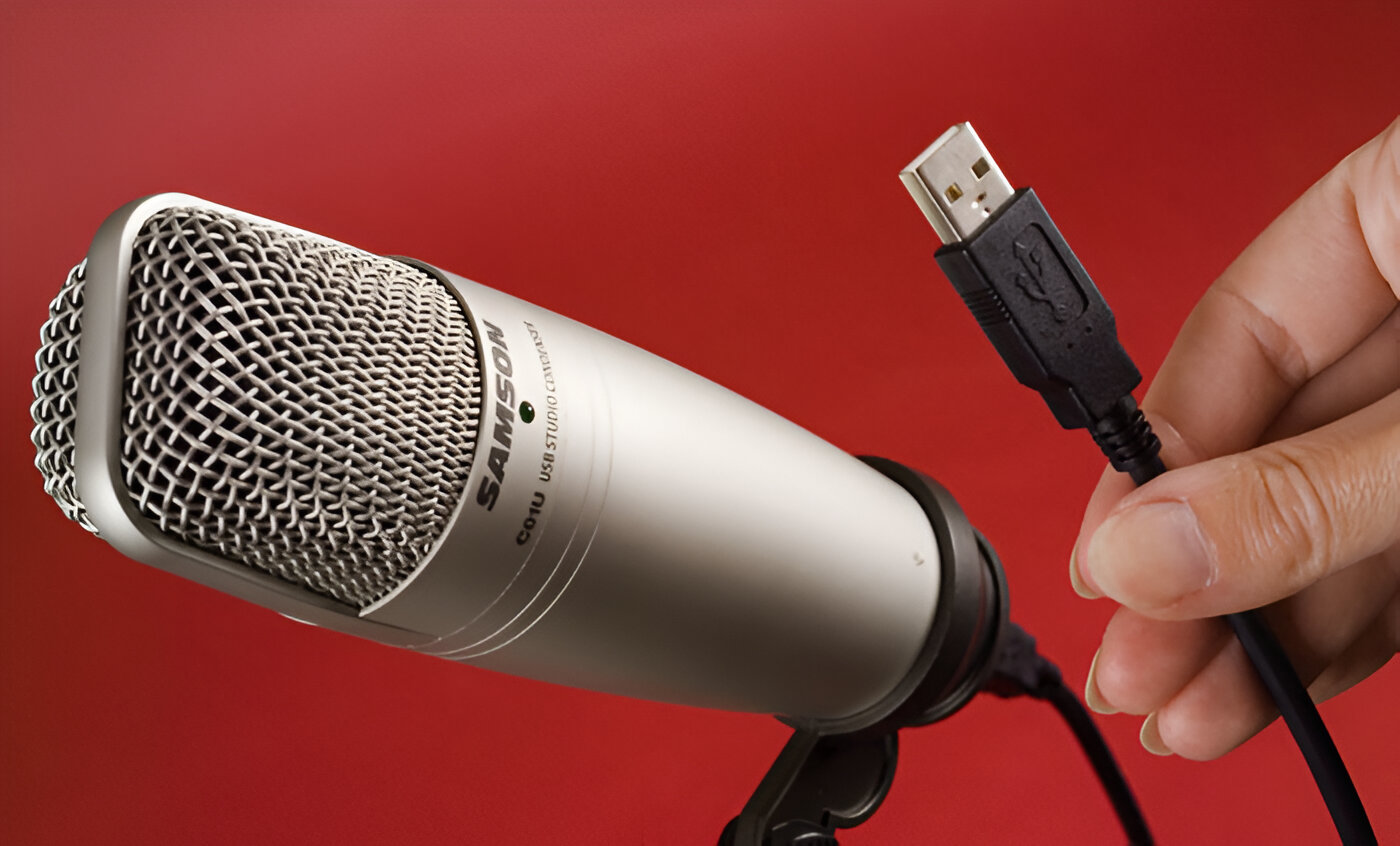
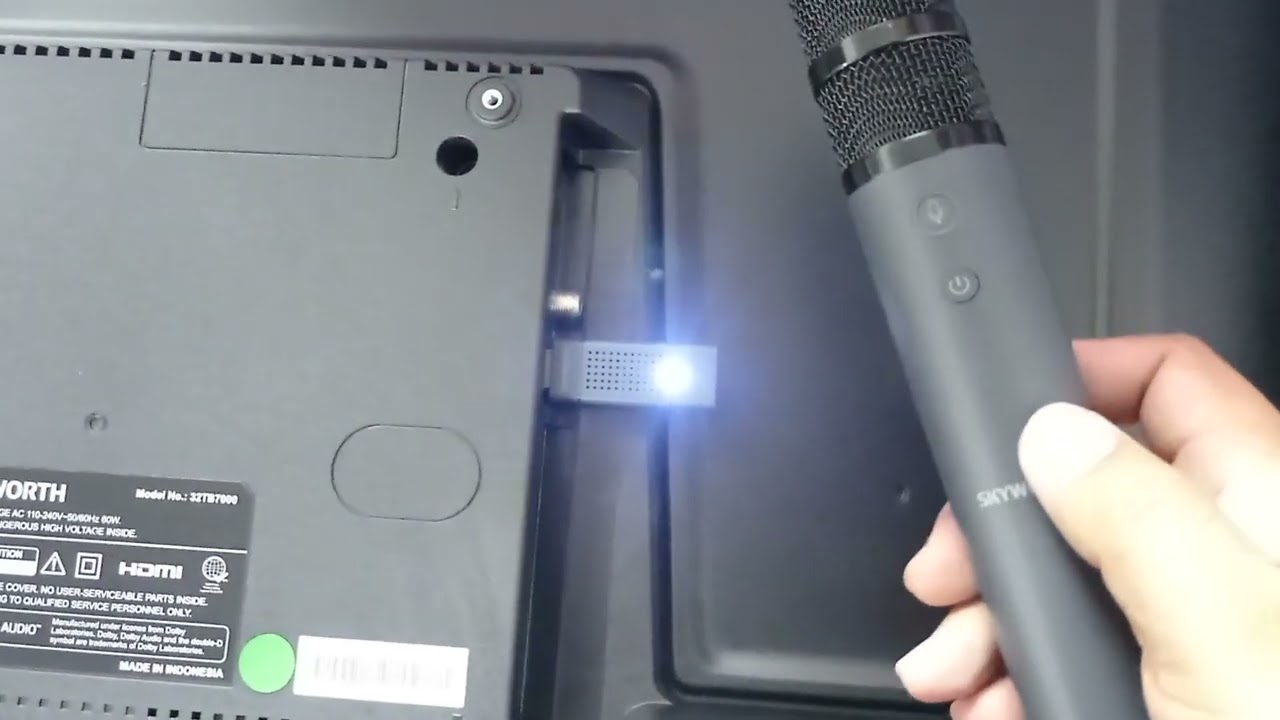
Before we dive into the details, it’s essential to understand what USB microphones are and how they function. Unlike traditional XLR microphones that require an audio interface, USB microphones connect directly to your computer or device’s USB port. They are plug-and-play devices, making them incredibly convenient for beginners and those who don’t have extensive audio equipment setups.
USB microphones come with built-in analog to digital converters (ADC), which convert the analog audio signals into digital data that your computer can process. They also have a preamp to amplify the audio signal, allowing you to adjust the sensitivity or gain level.
Now that we have a basic understanding of USB microphones, let’s explore why adjusting the sensitivity is so important. By modifying the sensitivity settings, you can control how much sound the microphone captures and how loudly it reproduces it. This enables you to capture clear, distortion-free audio, regardless of the application you’re using the microphone for.
Understanding USB Microphones
USB microphones have become increasingly popular in recent years due to their convenience and ease of use. Unlike traditional microphones that require complicated setups and additional equipment, USB microphones can be directly connected to your computer or device’s USB port, making them ideal for beginners and those who don’t want the hassle of setting up an audio interface.
USB microphones are designed to capture audio and convert it into a digital format that your computer can understand. They have built-in analog to digital converters (ADC), which convert the analog sound waves into digital data. This data can then be processed and recorded on your computer using recording software or used for live streaming, podcasting, gaming, or any other audio-related activities.
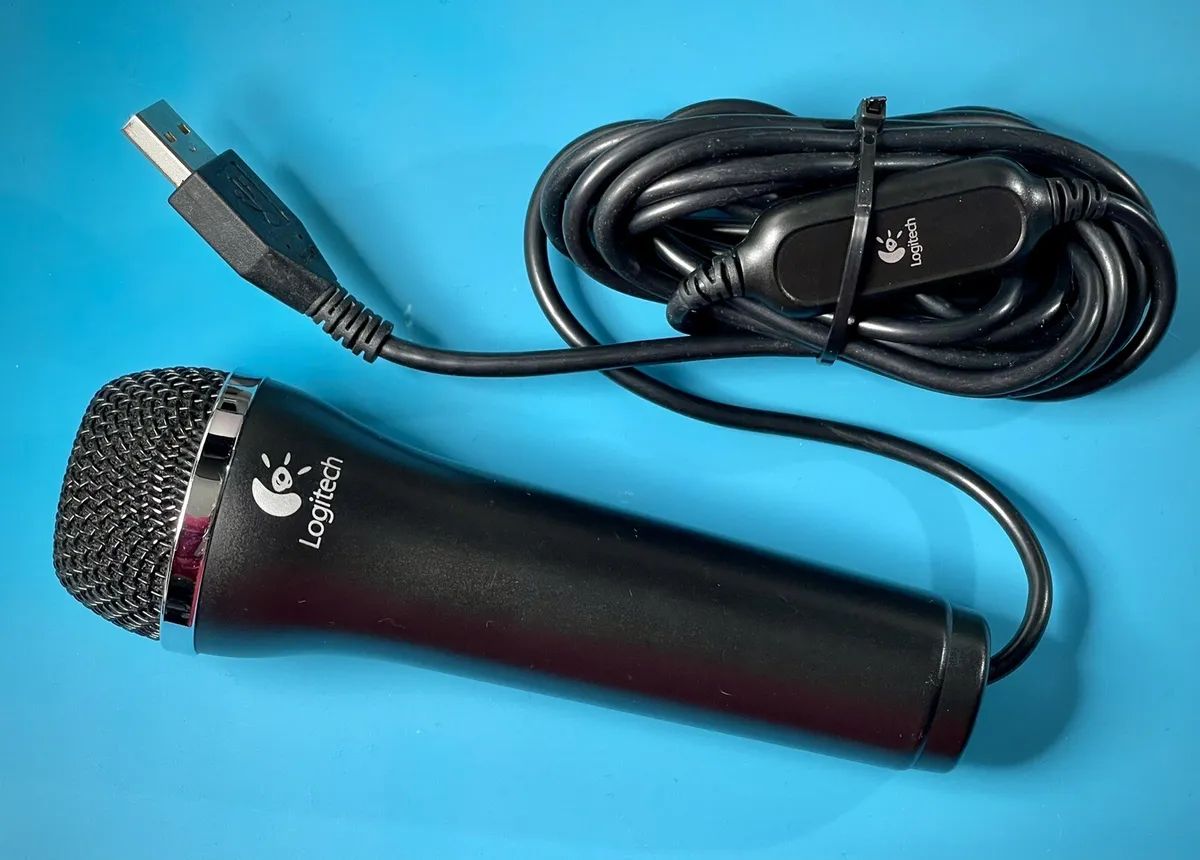
One of the key advantages of USB microphones is their simplicity. They typically have a plug-and-play functionality, meaning you can connect them to your computer and start recording right away without the need for any additional drivers or software installations.
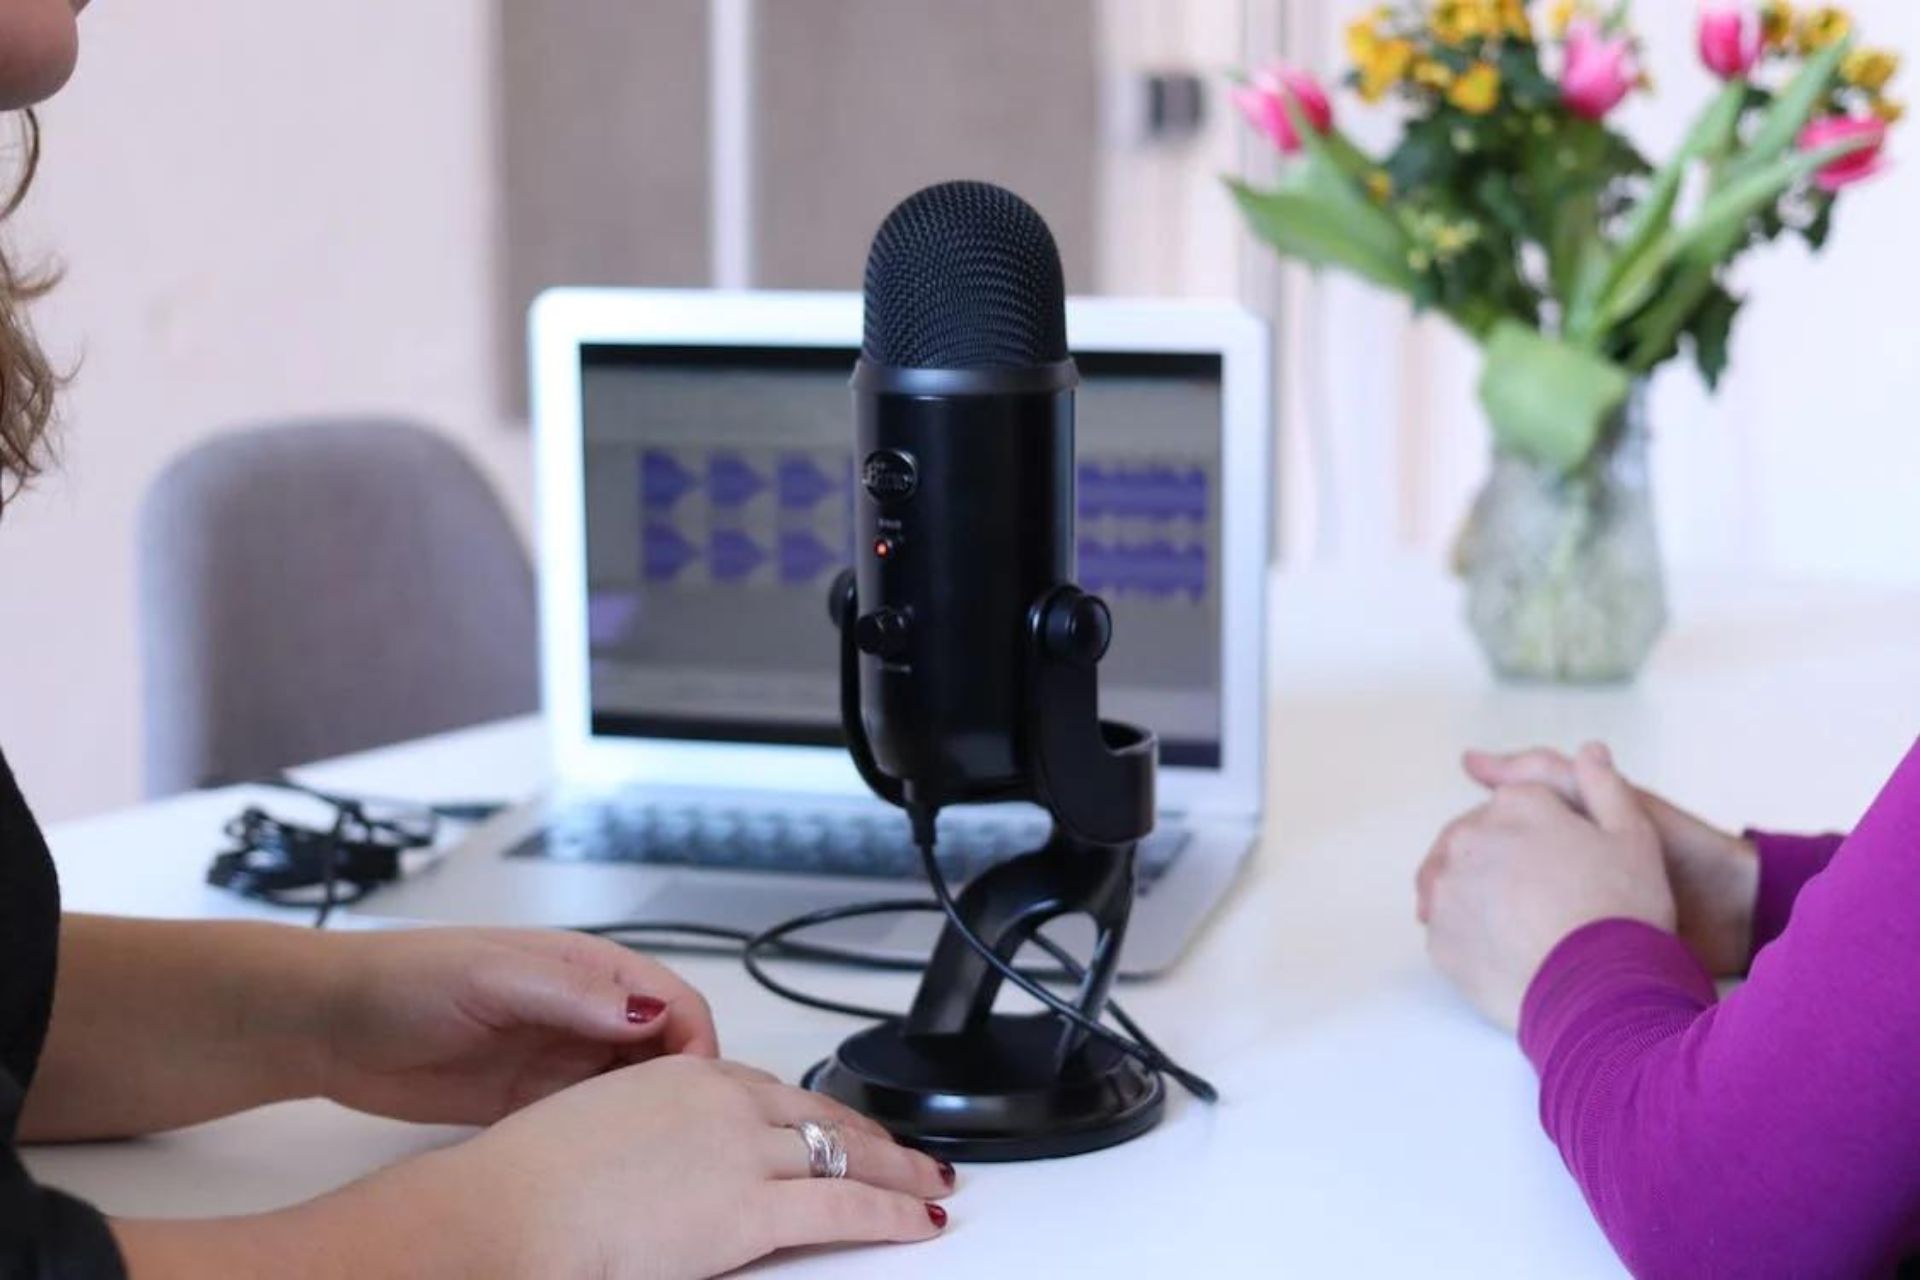
USB microphones also come in various shapes and sizes, ranging from handheld options to desktop or studio-style microphones. They often include built-in features such as headphone jacks, volume control knobs, and mute buttons, allowing for easy monitoring and control of your recordings.
Another important aspect to consider when understanding USB microphones is their frequency response. The frequency response refers to the range of frequencies that the microphone can capture and reproduce. It’s crucial to choose a microphone with a wide frequency response if you want to record high-quality audio across the entire audible spectrum.
USB microphones are an excellent choice for many applications, including podcasting, vlogging, voiceovers, interviews, music recording, and more. They provide a convenient and cost-effective solution for capturing professional-quality audio without the need for extensive audio equipment and technical know-how.
Now that we have a better understanding of USB microphones, let’s dive into the importance of adjusting the sensitivity settings to achieve optimal audio results.
Why Adjusting Sensitivity is Important
Adjusting the sensitivity of your USB microphone is a crucial step in ensuring high-quality audio recordings. The sensitivity, also known as the gain level, determines how much sound the microphone picks up and how loudly it reproduces it. Finding the right balance is essential for achieving clear, distortion-free audio.
If the sensitivity is set too high, the microphone will capture even the slightest sounds, resulting in unwanted background noise and potential distortion. This can be particularly problematic if you’re recording in a noisy environment or if your microphone is highly sensitive. On the other hand, if the sensitivity is set too low, your recordings may sound faint and lack the necessary volume and presence.
By adjusting the sensitivity, you have control over the microphone’s input level, allowing you to optimize it based on your specific recording scenario. For instance, if you’re recording a podcast in a quiet room, you can lower the sensitivity to minimize background noise and focus on capturing the clear and direct sound of your voice. Conversely, if you’re recording a live performance or capturing sound effects, you may want to increase the sensitivity to ensure all the nuances and details are captured accurately.
Another reason why adjusting sensitivity is important is to avoid clipping. Clipping occurs when the input level is too high and the microphone cannot handle the loud sound, resulting in distortion and audio artifacts. By adjusting the sensitivity, you can prevent clipping and maintain the integrity of your recordings.
Furthermore, adjusting the sensitivity allows you to achieve consistency in your recordings. If you’re using your USB microphone for different purposes, such as podcasting and gaming, you may need to adjust the sensitivity accordingly to produce the optimal sound quality for each application.
Overall, taking the time to adjust the sensitivity on your USB microphone is essential for achieving professional-quality audio recordings. It allows you to control input levels, minimize background noise, prevent distortion, and ensure consistent sound performance across different recording scenarios.
Methods to Adjust Sensitivity on a USB Microphone
There are several methods you can use to adjust the sensitivity on a USB microphone, depending on the model and the software or hardware options available:
- Method 1: Using the Recording Software: Many USB microphones come with specific recording software that allows you to adjust various settings, including sensitivity. This software might provide sliders or dials to control the gain level or have preset options for different recording scenarios. Simply open the software, locate the sensitivity or gain settings, and adjust them based on your preference and the requirements of your recording.
- Method 2: Adjusting the Hardware Settings: Some USB microphones have physical controls on the device itself to adjust sensitivity. These controls may include knobs, buttons, or switches that allow you to increase or decrease the gain level directly on the microphone. Refer to the user manual or documentation of your USB microphone to understand how to access and adjust the hardware sensitivity settings.
- Method 3: Using an Audio Interface or Mixer: If you want more precise control over your USB microphone’s sensitivity, you can connect it to an audio interface or mixer. These external devices provide additional hardware controls and advanced features, allowing you to fine-tune the gain level with greater precision. Connect your USB microphone to the audio interface or mixer using the appropriate cables, and adjust the sensitivity using the controls provided on the external device.
It’s important to note that not all USB microphones have hardware controls or dedicated recording software. In such cases, your options for adjusting sensitivity may be limited to the settings available within your recording software or operating system.
Experiment with different sensitivity settings to find the optimal level for your specific needs. Keep in mind that the ideal sensitivity will vary depending on factors such as your recording environment, the volume and dynamics of the sound source, and the intended purpose of your recordings.
Now that you have an understanding of the different methods to adjust sensitivity, let’s explore some tips and tricks to help you achieve the best possible audio results.
Method 1: Using the Recording Software
One of the most common and convenient methods to adjust the sensitivity on a USB microphone is by using the recording software that accompanies it. Most USB microphones come with dedicated software or are compatible with popular recording programs like Audacity, GarageBand, or Adobe Audition.
To adjust the sensitivity using the recording software, follow these steps:
- Launch the recording software and ensure that your USB microphone is selected as the input device. You can usually find this option in the software’s preferences or settings menu.
- Locate the sensitivity or gain control settings within the software. These settings may be represented as sliders, dials, or numerical values.
- Depending on the software, you may find presets for different recording scenarios, such as vocals, instruments, or podcasting. Experiment with these presets to find a suitable starting point for your desired sensitivity.
- If presets aren’t available or if you want more control, you can manually adjust the sensitivity. Start by setting the sensitivity to a mid-level and make a test recording. Listen to the recording playback and adjust the sensitivity up or down as needed until you achieve the desired results.
- Be careful not to set the sensitivity too high, as it can result in distortion and unwanted background noise. Aim for a sensitivity level that captures your desired sound source clearly and without excessive noise interference.
Remember to save your settings within the recording software so that they are applied every time you use the microphone. It’s also a good idea to test your sensitivity settings in different scenarios and adjust them accordingly to achieve consistent and optimal sound quality across various recording situations.
If you encounter any difficulties in adjusting the sensitivity within the recording software, refer to the user manual or support documentation provided by the manufacturer. They often provide specific guidance on using their software to adjust sensitivity settings.
Now that you’re familiar with using the recording software to adjust sensitivity, let’s explore another method: adjusting the hardware settings on your USB microphone.
Method 2: Adjusting the Hardware Settings
If your USB microphone has physical controls on the device itself, you can directly adjust the sensitivity by tweaking the hardware settings. These controls can be in the form of knobs, buttons, switches, or sliders, and provide a convenient way to modify the gain level without relying on software adjustments.
To adjust the hardware settings on your USB microphone, follow these steps:
- Refer to the user manual or documentation that came with your USB microphone to identify the specific hardware controls for adjusting sensitivity. The location and functionality of these controls can vary depending on the microphone model.
- If your USB microphone has a sensitivity knob or dial, turn it clockwise to increase the gain level or counterclockwise to decrease it. Some microphones may also have buttons or switches that allow you to toggle between preset sensitivity levels.
- Make small adjustments to the sensitivity and test the microphone by recording your voice or other sound sources. Listen to the playback and adjust the sensitivity further until you achieve the desired audio quality.
- Take note of the position or value of the hardware controls that provide the best sensitivity settings for your needs. This will allow you to easily reproduce the settings in the future or make minor adjustments as necessary.
Keep in mind that not all USB microphones have hardware controls for adjusting sensitivity. If this is the case with your microphone, you will need to rely on other methods, such as using the recording software or an external audio interface or mixer, to modify the gain level.
Adjusting the sensitivity through the hardware settings can be advantageous in scenarios where you want immediate control over the microphone’s gain without the need for software adjustments. It can also be useful in situations where you want to make quick changes during a live recording or performance.
Now that you’re familiar with adjusting the sensitivity using the hardware settings, let’s explore another method: using an audio interface or mixer.
Method 3: Using an Audio Interface or Mixer
If you’re looking for more precise and advanced control over the sensitivity of your USB microphone, using an audio interface or mixer can be an excellent option. An audio interface or mixer serves as an external device that connects between your USB microphone and your computer, providing additional hardware controls and features.
To adjust the sensitivity using an audio interface or mixer, follow these steps:
- Connect your USB microphone to the audio interface or mixer using the appropriate cables. Make sure to follow the specific instructions provided by the manufacturer for proper connectivity.
- Turn on the audio interface or mixer and make sure it is recognized by your computer. Install any necessary drivers or software if prompted.
- Locate the controls on the audio interface or mixer that correspond to the gain or sensitivity settings. These controls may be in the form of knobs, faders, or sliders.
- Start by setting the sensitivity control to a mid-level position. Make a test recording and monitor the sound output through headphones or speakers connected to the audio interface or mixer.
- Gradually adjust the sensitivity control up or down based on your judgment of the recorded sound quality. Aim to find the right balance that captures your desired sound source accurately while minimizing background noise and distortion.
- Take note of the specific settings you use for the optimal sensitivity on your USB microphone and audio interface or mixer. This will allow you to reproduce the settings for future recordings or make minor adjustments as needed.
An audio interface or mixer provides additional benefits besides sensitivity control, such as phantom power for condenser microphones, EQ adjustment, and the ability to connect multiple microphones or instruments. It can also offer better audio conversion and signal processing compared to the built-in preamp in your USB microphone.
Remember that the specific features and controls of audio interfaces and mixers can vary, so refer to the user manual or documentation provided by the manufacturer to understand how to adjust sensitivity settings on your particular device.
Using an audio interface or mixer to adjust sensitivity gives you the advantage of precise control and flexibility in shaping the sound of your USB microphone recordings. Now that you’re familiar with this method, let’s move on to some tips and tricks for adjusting sensitivity effectively.
Tips and Tricks for Adjusting Sensitivity
Adjusting the sensitivity on your USB microphone is a crucial step in achieving optimal audio quality. Here are some tips and tricks to help you fine-tune the sensitivity settings:
- Start with a neutral or mid-level sensitivity setting and make test recordings in different scenarios. Listen to the playback and evaluate if the sound is too soft, too loud, or distorted. This will help you understand the ideal sensitivity range for different recording situations.
- Consider the acoustics of your recording environment. If you’re in a room with poor sound insulation or lots of background noise, lower the sensitivity to minimize interference. On the other hand, in a controlled and quiet environment, slightly higher sensitivity may be necessary to capture all the nuances of your sound source.
- Be mindful of the distance between the microphone and the sound source. If you’re too far away, you may need to increase the sensitivity to compensate for the loss of volume. Conversely, if you’re too close, lowering the sensitivity can prevent distortion caused by overloading the microphone’s capsules.
- Consider using a pop filter or windscreen to minimize plosive sounds and wind noise. These accessories can help reduce the need for high sensitivity settings and improve the overall quality of your recordings.
- Watch out for clipping, which occurs when the input level exceeds the microphone’s capabilities. Monitor your audio levels in the recording software or through the audio interface/mixer and adjust the sensitivity accordingly to prevent distortion.
- Experiment with different sensitivity settings to find the balance between capturing clear sound and minimizing unwanted background noise. Don’t hesitate to make small incremental adjustments until you achieve the desired result.
- If you’re unsure about the optimal sensitivity setting, seek feedback from others or professionals in the field. They can provide valuable insights and help you fine-tune your sensitivity settings for specific applications.
Remember that adjusting sensitivity is not a one-size-fits-all process. It requires patience, practice, and a willingness to adapt to different recording scenarios. Take the time to explore and understand the sensitivity controls of your USB microphone and leverage the available tools to achieve the best possible audio quality.
Now that you’re armed with these tips and tricks, you’re well-equipped to adjust the sensitivity of your USB microphone effectively and produce high-quality recordings in any situation.
Troubleshooting Common Issues
While adjusting the sensitivity on your USB microphone, you may encounter some common issues. Here are troubleshooting tips for addressing these problems:
- Background Noise: If you’re hearing excessive background noise in your recordings, try reducing the sensitivity or gain level. You can also explore noise reduction tools in your recording software to further minimize unwanted noise.
- Distortion or Clipping: If your recordings sound distorted or have clipping artifacts, it may indicate that the sensitivity is set too high. Lower the sensitivity to prevent the microphone from overloading and adjust the input levels accordingly.
- Uneven Volume: If your recordings have inconsistent volume levels, ensure that you’re maintaining a consistent distance from the microphone and speaking directly into it. If the issue persists, consider using a compressor or normalize function in your recording software to even out the volume levels.
- Unintended Low Sensitivity: If your USB microphone is not picking up sound or seems to have very low sensitivity, first check the physical connections to ensure they are secure. If the issue persists, try adjusting the sensitivity settings in both the recording software and the hardware controls (if available).
- Compatibility Issues: If you’re experiencing compatibility issues with your recording software or operating system, check for driver updates for your USB microphone. Visit the manufacturer’s website or contact their support for assistance in resolving any compatibility problems.
- Electrical Interference: If you notice buzzing or humming sounds in your recordings, there may be electrical interference. Try using a different USB port, using shorter cables, or using ferrite beads to reduce interference. Additionally, keeping the microphone away from other electronic devices can help minimize interference.
If you encounter persistent issues that you’re unable to resolve, consult the user manual or contact the manufacturer’s support for further troubleshooting guidance specific to your USB microphone model.
By effectively troubleshooting and resolving these common issues, you can ensure that your USB microphone is performing optimally and producing high-quality audio recordings.
Conclusion
Adjusting the sensitivity on a USB microphone is essential for achieving optimal audio quality in your recordings. By finding the right balance, you can capture clear, distortion-free sound while minimizing background noise and interference. Whether you’re a podcaster, vlogger, musician, or gamer, understanding how to adjust sensitivity will significantly improve the quality of your audio recordings.
In this article, we explored various methods to adjust sensitivity on a USB microphone, including using the recording software, adjusting the hardware settings, and utilizing an audio interface or mixer. Each method provides its own advantages and allows for precise control over the gain level according to your specific recording needs.
Additionally, we provided tips and tricks to help you fine-tune the sensitivity settings effectively. From considering the acoustics of your recording environment to using pop filters and windshields, these tips can help you optimize your recording setup and achieve the best possible audio results.
Furthermore, we discussed troubleshooting common issues that you may encounter while adjusting sensitivity. By following the troubleshooting tips provided, you can address problems such as background noise, distortion, uneven volume, and more, ensuring that your USB microphone is performing at its best.
Remember that adjusting sensitivity is a process of experimentation and understanding your specific recording requirements. Take the time to explore and familiarize yourself with the sensitivity controls and tools available with your USB microphone and recording setup.
With the knowledge and techniques gained from this article, you’re now equipped to confidently adjust the sensitivity on your USB microphone and produce high-quality audio recordings for your chosen applications. Happy recording!