Introduction
Adjusting the saddle on an electric guitar is a crucial aspect of guitar maintenance and customization. The saddle height directly impacts the playability, tone, and overall performance of the instrument. Whether you're a seasoned guitarist or a beginner, understanding how to properly adjust the saddle can greatly enhance your playing experience.
A well-adjusted saddle ensures that the strings are at the optimal height above the fretboard, allowing for comfortable fretting and smooth string bending. Additionally, it contributes to the guitar's intonation, which affects the accuracy of each note across the fretboard.
In this guide, we'll walk through the step-by-step process of adjusting the saddle on an electric guitar. By following these instructions, you'll be able to tailor the saddle height to your preferences, ultimately improving the feel and sound of your instrument. With the right tools and a bit of patience, you can achieve a personalized setup that complements your playing style and maximizes the potential of your electric guitar. Let's dive into the process of adjusting the saddle and unlocking the full sonic potential of your instrument.
Tools Needed
Before embarking on the task of adjusting the saddle on your electric guitar, it’s essential to gather the necessary tools to ensure a smooth and efficient process. Here are the tools you’ll need:
- Phillips-head screwdriver: This tool is essential for adjusting the saddle height screws, which secure the saddle to the bridge.
- Flathead screwdriver: In some cases, a flathead screwdriver may be required to make certain adjustments to the saddle.
- Capo: Using a capo to temporarily clamp the strings can facilitate the process of adjusting the saddle height.
- Tuner: A reliable tuner is necessary to ensure that the guitar remains in tune throughout the adjustment process.
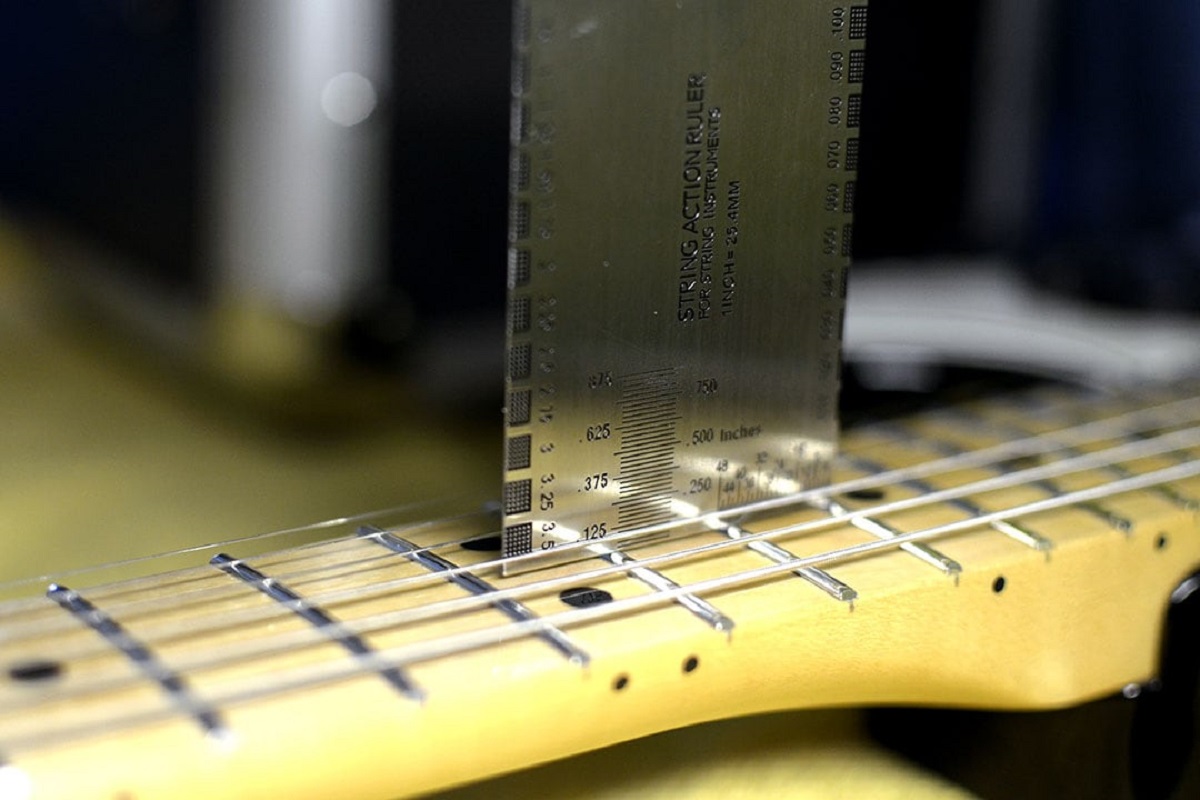
- Measuring tool: To achieve precise saddle height adjustments, a measuring tool such as a ruler or feeler gauge is indispensable.
- Polishing cloth: Keeping a polishing cloth on hand allows you to wipe down the guitar after completing the adjustments, ensuring a clean and polished appearance.
By having these tools readily available, you’ll be well-equipped to carry out the saddle adjustment with confidence and precision. Now that you have the necessary tools at your disposal, let’s proceed to the step-by-step process of adjusting the saddle on your electric guitar.
Step 1: Loosen the Strings
Before making any adjustments to the saddle, it’s crucial to relieve the tension on the strings by loosening them. This step is essential to prevent potential damage to the strings or the guitar bridge during the adjustment process. Here’s how to properly loosen the strings:
- Prepare your workspace: Find a comfortable and well-lit area to work on your guitar. Lay down a soft cloth to protect the guitar’s finish from accidental scratches or dings.
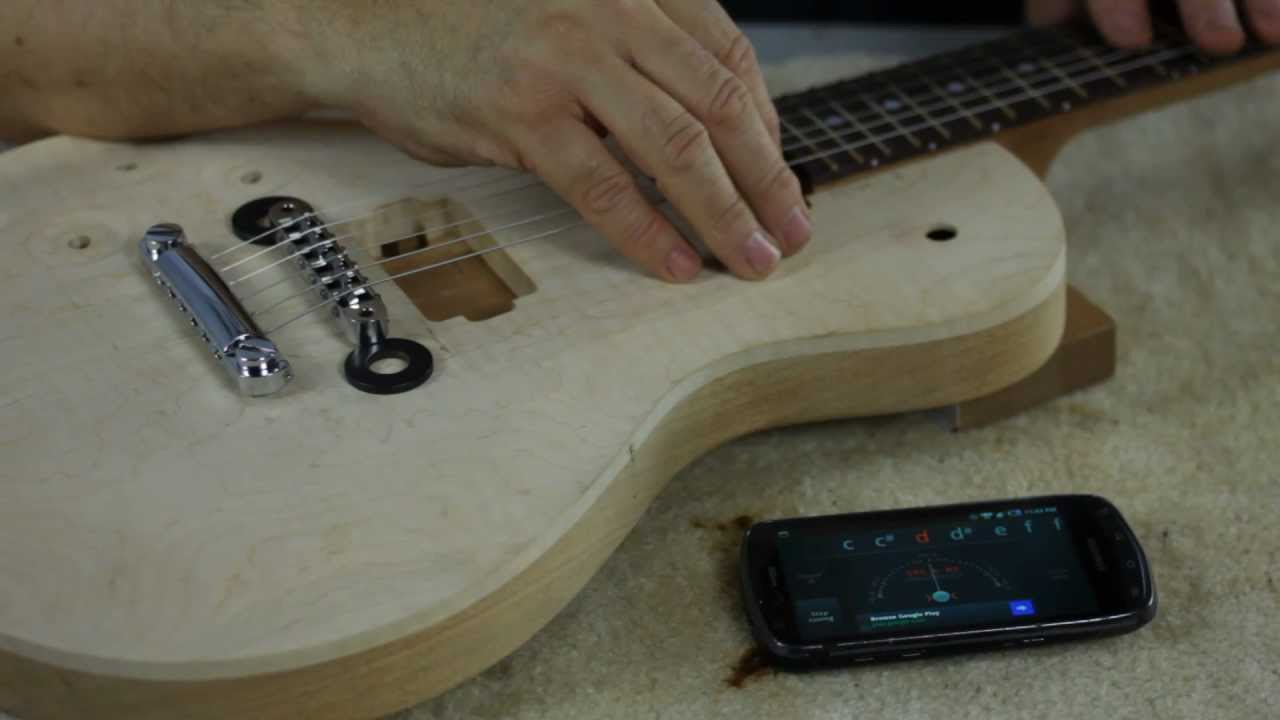
- Use a tuner: Start by tuning your guitar to standard pitch using a reliable tuner. This initial tuning will serve as a reference point for later adjustments.
- Begin loosening the strings: Using the tuning keys, gradually unwind and loosen the tension on each string. It’s important to loosen the strings evenly to maintain balance across the neck and bridge.
- Check the tension: Once the strings are sufficiently loosened, gently lift them away from the fretboard to create ample space for adjusting the saddle height.
By carefully loosening the strings, you’ll create a safe and accessible environment for the subsequent steps of adjusting the saddle. This precautionary measure ensures that the strings and the guitar itself remain unharmed during the adjustment process. With the strings loosened and the guitar prepared for the next steps, you’re ready to proceed to the pivotal stage of adjusting the saddle height.
Step 2: Adjust the Height
With the strings properly loosened, you can now focus on adjusting the height of the saddle to achieve the desired string action. The saddle height directly influences the playability and feel of the guitar, making it a critical aspect of customization. Here’s a detailed guide on adjusting the saddle height:
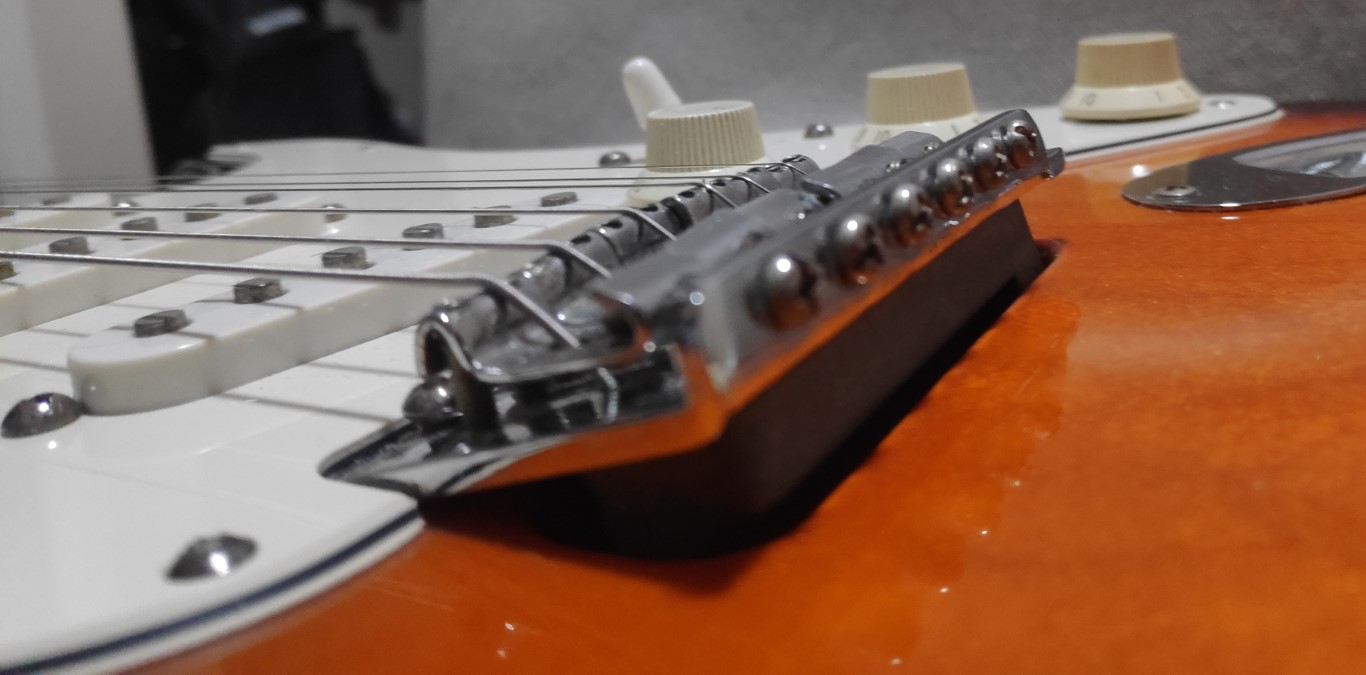
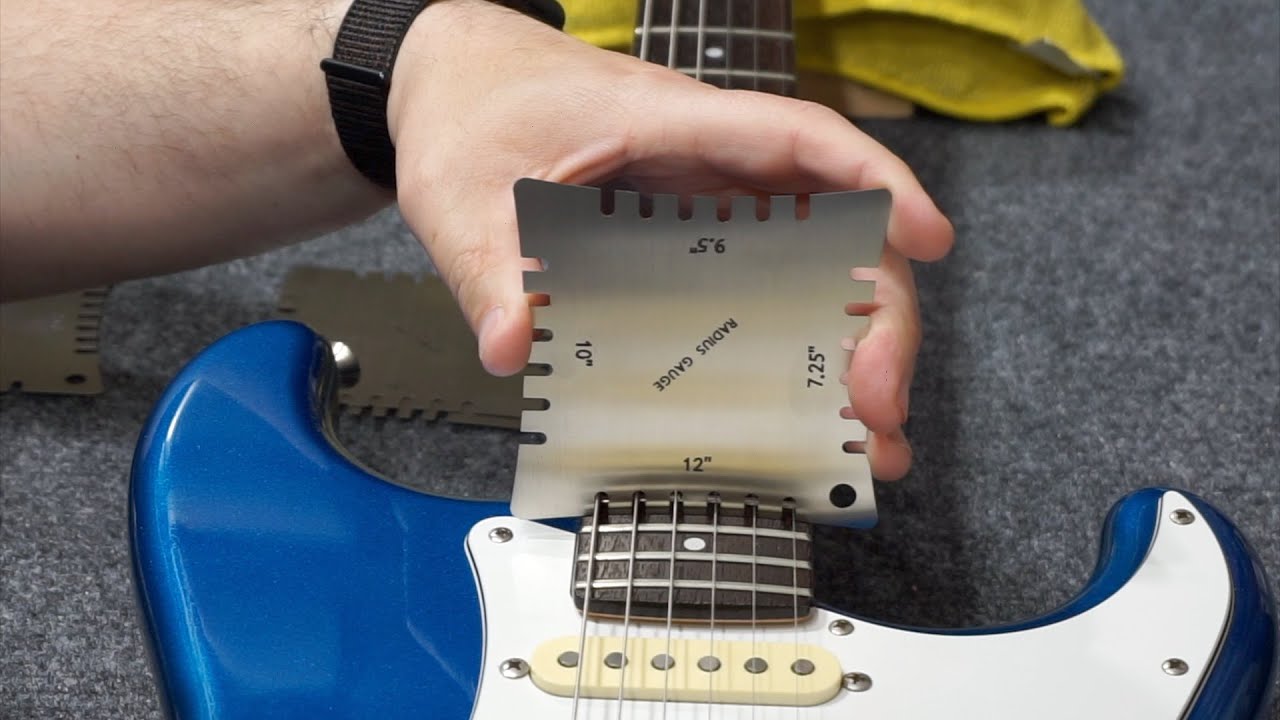
- Assess the current height: Before making any changes, take note of the existing saddle height to serve as a reference point. This can be done by visually inspecting the gap between the bottom of the strings and the fretboard.
- Use the measuring tool: Employ a ruler or feeler gauge to measure the distance between the bottom of the strings and the top of the frets. This precise measurement will guide you in adjusting the saddle to the desired height.
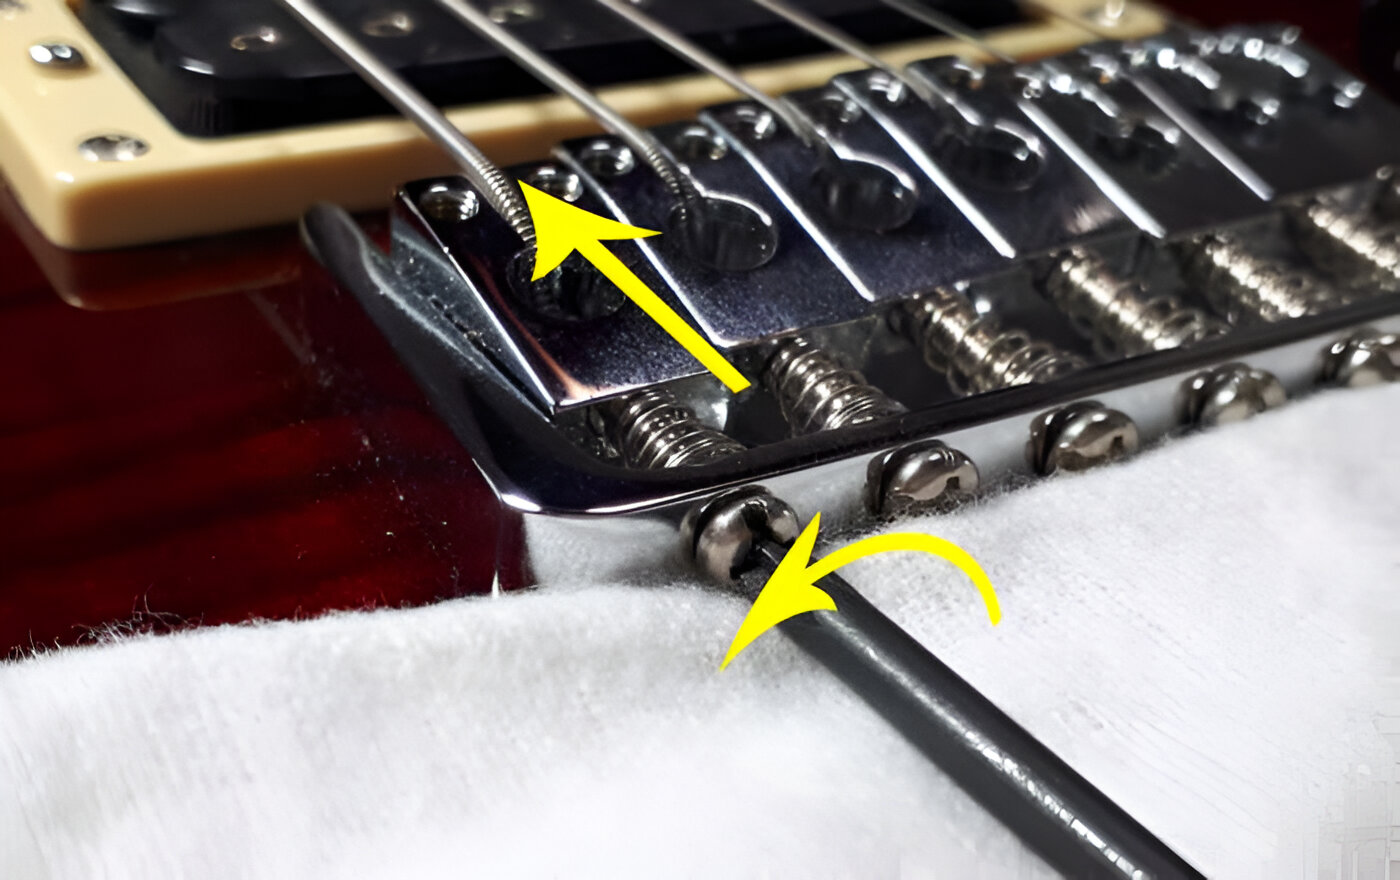
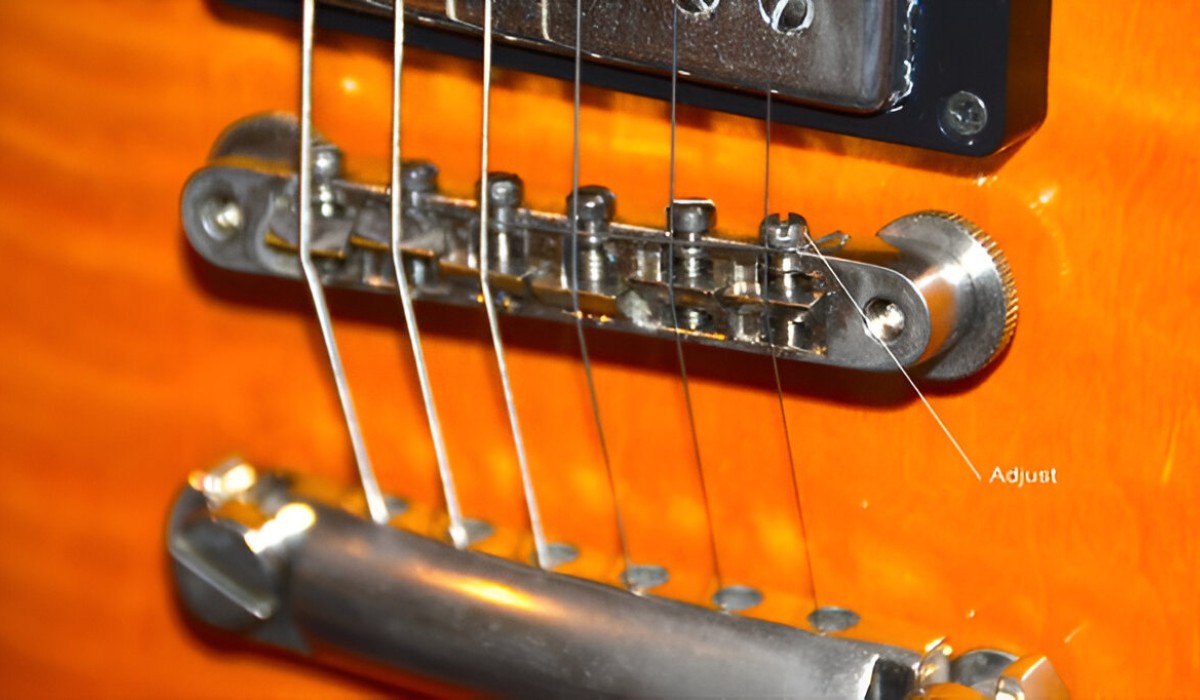
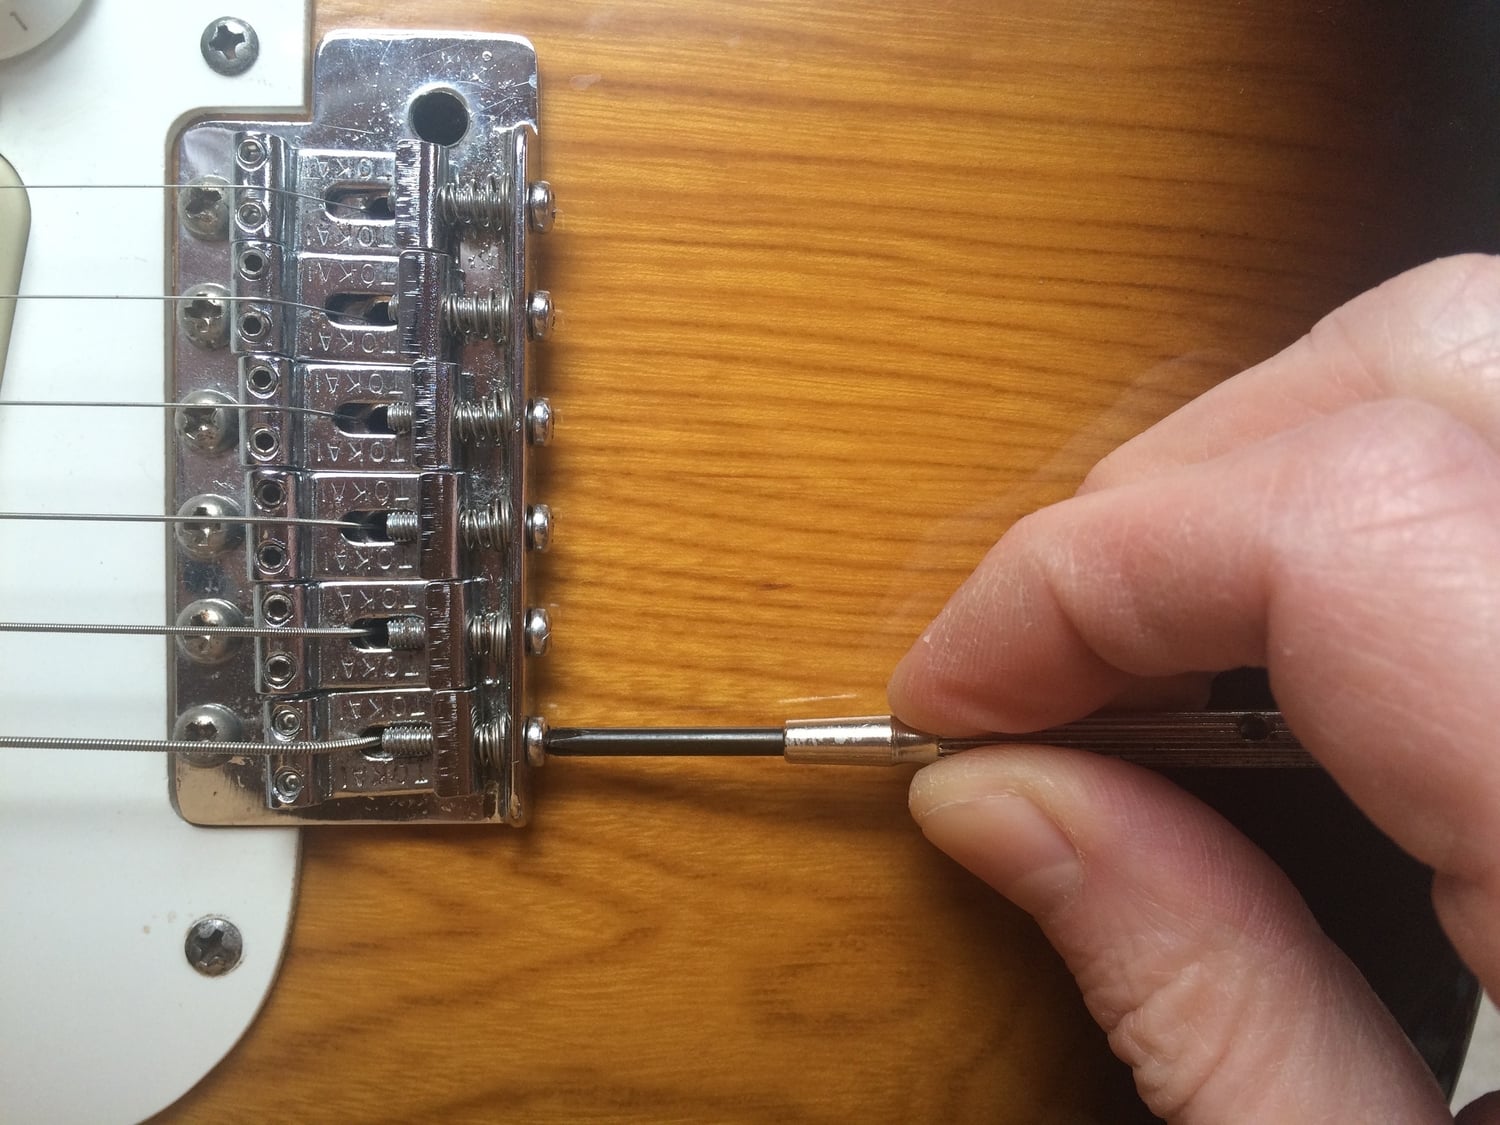
- Locate the adjustment screws: Identify the saddle height adjustment screws located on the bridge. Depending on the guitar model, these screws are typically located on either side of the saddle.
- Make incremental adjustments: Using a Phillips-head screwdriver, carefully turn the adjustment screws to raise or lower the saddle to the desired height. It’s advisable to make small, incremental adjustments to gauge the impact on the string action.
- Check for uniformity: Ensure that the saddle height adjustments are uniform across all strings to maintain consistent string action and playability. This step is crucial for achieving a balanced and comfortable feel across the fretboard.
By methodically adjusting the saddle height, you can tailor the string action to your preference, whether you prefer a lower, faster action for intricate fretwork or a slightly higher action for enhanced resonance and sustain. Once the saddle height aligns with your playing style and comfort, you’re ready to move on to the next step of the adjustment process.
Step 3: Re-tune the Guitar
After adjusting the saddle height, it’s essential to re-tune the guitar to ensure that the strings are at the correct pitch and that the overall intonation remains accurate. The process of adjusting the saddle can impact the tension and pitch of the strings, making it imperative to re-tune the guitar. Here’s how to effectively re-tune your electric guitar:
- Use a reliable tuner: Employ a tuner to systematically tune each string back to its standard pitch. This step is crucial to restore the guitar to its optimal tuning and intonation.
- Check the tuning stability: After tuning each string, strum the guitar lightly and listen for any signs of instability or pitch discrepancies. If necessary, make minor adjustments to the tuning to ensure stability across all strings.
- Test the open strings: Play each open string individually and assess the pitch and stability. This step allows you to verify that the saddle adjustment has not adversely affected the tuning and intonation of the guitar.
- Verify the overall intonation: Play a few chords and scales across different positions on the fretboard to confirm that the guitar maintains accurate intonation and harmonic balance.
By re-tuning the guitar meticulously, you can restore its pitch stability and ensure that the saddle adjustments have not compromised the overall tuning and intonation. This step is crucial for maintaining the playability and tonal integrity of the instrument. With the guitar back in tune, you’re now prepared to assess the impact of the saddle adjustments on the instrument’s overall performance.
Step 4: Test and Fine-tune
Once the saddle adjustments and re-tuning process are complete, it’s time to thoroughly test the guitar’s playability, intonation, and overall performance. This step involves assessing the impact of the saddle adjustments on the instrument’s responsiveness and tonal characteristics. Here’s how to effectively test and fine-tune your electric guitar:
- Assess string action and playability: Play various scales, chords, and techniques across the fretboard to gauge the comfort and responsiveness of the guitar. Pay attention to the string action and ensure that it aligns with your playing style and preferences.
- Check for fret buzz: Listen for any signs of fret buzz or unwanted string noise that may indicate an imbalance in the saddle height. If fret buzz is detected, consider making minor adjustments to the saddle height to alleviate the issue.
- Evaluate intonation: Play a series of notes and chords at different positions on the fretboard to verify that the guitar maintains accurate intonation. Adjust the saddle as needed to correct any intonation discrepancies across the strings.
- Refine the saddle height: If necessary, fine-tune the saddle height to achieve the optimal balance between comfortable playability and tonal resonance. Small adjustments can make a significant difference in the guitar’s overall feel and sound.
By meticulously testing and fine-tuning the guitar after adjusting the saddle, you can ensure that the instrument meets your performance expectations and delivers the desired tonal characteristics. This step allows you to address any remaining adjustments and fine-tune the saddle height to perfection, ultimately enhancing the playability and sonic potential of your electric guitar.
Conclusion
Adjusting the saddle on an electric guitar is a fundamental skill that empowers guitarists to personalize their instruments for optimal playability and tone. By following the step-by-step process outlined in this guide, you’ve gained valuable insights into the art of adjusting the saddle height to suit your playing style and preferences.
From loosening the strings and making precise saddle height adjustments to re-tuning the guitar and fine-tuning the playability, each step plays a crucial role in achieving a customized setup that enhances the overall performance of your electric guitar. The meticulous attention to detail and the use of essential tools ensure that the saddle adjustment process is executed with precision and care.
By mastering the art of saddle adjustment, you’ve unlocked the potential to tailor your guitar’s playability, intonation, and tonal characteristics to align with your unique musical expression. Whether you prefer a lower, faster action for intricate fretwork or a slightly higher action for enhanced resonance and sustain, the saddle adjustment process empowers you to sculpt the perfect playing experience.
As you continue to explore the world of guitar maintenance and customization, the knowledge and skills acquired from adjusting the saddle will serve as a foundation for further enhancing and personalizing your instrument. Embrace the art of saddle adjustment as a means of elevating your playing experience and unleashing the full sonic potential of your electric guitar.