Introduction
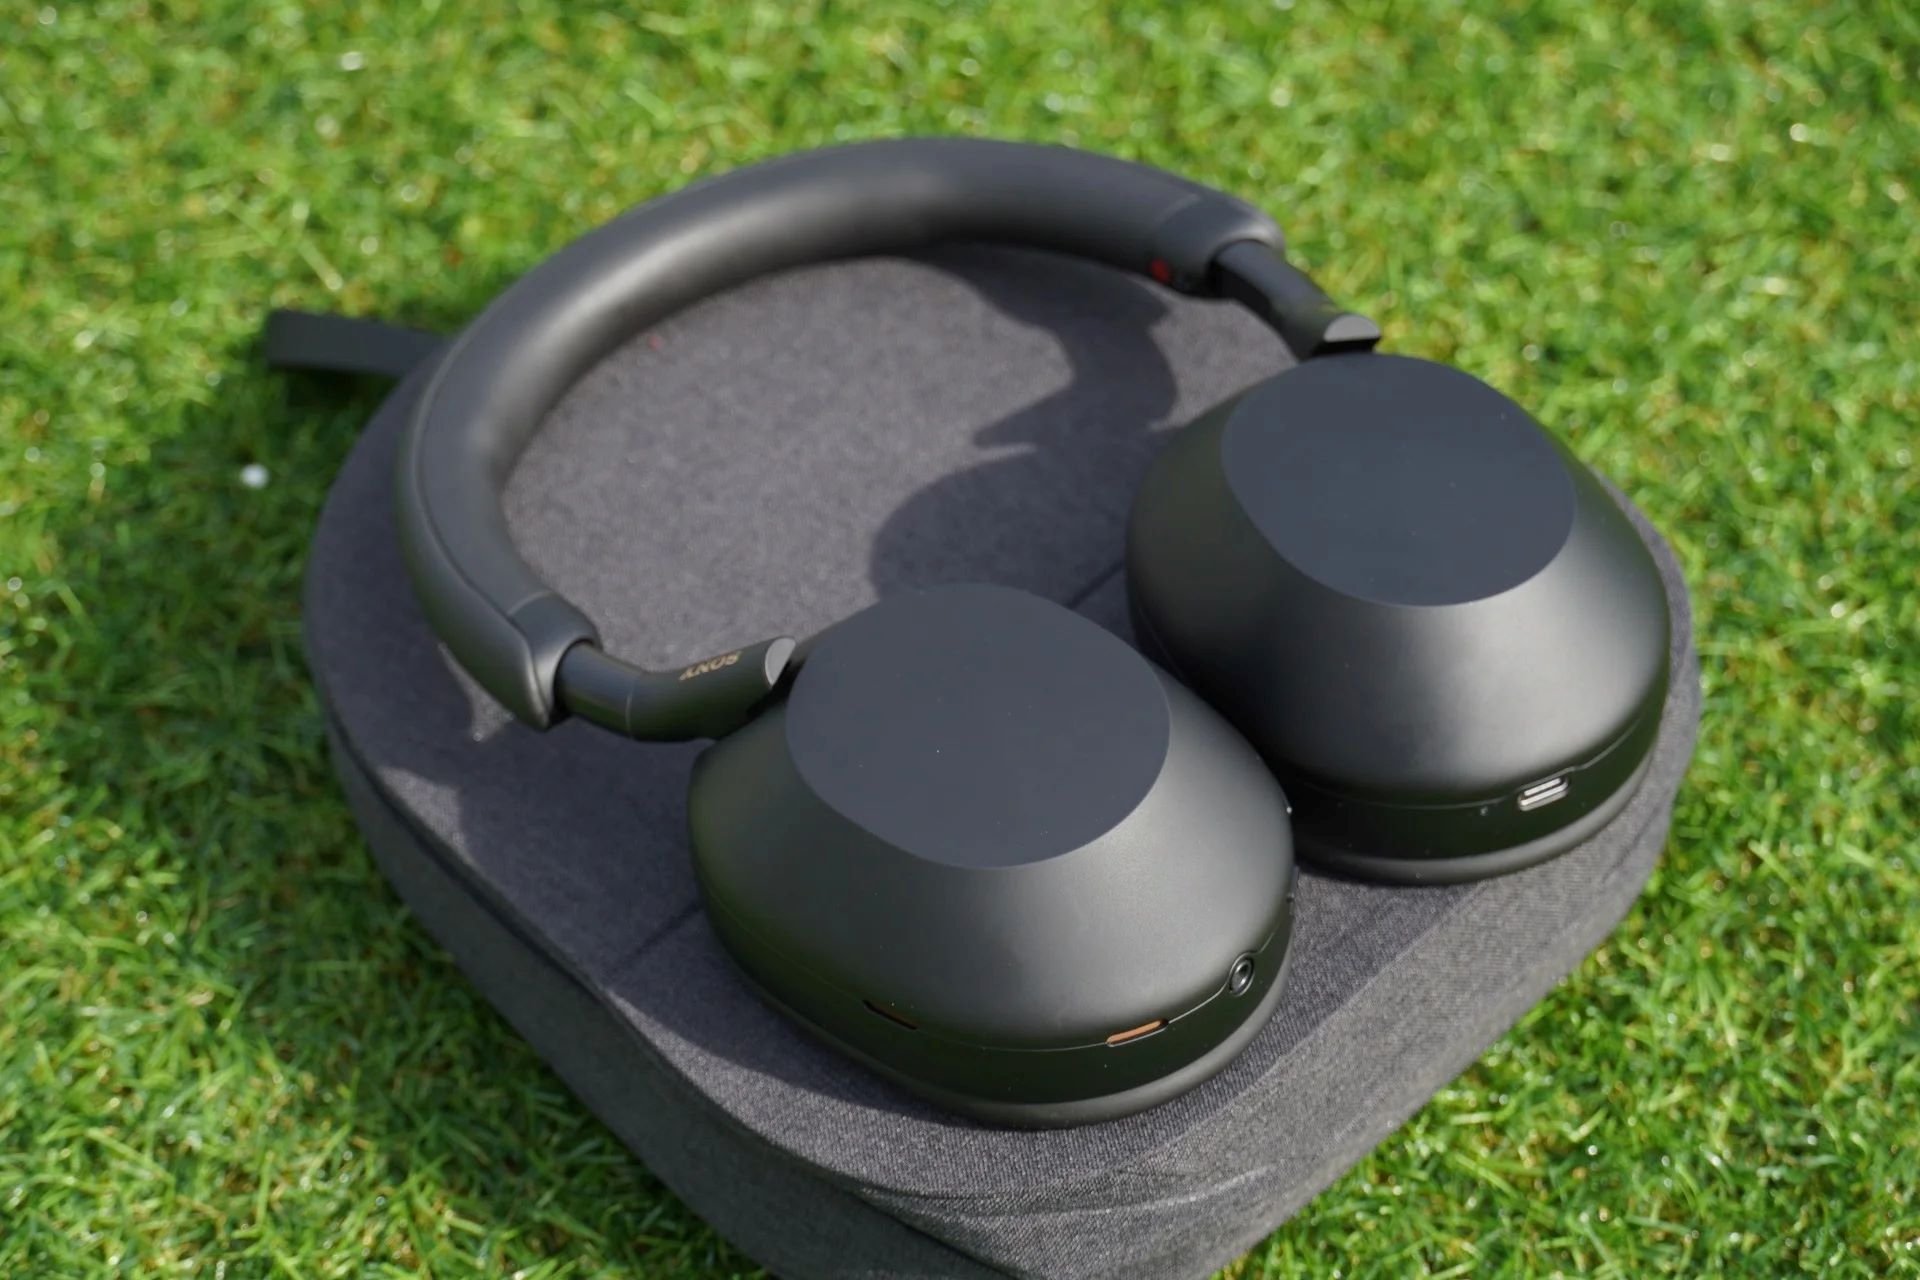
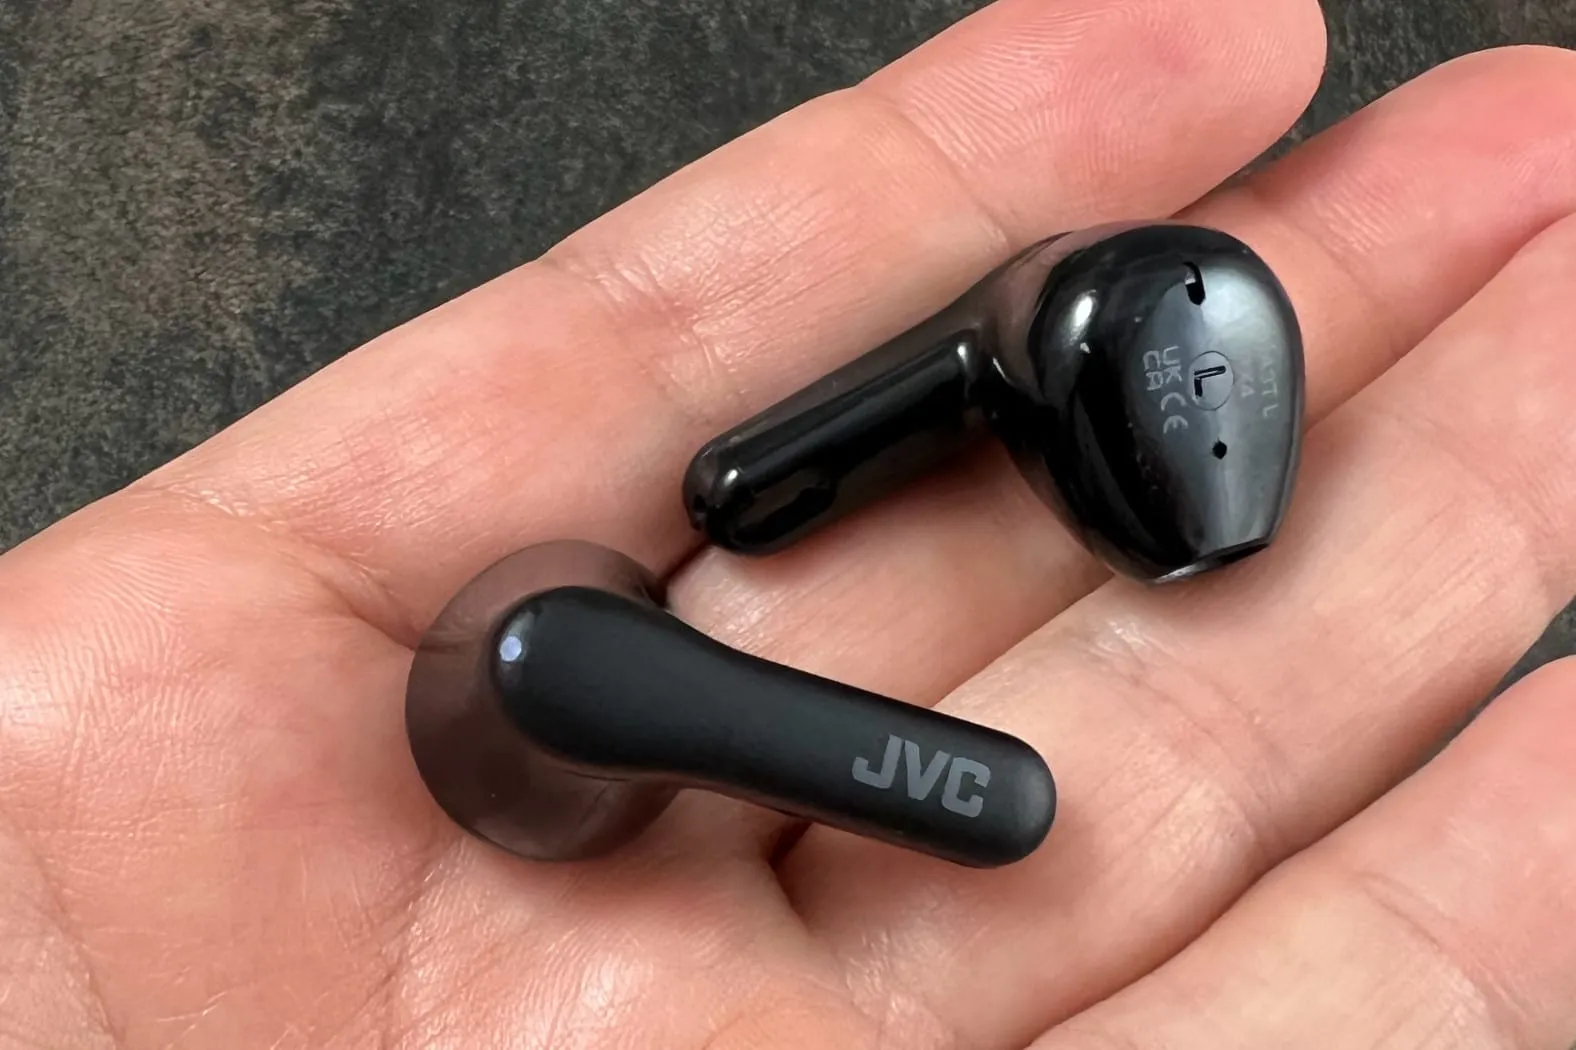
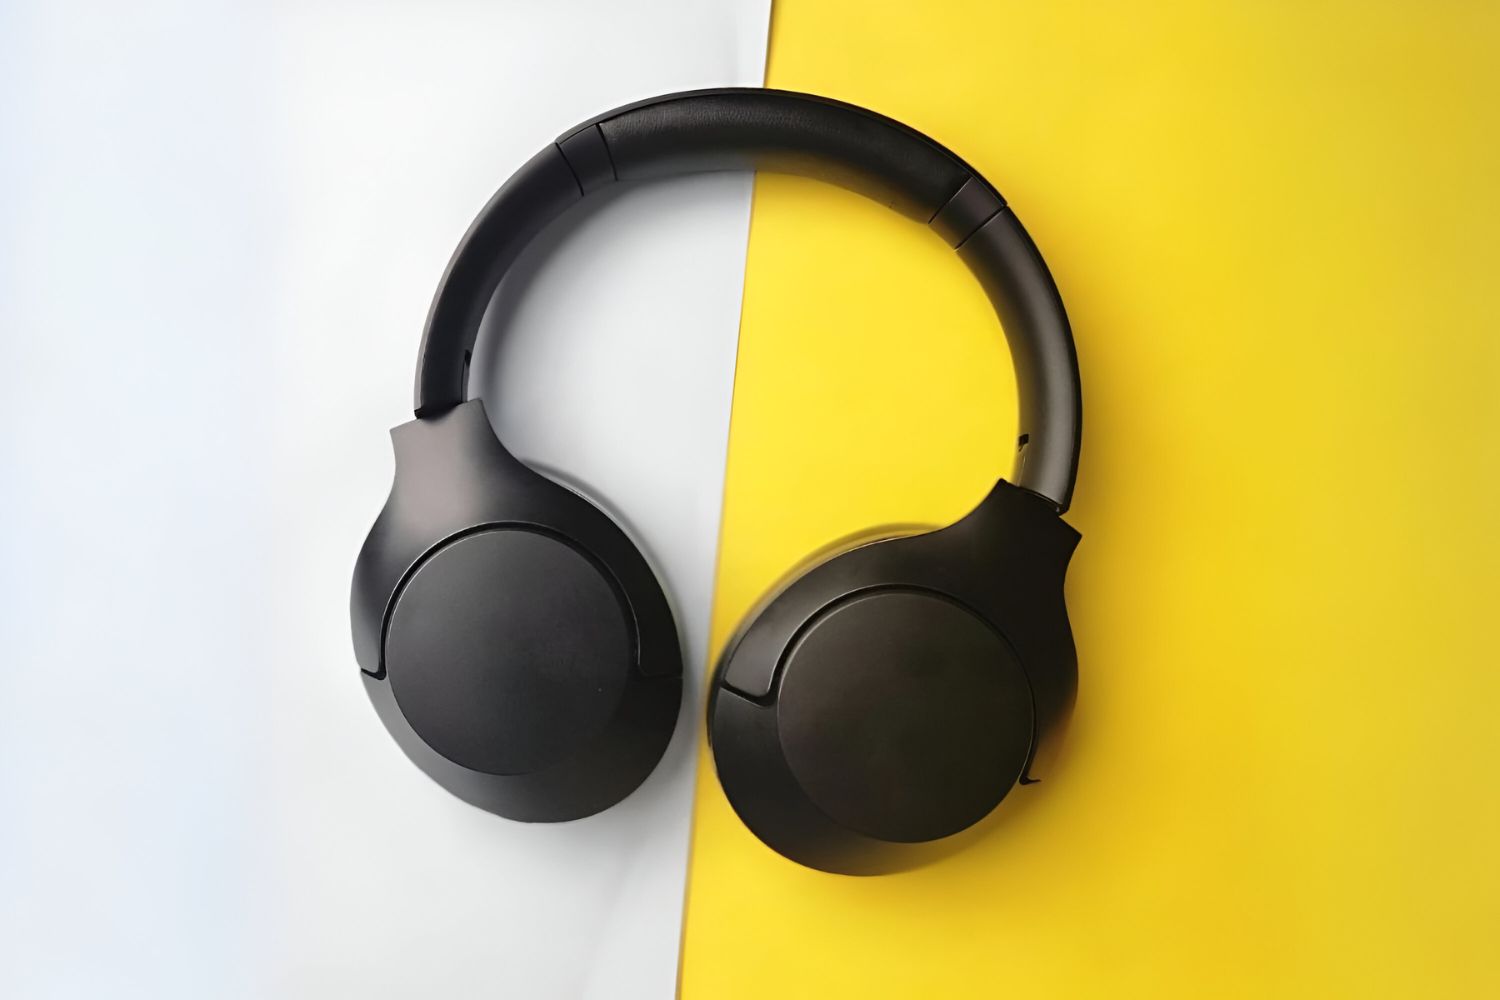
Are you experiencing a decrease in the battery life of your JVC noise-canceling headphones? If so, it may be time to replace the battery. Fortunately, changing the battery in your JVC noise-canceling headphones is a straightforward process that can be completed with just a few simple tools and a new battery. In this guide, we will walk you through the step-by-step process of changing the battery in your JVC noise-canceling headphones, ensuring that you can continue to enjoy high-quality sound without any interruptions.
Whether you are an audiophile who relies on your headphones for immersive music experiences or a frequent traveler who depends on noise cancellation to block out ambient noise, maintaining the battery in your JVC noise-canceling headphones is essential for optimal performance. By following the instructions outlined in this guide, you can easily replace the battery in your headphones and restore them to their full functionality.
Now, let's gather the necessary tools and begin the process of changing the battery in your JVC noise-canceling headphones.
Step 1: Gather the Necessary Tools
Before you begin the process of changing the battery in your JVC noise-canceling headphones, it’s essential to gather the necessary tools to ensure a smooth and efficient battery replacement. Here’s what you’ll need:
- New Battery: Ensure that you have the correct replacement battery for your specific JVC noise-canceling headphones. Refer to the user manual or the manufacturer’s specifications to determine the appropriate battery type.
- Small Phillips Head Screwdriver: Most JVC noise-canceling headphones feature a battery compartment that is secured with small screws. A Phillips head screwdriver is necessary to remove these screws and access the battery compartment.
- Clean Cloth: It’s always a good idea to have a clean cloth on hand to wipe down the exterior of the headphones and remove any dust or debris that may have accumulated.
By ensuring that you have these tools readily available, you can proceed with confidence knowing that you have everything necessary to complete the battery replacement process. Once you have gathered the required tools, you can proceed to the next step of locating the battery compartment in your JVC noise-canceling headphones.
Step 2: Locate the Battery Compartment
Locating the battery compartment is the next crucial step in the process of changing the battery in your JVC noise-canceling headphones. While the specific location may vary slightly depending on the model of your headphones, the battery compartment is typically situated in a readily accessible area to facilitate easy replacement. Here’s how you can locate the battery compartment:
- Refer to the User Manual: If you are unsure of the exact location of the battery compartment, referring to the user manual that accompanied your headphones can provide valuable guidance. The manual often includes detailed diagrams and instructions for replacing the battery.
- Inspect the Ear Cups: In most JVC noise-canceling headphones, the battery compartment is located within one of the ear cups. Carefully inspect the exterior of each ear cup for any small panels or covers that may conceal the battery compartment.
- Look for Screws or Latches: Depending on the design of your headphones, the battery compartment may be secured with small screws or latches. Take note of any visible screws or latches that may indicate the presence of the battery compartment.
Once you have successfully located the battery compartment, you are ready to proceed to the next step of opening the compartment to access the old battery. By carefully following these steps, you can easily pinpoint the battery compartment in your JVC noise-canceling headphones and prepare for the battery replacement process.
Step 3: Open the Battery Compartment
With the battery compartment located, the next step in replacing the battery in your JVC noise-canceling headphones is to open the compartment to access the old battery. Depending on the design of your headphones, opening the battery compartment may involve removing small screws or releasing latches to gain access. Follow these steps to open the battery compartment:
- Use the Phillips Head Screwdriver: If the battery compartment is secured with small screws, use the appropriate size of Phillips head screwdriver to carefully remove the screws. Place the screws in a safe location to prevent misplacement.
- Release the Latches: In some headphone models, the battery compartment may be equipped with latches that secure the cover in place. Gently press or slide the latches to release the cover and expose the old battery.
- Handle with Care: As you open the battery compartment, handle the cover and any internal components with care to avoid causing damage. Take note of the position of the old battery and any additional components within the compartment.
By following these steps, you can safely open the battery compartment in your JVC noise-canceling headphones and prepare to remove the old battery. Once the compartment is open, you can proceed to the next step of removing the old battery from its housing.
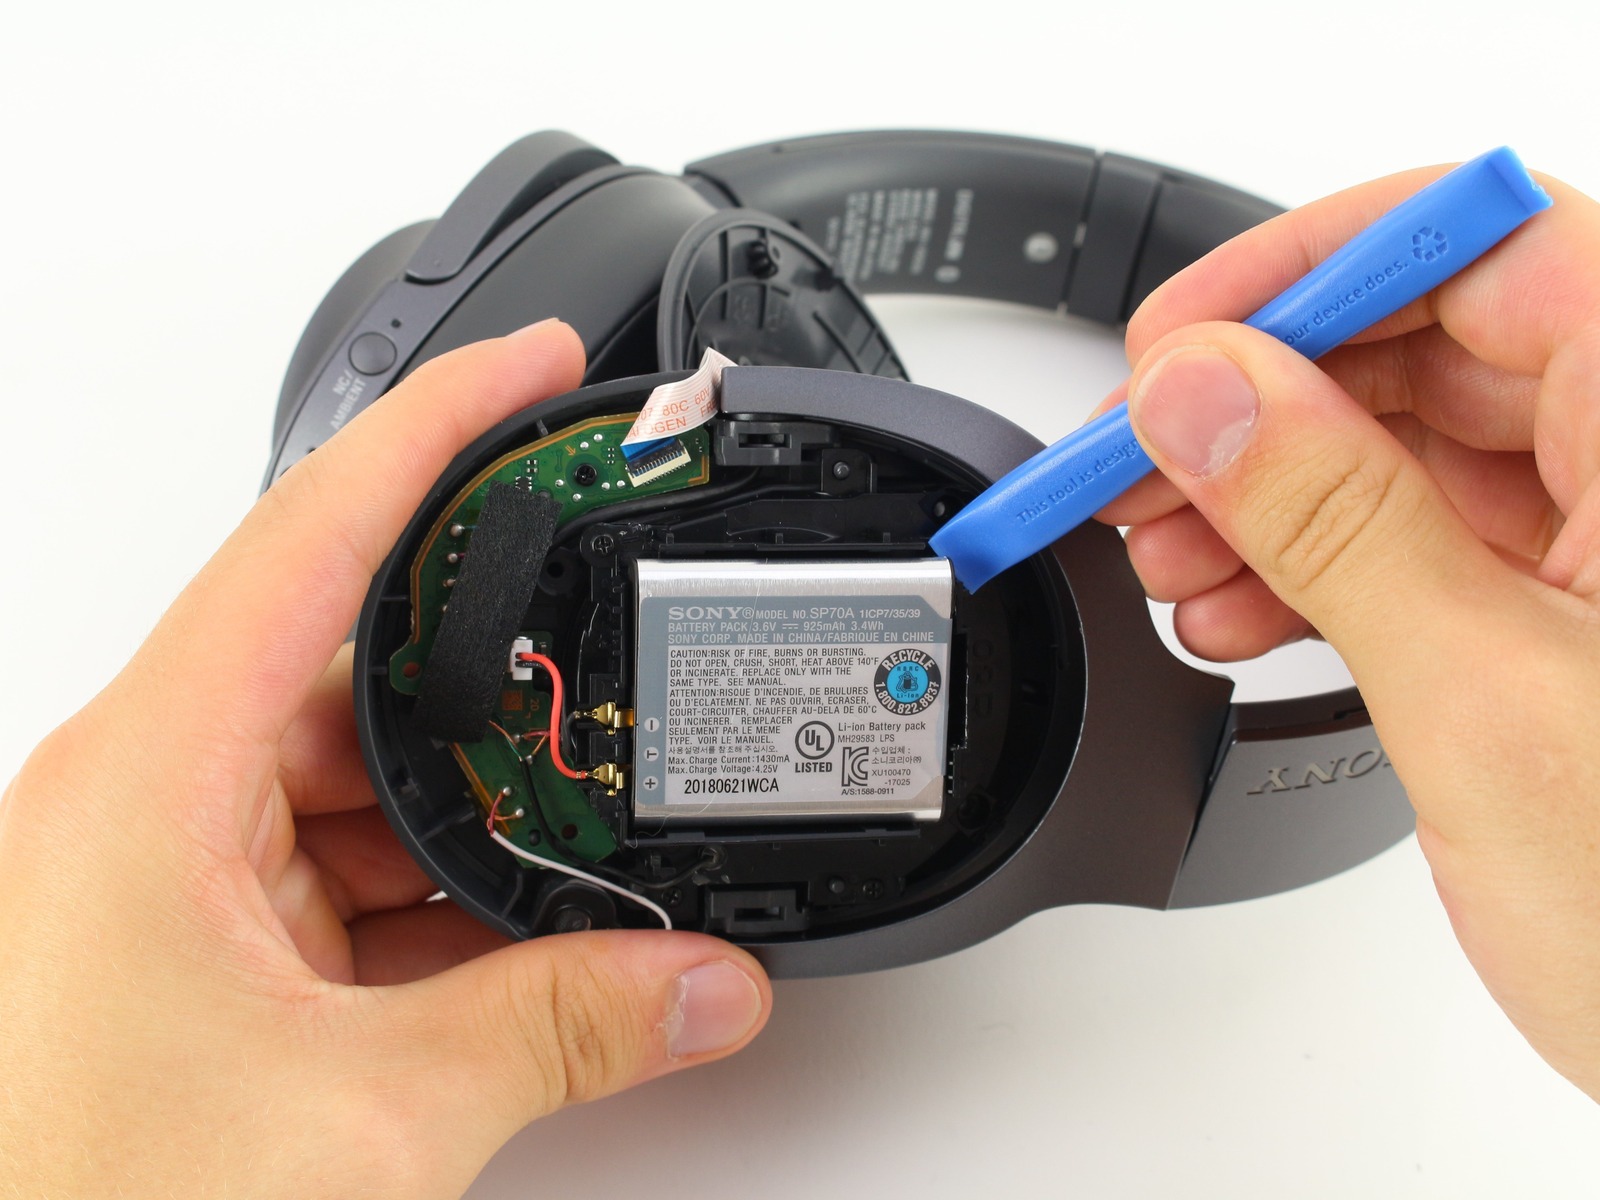
Step 4: Remove the Old Battery
After successfully opening the battery compartment, the next crucial step in the battery replacement process for your JVC noise-canceling headphones is to remove the old battery. It’s important to handle this step with care to avoid damaging any internal components or the surrounding housing. Follow these steps to safely remove the old battery:
- Identify the Old Battery: Locate the old battery within the battery compartment. Take note of its position and orientation to ensure that the new battery can be inserted correctly.
- Gently Remove the Battery: Depending on how the battery is secured, carefully lift or slide the old battery out of its housing. Avoid using excessive force, and ensure that any connectors or terminals are disengaged before fully removing the battery.
- Inspect for Damage: As you remove the old battery, inspect it for any signs of damage, corrosion, or leakage. If the battery shows any of these indications, handle it with caution and dispose of it in accordance with local regulations for battery disposal.
By following these steps, you can safely remove the old battery from the battery compartment of your JVC noise-canceling headphones. Once the old battery has been successfully removed, you are ready to proceed to the next step of inserting the new battery to restore the functionality of your headphones.
Step 5: Insert the New Battery
With the old battery removed, it’s time to insert the new battery into the battery compartment of your JVC noise-canceling headphones. Proper insertion of the new battery is essential to ensure optimal performance and longevity. Follow these steps to securely insert the new battery:
- Verify the Battery Orientation: Before inserting the new battery, double-check the orientation and polarity markings to ensure that it aligns correctly with the connectors in the battery compartment. Most batteries feature clear polarity indicators to guide proper insertion.
- Gently Place the Battery: Carefully position the new battery in the designated area within the battery compartment, aligning the terminals or connectors with their respective contacts. Avoid applying excessive pressure, and ensure that the battery sits securely in place.
- Follow Manufacturer’s Guidelines: If the new battery includes specific installation instructions provided by the manufacturer, such as recommended handling precautions or installation tips, be sure to adhere to these guidelines for optimal performance.
By following these steps, you can confidently insert the new battery into the battery compartment of your JVC noise-canceling headphones, setting the stage for the next step of closing the battery compartment to secure the new battery in place.
Step 6: Close the Battery Compartment
After successfully inserting the new battery, the next crucial step in the battery replacement process for your JVC noise-canceling headphones is to close the battery compartment securely. Proper closure of the compartment is essential to protect the new battery and ensure that it remains in place during use. Follow these steps to securely close the battery compartment:
- Position the Cover: If the battery compartment features a removable cover, carefully position the cover back onto the compartment, ensuring that it aligns correctly with the housing. Take note of any alignment guides or markings that facilitate proper closure.
- Secure the Cover: If the cover is secured with screws, use the small Phillips head screwdriver to reinsert and tighten the screws, ensuring that the cover is firmly secured in place. If the compartment features latches, engage the latches to lock the cover in position.
- Verify the Seal: Once the cover is in place, verify that it forms a secure seal around the battery compartment. This seal helps protect the battery from dust, moisture, and other environmental factors.
By following these steps, you can effectively close the battery compartment of your JVC noise-canceling headphones, safeguarding the new battery and ensuring that it remains securely housed within the headphones. With the battery compartment securely closed, you are ready to proceed to the final step of testing the headphones to confirm their functionality.
Step 7: Test the Headphones
With the new battery securely in place and the battery compartment closed, it’s time to test your JVC noise-canceling headphones to ensure that the battery replacement has been successful. Testing the headphones allows you to verify that they are functioning as expected and that the new battery is providing the necessary power. Follow these steps to test the headphones:
- Power On the Headphones: If your headphones feature a power button or switch, turn them on to initiate the testing process. If they power on successfully, it indicates that the new battery is supplying power to the headphones.
- Check Noise Cancellation: Activate the noise-canceling feature on your headphones and assess whether it effectively reduces ambient noise. This step confirms that the noise-canceling functionality is operational with the new battery.
- Listen to Audio: Play your favorite music or audio content through the headphones to evaluate the sound quality and ensure that the new battery is supporting uninterrupted audio playback.
By following these steps, you can thoroughly test your JVC noise-canceling headphones after replacing the battery, confirming that they are fully functional and delivering the high-quality audio performance you expect. If the headphones operate as intended during testing, it indicates a successful battery replacement, allowing you to continue enjoying an immersive audio experience without interruptions.
Conclusion
Congratulations! By following the step-by-step guide outlined in this article, you have successfully replaced the battery in your JVC noise-canceling headphones, ensuring that they continue to deliver exceptional audio performance and reliable noise cancellation. The process of changing the battery in your headphones is a simple yet essential maintenance task that allows you to prolong the lifespan of your audio equipment and maintain optimal functionality.
By gathering the necessary tools, locating the battery compartment, opening it with care, removing the old battery, inserting the new battery, securely closing the battery compartment, and testing the headphones, you have demonstrated a proactive approach to maintaining your JVC noise-canceling headphones. This proactive maintenance not only ensures uninterrupted audio enjoyment but also contributes to the longevity of your headphones.
Regular maintenance and timely battery replacements can significantly impact the performance and longevity of your audio devices. By staying informed about the battery replacement process and following the manufacturer’s guidelines, you can preserve the functionality of your headphones and continue to experience immersive sound quality and effective noise cancellation.
Remember to refer to the user manual for specific instructions related to battery replacement and adhere to any safety precautions provided by the manufacturer. Additionally, if you encounter any challenges during the battery replacement process or have concerns about the performance of your headphones, don’t hesitate to seek assistance from authorized service centers or technical support resources.
With the battery successfully replaced, your JVC noise-canceling headphones are ready to provide you with an enhanced audio experience, whether you’re enjoying music, movies, or immersive gaming. By maintaining your headphones with care and attention to detail, you can continue to elevate your auditory experiences and immerse yourself in the captivating world of sound.