Introduction
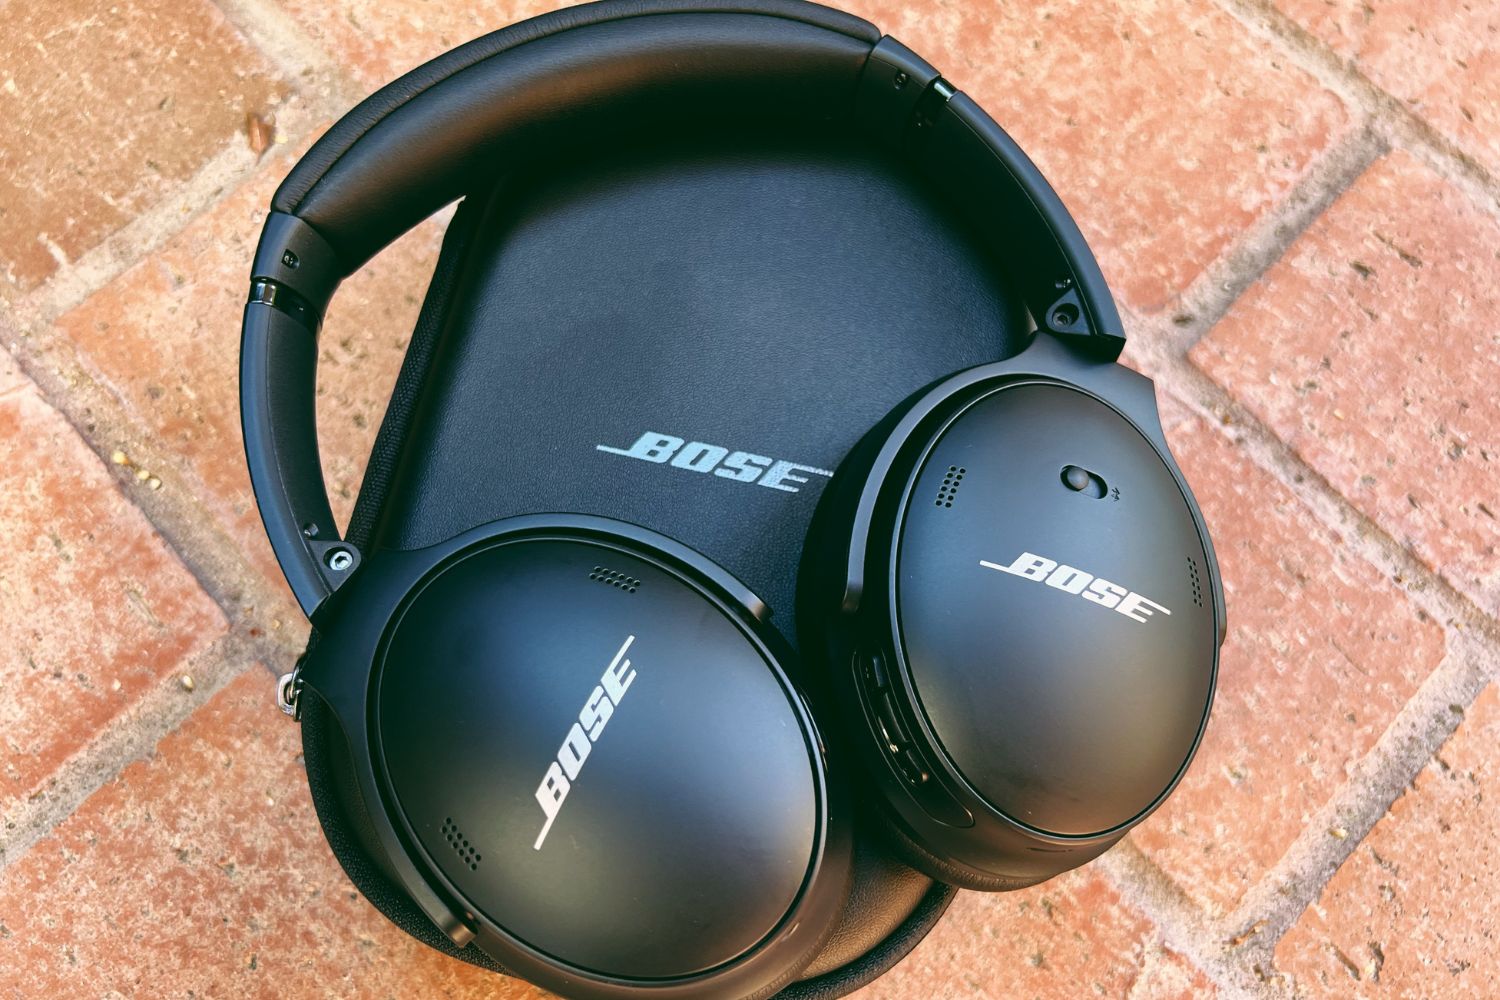
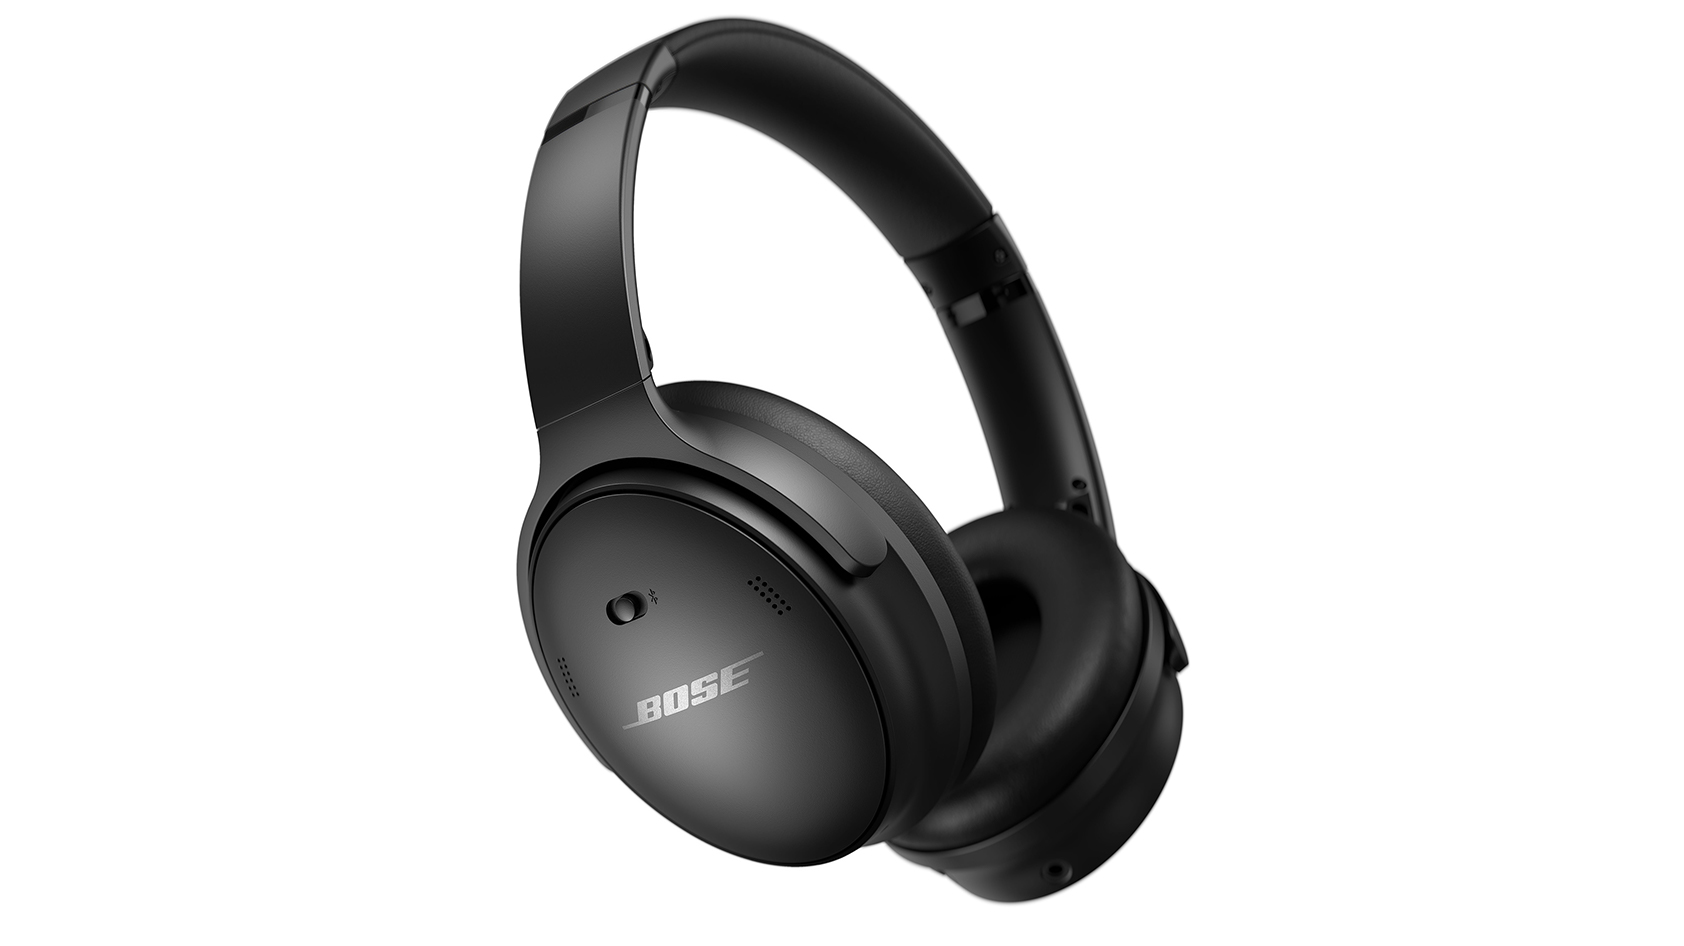
Are you experiencing a decrease in battery life with your beloved Bose Noise Cancelling Headphones? Don't fret, as replacing the battery is a straightforward process that can breathe new life into your favorite audio accessory. Whether you're an audiophile or a casual listener, knowing how to change the battery on your Bose Noise Cancelling Headphones can save you time and money. This comprehensive guide will walk you through the step-by-step process, ensuring that you can enjoy uninterrupted music and immersive sound for years to come.
Understanding the intricacies of your headphones is crucial for maintaining their optimal performance. By learning how to change the battery, you can extend the lifespan of your Bose Noise Cancelling Headphones and avoid the inconvenience of sudden power depletion. With a few simple tools and a clear understanding of the process, you can confidently tackle this maintenance task and keep your headphones in top-notch condition.
Whether you're a tech enthusiast or simply a music lover, having the knowledge and skills to replace the battery in your Bose Noise Cancelling Headphones empowers you to take control of your audio experience. So, let's dive into the essential tools you'll need to get started on this rewarding journey.
Tools Needed
Before embarking on the battery replacement process, it’s essential to gather the necessary tools to ensure a smooth and efficient experience. Here’s a list of items you’ll need:
- Replacement Battery: Ensure that you have the correct type of battery required for your specific Bose Noise Cancelling Headphones. Refer to the user manual or the manufacturer’s website to determine the compatible battery model.
- Small Phillips Head Screwdriver: A precision screwdriver is essential for removing the screws that secure the battery cover in place. This tool will allow you to handle the small screws with ease and precision.
- Soft Cloth: Having a soft cloth on hand can help protect the headphones from scratches or damage during the battery replacement process. It’s advisable to lay the headphones on the cloth while working on them.
- Tweezers (Optional): In some cases, tweezers can be useful for handling small components or reaching into tight spaces. While not always necessary, tweezers can provide added dexterity during the process.
By ensuring that you have these tools readily available, you can approach the battery replacement process with confidence and precision. With the tools in hand, you’re now ready to begin the step-by-step process of rejuvenating your Bose Noise Cancelling Headphones by replacing the battery.
Removing the Ear Cushion
Before accessing the battery compartment, the ear cushion of the Bose Noise Cancelling Headphones needs to be carefully removed. Follow these steps to proceed:
- Locate the Notch: Examine the edge of the ear cushion to find the small notch or indentation where it meets the ear cup. This is typically the starting point for removing the cushion.
- Use Your Fingertips: Gently grip the edge of the ear cushion near the notch with your fingertips. Take care not to use excessive force, as the cushion should come off with minimal resistance.
- Rotate and Pull: While holding the edge, rotate the cushion slightly to release it from the locking mechanism. Then, carefully pull the cushion away from the ear cup, working your way around the circumference until it is completely detached.
- Set Aside the Cushion: Once the ear cushion is removed, place it in a safe and clean location to prevent it from gathering dust or debris. It’s essential to handle the cushion with care to avoid damaging its delicate structure.
By successfully removing the ear cushion, you’ve gained access to the internal components of the headphones, including the battery compartment. With this crucial step completed, you’re now ready to proceed to the next stage of the battery replacement process.
Removing the Battery Cover
With the ear cushion removed, the next step in replacing the battery of your Bose Noise Cancelling Headphones is to access the battery compartment by removing the battery cover. Follow these steps to proceed:
- Identify the Battery Compartment: Locate the area where the battery is housed, typically positioned near the edge of the ear cup. The battery cover is designed to provide secure yet accessible protection for the internal components.
- Use a Phillips Head Screwdriver: Select the appropriate size of the Phillips head screwdriver from your toolkit. Carefully insert the screwdriver into the screws on the battery cover, ensuring a snug fit to prevent stripping the screws.
- Unscrew the Cover: Gently rotate the screwdriver in a counterclockwise direction to loosen and remove the screws securing the battery cover. Place the screws in a safe location to prevent misplacement.
- Handle with Care: Once the screws are removed, delicately lift the battery cover from the ear cup. Take care to avoid sudden movements that could potentially damage the internal components or the cover itself.
- Set Aside the Cover: After removing the battery cover, place it in a designated area where it won’t be misplaced. Keeping the components organized and protected is crucial for a seamless reassembly process later on.
By successfully removing the battery cover, you’ve gained access to the old battery, setting the stage for its replacement. With this essential step completed, you’re now ready to proceed to the heart of the battery replacement process.
Replacing the Battery
Now that the battery compartment is accessible, it’s time to replace the old battery with a new one. Follow these steps to seamlessly install the new battery in your Bose Noise Cancelling Headphones:
- Remove the Old Battery: Carefully extract the existing battery from its housing, ensuring gentle handling to avoid any damage to the surrounding components. Take note of the orientation of the old battery to guide the installation of the new one.
- Prepare the New Battery: Unpack the new battery from its packaging and verify that it matches the specifications outlined in the user manual or on the manufacturer’s website. Ensure that the new battery is fully charged or follow any recommended initial charging procedures.
- Position the New Battery: Align the new battery in the compartment according to the orientation of the old battery, taking care to place it securely without forcing it into position. Verify that the contacts align correctly with the corresponding terminals in the compartment.
- Replace the Battery Cover: Once the new battery is securely in place, carefully reposition the battery cover over the compartment. Align it properly and insert the screws using the Phillips head screwdriver, ensuring a snug yet gentle fit to secure the cover in place.
- Test for Secure Fit: After replacing the battery cover, gently press on it to ensure that it sits flush with the ear cup. Avoid over-tightening the screws, as this may cause damage to the cover or the surrounding components.
By successfully replacing the battery, you’ve taken a significant step toward revitalizing your Bose Noise Cancelling Headphones and ensuring prolonged functionality. With the new battery in place, you’re now ready to reassemble the headphones and put them to the test.
Reassembling the Headphones
With the battery successfully replaced, it’s time to reassemble your Bose Noise Cancelling Headphones to their fully functional state. Follow these steps to ensure a seamless reassembly process:
- Retrieve the Ear Cushion: Take the ear cushion that was carefully set aside and prepare to reattach it to the ear cup. Ensure that the cushion is clean and free of any debris that could compromise the comfort and performance of the headphones.
- Align and Position the Cushion: Align the cushion with the ear cup, ensuring that the notches or locking mechanisms are properly aligned. Gently press around the circumference of the cushion to secure it in place, ensuring a snug fit without applying excessive force.
- Verify Secure Attachment: Once the ear cushion is in place, inspect the edges to confirm that it is uniformly and securely attached to the ear cup. This step is crucial for maintaining the headphones’ comfort and acoustic performance.
- Test the Flexibility: Gently flex and adjust the ear cushion to ensure that it retains its shape and position without any discomfort or slippage. This step confirms that the cushion is securely reattached and ready for extended use.
With the ear cushion securely reattached, your Bose Noise Cancelling Headphones are now fully reassembled and ready for testing. The meticulous reassembly process ensures that the headphones maintain their comfort and acoustic integrity, setting the stage for an immersive audio experience.
Testing the Headphones
After completing the battery replacement and reassembly process, it’s essential to thoroughly test your Bose Noise Cancelling Headphones to ensure that they are functioning optimally. Follow these steps to conduct a comprehensive test:
- Power On the Headphones: Activate the power switch or button on your headphones to turn them on. If your headphones have an indicator light, verify that it illuminates to indicate that the power is successfully engaged.
- Listen for Audio Output: Play a familiar audio track or video on a connected device and listen for clear and balanced sound through the headphones. Pay attention to both the left and right channels to ensure that the audio is evenly distributed.
- Activate Noise Cancellation: If your headphones feature noise-cancelling functionality, enable this feature and observe any reduction in ambient noise. Verify that the noise-cancelling technology is effectively minimizing external sounds, enhancing the audio experience.
- Assess Battery Performance: Monitor the battery performance over an extended period of use to confirm that the new battery is providing sufficient power. Note any improvements in battery life and overall performance compared to the previous battery.
- Comfort and Fit: Wear the headphones for an extended period to assess their comfort and fit. Verify that the ear cushions remain securely in place and that the headphones maintain a comfortable and ergonomic fit during prolonged use.
By conducting a comprehensive testing process, you can ensure that your Bose Noise Cancelling Headphones are operating at their peak performance level. Any adjustments or fine-tuning can be made as necessary to optimize the audio quality, comfort, and functionality of the headphones, providing you with an immersive and enjoyable listening experience.


