Introduction
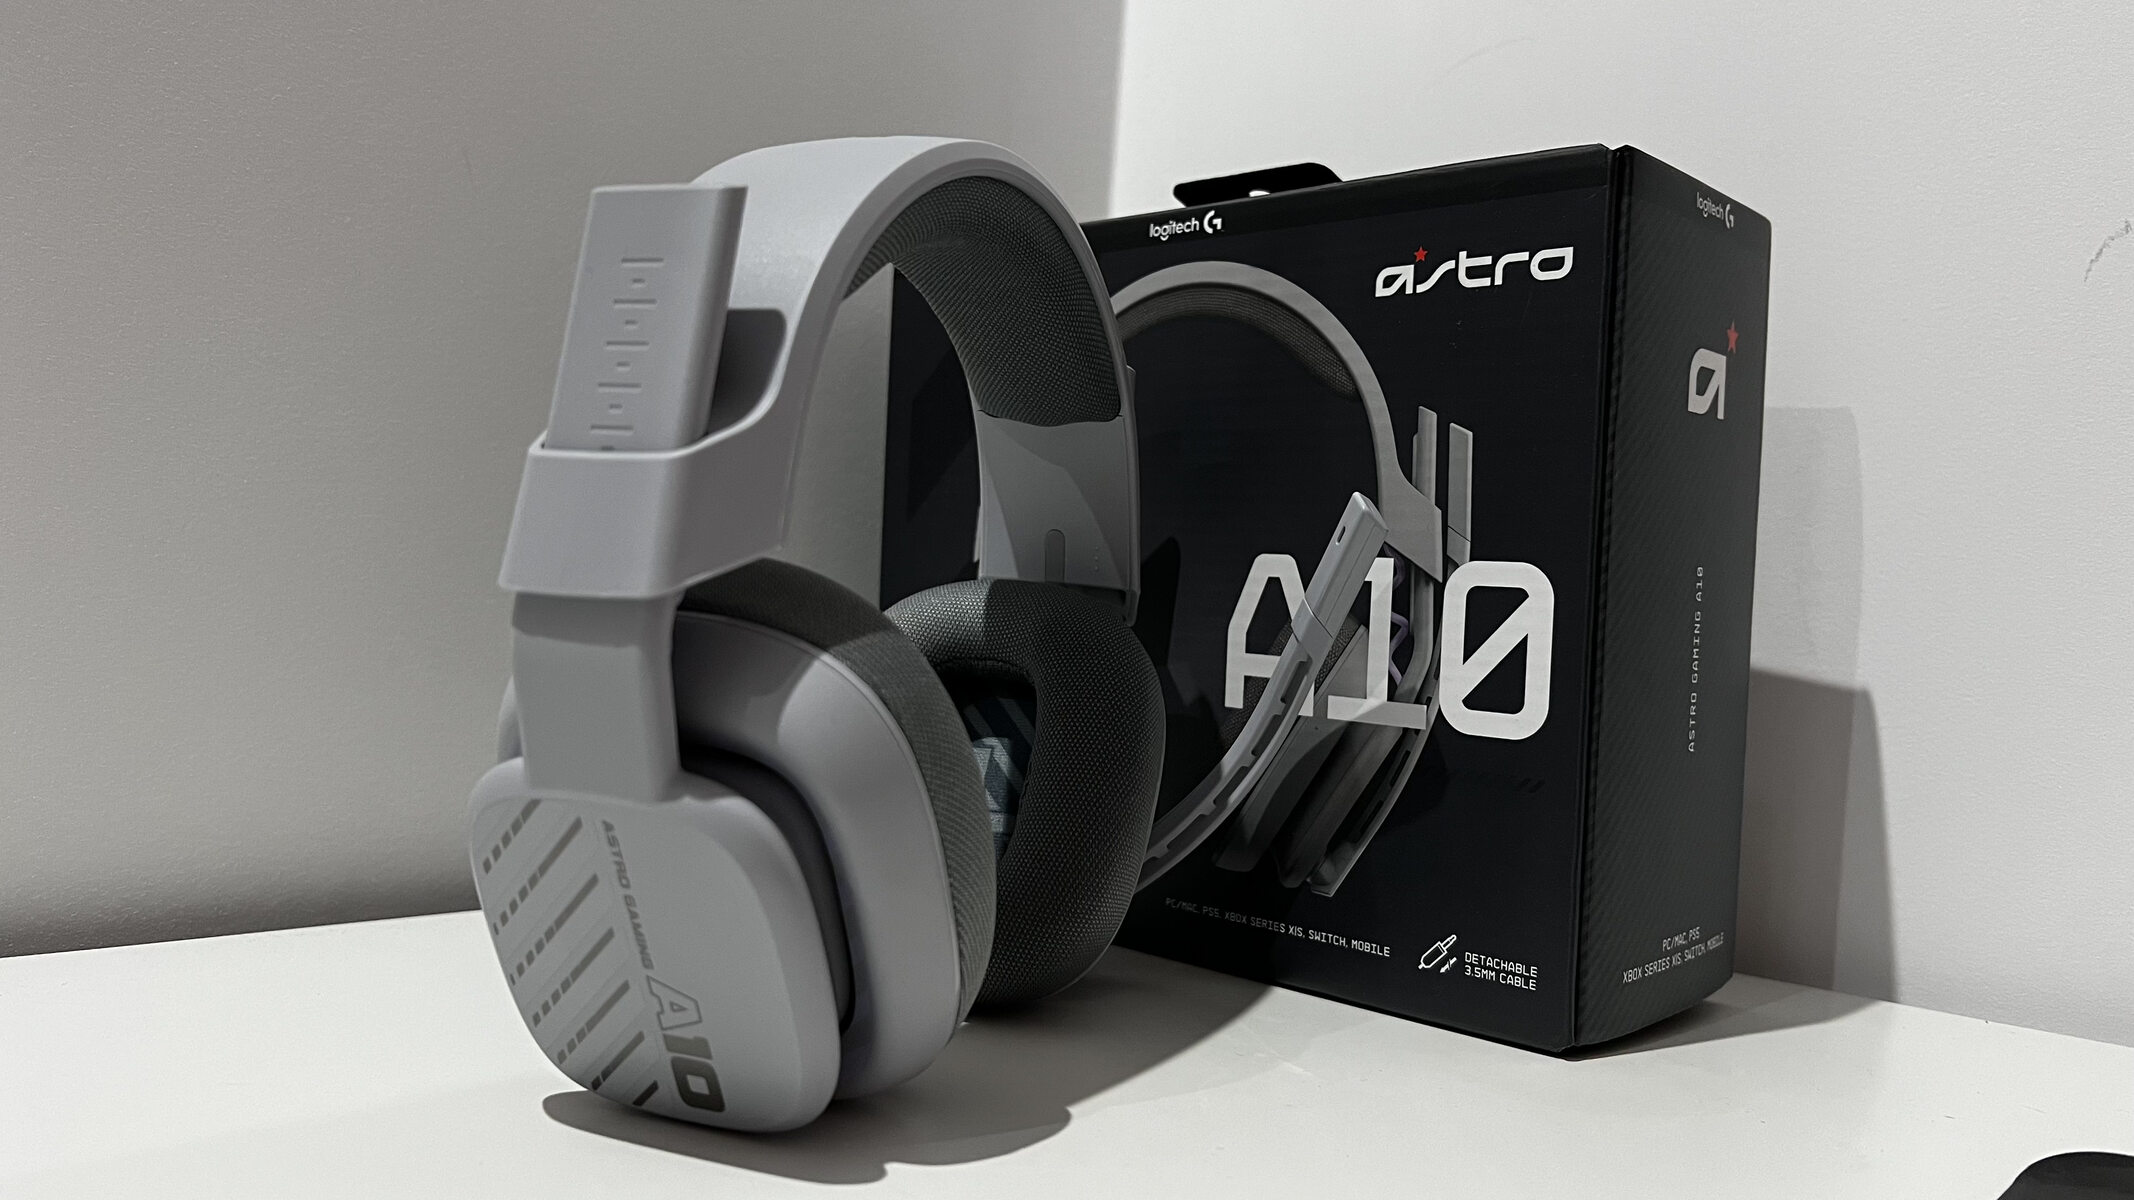
Are you ready to take your gaming experience on the Nintendo Switch to the next level? The A10 gaming headset is a fantastic accessory that can immerse you in the world of your favorite games with its superior audio quality and comfortable design. Whether you're exploring the vast landscapes of Hyrule in "The Legend of Zelda: Breath of the Wild" or battling it out in "Super Smash Bros. Ultimate," the A10 gaming headset can enhance every aspect of your gameplay.
In this guide, you'll learn how to seamlessly connect and optimize the A10 gaming headset for use with your Nintendo Switch. From setting up the headset to adjusting audio settings and enabling voice chat, we'll cover everything you need to know to make the most of this impressive gaming accessory. Additionally, we'll troubleshoot common issues that may arise, ensuring that you can quickly resolve any technical hiccups and get back to enjoying your gaming sessions.
By the end of this guide, you'll be equipped with the knowledge and skills to harness the full potential of the A10 gaming headset on your Nintendo Switch, elevating your gaming experience to new heights. So, grab your A10 gaming headset, power up your Nintendo Switch, and let's dive into the exciting world of immersive gaming audio.
Step 1: Connecting the A10 Gaming Headset to the Nintendo Switch
Before you can start enjoying the immersive audio experience offered by the A10 gaming headset on your Nintendo Switch, you’ll need to connect the headset to the console. The process is straightforward and can be completed in just a few simple steps.
To begin, locate the 3.5mm audio jack on your Nintendo Switch console. This is typically found on the top of the console when it’s in handheld mode or on the bottom of the console when it’s docked. Once you’ve located the audio jack, you can proceed to connect the A10 gaming headset’s 3.5mm audio cable to it. Ensure that the connection is secure to avoid any audio disruptions during gameplay.
With the headset connected, you’re now ready to power on your Nintendo Switch and start playing your favorite games with the enhanced audio provided by the A10 gaming headset. The simplicity of the connection process ensures that you can seamlessly integrate the headset into your gaming setup without any unnecessary hassle.
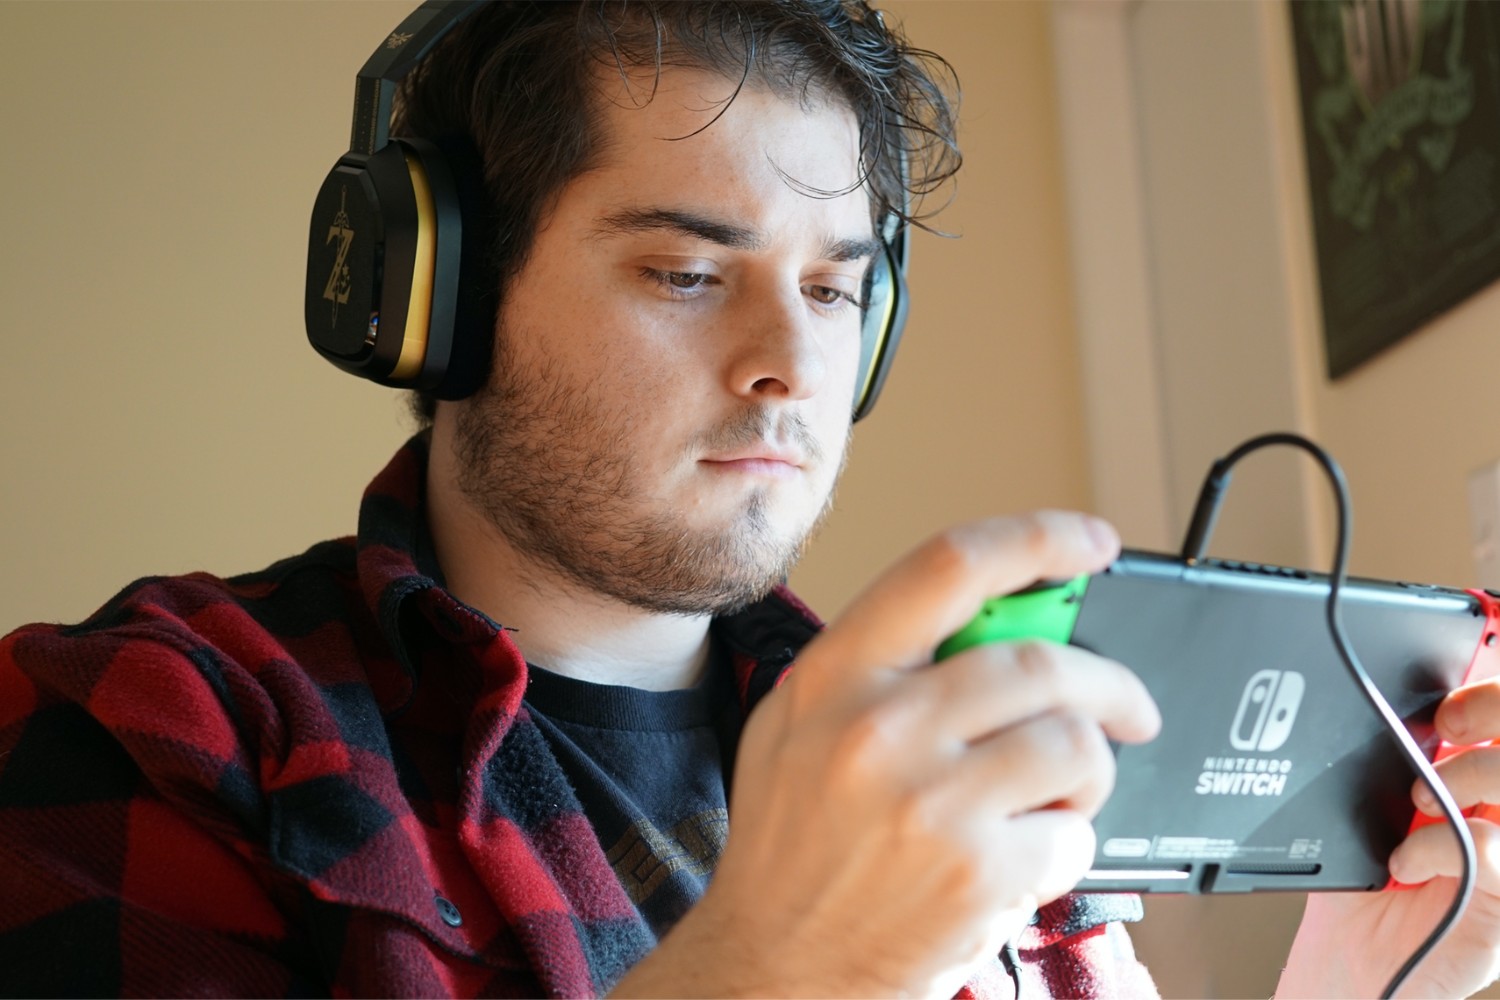
Whether you’re playing in handheld mode or using the console in its docked configuration, the A10 gaming headset can deliver high-quality audio to complement your gaming experience. The next step is to optimize the audio settings on your Nintendo Switch to ensure that you’re getting the most out of your A10 headset’s capabilities, which we’ll cover in the following section.
Step 2: Adjusting the Audio Settings on the Nintendo Switch
Once you’ve connected the A10 gaming headset to your Nintendo Switch, it’s essential to fine-tune the audio settings to optimize your gaming experience. By customizing the audio output and chat settings, you can ensure that the A10 headset delivers the best possible sound quality and enables seamless communication during multiplayer gameplay.
To access the audio settings on your Nintendo Switch, navigate to the "System Settings" from the home screen. Within the "System Settings" menu, select "System" and then "TV Output." Here, you can adjust the audio settings, including the volume and audio output mode. For the best experience with the A10 gaming headset, it’s recommended to set the audio output to "Stereo." This setting ensures that you can fully appreciate the headset’s audio capabilities while gaming.
Additionally, if you plan to engage in voice chat while playing online multiplayer games, you can enable the "Enable Wired Internet Connection" option within the "System Settings" menu. This setting allows you to use the Nintendo Switch Online app for voice chat, providing a platform for communication with other players. By activating this feature, you can seamlessly integrate voice chat functionality with the A10 gaming headset, enhancing your multiplayer gaming experiences.
By adjusting these audio settings, you can elevate your gaming sessions to new heights, immersing yourself in the captivating audio landscapes of your favorite games. The A10 gaming headset’s superior sound quality combined with optimized audio settings on the Nintendo Switch ensures that every gaming moment is enriched with high-fidelity audio and seamless communication.
Step 3: Using the A10 Gaming Headset for Voice Chat
Engaging in voice chat adds a new dimension to multiplayer gaming, allowing you to strategize with teammates, coordinate attacks, and immerse yourself in the social aspects of gaming. With the A10 gaming headset, you can seamlessly integrate voice chat capabilities into your gaming sessions on the Nintendo Switch, enhancing your multiplayer experiences.
To utilize voice chat with the A10 gaming headset, you can leverage the Nintendo Switch Online app available for compatible mobile devices. After downloading the app, sign in with your Nintendo account to access the voice chat functionality. Once signed in, you can create or join a voice chat room and invite friends to join the conversation while playing multiplayer games.
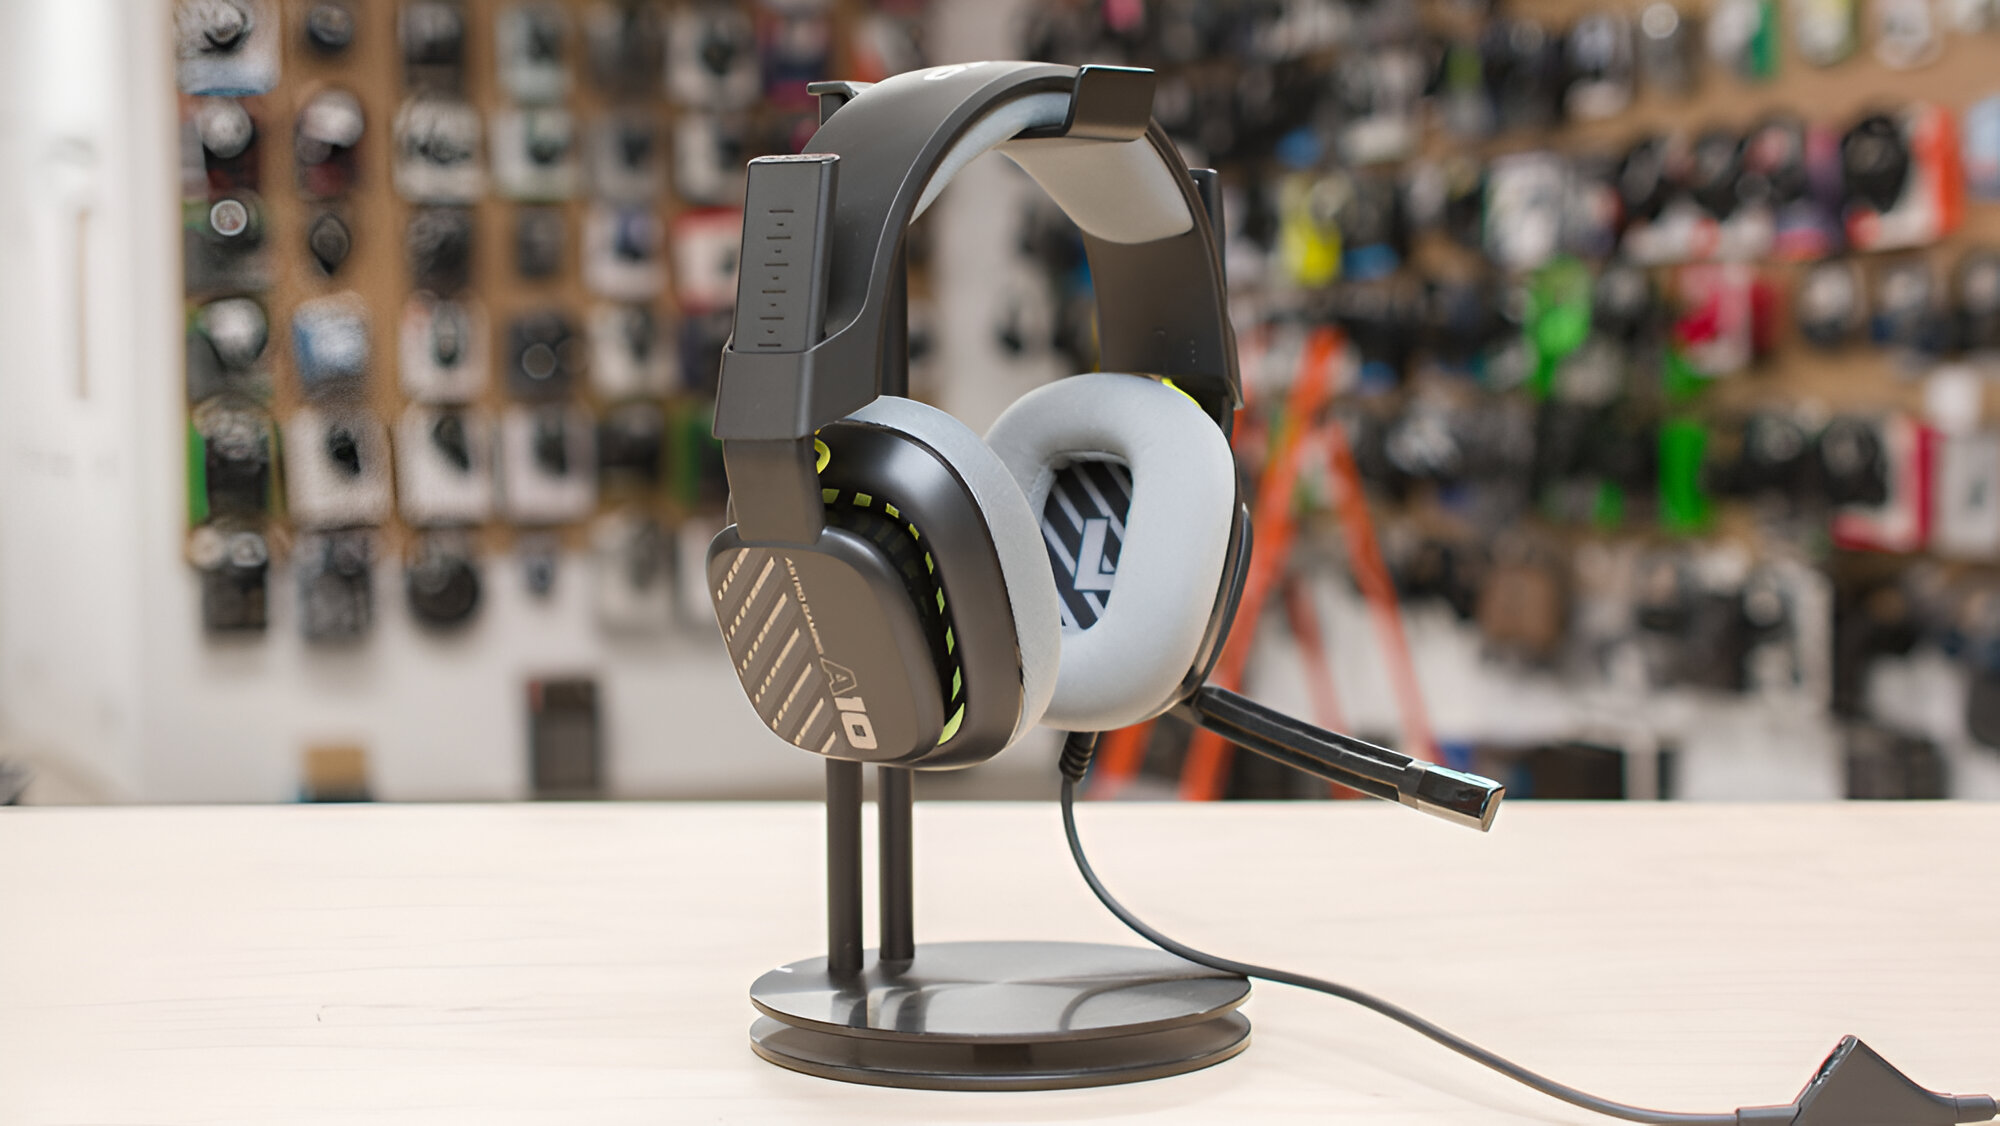
When using the A10 gaming headset for voice chat, it’s essential to ensure that the headset’s microphone is properly positioned for clear communication. The flexible and detachable boom microphone of the A10 headset allows you to adjust its position according to your preference, ensuring that your voice is transmitted clearly to your teammates during intense gaming sessions.
By combining the A10 gaming headset with the voice chat capabilities of the Nintendo Switch Online app, you can stay connected with friends and fellow gamers, fostering a sense of camaraderie and teamwork as you embark on exciting multiplayer adventures. The seamless integration of voice chat with the A10 headset enhances the social aspects of gaming, allowing you to communicate effectively and strategize with your teammates, ultimately leading to more immersive and enjoyable gaming experiences.
Step 4: Troubleshooting Common Issues
While using the A10 gaming headset with your Nintendo Switch, you may encounter common issues that can affect your gaming experience. Understanding how to troubleshoot these issues can help you quickly resolve any technical hiccups and get back to enjoying your favorite games with enhanced audio and communication capabilities.
If you experience audio distortion or low sound quality while using the A10 gaming headset, ensure that the 3.5mm audio cable is securely connected to the Nintendo Switch’s audio jack. Additionally, check the volume levels on both the headset and the console to ensure that they are appropriately adjusted for optimal sound output. If the issue persists, testing the headset with another device can help determine if the problem lies with the headset or the console.
For voice chat issues, such as microphone malfunction or communication disruptions, inspect the A10 headset’s microphone connection to the headset itself, ensuring that it is securely attached. Adjust the microphone’s position to ensure clear and consistent voice transmission. If voice chat problems persist, verifying the compatibility of the A10 headset with the Nintendo Switch and its online voice chat functionality can provide valuable insights into resolving the issue.
In the event of intermittent audio dropouts or connectivity issues, consider inspecting the 3.5mm audio cable for any signs of damage or wear. Replacing the cable with a new one can eliminate potential connectivity issues and restore seamless audio transmission between the A10 headset and the Nintendo Switch.
By familiarizing yourself with these troubleshooting steps, you can effectively address common issues that may arise when using the A10 gaming headset with your Nintendo Switch. Swiftly resolving technical challenges ensures that you can continue to enjoy your gaming experiences with the immersive audio and communication capabilities offered by the A10 headset, without unnecessary interruptions.
Conclusion
Congratulations! You’ve successfully learned how to harness the full potential of the A10 gaming headset on your Nintendo Switch. By following the steps outlined in this guide, you’ve connected the headset to your console, adjusted the audio settings for optimal performance, and seamlessly integrated voice chat capabilities into your multiplayer gaming experiences. The A10 gaming headset has undoubtedly enhanced your gaming sessions, immersing you in rich, high-fidelity audio and enabling seamless communication with fellow gamers.
As you continue to explore the vast and captivating worlds of your favorite games on the Nintendo Switch, the A10 gaming headset will serve as your trusted companion, delivering immersive soundscapes and enhancing every aspect of your gameplay. Whether you’re embarking on epic quests, engaging in intense battles, or collaborating with friends in multiplayer adventures, the A10 headset will elevate your gaming experiences to new heights.
Should you encounter any technical challenges along the way, the troubleshooting tips provided in this guide will empower you to swiftly address common issues, ensuring that your gaming sessions remain uninterrupted and enjoyable. The seamless integration of the A10 gaming headset with the Nintendo Switch has opened up a world of immersive audio and communication possibilities, enriching your gaming journey in profound ways.
With the A10 gaming headset at your disposal, you’re poised to embark on countless gaming adventures, fully equipped to experience the audio nuances and social interactions that make gaming truly captivating. So, grab your A10 headset, power up your Nintendo Switch, and immerse yourself in the extraordinary world of gaming, where every sound and voice resonates with unparalleled clarity and depth.
Get ready to elevate your gaming experiences with the A10 gaming headset and embark on a journey filled with immersive audio landscapes and seamless communication, all at your fingertips.