Introduction
Welcome to the world of immersive gaming audio! Setting up a microphone with your H Wireless Gaming Headset is an essential step to fully enjoy the rich sound and seamless communication that this premium headset offers. Whether you’re a seasoned gamer or just embarking on your gaming journey, the H Wireless Gaming Headset provides a top-notch audio experience that can elevate your gaming sessions to a whole new level.
In this guide, we’ll walk you through the step-by-step process of setting up the microphone with your H Wireless Gaming Headset. From unboxing the headset to adjusting the mic settings, we’ll cover everything you need to know to ensure that your gaming experience is not only immersive but also communicative.
By the end of this tutorial, you’ll be ready to dive into the gaming universe with crystal-clear audio and seamless communication, giving you the edge you need to dominate the virtual battlefield. So, let’s get started on setting up your H Wireless Gaming Headset and unleashing its full potential!
Step 1: Unboxing the H Wireless Gaming Headset
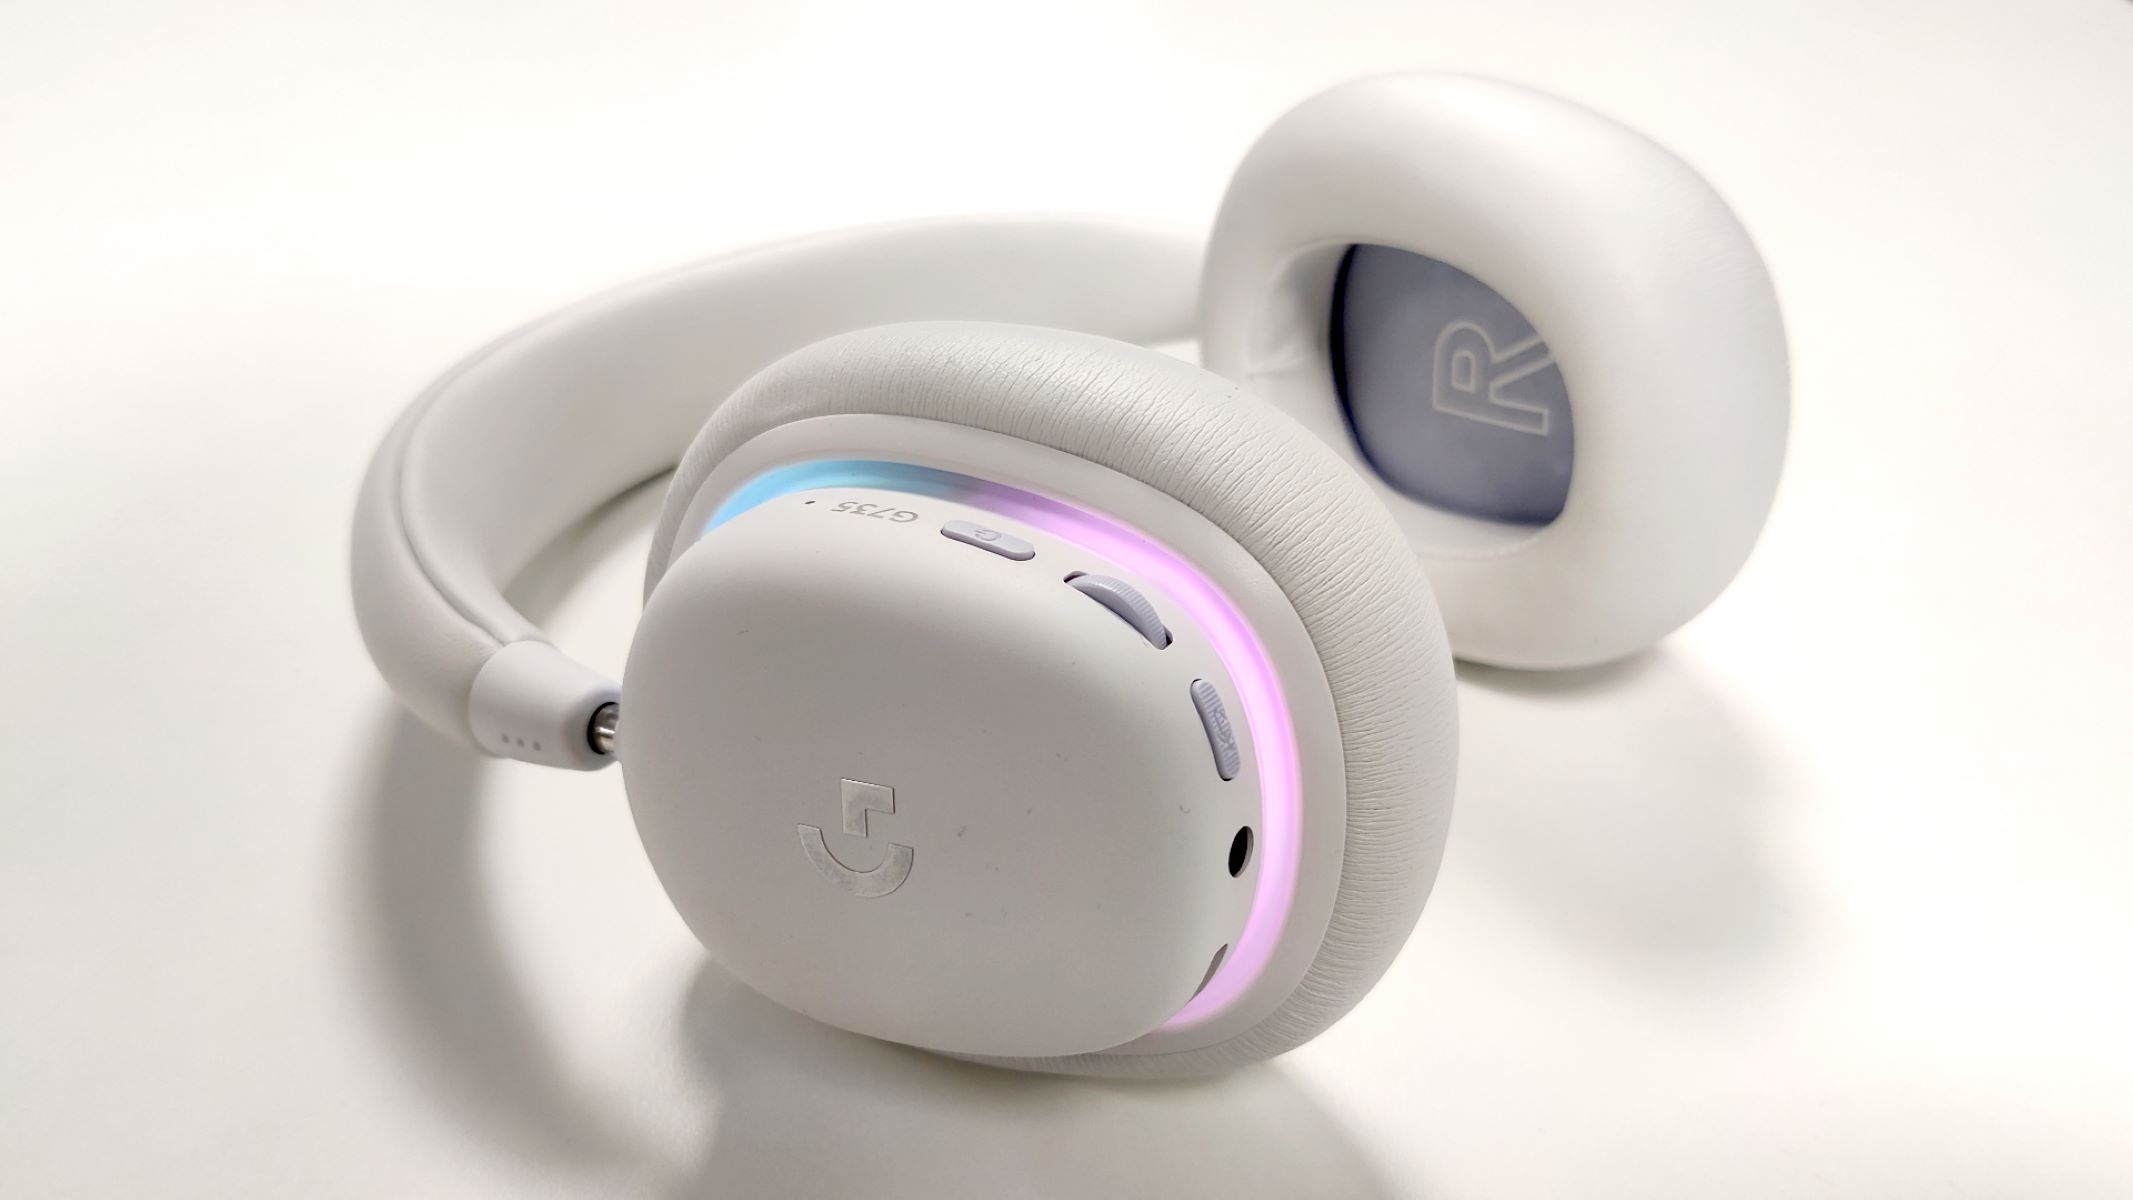
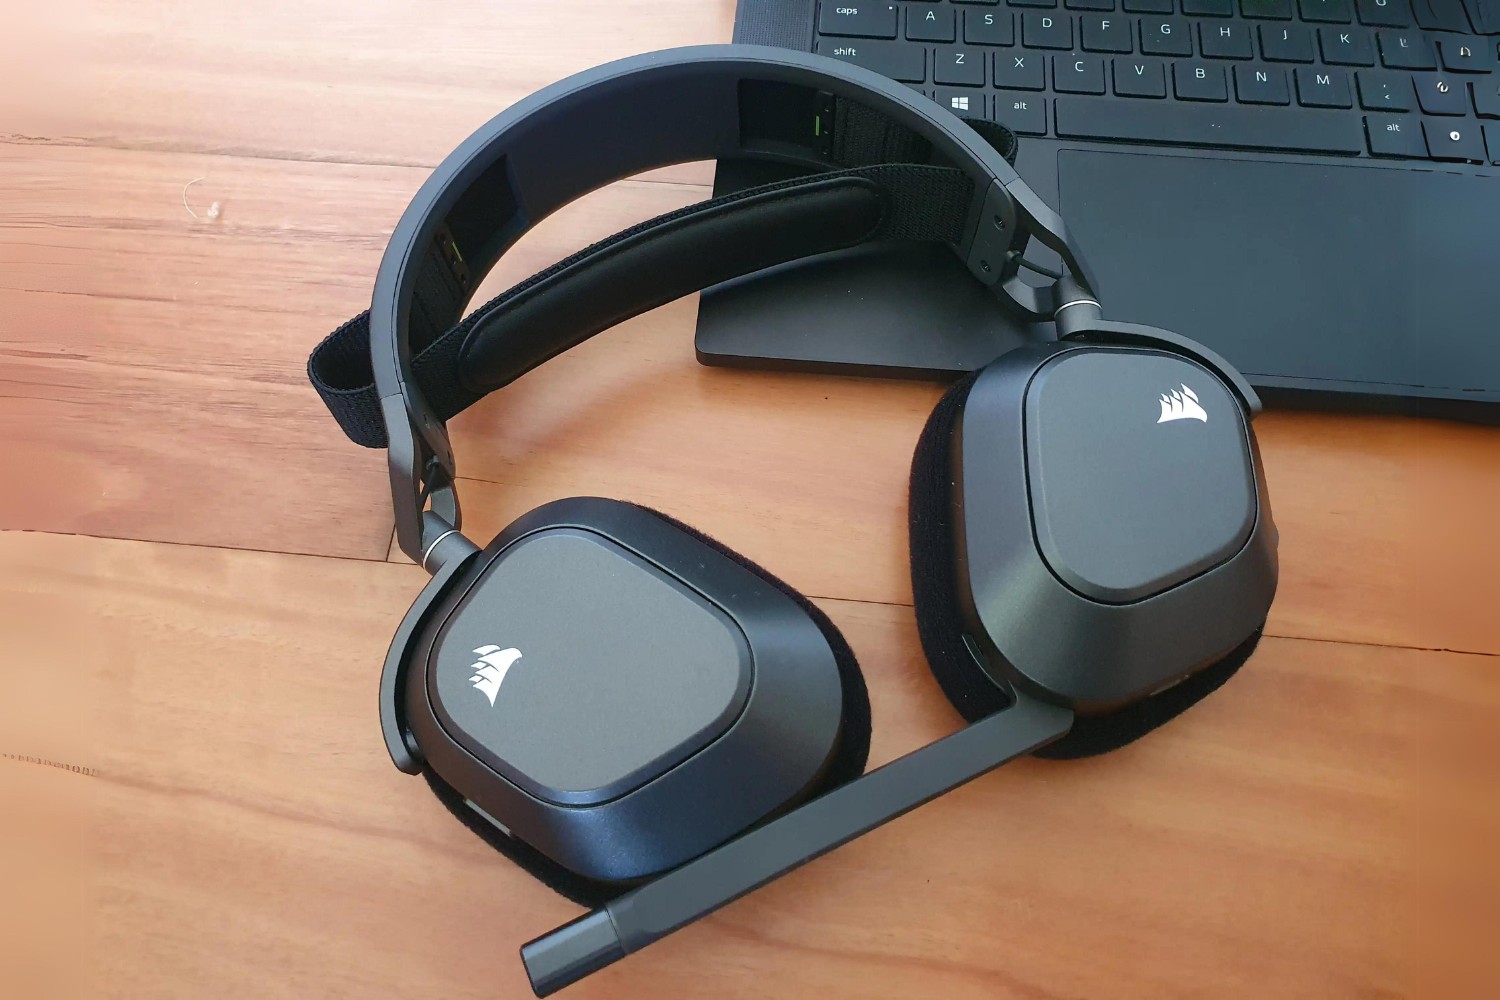
Before delving into the intricacies of setting up the microphone, the first step is to unbox your H Wireless Gaming Headset. As you eagerly open the packaging, you’ll be greeted by the sleek and stylish design of the headset, exuding a sense of premium quality and cutting-edge technology.
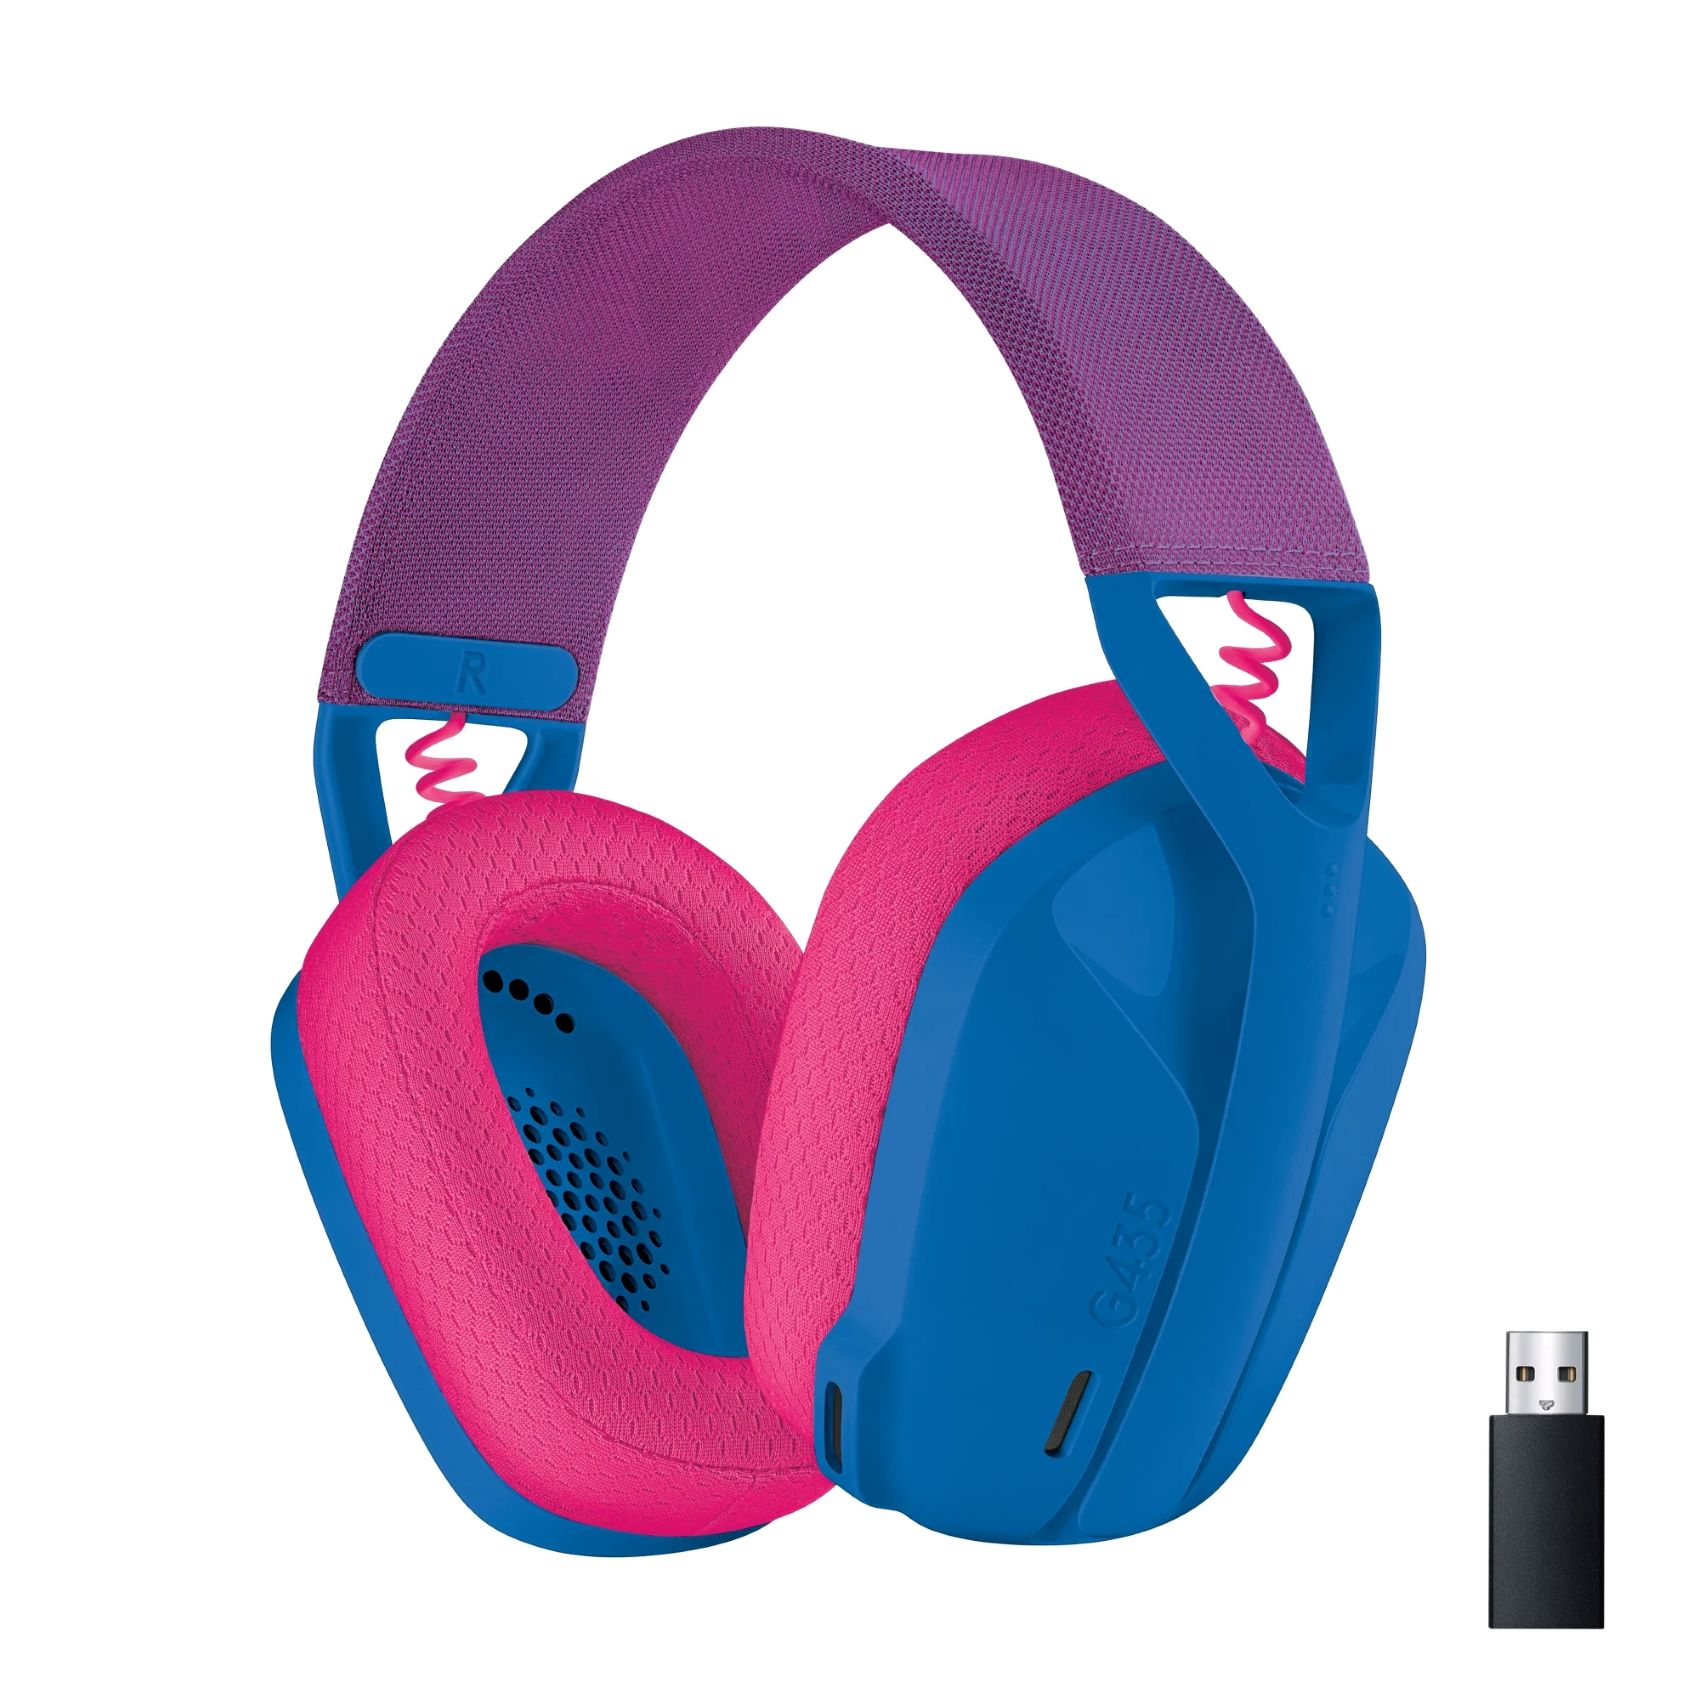
Upon lifting the lid, you’ll find the H Wireless Gaming Headset neatly nestled in its protective casing, accompanied by a set of accessories that are essential for the setup process. These accessories typically include the transmitter, USB cables for charging, audio cables for connectivity, and any additional components specific to your headset model.
As you carefully remove the headset and its accompanying components from the packaging, take a moment to appreciate the attention to detail in the design and construction of the headset. The ergonomic contours, premium materials, and intuitive layout of the controls all contribute to the overall appeal of the H Wireless Gaming Headset.
Inspect the contents of the package to ensure that all the necessary components are present and undamaged. This includes the headset itself, the transmitter, charging cables, and any adapters or connectors that may be included. Familiarize yourself with the layout of the components, as this will be beneficial when you proceed to the subsequent steps of the setup process.
Unboxing the H Wireless Gaming Headset sets the stage for an immersive and seamless gaming experience. The anticipation builds as you prepare to embark on the journey of setting up the microphone and unlocking the full potential of your gaming headset. With the headset and its accessories laid out before you, you’re now ready to move on to the next step in the setup process.
Step 2: Charging the Headset
Before diving into the gaming action, it’s crucial to ensure that your H Wireless Gaming Headset is adequately charged for uninterrupted gameplay and communication. The process of charging the headset is straightforward and essential for maximizing its performance during your gaming sessions.
The first step in charging your H Wireless Gaming Headset is to locate the USB charging cable that was included in the packaging. This cable is typically designed to connect to the headset for charging via a standard USB port. Once you’ve located the cable, ensure that it is free from any damage and securely connect it to the designated charging port on the headset.
Next, connect the opposite end of the USB charging cable to a power source. This can be a USB port on your gaming console, computer, or a dedicated USB power adapter. As the headset begins to charge, you may notice an indicator light that signals the charging status. Familiarize yourself with the specific indicator lights on your headset, as they provide valuable feedback regarding the charging process.
While the headset is charging, take this time to explore the additional features and controls that the H Wireless Gaming Headset offers. Familiarize yourself with the placement of the volume controls, mute button, and any other customizable features that enhance your gaming experience. This will not only pass the time during charging but also prepare you for the subsequent steps in the setup process.
It’s important to allow sufficient time for the headset to fully charge before proceeding to the next steps. Depending on the initial charge level, this may take a few hours. Once the headset is fully charged, you’re one step closer to immersing yourself in the captivating world of gaming with unparalleled audio quality and seamless communication.
Charging the H Wireless Gaming Headset is a vital preparatory step that ensures you can enjoy extended gaming sessions without interruptions. With the headset now powered up and ready for action, you’re primed to move on to the next stage of setting up the microphone and optimizing the headset for an unparalleled gaming experience.
Step 3: Connecting the Transmitter
With your H Wireless Gaming Headset charged and ready, the next crucial step is to connect the transmitter, which serves as the bridge between your gaming console or PC and the headset. The transmitter is a pivotal component that enables seamless wireless communication and ensures that you experience immersive audio without the constraints of traditional wired connections.
Begin by locating the transmitter, which is typically included in the headset packaging. The transmitter is a compact and sleek device that facilitates the wireless transmission of audio signals to the headset. Once you’ve found the transmitter, identify a convenient and accessible location near your gaming setup to place it. Ideally, the transmitter should be positioned within the recommended range for optimal signal strength and minimal interference.
After determining the placement of the transmitter, connect it to your gaming console or PC using the provided audio cables. Depending on your specific gaming setup, the transmitter may utilize optical, USB, or analog connections to establish a seamless audio link with your gaming device. Refer to the user manual for your headset to identify the appropriate connection method for your setup.
Once the transmitter is securely connected to your gaming device, power it on and ensure that it establishes a stable connection with the headset. The indicator lights on the transmitter may provide valuable feedback regarding the status of the wireless connection, allowing you to verify that the headset is successfully paired with the transmitter.
As the transmitter and headset establish a wireless connection, take a moment to appreciate the freedom and flexibility that wireless audio transmission offers. With the transmitter seamlessly integrated into your gaming setup, you’re now poised to experience immersive audio and seamless communication without being tethered by cumbersome cables.
Connecting the transmitter is a pivotal step that paves the way for a truly wireless gaming experience. With the transmitter in place and the wireless connection established, you’re ready to proceed to the next stage of pairing the headset with the transmitter and fine-tuning the mic settings for optimal performance.
Step 4: Pairing the Headset with the Transmitter
Once the transmitter is connected and in position, the next essential step in setting up your H Wireless Gaming Headset is to pair it with the transmitter. This pairing process establishes a secure and seamless wireless connection between the headset and the transmitter, ensuring that you experience immersive audio and clear communication during your gaming sessions.
To initiate the pairing process, power on your H Wireless Gaming Headset and ensure that it is within the recommended range of the transmitter. Activating the headset allows it to enter pairing mode, signaling its readiness to establish a wireless connection with the transmitter.
Simultaneously, power on the transmitter and wait for it to detect the headset within its proximity. The transmitter and headset will engage in a brief synchronization process, during which they establish a secure wireless link. This synchronization is indicated by the transmitter’s status lights, which may flash or change color to signify a successful pairing.
As the headset and transmitter complete the pairing process, take note of any audible or visual indicators on the headset that confirm the successful establishment of the wireless connection. These indicators may vary based on the specific model of the H Wireless Gaming Headset, so refer to the user manual for detailed guidance on interpreting the pairing status.
Once the headset and transmitter are successfully paired, you’re now poised to experience the full capabilities of your H Wireless Gaming Headset. The secure wireless connection ensures that you can enjoy immersive audio and seamless communication without the limitations of traditional wired setups.
The successful pairing of the headset with the transmitter marks a pivotal milestone in the setup process, bringing you one step closer to unleashing the full potential of your gaming headset. With the wireless connection established and the headset seamlessly integrated into your gaming setup, you’re now prepared to fine-tune the mic settings and optimize the audio experience for your gaming preferences.
Step 5: Adjusting Mic Settings
Now that your H Wireless Gaming Headset is seamlessly integrated into your gaming setup, it’s time to fine-tune the microphone settings to ensure crystal-clear communication with your fellow gamers. The mic settings play a crucial role in optimizing the audio input and ensuring that your voice is accurately captured and transmitted during gaming sessions.
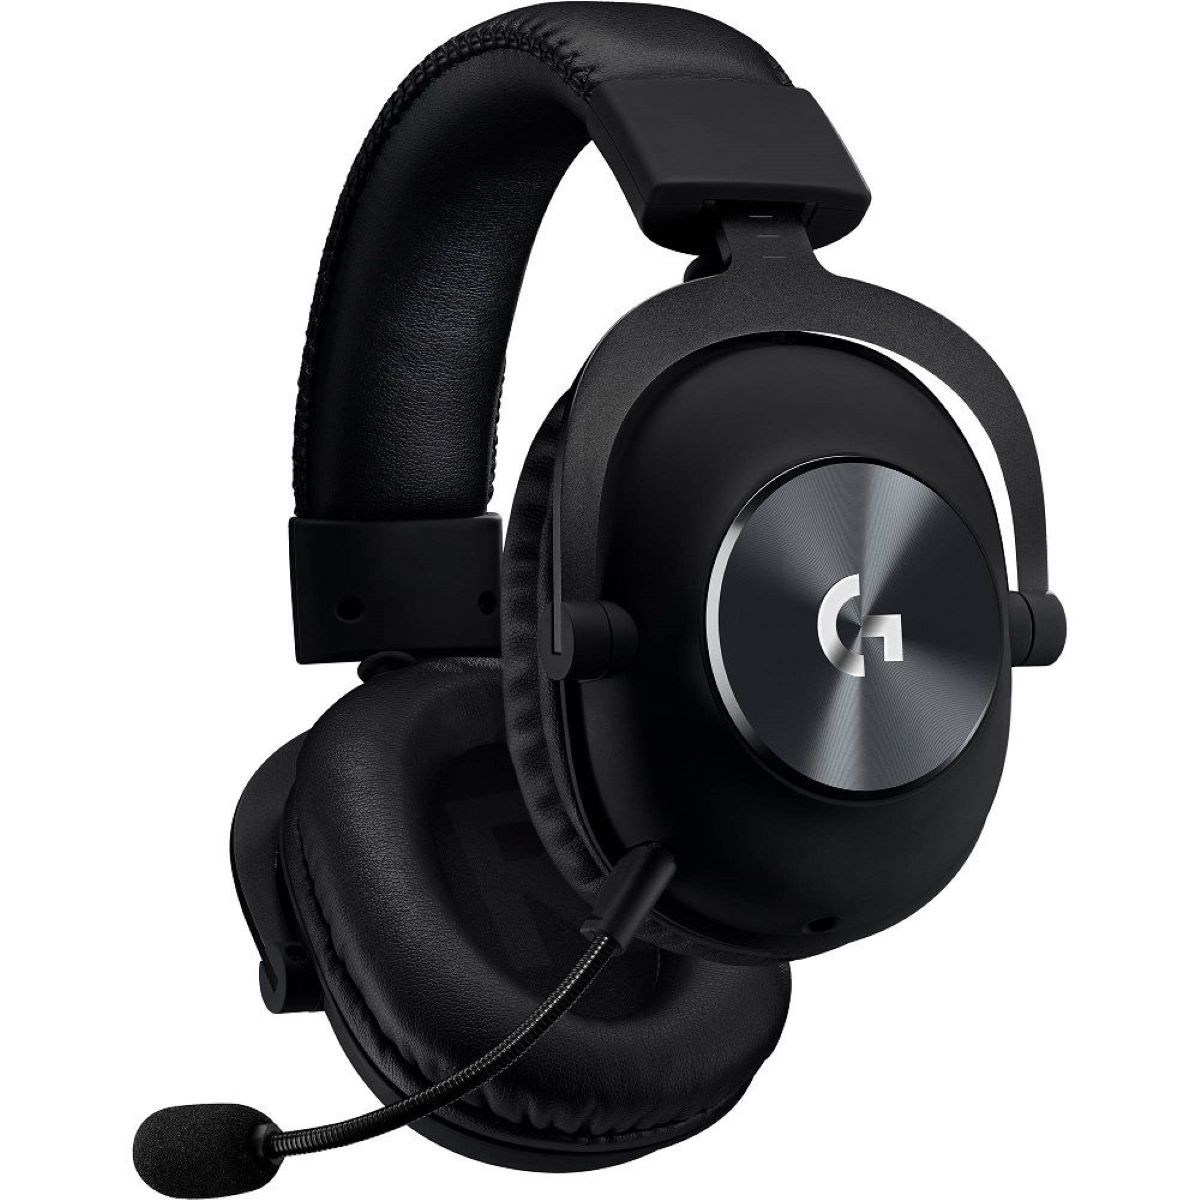
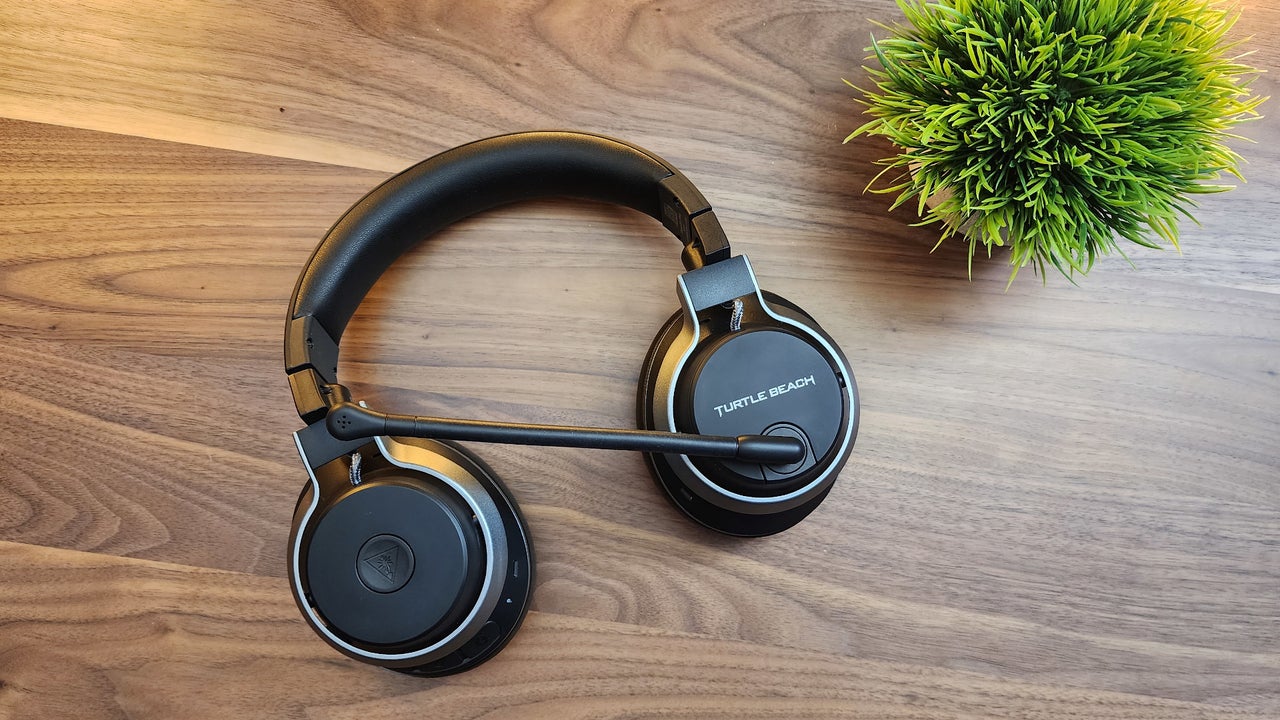
Begin by familiarizing yourself with the mic controls and settings on the headset. Depending on the model of your H Wireless Gaming Headset, the mic settings may be accessible through dedicated buttons or controls on the headset itself. Take a moment to locate and identify these controls, as they allow you to adjust the mic sensitivity, mute the mic, or customize other essential settings.
Once you’ve located the mic controls, consider the optimal mic sensitivity for your gaming environment. If you’re gaming in a noisy or bustling setting, you may want to adjust the mic sensitivity to minimize background noise and ensure that your voice comes through clearly. Conversely, in a quieter environment, you can fine-tune the mic settings to capture subtle nuances in your voice without amplifying ambient sounds.
Experiment with the mic settings to find the ideal balance between voice clarity and background noise suppression. Many H Wireless Gaming Headsets offer customizable mic settings that allow you to tailor the audio input to your specific preferences, ensuring that your voice is accurately transmitted to your teammates during intense gaming moments.
Additionally, verify that the mic is securely positioned and aligned for optimal voice capture. Adjust the mic boom to ensure that it is positioned at an ideal distance from your mouth, allowing for clear and consistent voice transmission without distortion or interference.
As you fine-tune the mic settings, consider testing the microphone in a gaming environment to evaluate the audio quality and ensure that your voice is effectively transmitted to your teammates. This real-world testing allows you to make on-the-fly adjustments to the mic settings, ensuring that you achieve the perfect balance between voice clarity and background noise suppression.
Adjusting the mic settings is a crucial step in maximizing the communication capabilities of your H Wireless Gaming Headset. With the mic settings optimized for your gaming environment and preferences, you’re now ready to put the headset to the test and immerse yourself in the captivating world of gaming with seamless communication and crystal-clear audio.
Step 6: Testing the Mic
After adjusting the mic settings, it’s essential to conduct a thorough mic test to ensure that the microphone of your H Wireless Gaming Headset is functioning optimally. This step allows you to verify the clarity, accuracy, and overall performance of the microphone, ensuring that your voice is effectively transmitted to your gaming teammates without any impediments.
Begin by launching your preferred communication or gaming platform, whether it’s a voice chat application, in-game communication system, or a dedicated gaming platform that supports voice communication. This provides the ideal environment to conduct a comprehensive mic test, allowing you to gauge the performance of the headset’s microphone in real-world gaming scenarios.
Initiate a test call or voice chat session with a friend or fellow gamer to evaluate the audio quality and clarity of your voice. Engage in a brief conversation while paying close attention to the nuances of your voice transmission, ensuring that your words are accurately captured and transmitted without distortion or interference.
During the mic test, solicit feedback from your communication partner regarding the quality of your voice transmission. Inquire about the clarity, volume, and overall intelligibility of your voice, as their input can provide valuable insights into the performance of the headset’s microphone in a real-time communication setting.
As you engage in the mic test, take note of any background noise or ambient interference that may affect the clarity of your voice transmission. This allows you to make real-time adjustments to the mic settings, such as mic sensitivity or noise suppression, to optimize the audio input and ensure that your voice remains clear and prominent amidst varying environmental conditions.
Utilize the mic test as an opportunity to fine-tune the mic settings further, making on-the-fly adjustments based on the feedback received from your communication partner. This iterative process allows you to achieve the optimal balance between voice clarity, background noise suppression, and overall audio fidelity, ensuring that your voice commands and communications are consistently effective during gaming sessions.
Conducting a comprehensive mic test is the final step in ensuring that the microphone of your H Wireless Gaming Headset meets your expectations for clear and reliable voice transmission. With the mic test completed and any necessary adjustments made, you can now embark on your gaming adventures with the confidence that your communication will be seamless, effective, and devoid of any audio impediments.
Conclusion
Congratulations! You’ve successfully navigated the process of setting up the microphone with your H Wireless Gaming Headset, equipping yourself with the tools to fully immerse in the world of gaming while enjoying crystal-clear audio and seamless communication. By following the step-by-step guide, you’ve unlocked the full potential of your gaming headset and optimized its performance to elevate your gaming experience to new heights.
From the initial unboxing of the headset to the meticulous adjustment of mic settings and the comprehensive mic test, you’ve meticulously prepared the H Wireless Gaming Headset for immersive gaming sessions. The attention to detail in each step ensures that you’re poised to communicate effectively with your fellow gamers and experience the rich audio landscape that the headset offers.
As you embark on your gaming adventures, take pride in the thorough setup process you’ve completed. The seamless integration of the headset with your gaming environment, coupled with the fine-tuned mic settings, ensures that you’re well-equipped to engage in intense battles, coordinate strategies, and immerse yourself in captivating narratives with unparalleled audio fidelity.
With the microphone of your H Wireless Gaming Headset optimized for clear and reliable voice transmission, you’re ready to embark on a journey filled with thrilling gaming moments, collaborative triumphs, and immersive storytelling. The setup process you’ve mastered serves as the foundation for a seamless and enriching gaming experience, allowing you to communicate, strategize, and immerse yourself in the diverse worlds of gaming with confidence and clarity.
As you venture into the realm of gaming, armed with your meticulously set up H Wireless Gaming Headset, embrace the power of immersive audio and effective communication. Your gaming experiences are now enhanced by the seamless integration of cutting-edge technology, ensuring that every moment in the virtual realm is enriched by the captivating audio landscape and the clarity of your voice.