Introduction
Welcome to the world of immersive gaming audio with the Logitech G430 gaming headset! If you're looking to enhance your gaming experience with crystal-clear communication and powerful sound, you've made the right choice with the G430. In this guide, we'll walk you through the process of setting up the G430's microphone for seamless communication during your gaming sessions.
The Logitech G430 gaming headset boasts a host of features designed to take your gaming to the next level. From its comfortable design to its impressive sound quality, this headset has garnered a loyal following among gamers. However, to fully harness its potential, it's crucial to set up the microphone correctly to ensure that your voice comes through loud and clear to your teammates and opponents.
Whether you're a seasoned gamer or new to the world of gaming headsets, this step-by-step guide will provide you with the knowledge and confidence to set up the G430's microphone with ease. By the end of this tutorial, you'll be ready to dive into your favorite games equipped with a fully operational and optimized headset mic.
So, grab your Logitech G430 gaming headset, and let's embark on this journey to unleash the full potential of your gaming experience!
Step 1: Unboxing the Logitech G430 Gaming Headset
Before delving into the setup process, it’s essential to unbox your Logitech G430 gaming headset. The packaging is designed to keep the headset and its components secure during transit, ensuring that everything arrives in pristine condition.
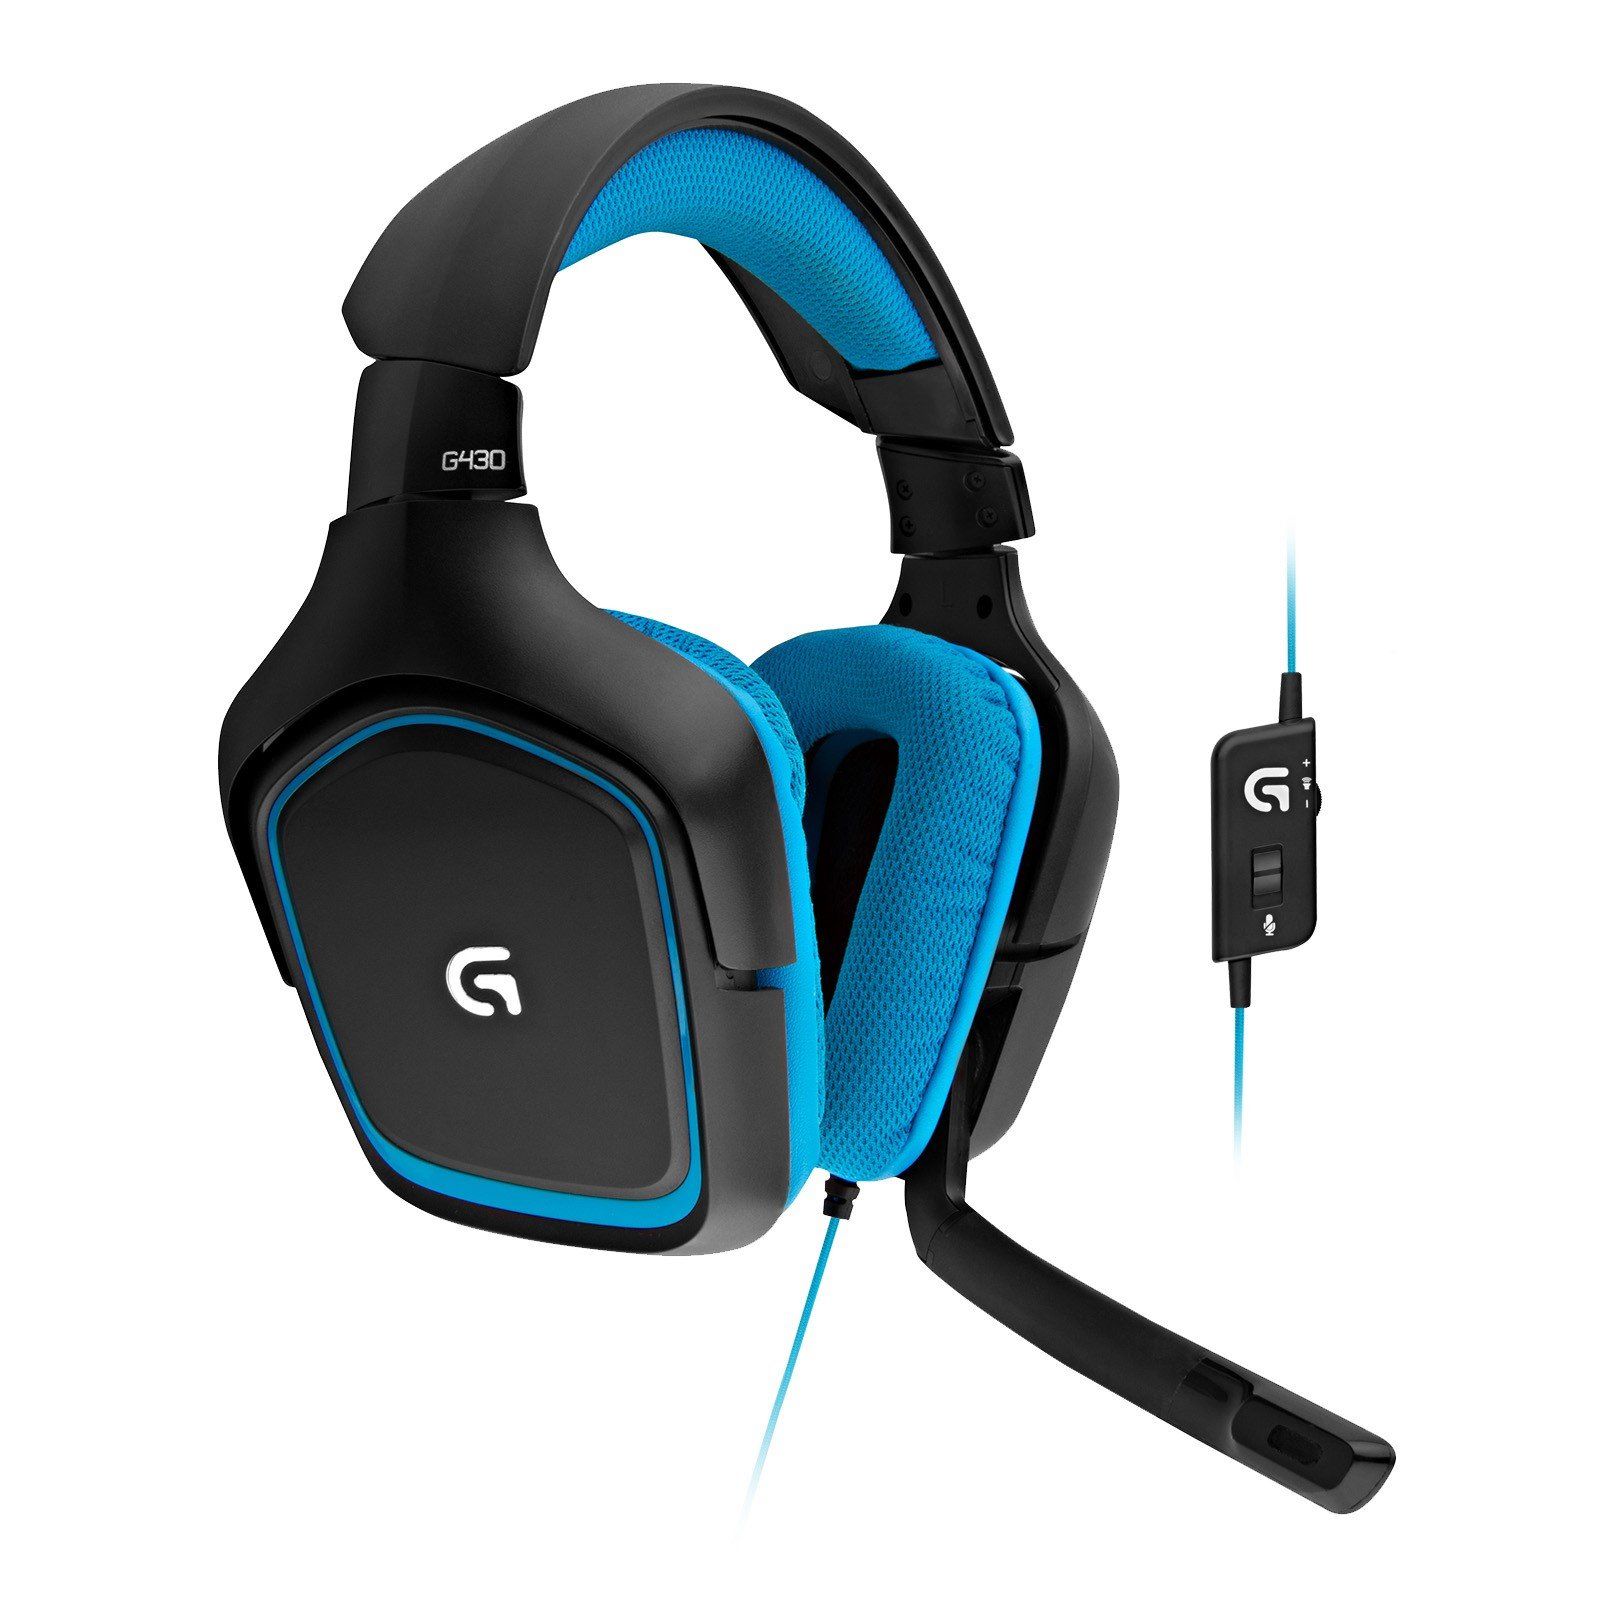
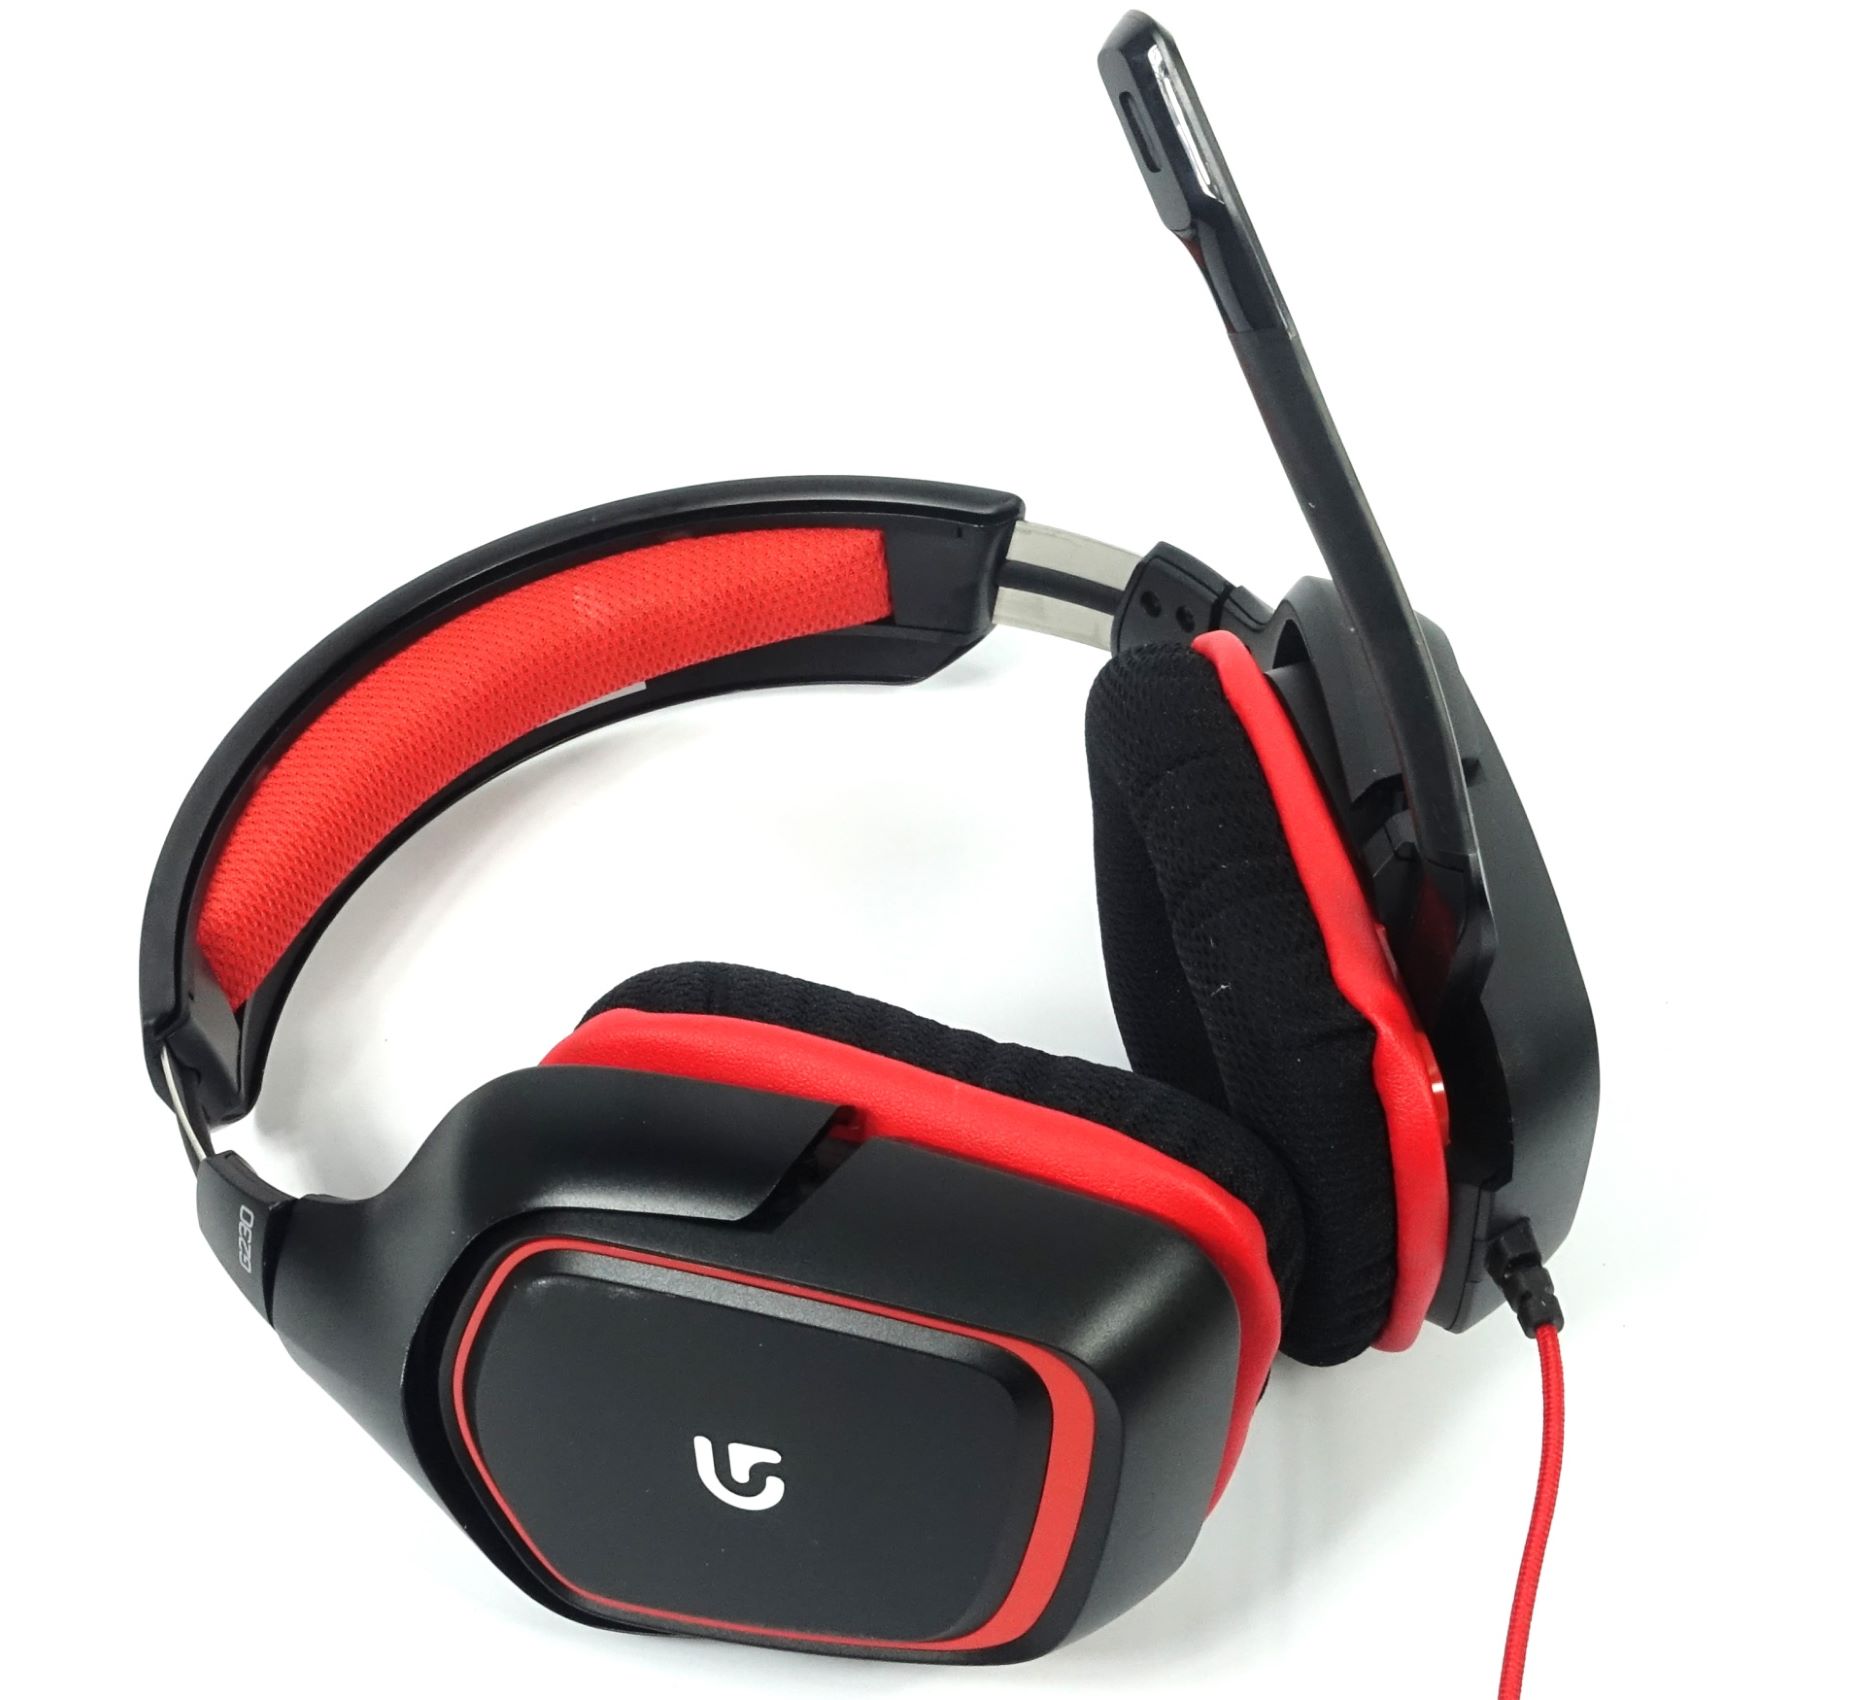
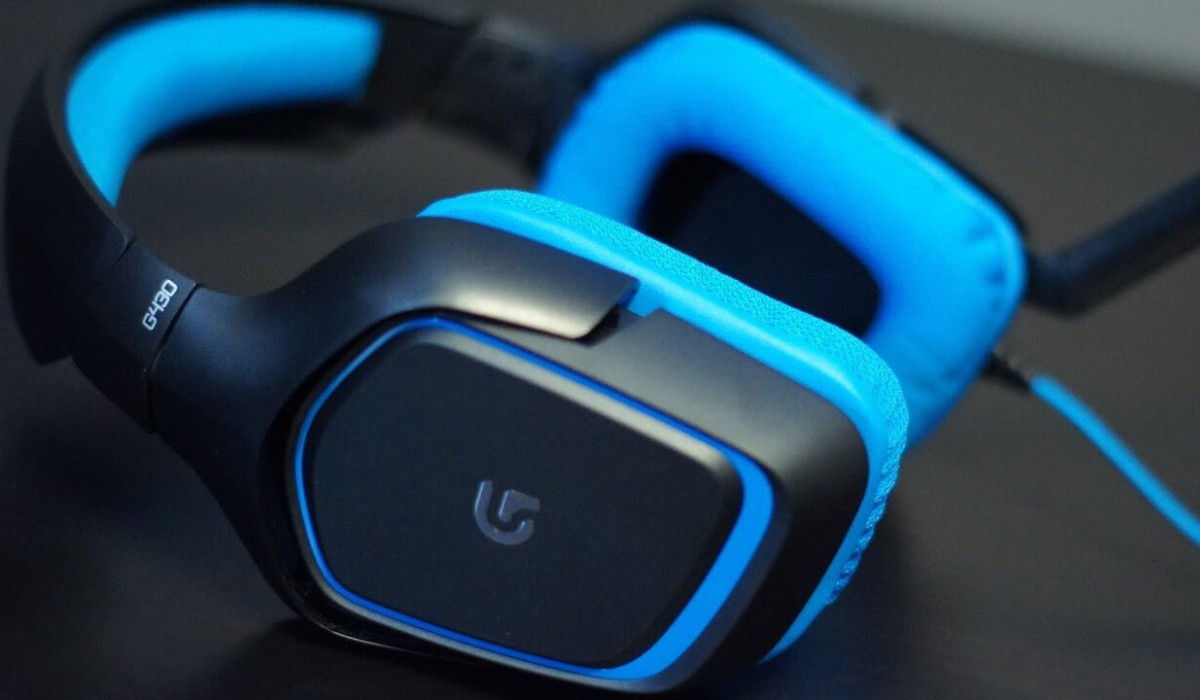
As you open the box, you’ll be greeted by the sleek and stylish design of the G430 headset. The ear cups are adorned with the iconic blue accents, instantly signaling that you’re in possession of a premium gaming accessory. The lightweight build and plush ear pads promise hours of comfortable wear, allowing you to focus on your gaming without any discomfort.
Upon removing the headset from the box, you’ll find the accompanying USB adapter. This adapter is a crucial component for connecting the G430 to your computer, enabling you to harness its full potential. Additionally, the box may contain user manuals and warranty information, which are worth perusing for any specific setup instructions or troubleshooting guidance.
Take a moment to familiarize yourself with the various buttons and controls on the headset. The volume control and mute button are conveniently located on the cable, providing easy access during intense gaming sessions. Understanding the layout of the headset will streamline the setup process and ensure that you’re ready to configure the microphone and dive into your favorite games without delay.
Now that you’ve unboxed your Logitech G430 gaming headset, you’re one step closer to experiencing immersive sound and seamless communication. With the headset in hand and the USB adapter at the ready, it’s time to proceed to the next step and connect the G430 to your computer.
Step 2: Connecting the Headset to Your Computer
Once you’ve unboxed your Logitech G430 gaming headset, the next crucial step is to connect it to your computer. The G430 is equipped with a USB adapter, which simplifies the connection process and ensures compatibility with a wide range of devices.
To begin, locate an available USB port on your computer. The USB adapter features a standard USB connector, allowing for effortless plug-and-play functionality. Simply insert the USB connector into the USB port on your computer, ensuring a secure connection. The plug-and-play nature of the G430 means that you won’t have to navigate through complex installation procedures, making the setup process swift and hassle-free.
Upon establishing the connection, your computer will recognize the Logitech G430 gaming headset and automatically configure it as the default audio input and output device. This seamless integration streamlines the setup process, allowing you to focus on optimizing the microphone settings for crystal-clear communication during your gaming sessions.
Once the G430 is connected, take a moment to ensure that the headset fits comfortably and securely. The adjustable headband and swiveling ear cups enable you to customize the fit according to your preferences, ensuring long-lasting comfort during extended gaming sessions. With the headset securely in place and the connection established, you’re now ready to fine-tune the microphone settings on your computer to ensure optimal performance.
With the Logitech G430 gaming headset successfully connected to your computer, you’re on the brink of immersing yourself in the captivating world of gaming audio. The next step in this journey is to adjust the microphone settings on your computer, paving the way for seamless communication with your fellow gamers. Let’s proceed to the next step and optimize the G430’s microphone for an unparalleled gaming experience.
Step 3: Adjusting Mic Settings on Your Computer
Now that your Logitech G430 gaming headset is connected to your computer, it’s time to fine-tune the microphone settings to ensure optimal performance during your gaming endeavors. Properly configuring the mic settings will enable you to communicate clearly with your teammates and immerse yourself in the rich audio landscape of your favorite games.
Begin by accessing the audio settings on your computer. Depending on your operating system, you can typically find the audio settings in the system preferences or control panel. Look for the section dedicated to input devices or recording devices, where you’ll find the Logitech G430 headset listed as the default microphone.
Once you’ve located the G430 headset in the audio settings, you can proceed to adjust the microphone levels. This step is crucial for ensuring that your voice is captured at an optimal volume without distortion or background noise. You can test the microphone by speaking into it and monitoring the input levels in the audio settings. Aim to set the levels to a point where your voice comes through clearly without peaking into the red zone, which indicates excessive volume.
Additionally, explore any advanced settings that may be available for the microphone. Depending on your computer’s audio configuration, you may have access to options such as noise cancellation, voice enhancement, and microphone boost. Experiment with these settings to find the configuration that best suits your preferences and gaming environment.
It’s also worth considering the positioning of the microphone. The Logitech G430 features a flexible and adjustable boom microphone, allowing you to position it optimally for capturing your voice while minimizing background noise. Take the time to position the microphone close to your mouth, ensuring that it captures your voice with clarity and accuracy.
By fine-tuning the mic settings on your computer and optimizing the positioning of the G430’s microphone, you’re primed to unleash the full potential of this gaming headset. With the mic settings adjusted to your liking, you’re now ready to put the G430 to the test and ensure that your voice resonates with precision and clarity in the gaming realm.
Step 4: Testing the Mic
With the Logitech G430 gaming headset connected to your computer and the microphone settings adjusted to your preferences, it’s time to put the microphone to the test. Testing the mic will allow you to ensure that your voice is being captured accurately and that the headset is ready to deliver seamless communication during your gaming adventures.
Begin by launching a voice communication application or a recording software on your computer. Whether you prefer to use a dedicated gaming communication platform or a general voice recording application, the goal is to assess the microphone’s performance in capturing your voice.
Speak into the microphone and listen to the playback to gauge the clarity and fidelity of your voice. Pay attention to the presence of any background noise or distortion, as these factors can impact the quality of your communication during gaming sessions. If you notice any issues, such as excessive background noise or muffled audio, consider revisiting the mic settings to make further adjustments.
Engage in a test conversation with a friend or fellow gamer to evaluate the microphone’s performance in a real-time communication scenario. This step will provide valuable feedback on how your voice is being transmitted to others and allow you to fine-tune the mic settings based on the input from your conversation partner.
Experiment with different speaking volumes and intonations to assess how the microphone captures various vocal nuances. A well-configured microphone should faithfully reproduce your voice, allowing for clear and intelligible communication without distortion or interference.
During the testing phase, take note of any additional features or settings that can enhance the microphone’s performance. The Logitech G430 gaming headset may offer features such as noise cancellation, voice modulation, or customizable EQ settings, all of which can contribute to an enhanced communication experience during gaming.
By thoroughly testing the microphone and experimenting with its capabilities, you can ensure that the Logitech G430 gaming headset is fully optimized for seamless communication in the gaming environment. With the mic performing to your satisfaction, you’re now equipped to embark on your gaming endeavors with confidence, knowing that your voice will resonate with precision and clarity, enriching your gaming experience.
Conclusion
Congratulations! You’ve successfully navigated the process of setting up the Logitech G430 gaming headset’s microphone, equipping yourself with a powerful tool for immersive gaming communication. By following the steps outlined in this guide, you’ve ensured that your gaming headset is ready to deliver crystal-clear audio and seamless voice communication during your gaming sessions.
Unboxing the G430 allowed you to appreciate its sleek design and ergonomic features, setting the stage for a comfortable and immersive gaming experience. Connecting the headset to your computer was a straightforward process, thanks to the plug-and-play functionality of the USB adapter, enabling you to dive into the setup without any unnecessary complications.
Adjusting the microphone settings on your computer empowered you to fine-tune the G430’s performance, ensuring that your voice is captured with precision and clarity. By exploring the various settings and positioning the microphone optimally, you’ve taken the necessary steps to optimize the headset for seamless communication.
Testing the microphone provided valuable insights into its performance, allowing you to assess its ability to faithfully capture your voice and convey it to your gaming companions. Through this testing phase, you’ve gained a deeper understanding of the microphone’s capabilities and potential enhancements, further refining its performance to suit your preferences.
As you embark on your gaming adventures with the Logitech G430 gaming headset, you can do so with the confidence that your voice will be transmitted with clarity and precision, enriching your gaming experience and enabling seamless communication with your fellow gamers.
With the microphone set up and optimized, you’re now poised to immerse yourself in the captivating world of gaming audio, leveraging the power of the Logitech G430 to enhance your gaming endeavors. Whether you’re engaging in intense multiplayer battles or immersing yourself in the rich storytelling of single-player adventures, the G430’s microphone stands ready to amplify your gaming experience.
Embrace the potential of the Logitech G430 gaming headset, and let your voice be heard with clarity and precision as you embark on thrilling gaming escapades. With a fully operational and optimized headset mic at your disposal, you’re primed to elevate your gaming communication to new heights, fostering camaraderie and strategic coordination with your fellow gamers.