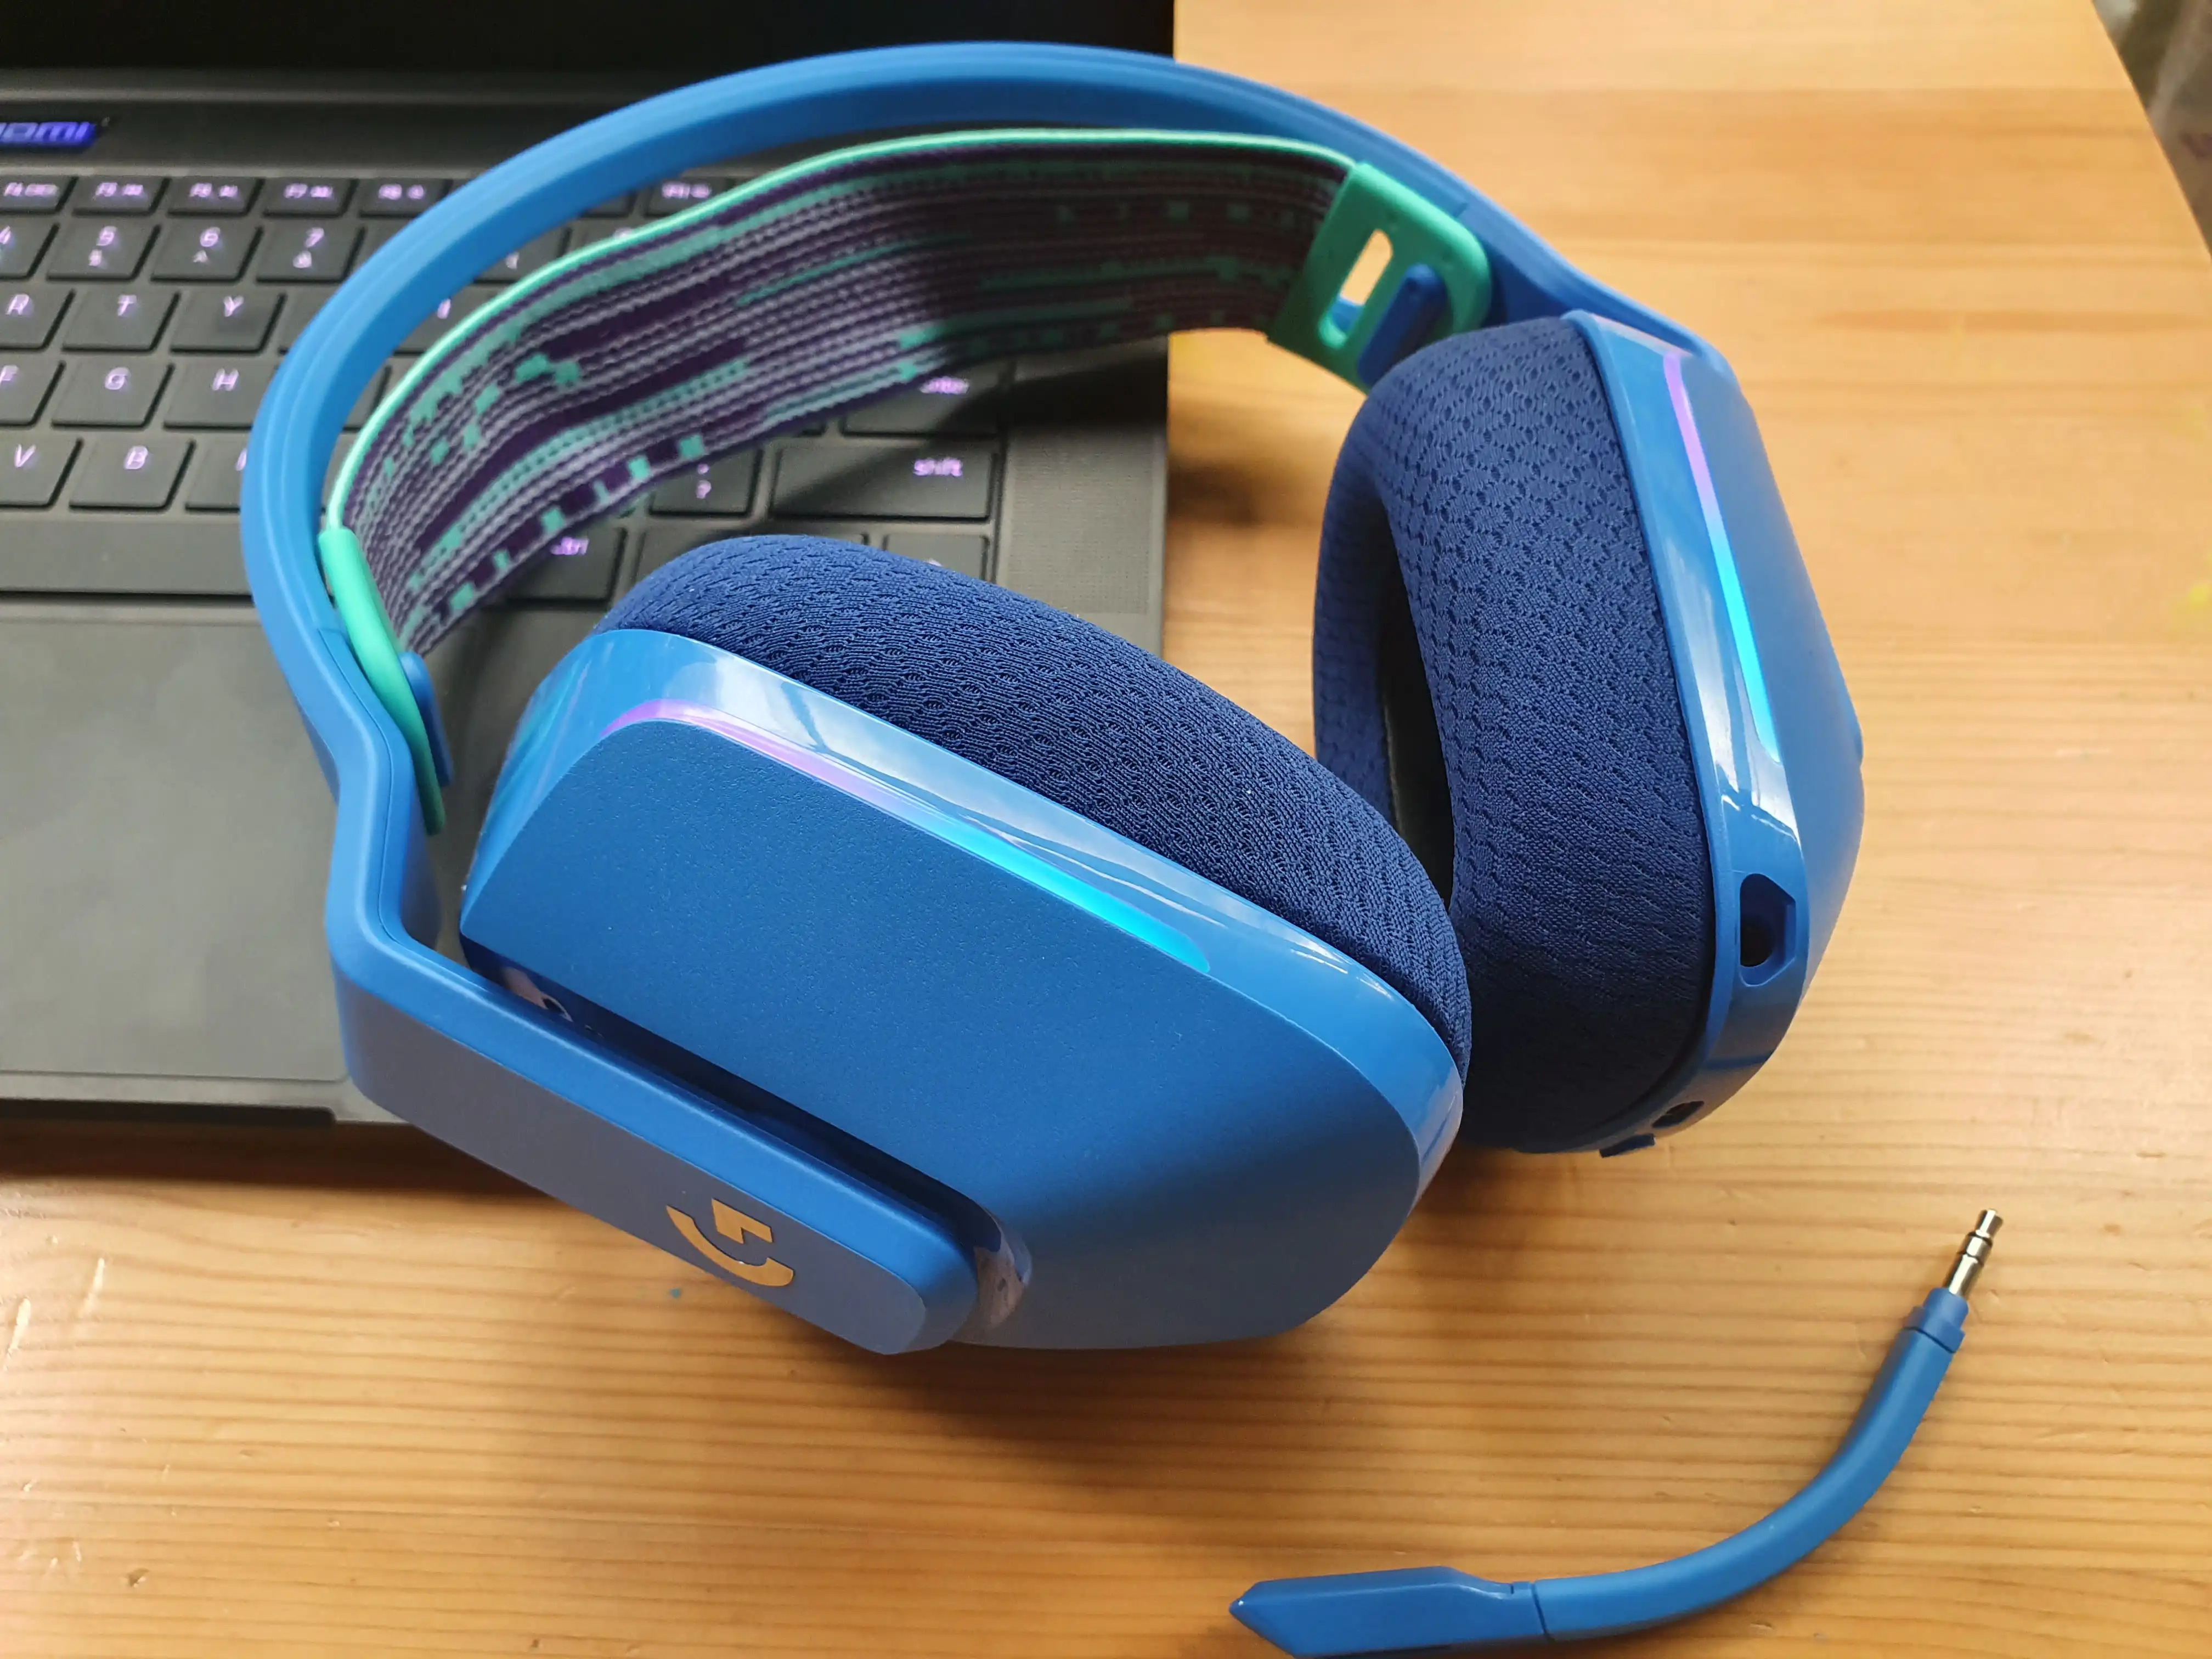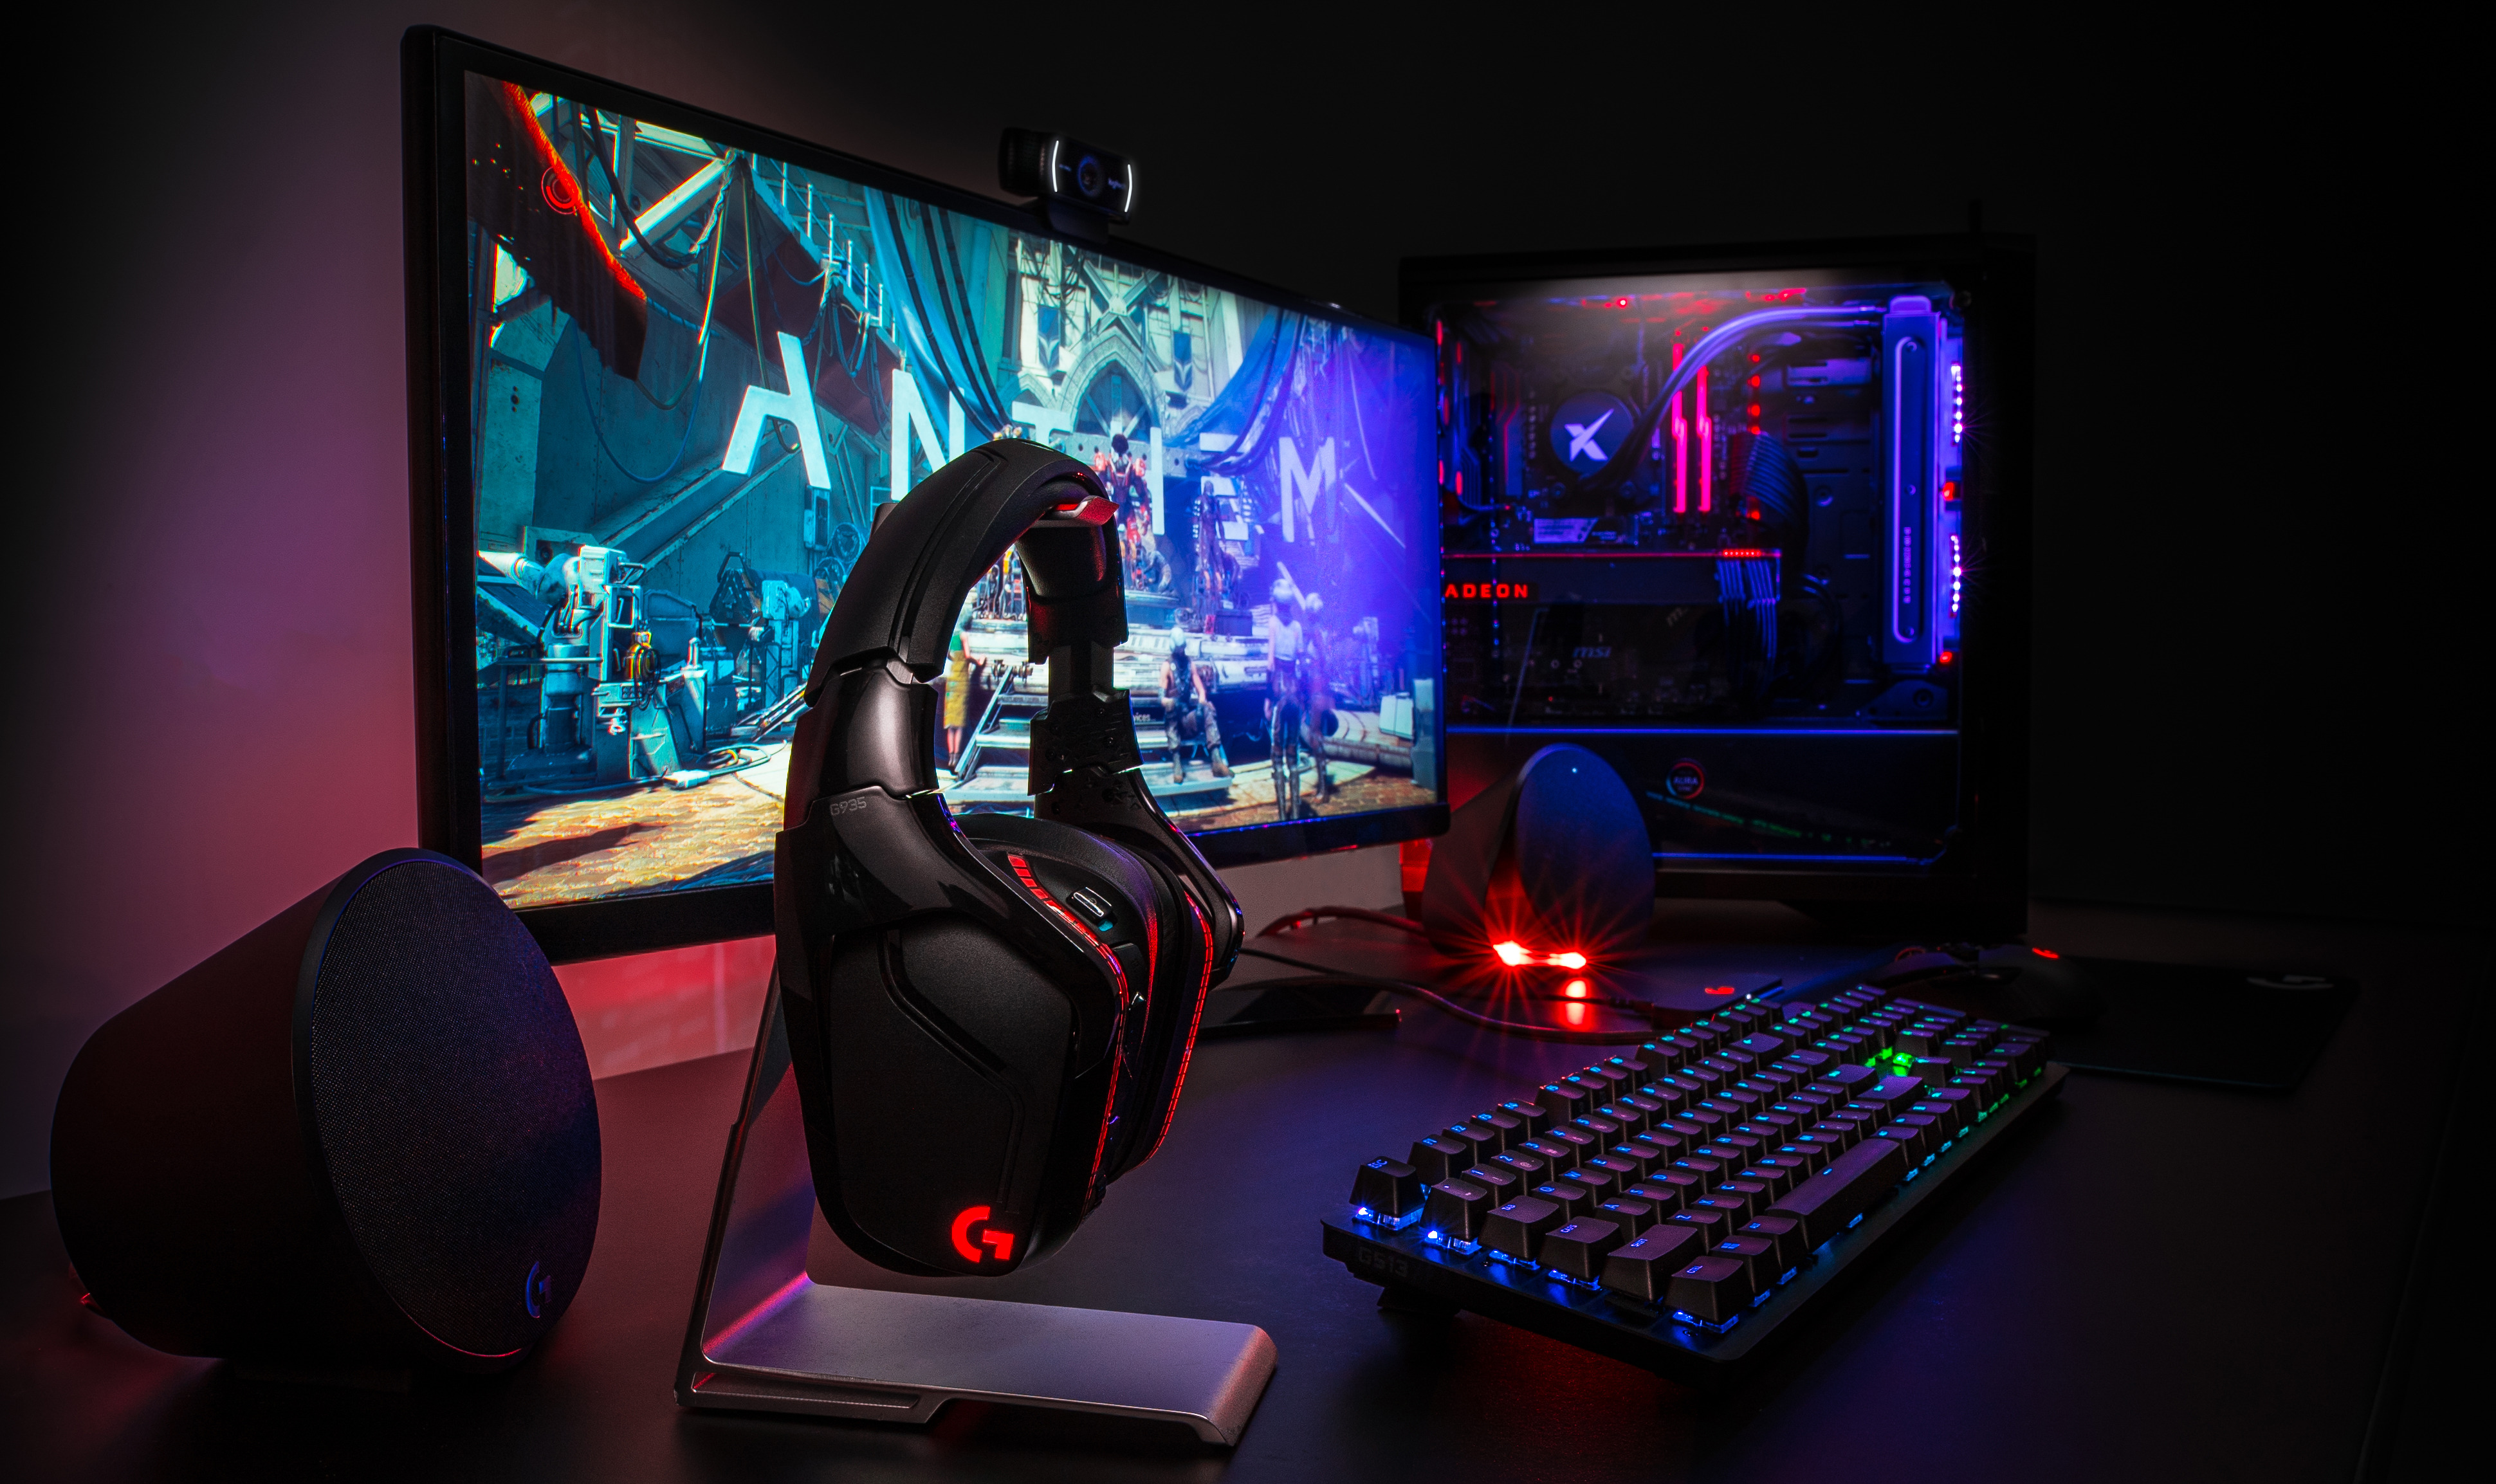
To setup Logitech headset for PC, you need to physically connect it, then configure Windows to use it as your default audio device. The exact steps depend on whether your headset uses a 3.5mm jack, a USB cable, a LIGHTSPEED receiver, or Bluetooth.
Before you start: what you need to setup your Logitech headset for PC
Gather your Logitech headset, its charging cable (if wireless), and the included USB receiver (if applicable). Identify the connection type your specific model uses, 3.5mm, USB, LIGHTSPEED, or Bluetooth, before you begin. This determines the correct physical connection method.
Connecting the headset to your PC
Follow the instructions below that match your headset's connection type.
USB wired connection
For headsets with a built-in USB cable (like the Logitech G Pro X wired), simply plug the USB connector directly into an available USB port on your computer. Avoid using USB hubs or extenders if possible.
3.5mm audio jack connection
For headsets using a 3.5mm plug, insert the cable into the corresponding audio jack on your PC. Many PCs have separate jacks for audio and microphone. If your headset has a single 4-pole plug and your PC has separate jacks, you will need a 3.5mm 4-pole to mic/stereo splitter adapter for the microphone to function properly.
LIGHTSPEED wireless connection
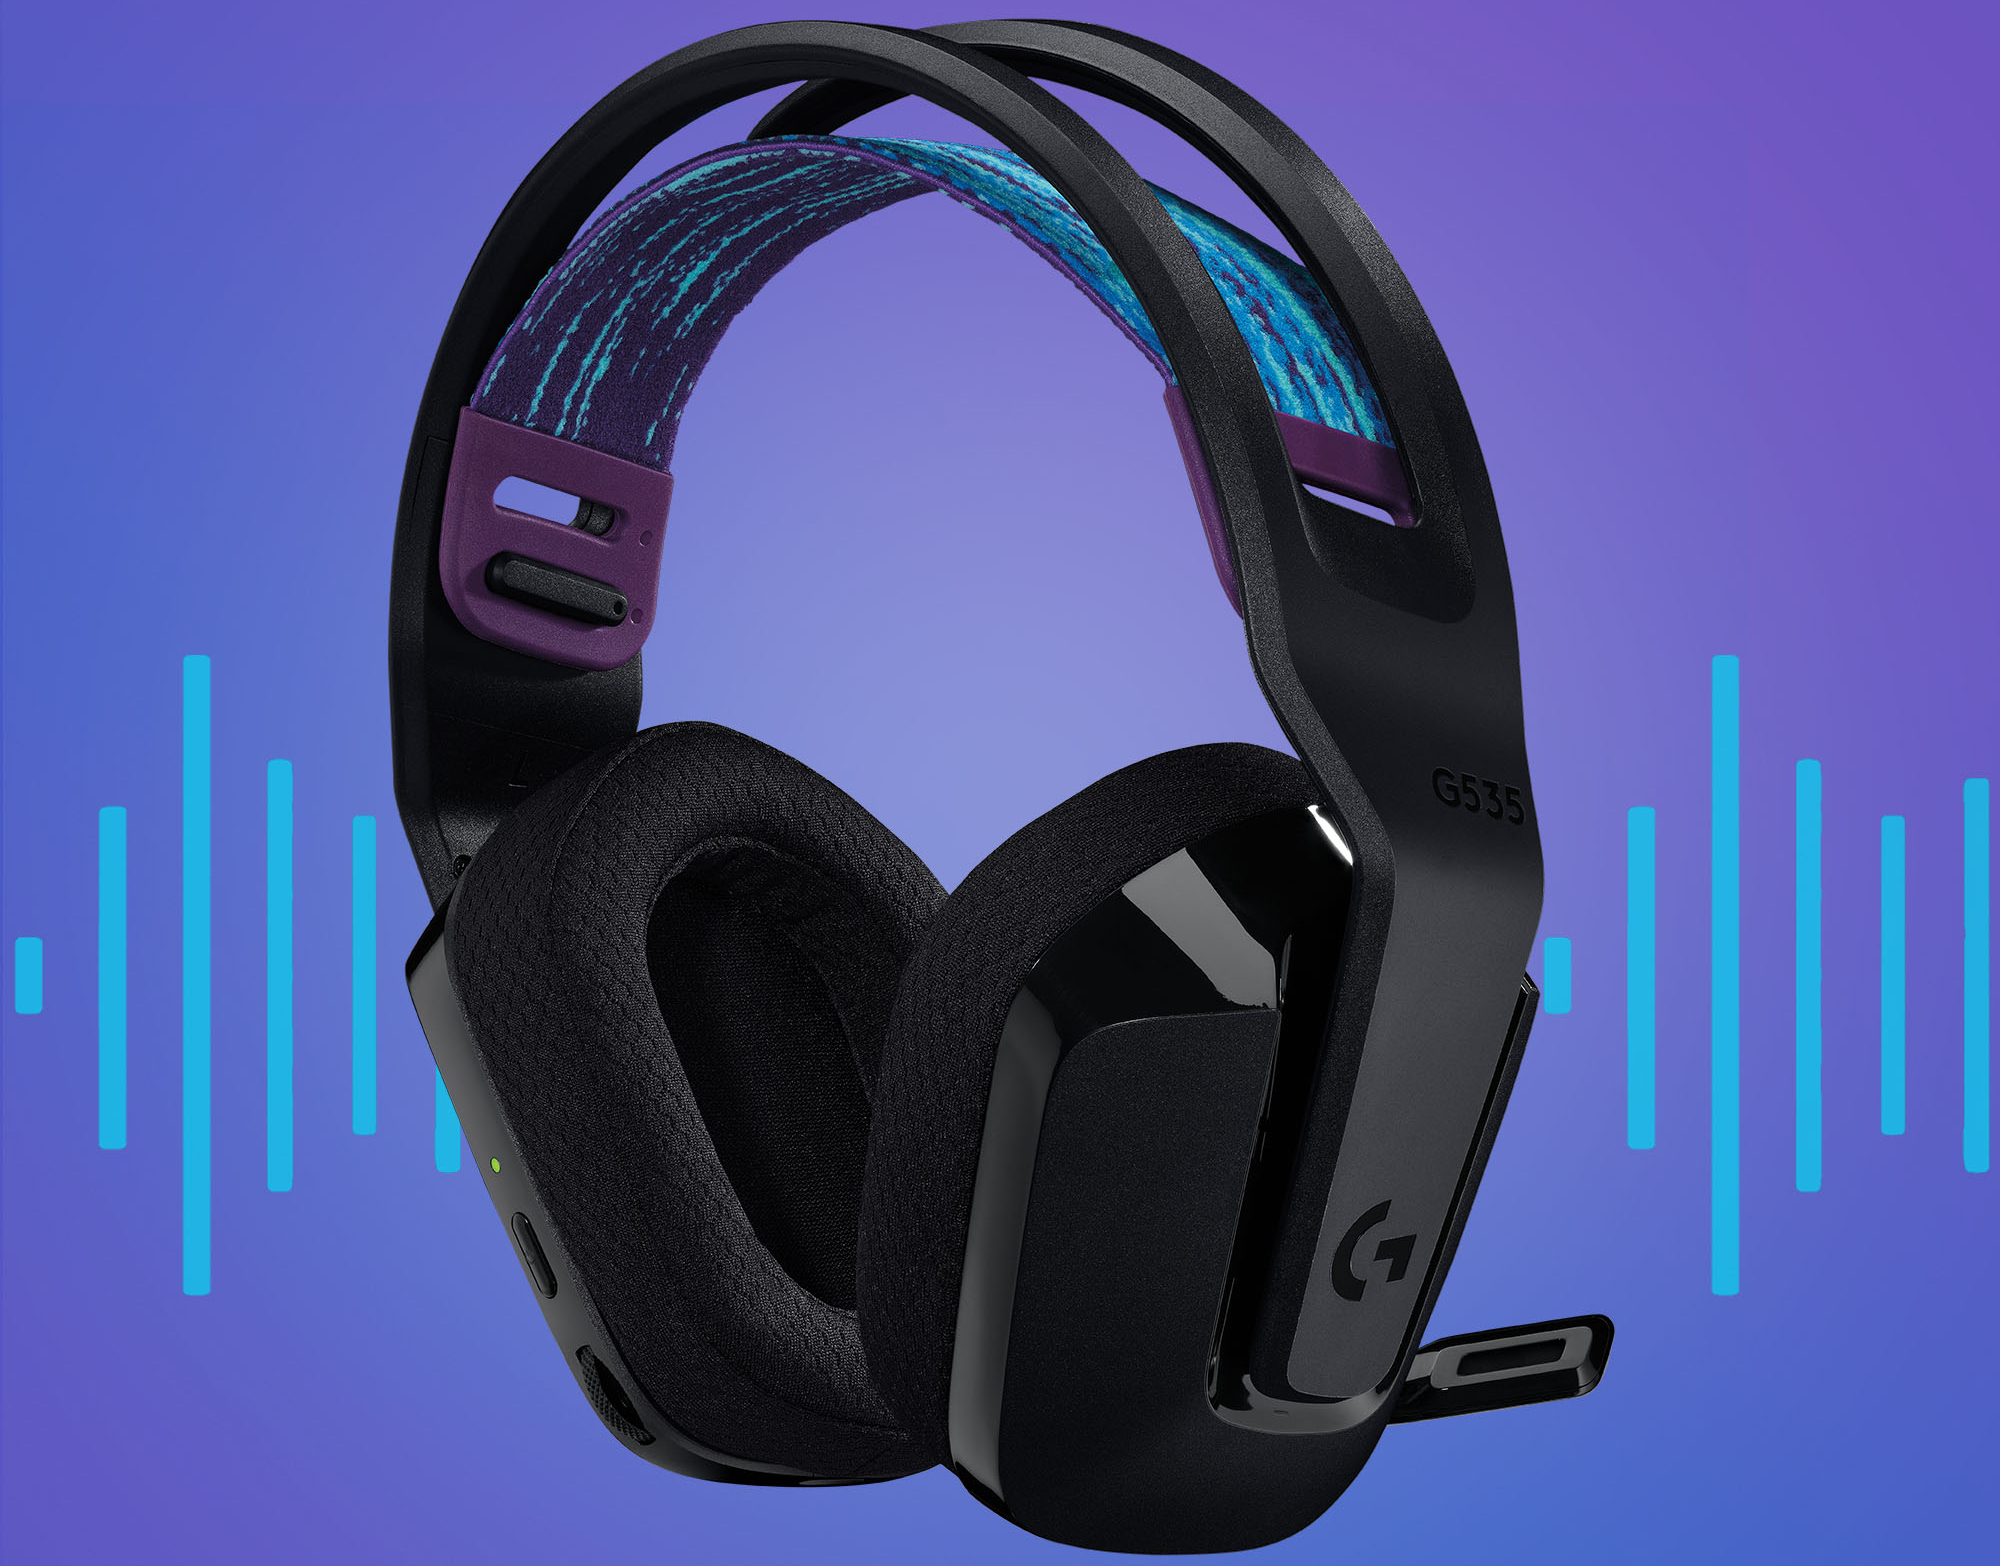
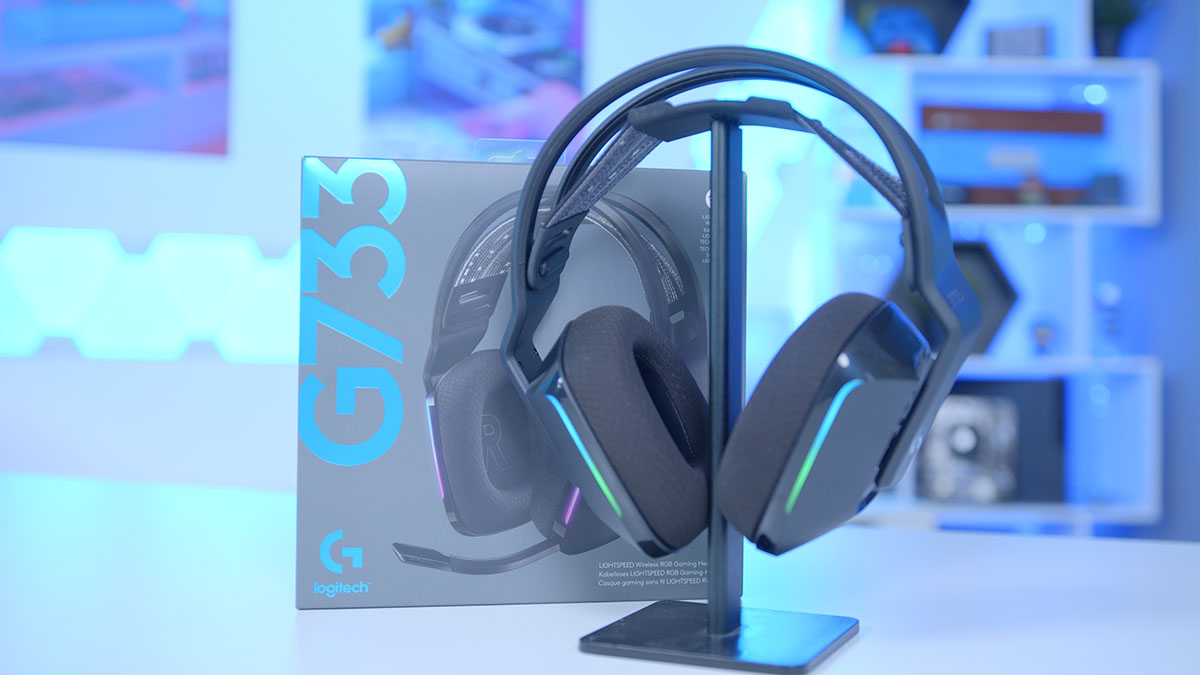
For Logitech G wireless headsets (such as the G935 or G733), plug the included LIGHTSPEED USB receiver into a USB port on your PC. Then turn on the headset. It should connect automatically.
Bluetooth connection
For Bluetooth wireless headsets (like the Logitech G435 or H800), turn on the headset and activate pairing mode, this is often done by holding the power and/or mute button until the LED flashes. Then, on your PC, navigate to Windows Settings > Devices > Bluetooth & other devices. Select "Add Bluetooth or other device," choose Bluetooth, and select your headset from the list.
Setting the headset as the default audio device
After connecting, right-click the speaker icon in your system tray and select "Open Sound settings." Under the Output section, choose your Logitech headset as the default playback device. Under the Input section, select the headset's microphone as the default recording device. This step is critical for both audio and chat to work correctly.
Installing Logitech G HUB for advanced features
To unlock features like equalizer adjustments, Blue VO!CE microphone settings, and surround sound, download Logitech G HUB from the official Logitech website. Run the installer as an administrator and follow the on-screen prompts. Important: If you have Logitech Gaming Software (LGS) installed, uninstall it completely before installing G HUB to avoid conflicts. Once installed, connect your headset; G HUB should automatically detect it and display it on the home screen, giving you access to model-specific settings.
Troubleshooting common setup problems
If you encounter issues, try these solutions.
Headset not recognized
Verify all physical connections are secure. Try plugging the headset or its receiver into a different USB port. Avoid USB hubs or extenders, as they may not supply enough power. For wireless headsets, confirm the battery has sufficient charge. For LIGHTSPEED models, try re-pairing the headset with the receiver.
No sound
Check that your Logitech headset is set as the default playback device in Windows Sound settings. Ensure the headset volume is turned up and not muted. For wireless headsets, check the battery level, low battery can cause audio to drop out.
Poor audio quality
Update your headset drivers via Windows Device Manager or the Logitech support website. Ensure Logitech G HUB is up to date. Adjust the equalizer within G HUB to find a sound profile that works for you. Note that the same process applies when connecting a headset to a console, though the settings menus differ.