Introduction
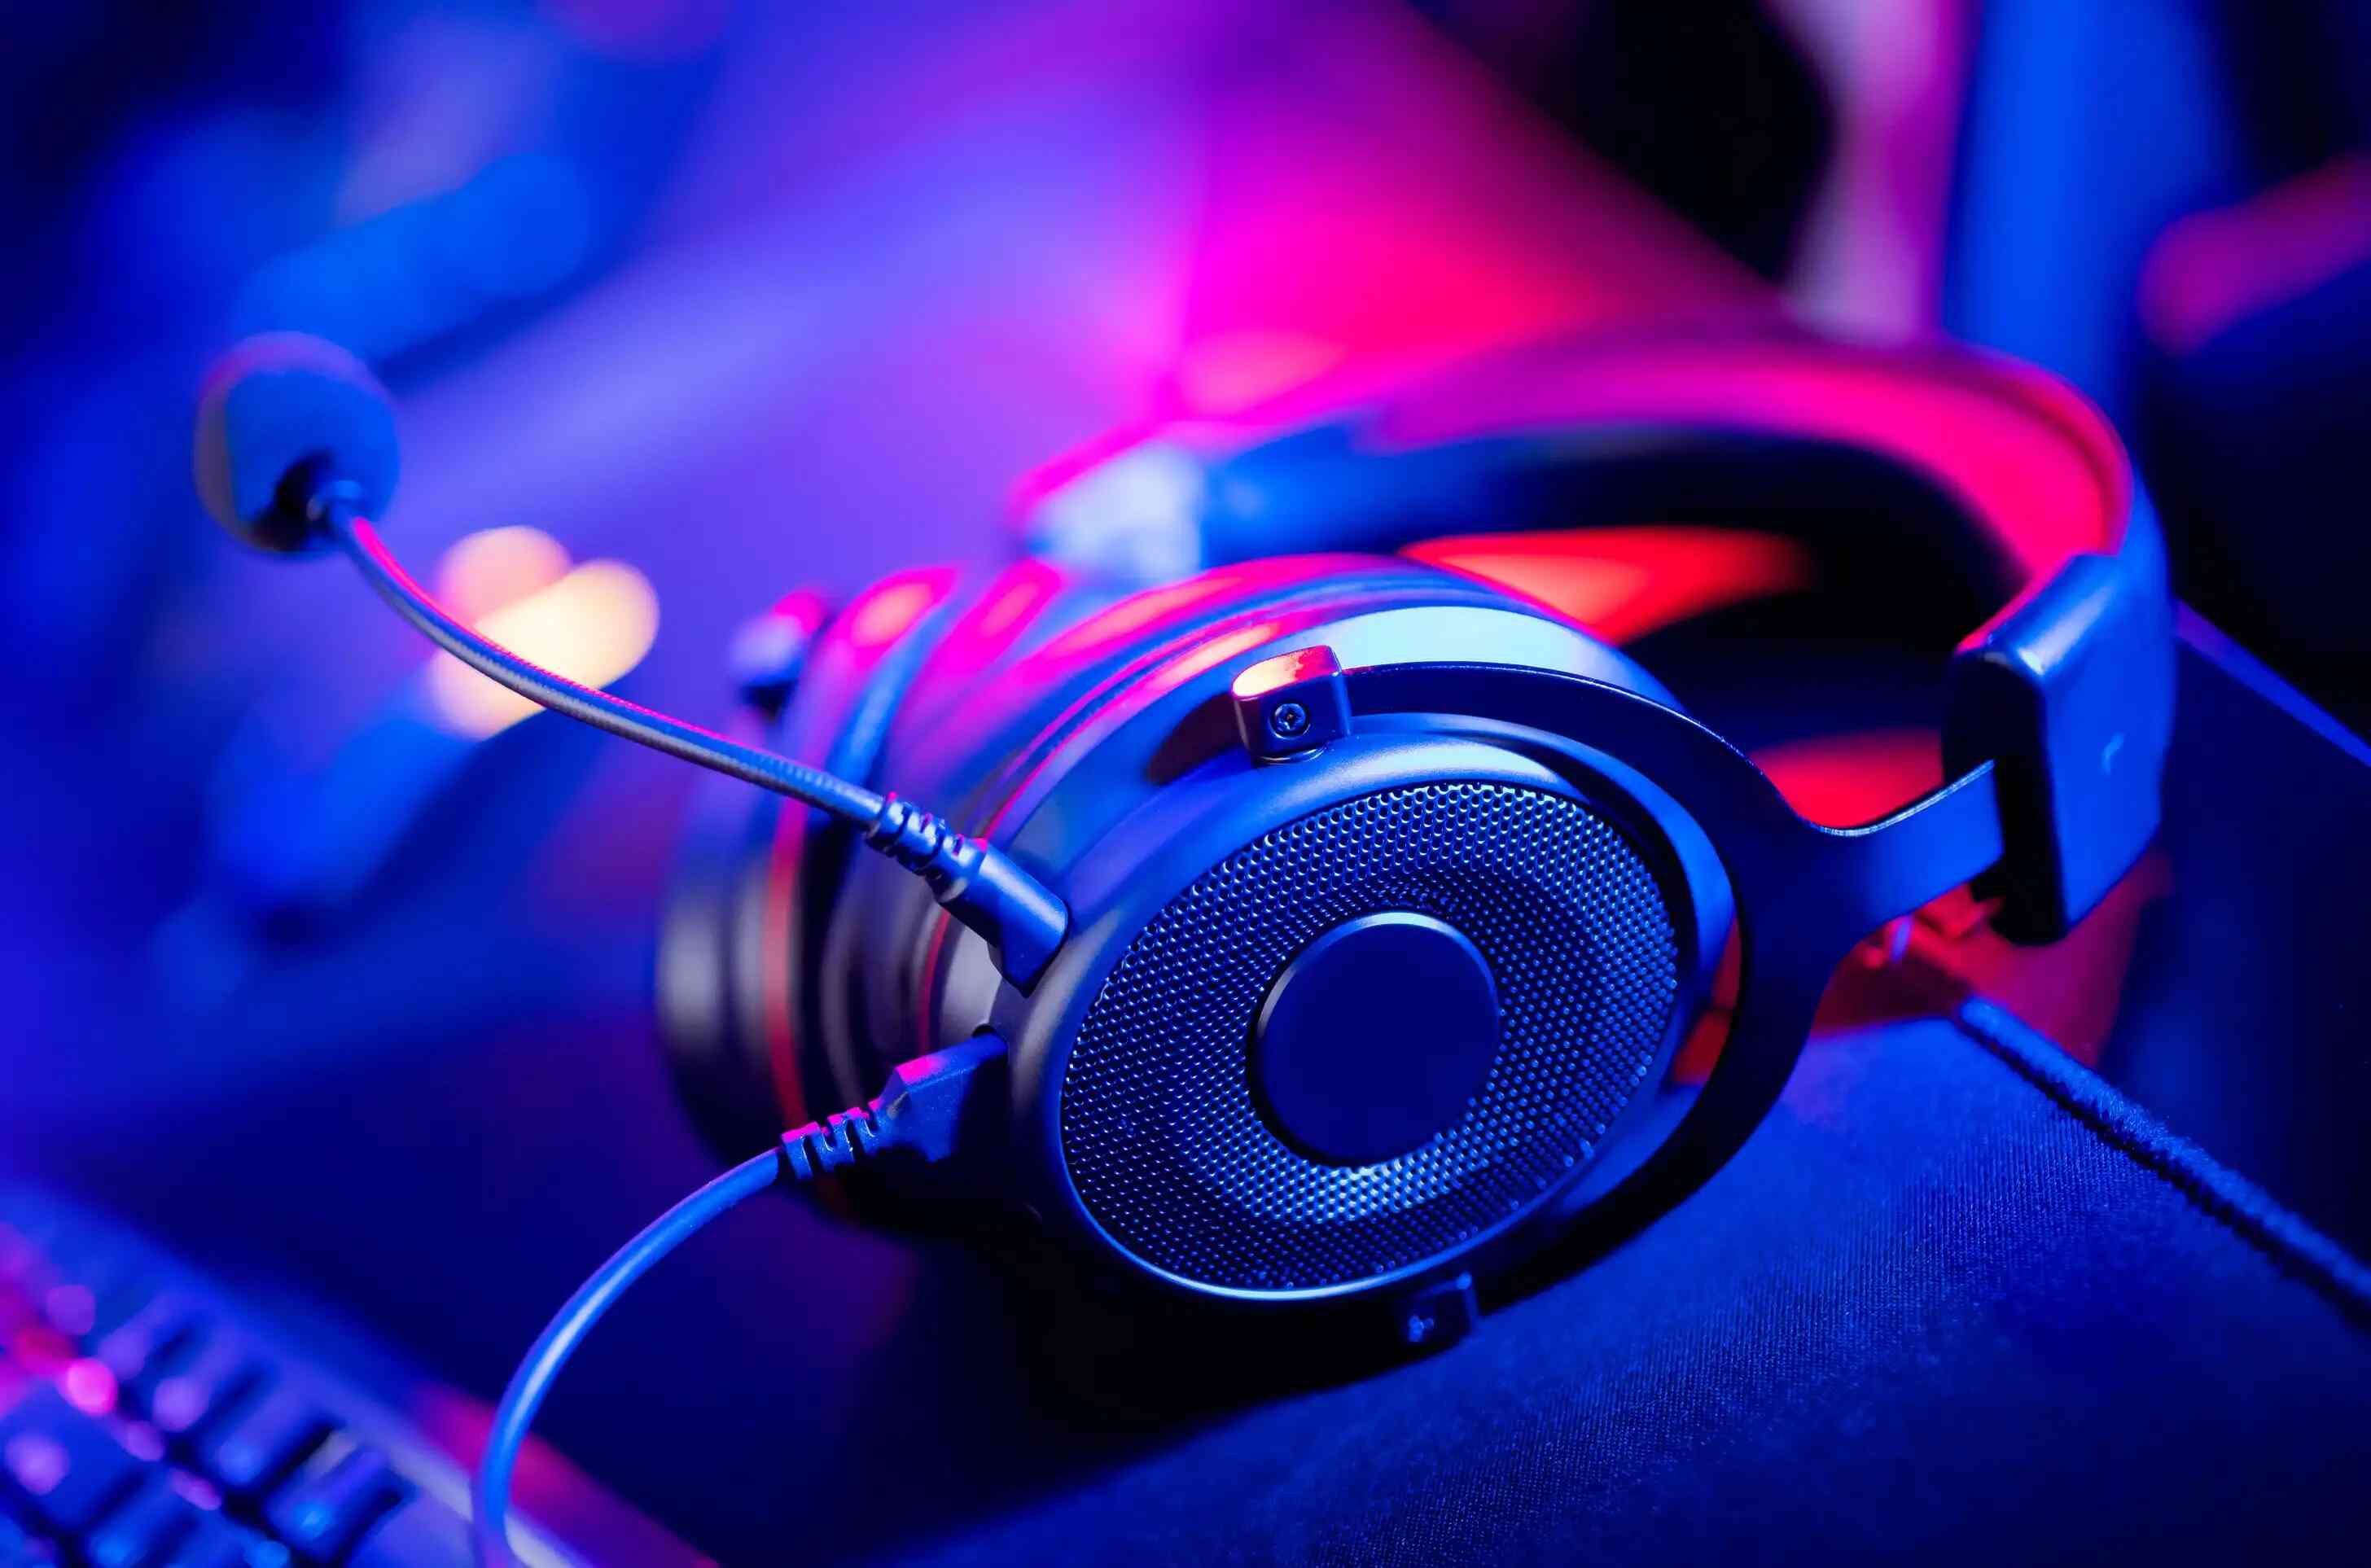
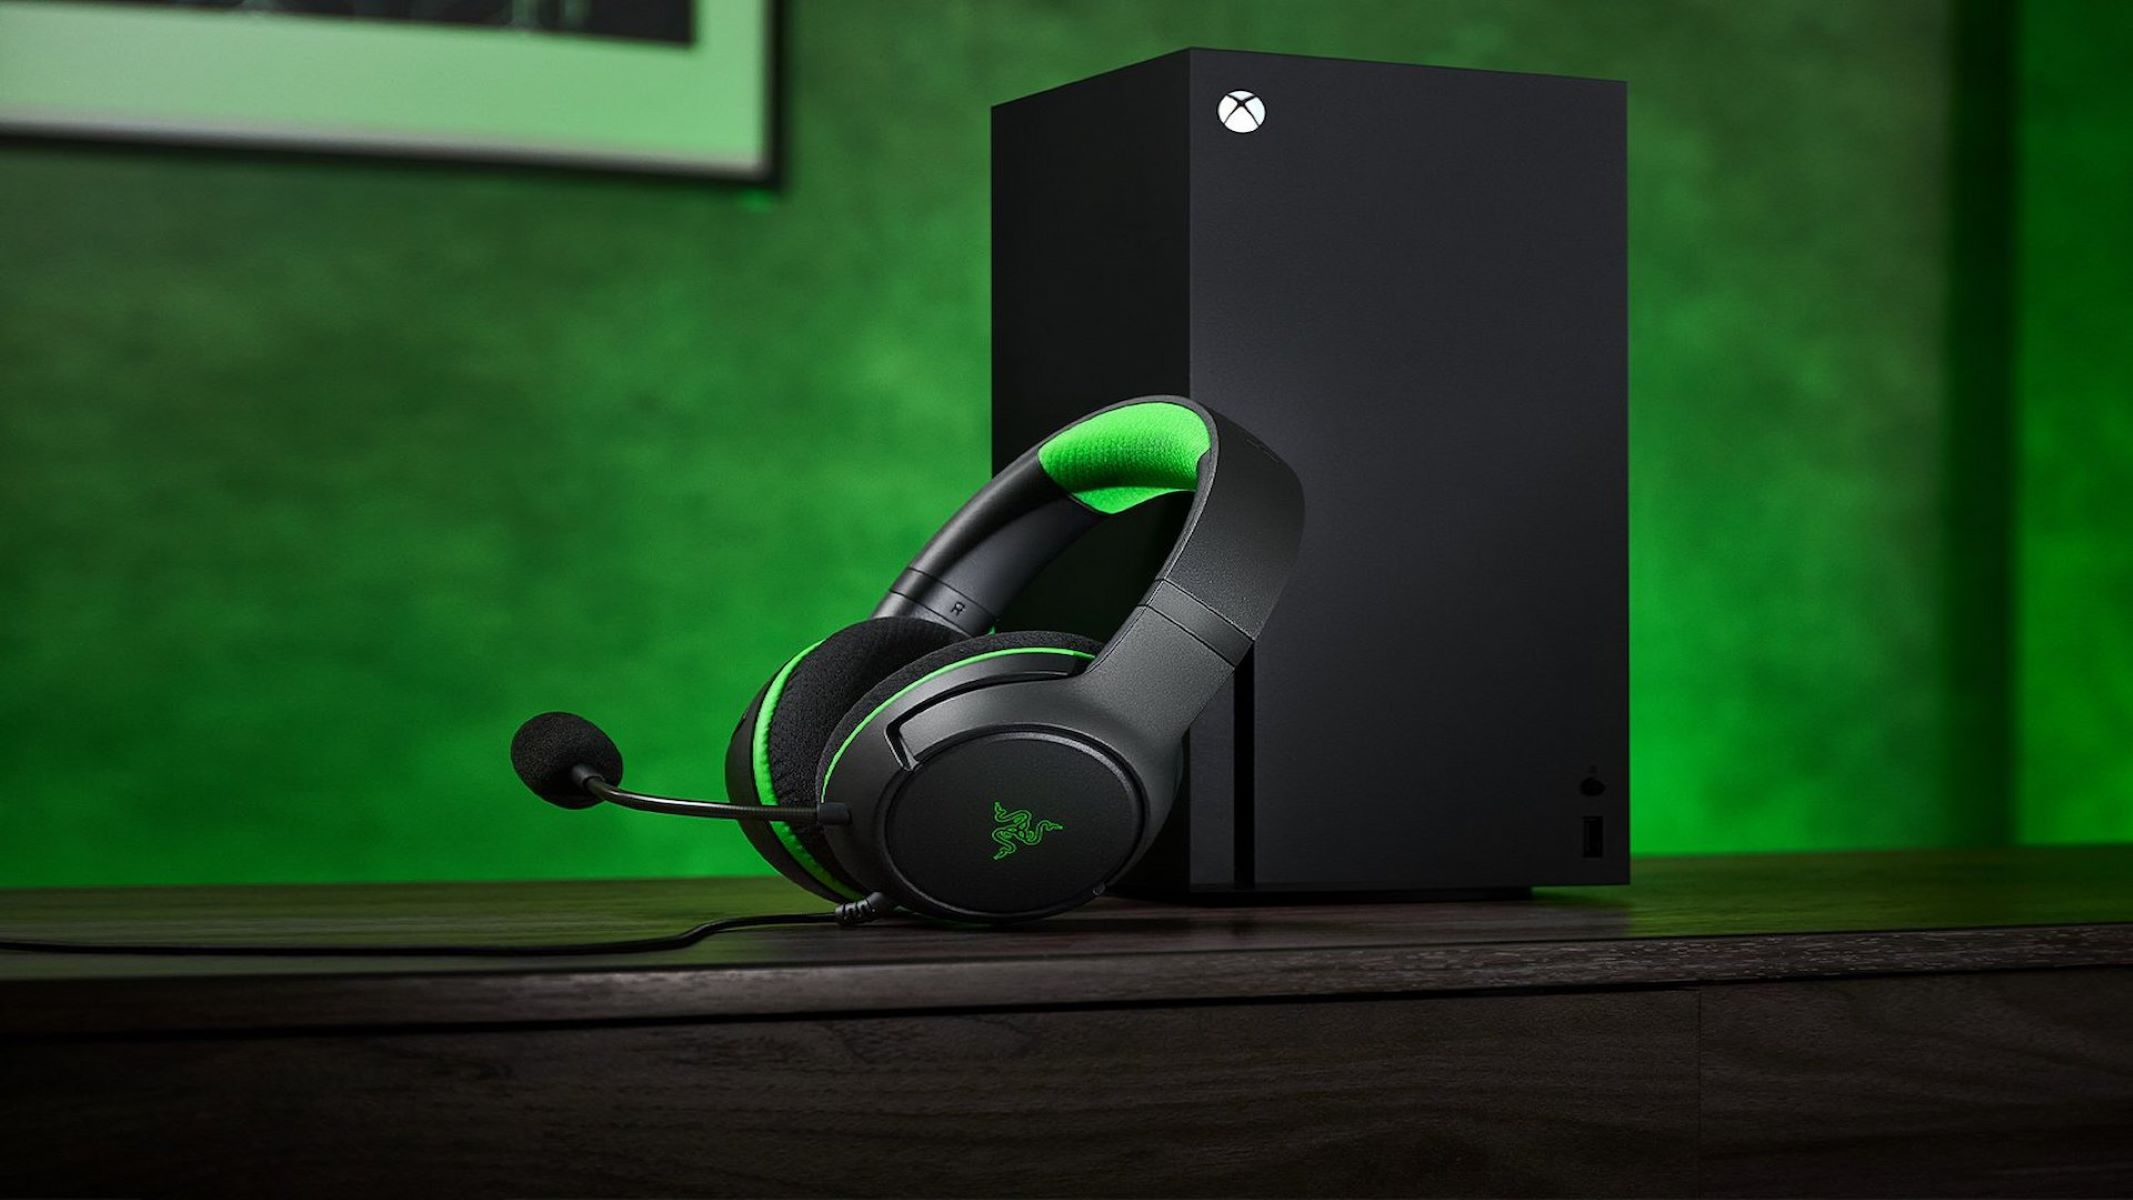
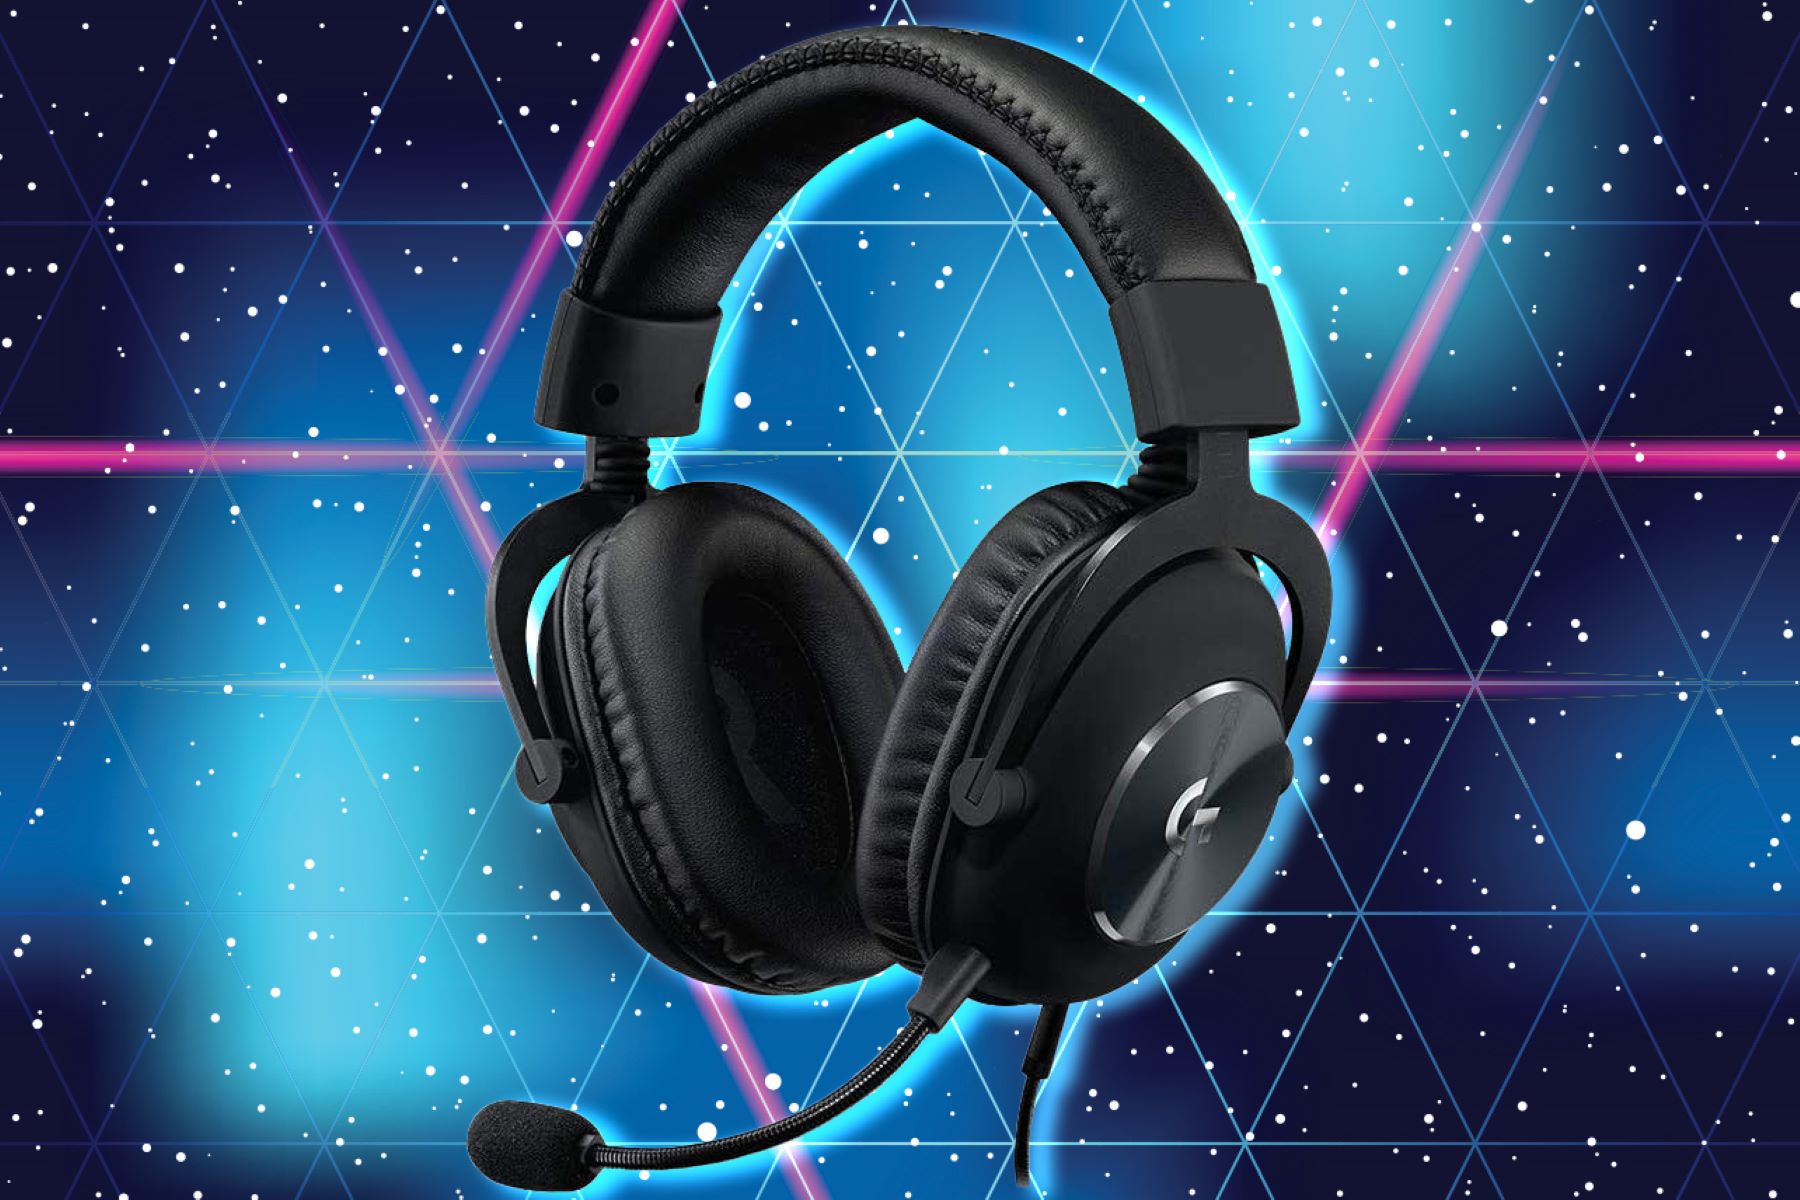
Are you a passionate gamer eager to immerse yourself in the captivating world of gaming? One essential component for an exceptional gaming experience is a high-quality gaming headset. Whether you're communicating with teammates in a multiplayer game, enjoying immersive sound effects, or simply seeking to avoid disturbing others, a gaming headset is a valuable asset. In this comprehensive guide, you'll learn how to set up your gaming headset on a Windows 8 computer, ensuring that you can fully experience the audio and communication features it offers.
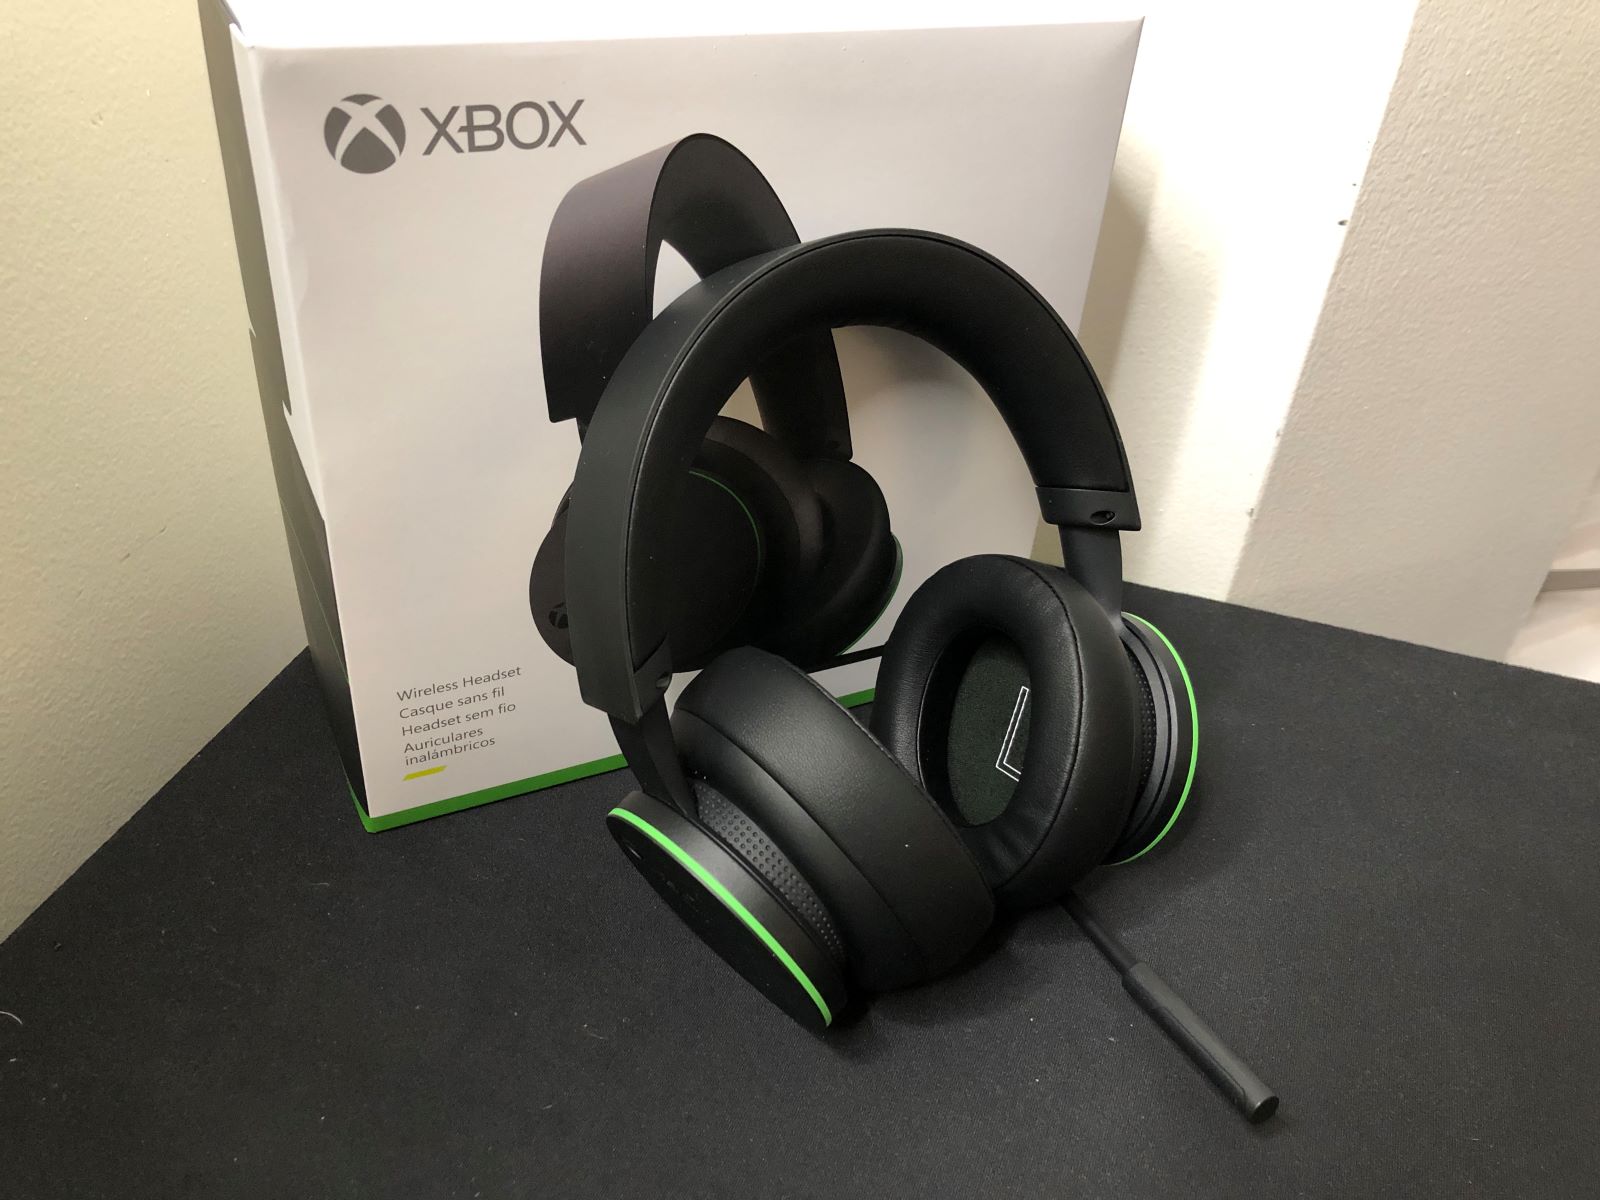
A gaming headset typically consists of headphones and a microphone, providing both audio output and input functionalities. By connecting it to your Windows 8 computer and configuring the settings, you can enjoy crystal-clear sound and seamless communication during your gaming sessions. This step-by-step guide will walk you through the process, ensuring that you can make the most of your gaming headset without any hassle.
Whether you're a seasoned gamer or new to the gaming world, setting up a gaming headset on your Windows 8 computer is a straightforward process that can significantly enhance your gaming experience. From connecting the headset to adjusting audio and microphone settings to testing its functionality, this guide will equip you with the knowledge and skills to optimize your gaming setup. Let's dive into the step-by-step process of setting up your gaming headset on Windows 8, so you can elevate your gaming experience to new heights.
Step 1: Connect the Gaming Headset to Your Computer
Before diving into the gaming experience, the first crucial step is to connect your gaming headset to your Windows 8 computer. Most gaming headsets utilize a standard 3.5mm audio jack or USB connection for compatibility with various devices, including computers. Here’s how to connect your gaming headset:
- Locate the Audio Ports: Identify the audio ports on your computer. Typically, these ports are color-coded, with pink representing the microphone input and green indicating the audio output. Alternatively, if your gaming headset uses a USB connection, locate an available USB port on your computer.
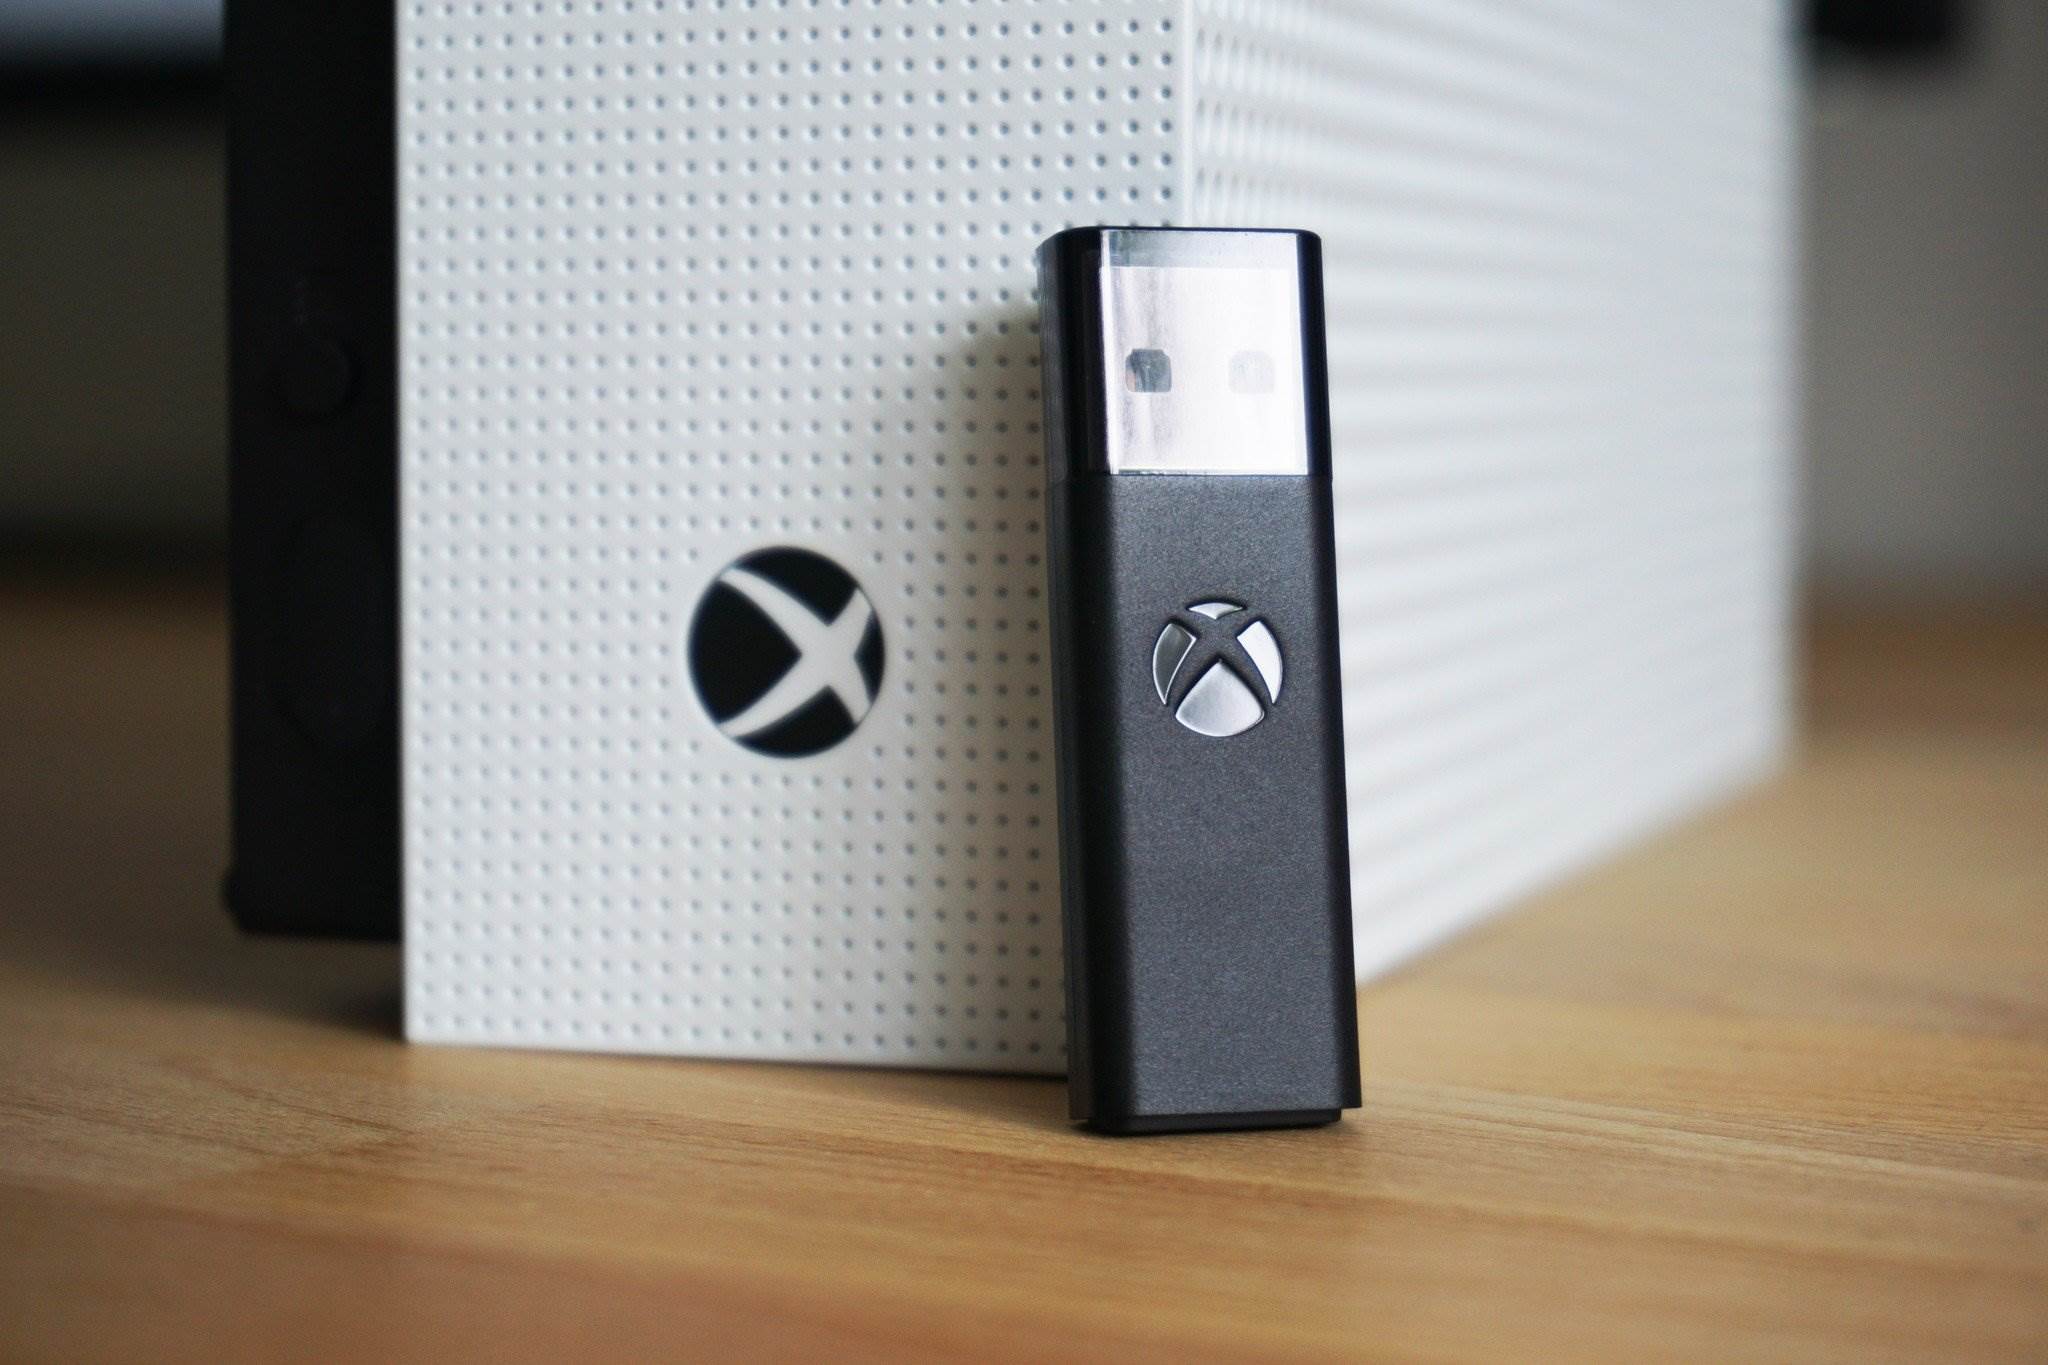
- Plug In the Headset: For headsets with separate headphone and microphone connectors, insert the headphone plug into the green audio port and the microphone plug into the pink port. If your headset uses a single 3.5mm connector, simply insert it into the corresponding audio port. For USB headsets, plug the USB connector into an available USB port.
- Ensure a Secure Connection: Once plugged in, ensure that the connections are secure to prevent any audio or communication issues during your gaming sessions.
By following these simple steps, you’ll successfully connect your gaming headset to your Windows 8 computer, paving the way for an immersive and seamless gaming experience. With the physical connection established, you’re ready to move on to the next step of configuring the audio settings to ensure optimal performance from your gaming headset.
Step 2: Check the Audio Settings
Once your gaming headset is connected to your Windows 8 computer, it’s essential to verify and adjust the audio settings to ensure that the headset is recognized and configured properly. Here’s how to check and configure the audio settings:
- Access Sound Settings: Right-click on the volume icon in the taskbar and select “Playback devices.” Alternatively, you can access sound settings by navigating to the Control Panel, selecting “Hardware and Sound,” and then clicking on “Sound.”
- Set Default Playback Device: In the “Playback” tab, ensure that your gaming headset is set as the default playback device. Right-click on the headset and select “Set as Default Device” to ensure that all audio output is directed to the headset.
- Configure Recording Device: Switch to the “Recording” tab and verify that the gaming headset is recognized as the default recording device. If not, right-click on the headset and select “Set as Default Device” to enable the microphone for communication during gaming.
- Adjust Audio Levels: In the “Playback” and “Recording” tabs, you can adjust the volume levels and microphone sensitivity to suit your preferences. Test the audio levels to ensure that you can hear sound clearly through the headset and that the microphone is capturing your voice effectively.
By checking and configuring the audio settings as outlined, you can ensure that your gaming headset is recognized by your Windows 8 computer and that audio input and output are directed through the headset as intended. With the audio settings properly configured, you’re ready to fine-tune the volume and microphone settings for an optimal gaming experience.
Step 3: Adjust the Volume and Microphone Settings
After confirming that your gaming headset is recognized and configured as the default playback and recording device, the next step is to fine-tune the volume and microphone settings to optimize your gaming experience. Here’s how to adjust the volume and microphone settings on your Windows 8 computer:
- Volume Control: Use the volume control options available on your headset, inline remote, or the computer’s volume settings to adjust the audio output to a comfortable level. Ensure that the volume is not too low, preventing you from hearing crucial in-game sounds, or too high, potentially causing discomfort.
- Microphone Sensitivity: Access the microphone properties in the “Recording” tab of the sound settings. Here, you can adjust the microphone sensitivity to ensure that your voice is captured clearly without picking up excessive background noise. Test the microphone by speaking into it and monitoring the input levels to achieve an optimal balance.
- Enhancements and Equalization: Depending on your gaming headset and audio preferences, you may have access to enhancements and equalization settings. Explore these options to customize the sound profile, adjust bass and treble levels, and enable any available audio enhancements to suit your gaming preferences.
By fine-tuning the volume and microphone settings as outlined, you can ensure that your gaming headset delivers clear and immersive audio while providing effective communication capabilities during gaming sessions. With the volume and microphone settings adjusted to your preference, you’re ready to proceed to the next step of testing the functionality of your gaming headset on your Windows 8 computer.
Step 4: Test the Gaming Headset
With the physical connection established and the audio and microphone settings configured, it’s time to test the functionality of your gaming headset on your Windows 8 computer. Testing the headset ensures that both audio output and microphone input are working as intended, providing you with the confidence to engage in immersive gaming experiences. Here’s how to test your gaming headset:
- Audio Playback Test: Play a sample audio or video file to verify that the sound is being directed through your gaming headset. Listen for clear and balanced audio output, ensuring that you can hear in-game sounds, music, and dialogue effectively through the headset.
- Microphone Test: Use the built-in voice recorder or a communication application to test the microphone. Speak into the microphone and verify that your voice is captured clearly without distortion or excessive background noise. Additionally, engage in a test call or communication session to ensure that your voice is transmitted effectively to other users.
- In-Game Testing: Launch a game and immerse yourself in the gaming experience while wearing the headset. Pay attention to the audio quality, directional sound effects, and communication clarity during multiplayer interactions to ensure that the headset enhances your overall gaming experience.
By conducting these tests, you can ensure that your gaming headset is fully functional and optimized for immersive gaming experiences on your Windows 8 computer. If any issues are identified during the testing phase, revisit the audio and microphone settings to make necessary adjustments, ensuring that your gaming headset delivers the intended performance.
Conclusion
Congratulations! You’ve successfully set up your gaming headset on your Windows 8 computer, paving the way for an enhanced and immersive gaming experience. By following the step-by-step process outlined in this guide, you’ve connected your gaming headset, configured the audio and microphone settings, and thoroughly tested its functionality. As a result, you can now enjoy crystal-clear audio, immersive sound effects, and seamless communication with teammates during your gaming sessions.
Setting up a gaming headset on Windows 8 is a straightforward process that significantly enhances your gaming experience. With the headset properly connected and configured, you’re equipped to fully immerse yourself in the captivating world of gaming, whether you’re engaging in intense multiplayer battles, exploring vast virtual landscapes, or enjoying cinematic storytelling in games.
Remember, the key to an optimal gaming experience lies in the seamless integration of audio and communication capabilities, both of which are effectively delivered by your gaming headset. By ensuring that the headset is recognized, configured, and tested, you’ve unlocked the potential for a truly immersive and captivating gaming journey.
As you venture into the realm of gaming with your newly set up headset, be sure to explore the vast array of games, each offering unique audio experiences and interactive gameplay. Whether you’re delving into action-packed adventures, strategic multiplayer battles, or immersive role-playing worlds, your gaming headset will serve as an invaluable tool, enriching your gaming escapades with its audio prowess and communication capabilities.
With your gaming headset seamlessly integrated into your gaming setup, you’re now poised to embark on thrilling gaming adventures, fully equipped to experience the audio intricacies and seamless communication that modern games offer. So, don your headset, immerse yourself in the gaming world, and let the captivating audio and communication features elevate your gaming escapades to new heights!


