Introduction
Welcome to the exciting world of gaming headsets! Whether you're a seasoned gamer or just starting out, having a quality gaming headset can significantly enhance your gaming experience. From immersing you in captivating soundscapes to enabling clear communication with fellow players, a 3.5mm gaming headset is a valuable asset for any gaming setup.
In this guide, we'll walk you through the process of setting up your 3.5mm gaming headset, ensuring that you get the most out of its features. We'll cover everything from unboxing the headset to adjusting audio settings and testing the microphone. By the end of this tutorial, you'll be ready to dive into your favorite games with crystal-clear audio and seamless communication.
So, grab your new headset and get ready to embark on this journey to optimize your gaming experience. Let's dive into the steps involved in setting up your 3.5mm gaming headset and unleash its full potential. Whether you're a console gamer or a PC enthusiast, the following steps will guide you through the setup process, ensuring that you're ready to immerse yourself in the virtual worlds of your favorite games.
Step 1: Unboxing the Headset
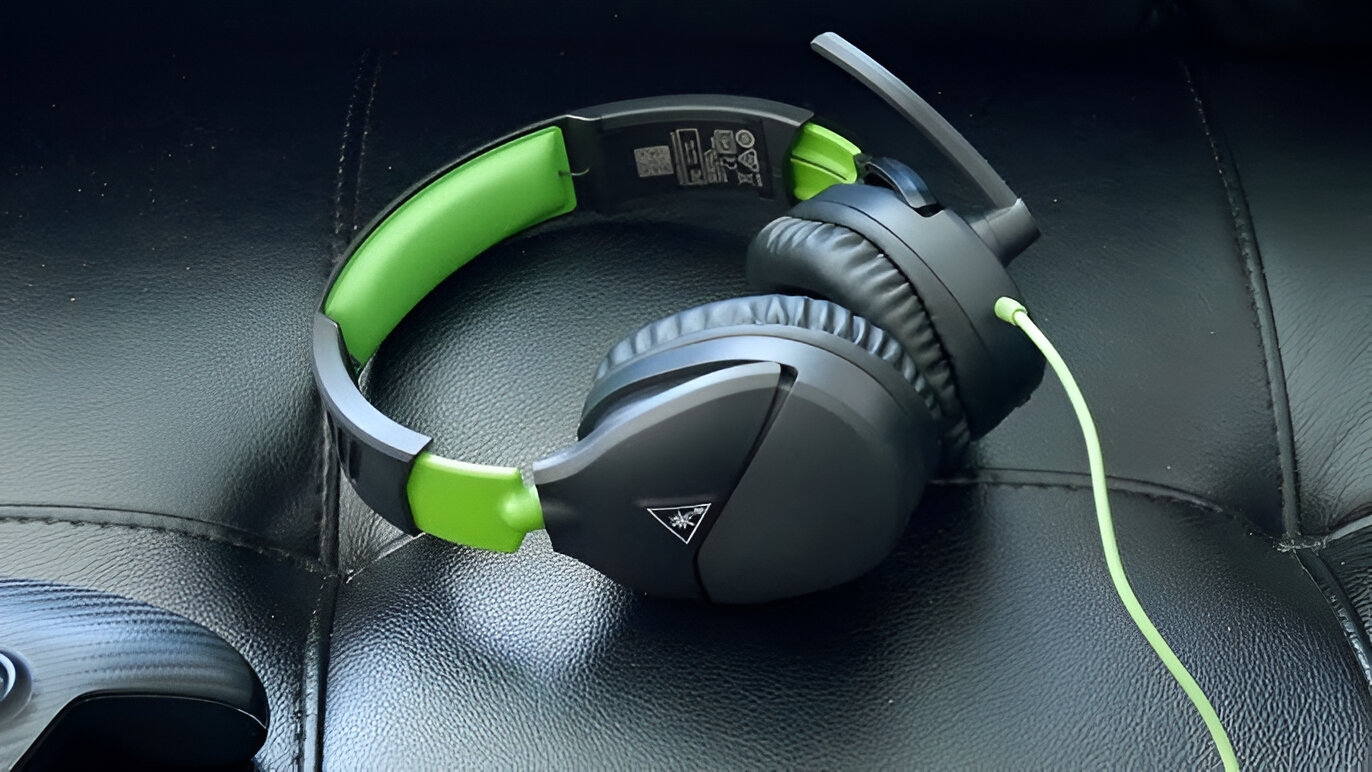
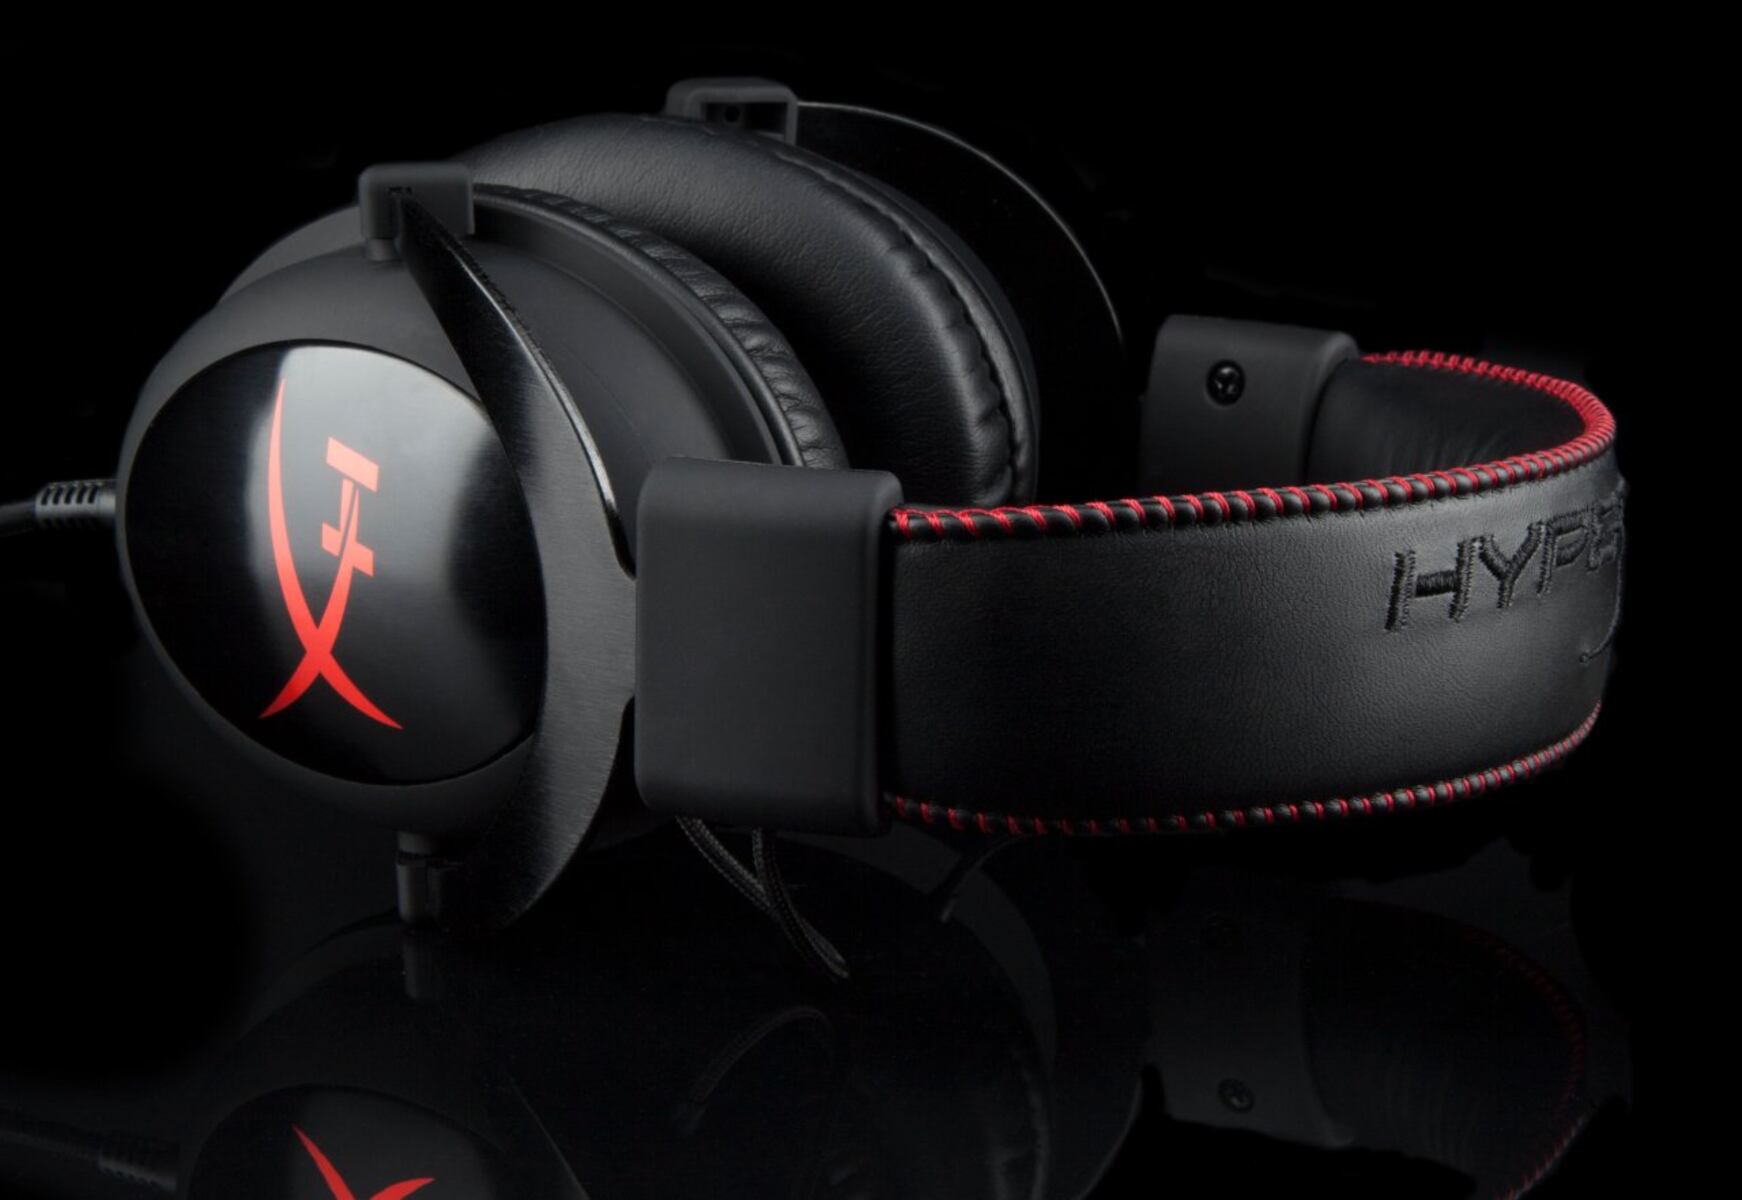
Unboxing a new gaming headset is always an exciting experience. As you carefully open the packaging, you’re greeted with the sleek design and advanced features of your new device. Here’s a step-by-step guide to unboxing your 3.5mm gaming headset:
- Inspect the Packaging: Before opening the box, take a moment to inspect the packaging for any signs of damage during transit. Ensure that all the components are securely packed and that nothing appears to be missing.
- Remove the Contents: Carefully lift the lid of the box and remove the contents. You’ll typically find the headset, detachable microphone (if applicable), and any additional accessories such as an audio splitter or carrying case.
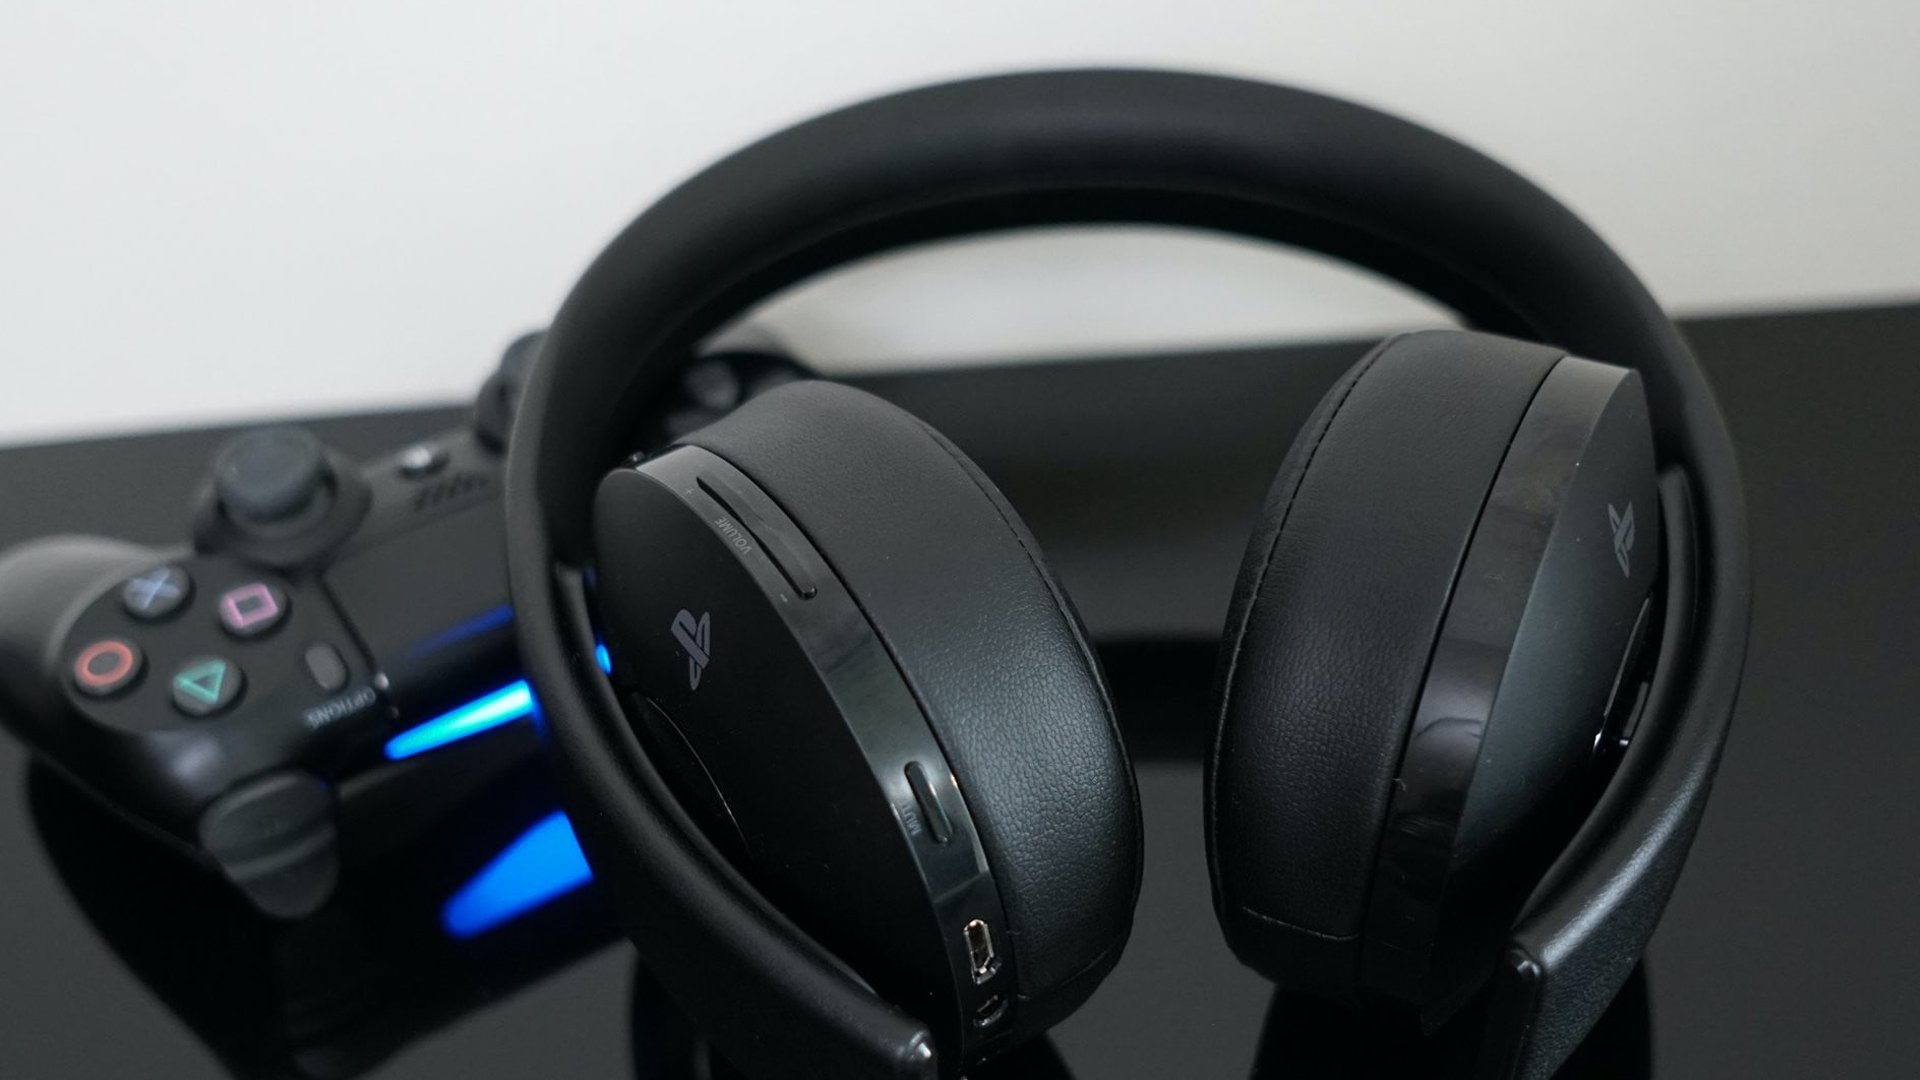
- Examine the Headset: Take a close look at the headset itself. Admire its design, noting any adjustable features such as headband size and ear cup rotation. Familiarize yourself with the location of the volume control, microphone mute switch, and any other buttons or dials.
- Check the Cable: Inspect the cable for any signs of damage or fraying. Ensure that the 3.5mm connector is in pristine condition and free from any obstructions that could hinder its connection to your gaming device.
- Read the User Manual: While it may be tempting to dive right into using your new headset, it’s important to take a moment to read the user manual. This will provide valuable insights into the setup process, care instructions, and the full range of features offered by your headset.
Unboxing your gaming headset sets the stage for the setup process, allowing you to familiarize yourself with its components and build anticipation for the immersive gaming experiences that lie ahead. With your headset unboxed and ready for action, it’s time to move on to the next step: connecting the headset to your controller or PC.
Step 2: Connecting the Headset to the Controller or PC
Once you’ve unboxed your gaming headset, the next step is to connect it to your gaming device, whether it’s a controller for console gaming or a PC for an immersive desktop experience. Here’s how to seamlessly establish the connection:
- Console Gaming: If you’re a console gamer, start by locating the 3.5mm audio jack on your controller. With the headset’s 3.5mm connector in hand, gently insert it into the audio jack until you feel a secure connection. The headset should fit snugly, ensuring a reliable audio and microphone connection.
- PC Gaming: For PC gaming, identify the 3.5mm audio ports on your computer. These are commonly found on the front or rear panel of the PC tower. The headset’s 3.5mm connector will have separate plugs for audio output and microphone input. Insert the corresponding plugs into the audio and microphone ports, ensuring a firm connection.
- Audio Splitter: In some cases, your gaming headset may come with an audio splitter, especially if your PC has separate audio and microphone ports. If this is the case, use the audio splitter to connect the headset to the appropriate ports on your PC, following the labeled indications for audio and microphone connections.
- Adjust the Cable Length: Once the headset is connected, take a moment to adjust the cable length to your preference. Ensure that the cable doesn’t restrict your movement or become tangled during gameplay. Many gaming headsets feature a convenient inline remote for adjusting volume and muting the microphone, allowing you to make quick adjustments without interrupting your gaming session.
- Secure the Connection: After connecting the headset, gently tug on the cable to confirm that it’s securely attached to the controller or PC. A stable connection is essential for uninterrupted audio and clear communication through the microphone.
With your gaming headset successfully connected to your gaming device, you’re one step closer to immersing yourself in the captivating audio landscapes of your favorite games. Next, we’ll delve into the crucial step of adjusting the audio settings to optimize your gaming experience.
Step 3: Adjusting the Audio Settings
Now that your gaming headset is connected to your controller or PC, it’s time to fine-tune the audio settings to ensure an optimal gaming experience. By adjusting the audio settings, you can enhance the sound quality and customize the audio output to suit your preferences. Here’s how to make the most of your gaming headset’s audio capabilities:
- System Settings: If you’re using a console, navigate to the system settings and locate the audio settings menu. Here, you can adjust various audio parameters such as volume levels, chat mix, and equalizer presets. Take the time to explore these settings and tailor them to your liking, ensuring that game audio and voice chat are balanced to your preference.
- PC Audio Configuration: For PC gaming, access the audio settings through the operating system or sound card software. Adjust the audio output levels, enable any virtual surround sound features, and customize the microphone settings to achieve clear and natural voice transmission during multiplayer gaming sessions.
- Headset-Specific Software: Many gaming headsets come with dedicated software that allows you to fine-tune audio settings and access advanced features. Install the headset-specific software on your PC and explore the available options, which may include customizable equalizer settings, microphone noise cancellation, and immersive audio presets tailored for different game genres.
- Test the Audio: Once you’ve adjusted the audio settings, launch a game or multimedia content to test the audio output. Pay attention to the clarity of in-game sound effects, dialogue, and ambient audio. Additionally, engage in a voice chat with friends or fellow players to ensure that the microphone is capturing your voice accurately and without distortion.
- Experiment with Equalizer Settings: If your gaming headset features customizable equalizer settings, experiment with different presets or create your own custom equalizer profile. This allows you to emphasize specific audio frequencies, such as enhancing bass for immersive explosions in action games or accentuating high frequencies for detailed footsteps in competitive shooters.
By carefully adjusting the audio settings, you can unlock the full potential of your gaming headset, immersing yourself in rich, detailed soundscapes while maintaining clear communication with your gaming companions. With the audio settings optimized, you’re now ready to put the microphone to the test in the next step.
Step 4: Testing the Microphone
Testing the microphone of your gaming headset is a crucial step to ensure that your voice is transmitted clearly and accurately during gaming sessions and voice chats. Proper microphone functionality is essential for effective communication with teammates and fellow gamers. Here’s how to test and optimize the microphone performance:
- Voice Recorder Test: Use the built-in voice recorder or a communication app on your gaming device to record a brief audio clip. Speak naturally into the microphone, ensuring that your voice is clear and free from distortion. Play back the recording to assess the quality of the captured audio, paying attention to background noise and any unwanted artifacts.
- Microphone Positioning: Adjust the positioning of the microphone to achieve optimal voice capture. Many gaming headsets feature a flexible or detachable microphone that can be adjusted to the ideal distance from your mouth. Position the microphone to capture your voice clearly while minimizing ambient noise and unwanted sounds.
- Microphone Sensitivity: If your gaming headset includes microphone sensitivity settings, experiment with different levels to find the optimal sensitivity for voice capture. Avoid setting the microphone sensitivity too high, as this can result in background noise being amplified, potentially disrupting voice communication during gaming sessions.
- Background Noise Reduction: Some gaming headsets offer noise-canceling or background noise reduction features to minimize ambient sounds and focus on capturing the user’s voice. If your headset includes such features, enable them and test the microphone in a variety of environments to gauge its performance in suppressing unwanted background noise.
- Real-Time Voice Chat: Engage in real-time voice chat with friends or fellow gamers to gather feedback on the microphone’s performance. Ask your peers if your voice comes through clearly and if they can hear you without any issues. This real-world testing provides valuable insight into the microphone’s effectiveness during interactive gaming scenarios.
By thoroughly testing the microphone of your gaming headset, you can ensure that your voice is transmitted with clarity and precision, fostering seamless communication and teamwork during multiplayer gaming experiences. With the microphone optimized, the next step is to focus on adjusting the headset for maximum comfort during extended gaming sessions.
Step 5: Adjusting the Headset for Comfort
Comfort is paramount during extended gaming sessions, and adjusting your gaming headset for a personalized and ergonomic fit can significantly enhance your overall gaming experience. Here’s how to ensure that your headset provides maximum comfort without compromising audio quality or microphone performance:
- Headband Adjustment: If your gaming headset features an adjustable headband, customize the fit to suit the size and shape of your head. The headband should rest comfortably on the crown of your head, distributing the weight of the headset evenly without causing undue pressure or discomfort.
- Ear Cup Positioning: Position the ear cups over your ears, ensuring a snug but not overly tight fit. The ear cups should fully enclose your ears, creating a seal for optimal sound isolation and immersion in the game’s audio. Adjust the ear cup rotation or swivel to achieve the perfect positioning.
- Cushion Pressure: Check the pressure exerted by the ear cushions against your head. The cushions should provide a comfortable seal without causing discomfort or excessive heat buildup. If your headset includes memory foam or cooling gel cushions, take advantage of these features for enhanced comfort during prolonged gaming sessions.
- Microphone Positioning: Ensure that the microphone is positioned optimally for voice capture without obstructing your movements or causing discomfort. A flexible or detachable microphone can be adjusted to the ideal distance from your mouth, allowing for clear voice transmission while maintaining comfort.
- Cable Management: Take a moment to organize the headset cable to prevent it from tangling or becoming a hindrance during gameplay. Many gaming headsets feature a detachable cable or cable management clips to keep the cable tidy and out of the way, allowing for unrestricted movement.
By adjusting your gaming headset for maximum comfort, you can focus on the immersive gaming experience without distractions or discomfort. The personalized fit ensures that you can fully enjoy the audio fidelity and communication capabilities of your headset while maintaining comfort during extended gaming sessions. With the headset perfectly adjusted, you’re now ready to embark on your gaming adventures with confidence and comfort.
Conclusion
Congratulations! You’ve successfully set up your 3.5mm gaming headset and are now poised to experience gaming in a whole new light. By following the steps outlined in this guide, you’ve unboxed your headset, established a secure connection to your gaming device, fine-tuned the audio settings, tested the microphone, and adjusted the headset for maximum comfort. As a result, you’re ready to immerse yourself in the captivating worlds of your favorite games while enjoying crystal-clear audio and seamless communication with fellow gamers.
With your gaming headset in place, you’re equipped to explore virtual landscapes, engage in thrilling battles, and communicate effectively with teammates and friends. The immersive audio experience offered by your gaming headset will elevate your gaming adventures, allowing you to hear every detail of the game’s audio and communicate with precision during multiplayer challenges.
Remember to periodically revisit the audio settings and microphone performance to ensure that your gaming headset continues to deliver an optimal experience. Additionally, maintain the headset’s cleanliness and perform any necessary firmware or software updates to keep it in peak condition.
As you embark on your gaming journey with your newly set up 3.5mm gaming headset, may your experiences be filled with excitement, camaraderie, and unforgettable moments. Whether you’re exploring distant galaxies, navigating treacherous terrains, or engaging in intense multiplayer battles, your gaming headset will be your trusted companion, delivering immersive audio and reliable communication every step of the way.
Now, with your gaming headset ready for action, it’s time to dive into your favorite games and embrace the immersive audio experience that awaits you. Get ready to embark on epic quests, engage in heart-pounding action, and forge unforgettable gaming memories—all with the power of your newly set up 3.5mm gaming headset at your side.