Introduction
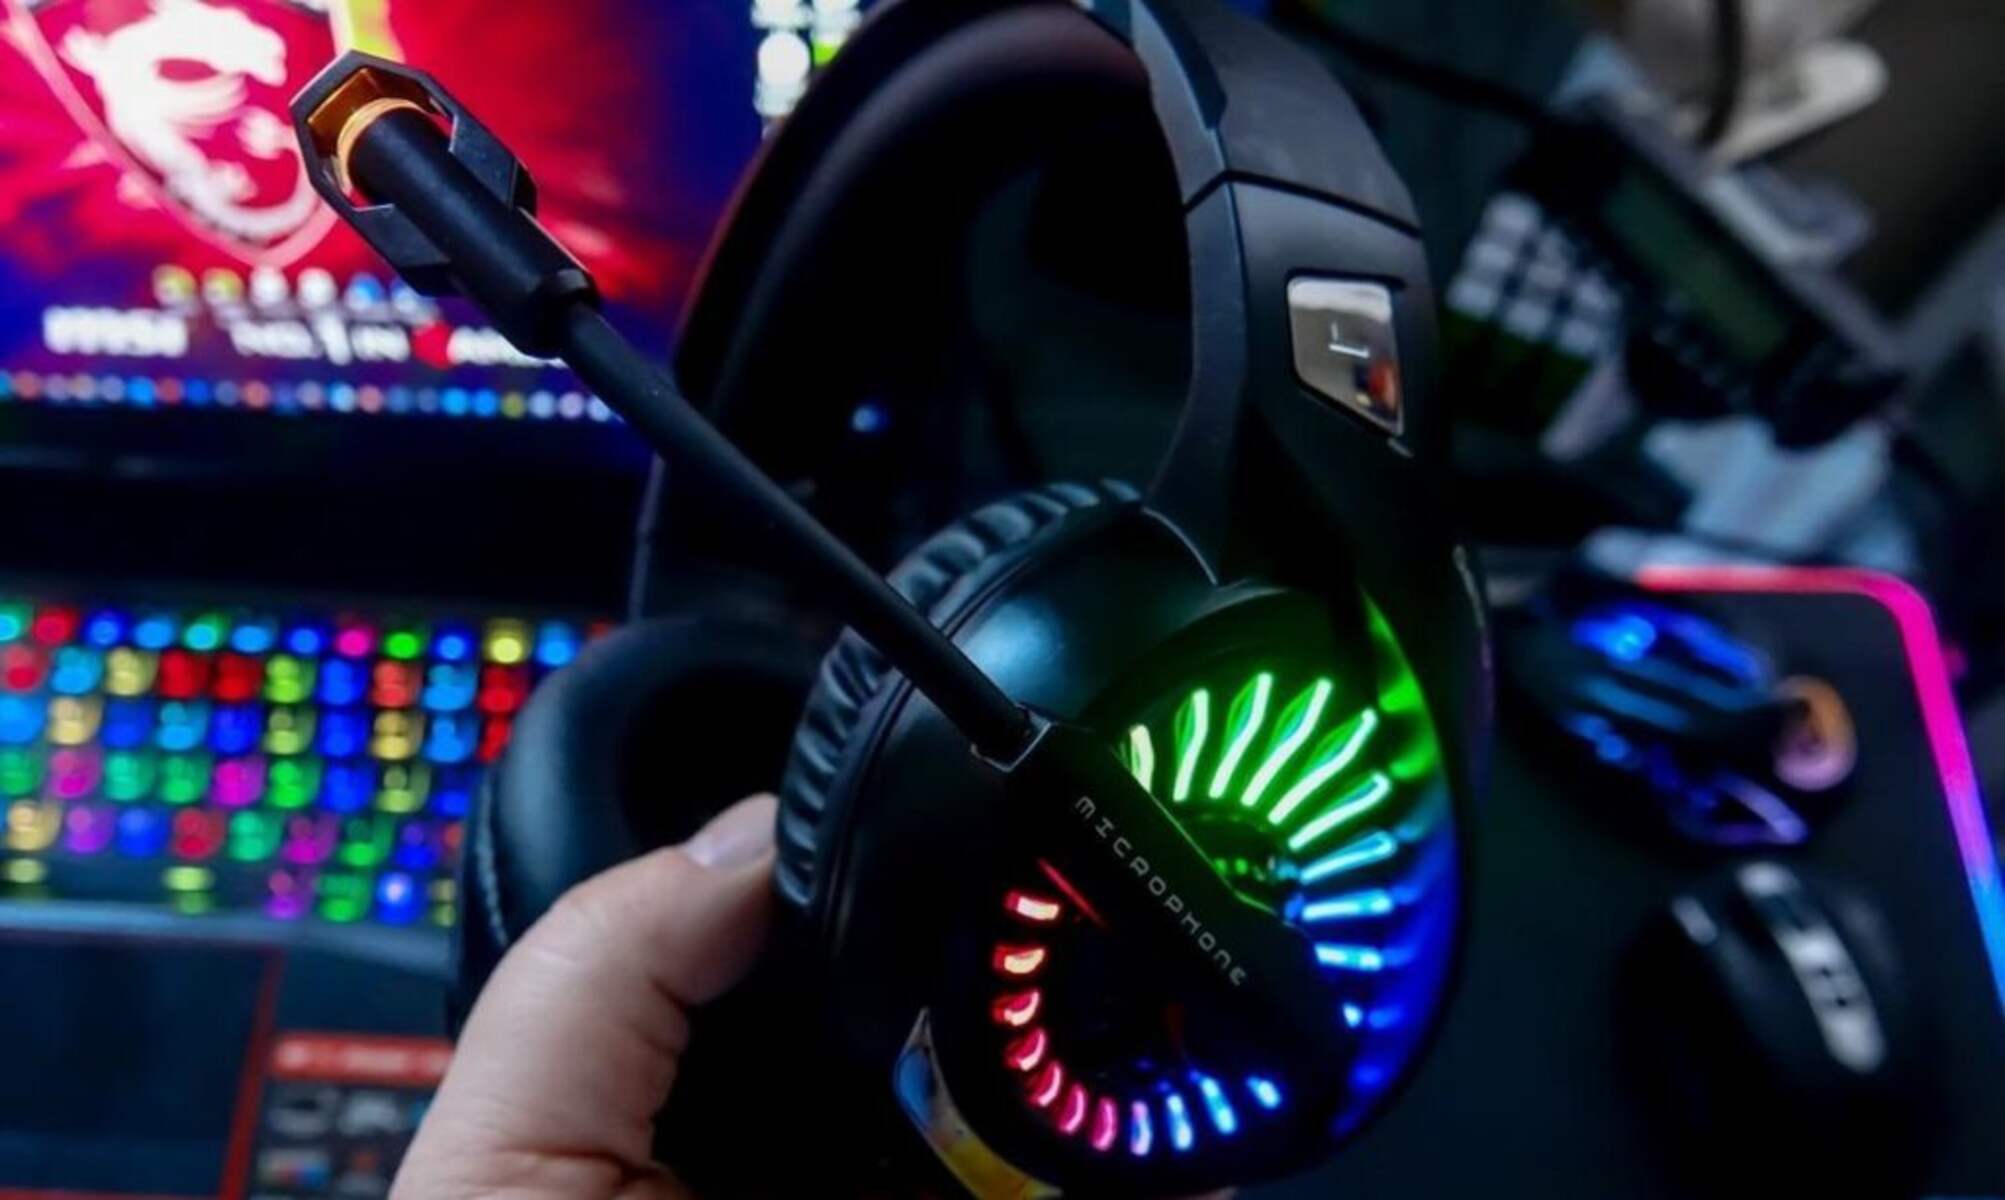
So, you've got your hands on a BlueFire 3.5mm gaming headset and you're ready to immerse yourself in the world of gaming on your PS4. This headset is designed to take your gaming experience to the next level with its high-quality audio and comfortable design. But before you can start enjoying the benefits of this headset, you need to know how to connect it to your PS4.
In this guide, we'll walk you through the simple steps to connect your BlueFire 3.5mm gaming headset to your PS4. Whether you're a seasoned gamer or just starting out, this guide will help you get your headset up and running in no time.
By following these steps, you'll be able to enjoy crystal-clear audio and seamless communication with your fellow gamers, enhancing your overall gaming experience. So, let's dive in and get your BlueFire 3.5mm gaming headset connected to your PS4 so you can start gaming like never before!
Step 1: Check Your Bluefire 3.5mm Gaming Headset
Before diving into the connection process, it’s crucial to ensure that your BlueFire 3.5mm gaming headset is in optimal condition. Here are the key points to check before proceeding:
- Compatibility: Verify that your BlueFire 3.5mm gaming headset is compatible with the PS4. This step is essential to avoid potential connectivity issues and ensure seamless integration.
- Cable Integrity: Inspect the headset’s cable for any signs of damage, such as fraying or exposed wires. A damaged cable can hinder the connection process and compromise audio quality.
- Microphone Functionality: Test the microphone to confirm that it’s functioning correctly. Proper microphone functionality is crucial for in-game communication and voice chat.
- Audio Quality: If possible, test the audio output of the headset to ensure that it delivers the desired sound quality. This step helps identify any potential audio issues before connecting to the PS4.
By thoroughly checking these aspects of your BlueFire 3.5mm gaming headset, you can address any potential issues proactively, ensuring a smooth and uninterrupted gaming experience once the headset is connected to your PS4.
Step 2: Connect the Headset to the PS4 Controller
Now that you’ve confirmed the readiness of your BlueFire 3.5mm gaming headset, it’s time to proceed with the connection process. Follow these steps to seamlessly connect your headset to the PS4 controller:
- Locate the 3.5mm Jack: Identify the 3.5mm jack on your BlueFire gaming headset cable. This is the connector that will be inserted into the PS4 controller for audio transmission.
- PS4 Controller Port: Inspect the bottom of your PS4 controller to locate the 3.5mm port. This is where you will insert the 3.5mm jack from the gaming headset.
- Insert the Jack: Gently insert the 3.5mm jack into the port on the PS4 controller until it is securely in place. Ensure that it is fully inserted to establish a stable connection.
- Secure the Connection: Once the jack is inserted, give it a slight tug to confirm that it is securely connected. A secure connection is essential to prevent audio dropouts during gameplay.
By following these steps, you can effectively connect your BlueFire 3.5mm gaming headset to the PS4 controller, setting the stage for an immersive and uninterrupted gaming experience. The secure connection ensures that you can fully utilize the headset’s audio capabilities while engaging in intense gaming sessions on your PS4.
Step 3: Adjust Audio Settings on the PS4
After successfully connecting your BlueFire 3.5mm gaming headset to the PS4 controller, it’s essential to configure the audio settings on the console to optimize the audio output. Follow these steps to adjust the audio settings:
- Access the Settings Menu: Turn on your PS4 and navigate to the main menu. From there, select “Settings” to access the console’s settings options.
- Audio Devices: Within the settings menu, locate and select “Devices,” then choose “Audio Devices” to access the audio settings for connected devices.
- Adjust Output to Headphones: Under the “Audio Devices” menu, select “Output to Headphones.” Here, you can choose between “All Audio” or “Chat Audio” based on your preference for audio output through the headset.
- Volume Control: Navigate to the “Volume Control (Headphones)” option to adjust the volume level directly from the PS4. This allows you to fine-tune the audio output to suit your preferences.
By configuring these audio settings, you can tailor the audio output to align with your gaming preferences, whether you prioritize in-game audio immersion or clear communication during multiplayer sessions. These adjustments ensure that your BlueFire 3.5mm gaming headset delivers an optimal audio experience, enhancing your overall gaming enjoyment on the PS4.
Step 4: Test the Headset
With the BlueFire 3.5mm gaming headset connected to your PS4 and the audio settings adjusted, it’s time to conduct a thorough test to ensure that the headset is functioning as intended. Follow these steps to test the headset:
- Launch a Game: Start a game on your PS4 that allows you to experience various audio elements, such as background music, sound effects, and character dialogue. This will provide a comprehensive test of the headset’s audio capabilities.
- Audio Check: Pay attention to the audio quality and clarity while playing the game. Listen for distinct sound effects, balanced audio levels, and clear dialogue to gauge the headset’s performance.
- Microphone Test: If engaging in multiplayer gameplay, test the microphone functionality by communicating with other players. Confirm that your voice is transmitted clearly and that you can effectively communicate with teammates or opponents.
- Comfort Assessment: Evaluate the comfort level of the headset during extended gameplay sessions. Ensure that the headset’s design and padding provide a comfortable fit without causing discomfort or strain.
By conducting a comprehensive test, you can ascertain the overall functionality and performance of your BlueFire 3.5mm gaming headset on the PS4. Any issues identified during the test can be addressed promptly, ensuring that you can fully enjoy the immersive audio and communication features offered by the headset during your gaming adventures.
Conclusion
Connecting your BlueFire 3.5mm gaming headset to your PS4 opens up a world of immersive audio and seamless communication while gaming. By following the steps outlined in this guide, you’ve successfully established a connection between the headset and your PS4, optimized the audio settings, and conducted a thorough test to ensure the headset’s functionality.
With the headset in place, you can now delve into captivating gaming experiences, whether you’re exploring richly detailed worlds, engaging in intense multiplayer battles, or immersing yourself in cinematic storytelling. The high-quality audio delivered by the BlueFire headset enhances every aspect of your gaming escapades, allowing you to appreciate the nuances of sound design and dialogue while staying connected with fellow gamers through clear and reliable communication.
As you embark on your gaming adventures with the BlueFire 3.5mm gaming headset, remember to periodically check the headset’s condition, maintain proper cable care, and adjust audio settings to suit your preferences. By doing so, you can ensure a consistently exceptional audio experience and a comfortable gaming environment.
Now that you’ve successfully connected your BlueFire 3.5mm gaming headset to your PS4, it’s time to immerse yourself in the captivating realms of gaming, enriched by the headset’s audio prowess and communication capabilities. Get ready to elevate your gaming experiences and enjoy the full spectrum of audio delights that await you!


