Introduction
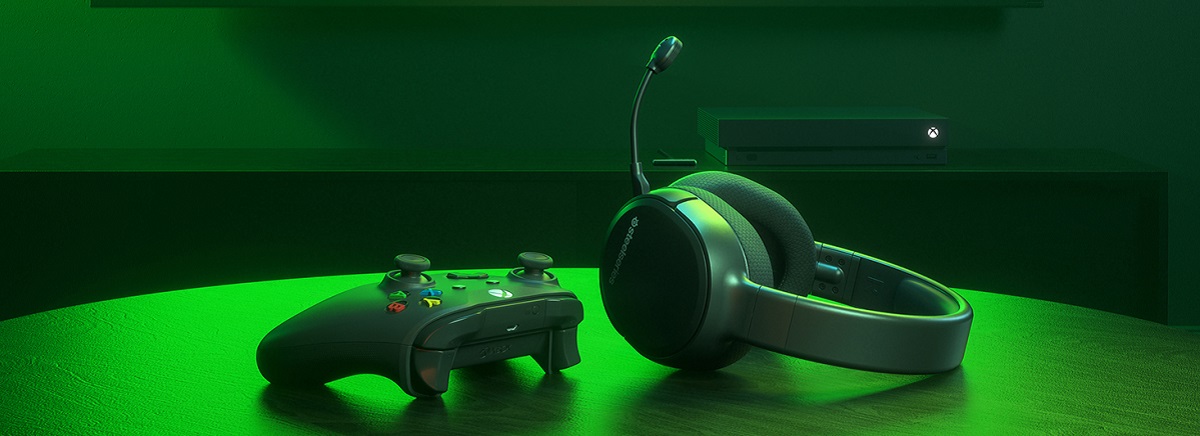
Are you eager to elevate your gaming experience on the Xbox 360 by immersing yourself in the captivating audio and communication features of a gaming headset? Connecting a gaming headset to your Xbox 360 can significantly enhance your gameplay, allowing you to communicate with fellow players and enjoy high-quality sound effects. By following a few straightforward steps, you can seamlessly integrate your gaming headset with your Xbox 360 console, unlocking a new level of gaming enjoyment.
In this comprehensive guide, you will learn how to connect a gaming headset to your Xbox 360, ensuring that you can fully capitalize on the capabilities of your headset while playing your favorite games. Whether you are a seasoned gamer seeking to enhance your gaming setup or a newcomer looking to explore the benefits of a gaming headset, this step-by-step tutorial will equip you with the knowledge and confidence to successfully integrate your headset with your Xbox 360.
By familiarizing yourself with the compatibility considerations, connection process, and essential settings adjustments, you will be well-prepared to seamlessly connect your gaming headset to your Xbox 360. Additionally, you will learn how to test your headset and make any necessary adjustments to optimize its performance, ensuring that you can fully immerse yourself in the gaming environment and communicate effectively with other players.
Embark on this journey to unlock the full potential of your gaming headset and elevate your gaming experience on the Xbox 360. Let's delve into the step-by-step process of connecting your gaming headset to your Xbox 360, empowering you to enjoy immersive audio and seamless communication while gaming.
Step 1: Check the Compatibility of Your Gaming Headset with Xbox 360
Before embarking on the process of connecting your gaming headset to your Xbox 360, it is crucial to ensure that your headset is compatible with the console. Compatibility is essential to guarantee a seamless and optimal gaming experience, allowing you to leverage the full functionality of your headset without encountering compatibility issues.
Begin by consulting the user manual or product specifications of your gaming headset to verify its compatibility with the Xbox 360. Look for specific indications or labels that highlight compatibility with the Xbox 360 console. If you are unable to locate this information in the user manual, consider visiting the manufacturer’s website or contacting their customer support for detailed compatibility information.
Furthermore, some gaming headsets are designed with universal compatibility, allowing them to be used across various gaming platforms, including the Xbox 360. If your headset boasts universal compatibility, you can proceed with confidence, knowing that it is engineered to seamlessly integrate with the Xbox 360 console.
Alternatively, if your gaming headset is not explicitly labeled as compatible with the Xbox 360, you may need to explore additional accessories or adapters that facilitate the connection between your headset and the console. Certain third-party adapters or connectors may enable you to bridge the compatibility gap, enabling you to use your gaming headset with the Xbox 360.
By conducting thorough research and confirming the compatibility of your gaming headset with the Xbox 360, you can lay the foundation for a successful integration process. This proactive approach ensures that you can proceed with confidence, knowing that your gaming headset is tailored to complement the gaming capabilities of the Xbox 360, setting the stage for an immersive and enjoyable gaming experience.
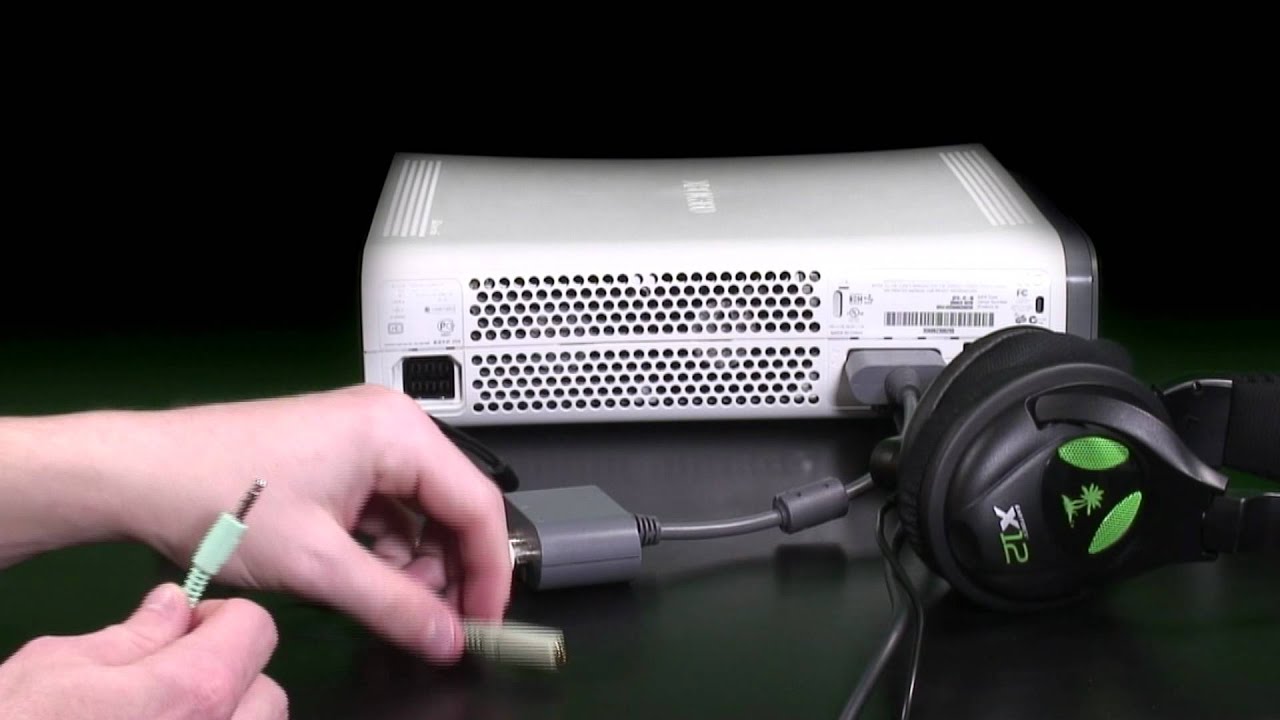
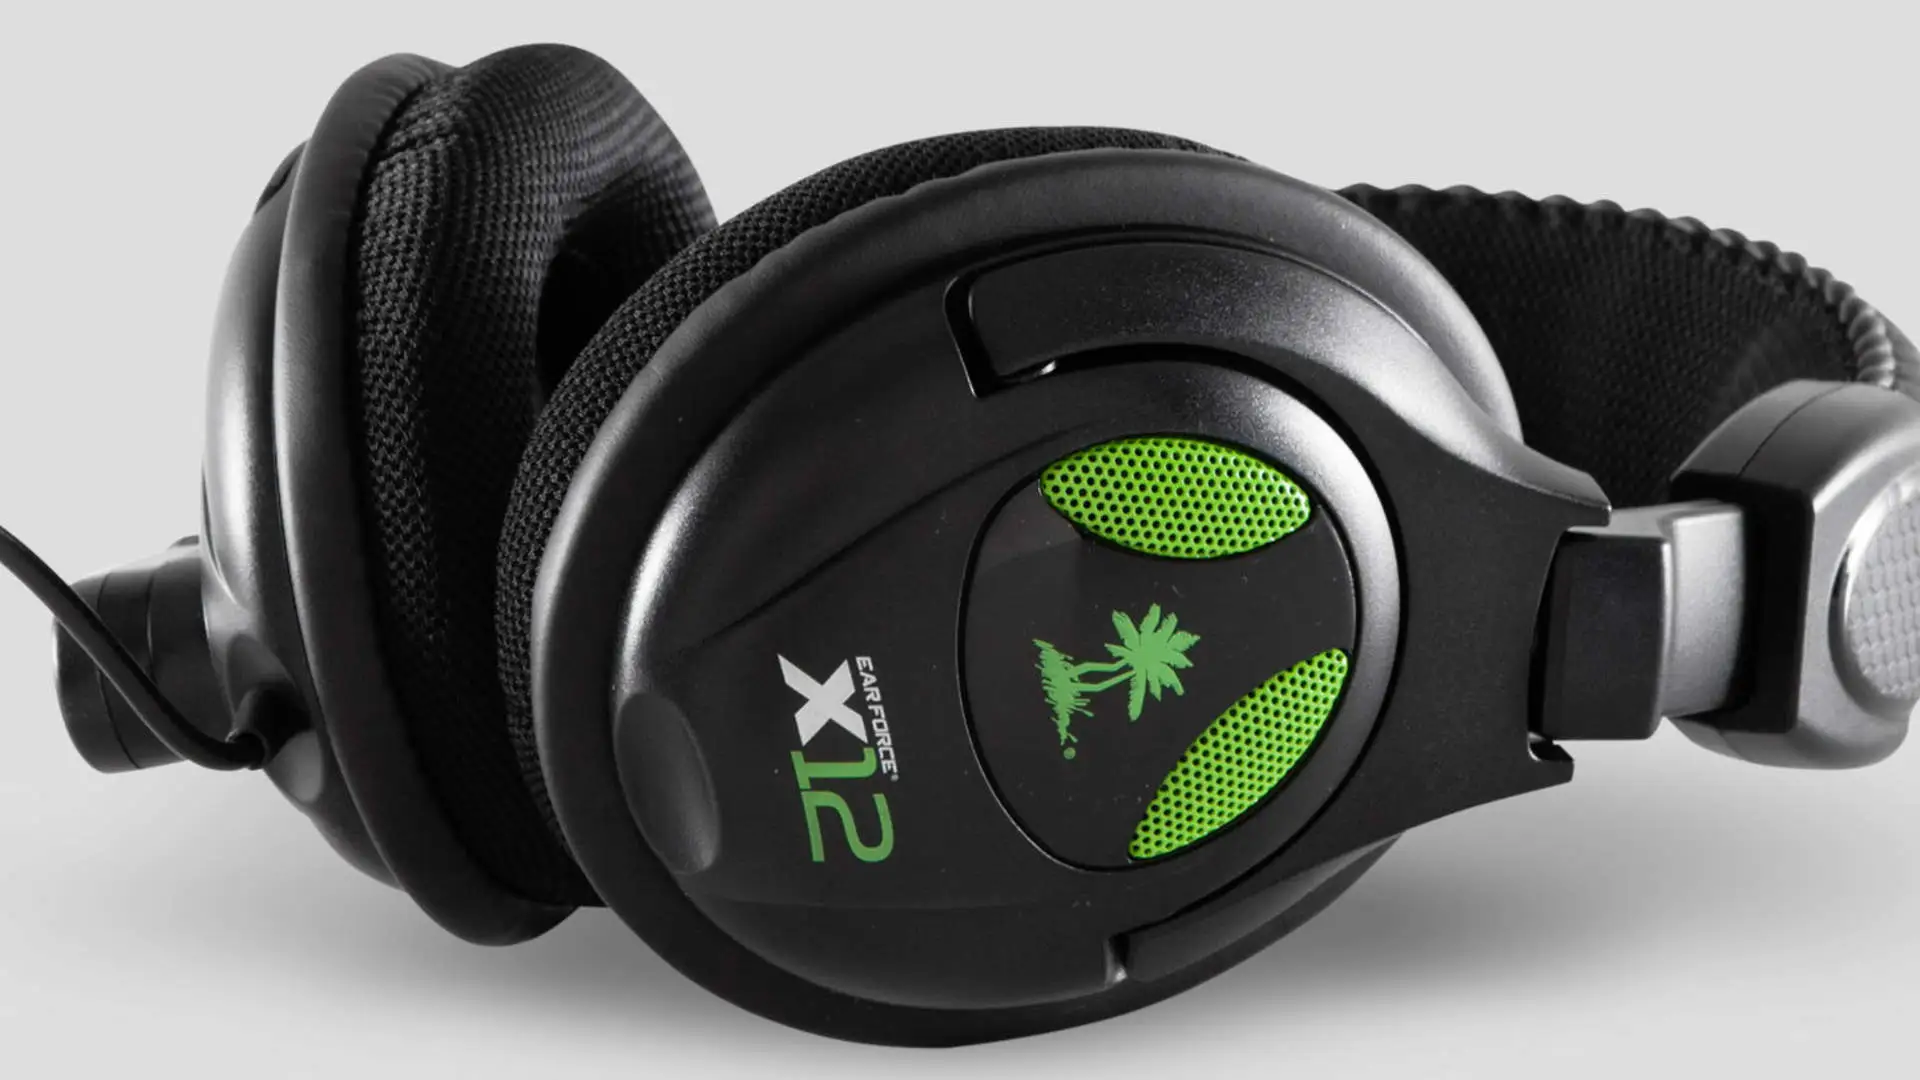
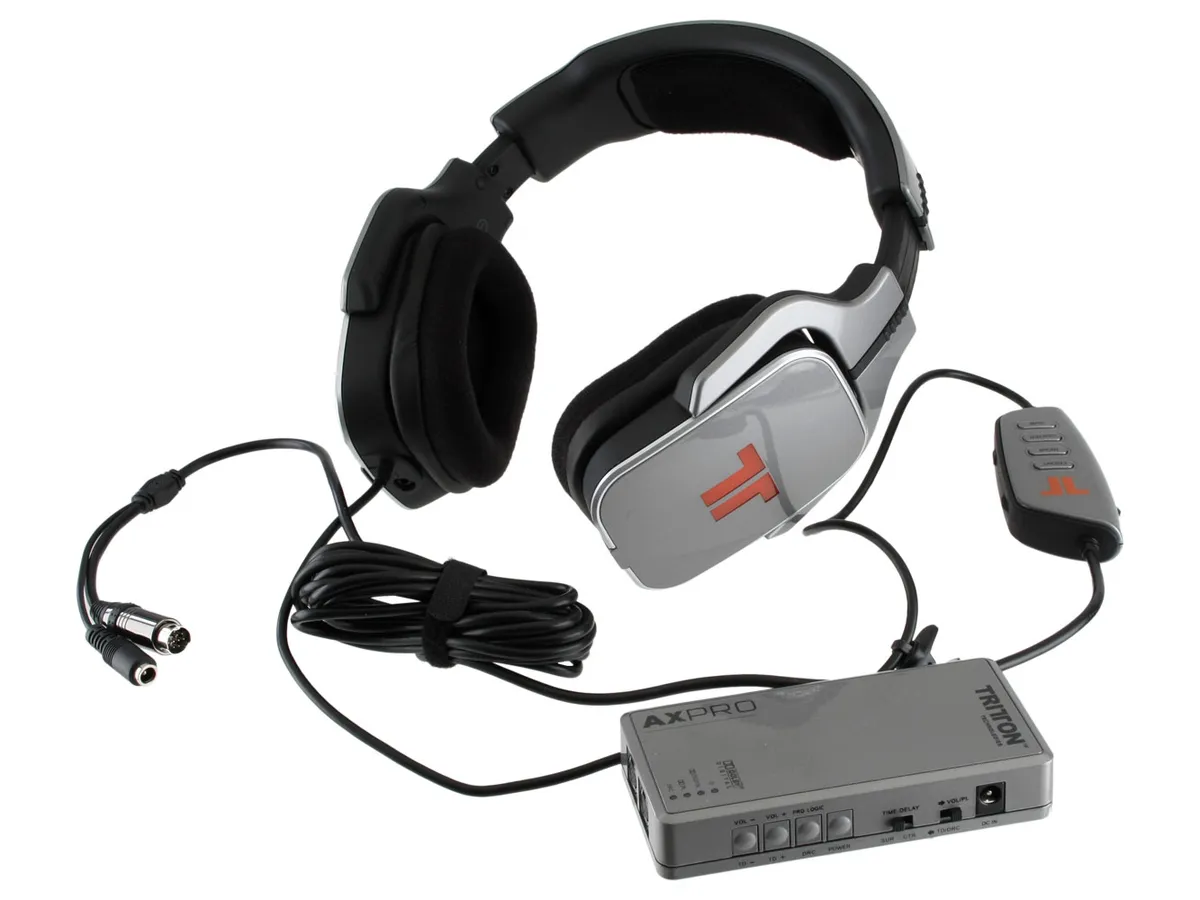
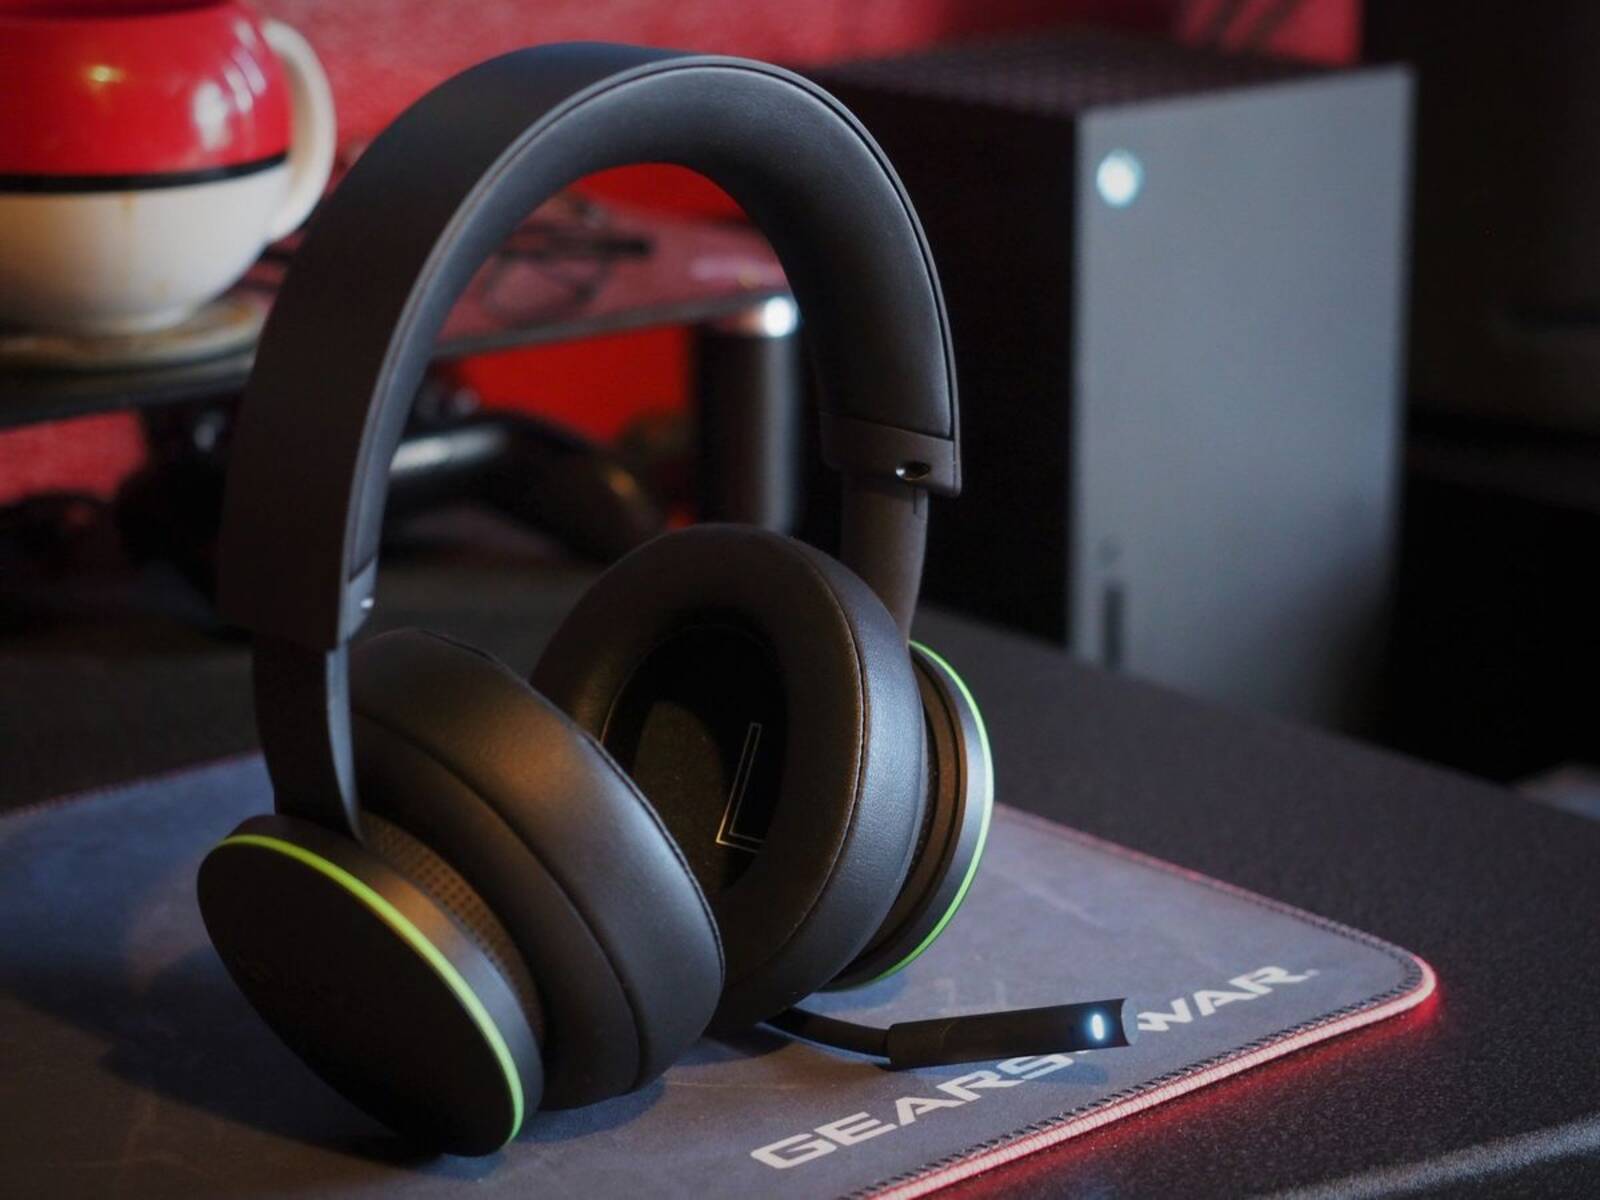
Step 2: Connect the Headset to the Controller
Once you have confirmed the compatibility of your gaming headset with the Xbox 360, the next step involves connecting the headset to the controller, which serves as a pivotal link between the headset and the console. The controller not only facilitates the transmission of audio signals but also enables seamless communication with other players during multiplayer gaming sessions.
Firstly, identify the headset jack on the Xbox 360 controller, which is typically located at the bottom of the controller. This jack is specifically designed to accommodate the connection of gaming headsets, allowing for the transmission of audio and the reception of microphone input. Once you have located the headset jack, ensure that the controller is powered on and ready to establish a connection with the gaming headset.
Next, carefully insert the headset’s audio plug into the headset jack on the controller, ensuring a secure and snug fit to establish a reliable connection. Pay attention to any audible clicks or cues that indicate the successful insertion of the audio plug into the headset jack. This secure connection is essential for maintaining consistent audio output and microphone functionality during gameplay.
As you connect the headset to the controller, take note of any additional controls or features on the headset itself. Some gaming headsets are equipped with inline volume controls, microphone muting buttons, or other adjustable settings that can enhance your gaming experience. Familiarize yourself with these controls and their functionalities, as they can empower you to customize your audio preferences and microphone usage directly from the headset.
By establishing a direct connection between the gaming headset and the Xbox 360 controller, you are primed to experience immersive audio, crystal-clear communication, and seamless integration with the gaming environment. This pivotal connection sets the stage for a truly engaging gaming experience, allowing you to leverage the full potential of your gaming headset while navigating the virtual landscapes of your favorite games.
Step 3: Adjust the Settings on Your Xbox 360
With the gaming headset successfully connected to the Xbox 360 controller, it is essential to fine-tune the console’s settings to optimize the audio output and microphone functionality, ensuring a seamless and personalized gaming experience. By navigating through the settings menu on your Xbox 360, you can customize various audio and communication parameters to align with your preferences and gaming requirements.
Begin by accessing the settings menu on your Xbox 360 console, typically located within the system dashboard or main menu. Navigate to the “Preferences” or “Settings” section, where you will find a range of options related to audio, communication, and peripheral devices. Look for specific settings that pertain to audio output, microphone input, and headset compatibility to initiate the customization process.
Within the audio settings, you may encounter options to adjust the volume levels, equalizer presets, and spatial audio features to enhance the immersive quality of the gaming audio. Experiment with these settings to find the optimal balance that complements your gaming preferences and amplifies the audio output of your gaming headset, allowing you to fully immerse yourself in the sonic landscapes of your favorite games.
Furthermore, explore the communication settings to configure the microphone input and voice chat parameters. Adjust the microphone sensitivity, voice monitoring, and chat mixer settings to ensure clear and effective communication with other players during multiplayer gaming sessions. Fine-tuning these settings can significantly enhance the quality of voice communication, fostering seamless teamwork and coordination while gaming.
If your gaming headset is equipped with additional features, such as surround sound capabilities or customizable audio profiles, consider exploring the advanced audio settings on the Xbox 360 to unlock the full potential of these features. Tailoring the console’s settings to harmonize with the capabilities of your gaming headset can elevate the overall audio experience and immerse you in the captivating sounds of your gaming environment.
By meticulously adjusting the settings on your Xbox 360 to align with the capabilities of your gaming headset, you are poised to unleash the full potential of your gaming setup, ensuring that every audio nuance and communication exchange is optimized for a truly immersive and enjoyable gaming experience.
Step 4: Test the Headset and Make Adjustments as Needed
After connecting and configuring your gaming headset with the Xbox 360, it is imperative to conduct thorough testing to ensure that the audio output, microphone functionality, and communication features are performing optimally. By testing the headset and making necessary adjustments, you can fine-tune the settings and address any potential issues, guaranteeing a seamless and immersive gaming experience.
Initiate the testing process by launching a game on your Xbox 360 that encompasses diverse audio elements, such as atmospheric soundscapes, dynamic sound effects, and in-game dialogue. As you delve into the gaming environment, pay close attention to the audio output from your gaming headset, assessing the clarity, balance, and spatial positioning of the sound elements. Adjust the volume levels and equalizer settings as needed to achieve an audio profile that resonates with your gaming preferences and enhances the overall immersion.
Simultaneously, engage in voice chat or multiplayer interactions to evaluate the microphone functionality of your gaming headset. Communicate with other players and assess the clarity and reliability of the microphone input, ensuring that your voice is transmitted clearly and without distortion. If necessary, fine-tune the microphone sensitivity and chat mixer settings to optimize the communication experience, fostering seamless and effective interactions with fellow gamers.
During the testing phase, consider exploring various gaming scenarios and genres to gauge the adaptability and performance of your gaming headset across different gaming experiences. Whether you are navigating intense action sequences, exploring expansive open worlds, or engaging in strategic multiplayer battles, the testing process allows you to assess the versatility and immersive capabilities of your gaming headset in diverse gaming environments.
Should you encounter any challenges or discrepancies during the testing phase, be proactive in making adjustments to address these issues. Return to the settings menu on your Xbox 360 to refine the audio and communication settings, ensuring that they align with your preferences and optimize the performance of your gaming headset. Additionally, consult the user manual or online resources provided by the headset manufacturer to troubleshoot specific issues and explore advanced features that can enhance the headset’s functionality.
By diligently testing your gaming headset and making necessary adjustments, you can fine-tune its performance to harmonize with your gaming preferences and the intricacies of various gaming experiences. This iterative process empowers you to unlock the full potential of your gaming headset, ensuring that it enriches your gaming endeavors with immersive audio, seamless communication, and personalized settings that cater to your gaming preferences.
Conclusion
Congratulations! You have successfully navigated the process of connecting and optimizing a gaming headset for use with the Xbox 360, unlocking a realm of immersive audio and seamless communication within your gaming endeavors. By following the step-by-step guidelines outlined in this comprehensive tutorial, you have gained the knowledge and confidence to seamlessly integrate your gaming headset with the Xbox 360, enhancing your gaming experience to new heights.
Throughout this journey, you have embarked on a proactive exploration of compatibility considerations, connection processes, settings adjustments, and rigorous testing, all aimed at ensuring that your gaming headset aligns harmoniously with the capabilities of the Xbox 360 console. This meticulous approach has empowered you to tailor the audio output, microphone functionality, and communication features to resonate with your gaming preferences, fostering an environment where every gaming moment is enriched by the immersive capabilities of your gaming headset.
As you immerse yourself in the captivating worlds of your favorite games, you can now revel in the richness of dynamic soundscapes, crystal-clear communication with fellow players, and a personalized audio environment that amplifies the thrill of gaming. Whether you are embarking on solo adventures, engaging in thrilling multiplayer battles, or exploring new gaming horizons, your optimized gaming headset stands as a testament to your dedication to an unparalleled gaming experience on the Xbox 360.
Remember that the journey does not end here. As you continue to delve into the ever-evolving landscape of gaming, remain open to exploring new features, updates, and advancements that can further enhance the capabilities of your gaming headset. Embrace the opportunity to experiment with advanced settings, adapt to new gaming experiences, and leverage the full potential of your gaming headset as you embark on future gaming endeavors.
By harnessing the power of your gaming headset and integrating it seamlessly with the Xbox 360, you have unlocked a gateway to immersive gaming, seamless communication, and personalized audio experiences that elevate every gaming session. Embrace this newfound synergy between your gaming headset and the Xbox 360, and let it become an integral part of your gaming journey, enriching each moment with the captivating audio and communication features that define the essence of gaming excellence.